
Vinsælir flokkar
Ertu að leita að garni?


Hvernig á að prjóna kaðla yfir 4 lykkjur án þess að nota kaðlaprjón

Kaðall sem snýr til vinstri: Lyftið 2 lykkjum af prjóni yfir á hægri prjón, prjónið 2 lykkjur slétt, frá framhlið eru teknar upp 2 lyftu lykkjurnar yfir á vinstri prjón, sleppið 2 fyrstu lykkjum á hægri prjóni + 2 lyftu lykkjunum. Setjið síðan til baka 2 lykkjur slétt aftur á hægri prjón, prjónið 2 lykkjur slétt.
Fylgja þarf uppskrift til þess að geta fylgt myndbandinu eftir.
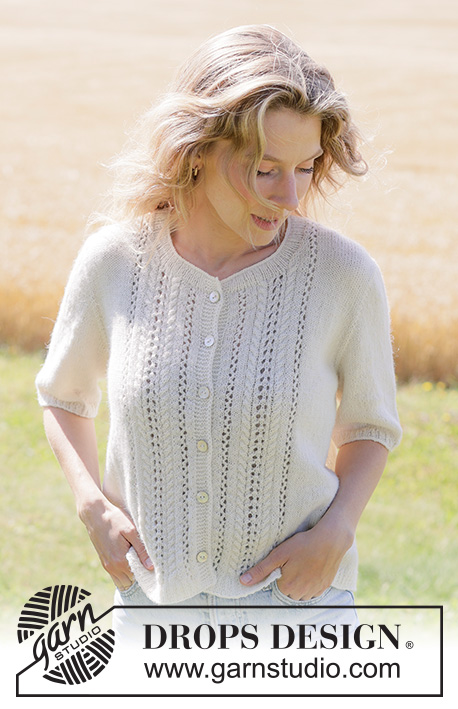
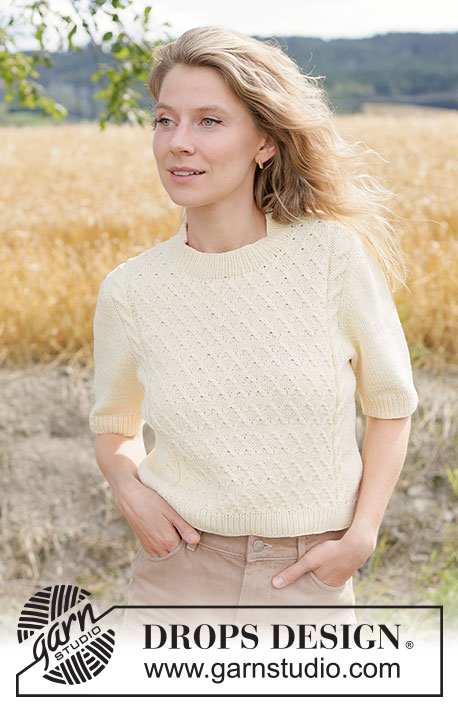
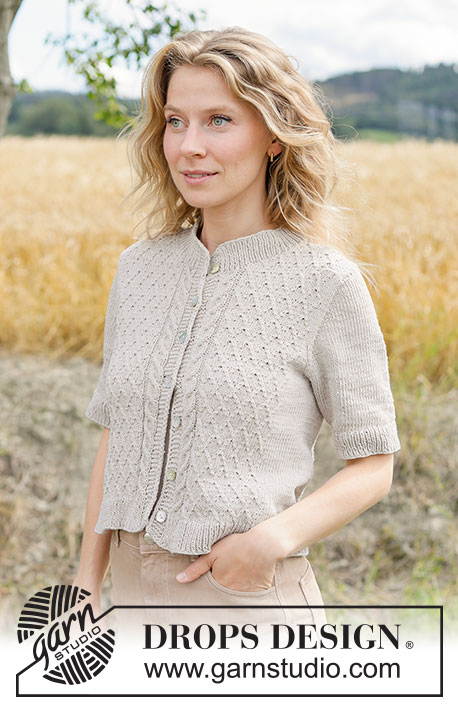
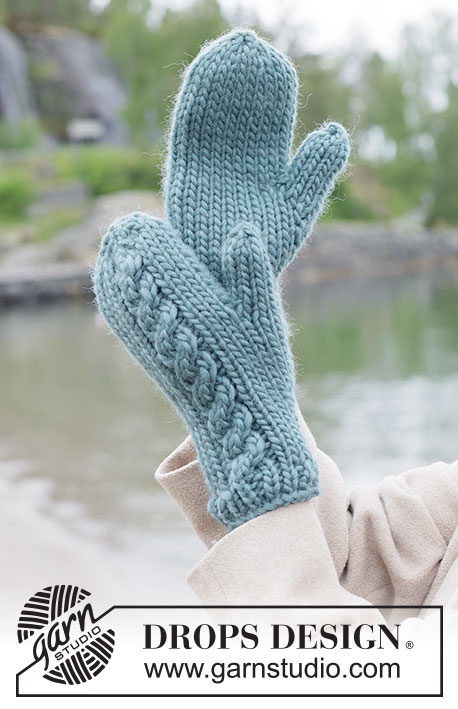
Þú finnur mynstur þar sem þessi aðferð er notuð með því að smella á myndirnar að neðan.
Mynstur þar sem þessi aðferð er notuð


Myndband #117, skráð í: Lærðu að prjóna, Grunn prjónaðferðir, Áferðaprjón, Hvernig á að prjóna kaðla
Myndböndin okkar hafa ekkert hljóð. Við erum alþjóðlegt fyrirtæki og fólk sem skoðar myndböndin okkar talar mörg mismunandi tungumál og margir skilja ekki ensku. Þar sem það er ekkert gefið tungumál fyrir okkur að nota, höfum við í staðinn skrifaðar leiðbeiningar fyrir myndböndin og ekkert hljóð sem truflar þegar þú horfir.
Þú getur breytt hraðanum á þessu myndbandi með því að smella á táknið á spilastikunni.
Skrifaðu athugasemdir eða spurningar fyrir þetta myndband
Netfangið þitt verður ekki birt. Það verður að merkja við svæði merktri með *.
Þú gætir líka haft gaman af...


Með yfir 40 ára prjón- og hekl hönnun, býður DROPS Design uppá eitt umfangsmesta vöruúrval af mynstrum án endurgjalds á netinu – þýdd á 17 tungumálum. Í dag þá erum við komin í 324 vörulista og 12290 mynstur - 7891 mynstur sem eru þýdd á [íslensku].
Við vinnum hörðum höndum við að færa þér það besta sem prjón og hekl hefur uppá að bjóða, innblástur, ráðgjöf og auðvitað frábært gæða garn á ótrúlegu verði! Langar þig að nota mynstrin okkar fyrir annað en til einkanota? Þú getur lesið hér ákvæði hvað leyfilegt er að gera í textanum Copyright sem er neðst á öllum mynstrunum okkar.
I am not a spammer. I have knit upto the neck on 4 ply merino wool and have 40 stitches each for front and back. I’m to start the sleeves . How many stitches should I have on the needle for trh top of the sleeve to complete the round neck
07.06.2022 - 17:58I can’t understand how to work the neck in the pattern. I’m using 4 ply merino wool. How do I shape the neck and many stitches should I have for the neck front back and sleeves ?
07.06.2022 - 17:55DROPS Design :
Dear Mrs Singh, maybe you could ask your question on the pattern you are working on? It might be easier for us to help you since the answer depends on various factors: tension, shape, pattern, etc.. Thanks for your comprehension.
08.06.2022 - 08:12Thank you for such a clear tutorial.
23.07.2019 - 08:26This pattern for the headband has mistakes. I have read and re-read the pattern and have ripped out my work 5 times. I am so frustrated I\'m near tears. Does anyone have a corrected pattern for this headband in written pattern and NOT a diagram? Please post and thank you.
10.01.2019 - 07:11DROPS Design :
Dear Mary, could you please write your question under the pattern you worked so that we can check? Thank you!
10.01.2019 - 10:44Wow, this looks very smart and easy! Thanks for this video!!
12.08.2018 - 22:20Je ne comprend pas , la torsade ce fait a l envers du travail, ou a l endroit .le rang suivant on tricote les mailles comme elles se presentes merci de me repondre
17.08.2014 - 00:27DROPS Design :
Bonjour Marie Line, dans la vidéo (et en général), on croise les mailles sur un rang sur l'endroit, on glisse les mailles end sur une aiguille circulaire devant ou derrière l'ouvrage et on tricote les mailles suivantes, puis on tricote celles de l'aiguille auxiliaire. Bon tricot!
28.08.2014 - 14:50Paskaaa
19.10.2012 - 10:20Christelle skrifaði:
Génial! Moi je l'utilise pour des torsade à deux mailles et c'est un vrai gain de temps. Merci à la pionnière
01.06.2012 - 14:10Un grd merci à l'ingénieux cerveau qui a trouvé cette tecnique. Quel gain de temps et quel confort!! je pense qu'on peut aussi l'utilisé avec une torsade 6 mailles, mais au-delà, cela devient complexe à gérer.
24.03.2012 - 08:42Das ist ja eine super einfache Technik, die habe ich sogar kapiert.Ich habe vor einem Jahr, durch mein Enkel,mit Stricken angefangen. Dnke für die guten Anleitungen und vor allem die Videos.Cornelia Rönnpagel
21.01.2012 - 20:31