Opmerkingen / Vragen (423)
![]() Claudine De Braekeleer schreef:
Claudine De Braekeleer schreef:
Hallo kan ik een iets duidelijker patroon krijgen AUB
20.04.2025 - 15:13
![]() Sue Evans schreef:
Sue Evans schreef:
So sorry but I've never followed such a confusing pattern before!! I have just put 22 stitches on a stitch holder and don't understand if I'm continuing on the round needle in pattern or changing to normal needles and knitting garter stitch or pattern? Please help
20.02.2025 - 15:35DROPS Design antwoorde:
Dear Mrs Evans, after you have slipped the middle 22 stitches for stomach you continue each part separately back and forth in pattern as before; when you have reached the desired height on back piece, slip these stitches on a thread then work the 22 sts to the same height then you will work these stitches in the round again to finish sweater. In this lesson we show how to work this jumper in the smaller size but the technique will be the same, this should be able to help you visualizing how to do. Happy knitting!
21.02.2025 - 08:10
![]() Nicole Chapdelaine schreef:
Nicole Chapdelaine schreef:
Aiguille circulaire DROPS n° 4 (40 cm – aiguille à chaussettes dans la plus petite taille) (+ ou – grosse pour obtenir l'échantillon) Je ne comprend pourquoi deux sortes d'aiguille pour l'échantillon Merci
16.02.2025 - 01:16DROPS Design antwoorde:
Bonjour Mme Chapdelaine, il faut juste des aiguilles 4 pour l'échantillon, mais soit une aiguille circulaire de 40 cm pour les grandes tailles soit juste des aiguilles doubles pointes pour la petite taille. Bon tricot!
17.02.2025 - 09:15
![]() Nea He schreef:
Nea He schreef:
Teen M kokoista villapaitaa ja päätin juuri mahakappaleen 28 silmukkaa. En ymmärrä kuinka seuraava vaihe tapahtuu. Tehdäänkö joka 2. krs kaikki nämä 1 x 3 s, 2-3-4 x 2 s, 2-3-4 x 1 s, 2-3-4 x 2 s ja 1 x 3 s päättämiset vai joka kierroksella vain yksi näistä? Mihin kohtaan päätökset tulevat?
15.01.2025 - 13:55DROPS Design antwoorde:
Hei, kummastakin reunasta päätetään aluksi 3 silmukkaa kerran, sitten kummastakin reunasta päätetään 2 silmukkaa 2-3-4 kertaa, tämän jälkeen kummastakin reunasta päätetään 1 silmukka 2-3-4 kertaa jne. Silmukat päätetään joka 2.kerros (eli päätä kerroksen alusta ensin 3 simukkaa, neulo kerros loppuun ja päätä sitten seuraavan kerroksen alusta 3 silmukkaa, neulo kerros loppuun, päätä seuraavan kerroksen alusta 2 silmukkaa jne).
17.01.2025 - 17:39
![]() Marnie schreef:
Marnie schreef:
I'm making a size Small. For the part in the pattern "Put the remaining sts on a small circular needle size 3 mm [US 2or3] and pick up sts around the binding off edge to a total of approx 84-108-140 sts." Does this mean I need to pick up 108 stitches, or pick up enough stitches that the total number of stitches on my needles is 108 (so more like 58 stitches) ?
12.01.2025 - 19:19DROPS Design antwoorde:
Dear Marnie, you need to have a total of 108 stitches on your needle so, apart from the remaining sts, pick up enough stitches so that you have 108 in total. Happy knitting!
12.01.2025 - 22:37
![]() Paola schreef:
Paola schreef:
Scusi, mi sono spiegata male....intendevo quando ho finito il bordo a coste e devo iniziare il diagramma e quindi lavoro in tondo
07.12.2024 - 19:00DROPS Design antwoorde:
Buongiorno Paola, durante la lavorazione in tondo deve lavorare come se fosse sempre sul diritto del lavoro. Buon lavoro!
22.12.2024 - 09:23
![]() Paola schreef:
Paola schreef:
Buonasera, nelle spiegazioni del diagramma M3 eM1, il quadretto vuoto dice 1 m dir sul diritto, rov sul rovescio, il quadretto con la croce dentro dice 1 m rov sul diritto, dir sul rovescio. questo vale anche per i ferri circolari? grazie
06.12.2024 - 19:49DROPS Design antwoorde:
Buonasera Paola, ci sono delle parti del lavoro che non vengono lavorate in tondo. Buon lavoro!
07.12.2024 - 18:57
![]() Arina Oosterbeek schreef:
Arina Oosterbeek schreef:
Hoi, ik ben inmiddels bij de poot minderkng gekomen ,16 steken op een draad. Dan wordt er gezegd ,brei vetbolgens heen en weer, ik kan toch niet in een teruggaande naald breien? Houdt dat in dat ik elke tour afknip aan het eind , en dan opnieuw beginnen M vr gr Arina
26.11.2024 - 15:53
![]() Janet Sutandar schreef:
Janet Sutandar schreef:
Thank you so much for your quick respond. As I was reading, "after the 12 cm of ribbing , increase stitches from 100 to 154". I thought it meant change to smaller size needle to not get the piece too much bigger. Now that a second thought. The body is much bigger. I am clear, and well understood now. Working as if we were knitting sweater for ourselves. Thanks again !
25.11.2024 - 04:27
![]() Janet Sutandar schreef:
Janet Sutandar schreef:
Nice pattern, I want to start it right.
24.11.2024 - 04:17
The Lookout |
|||||||||||||||||||
 |
 |
||||||||||||||||||
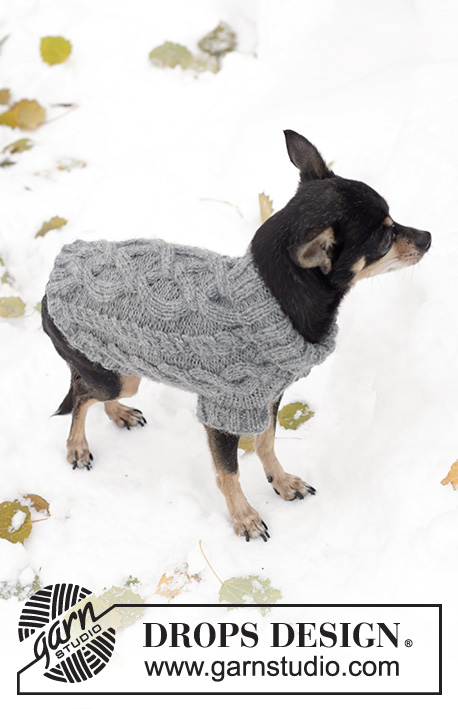
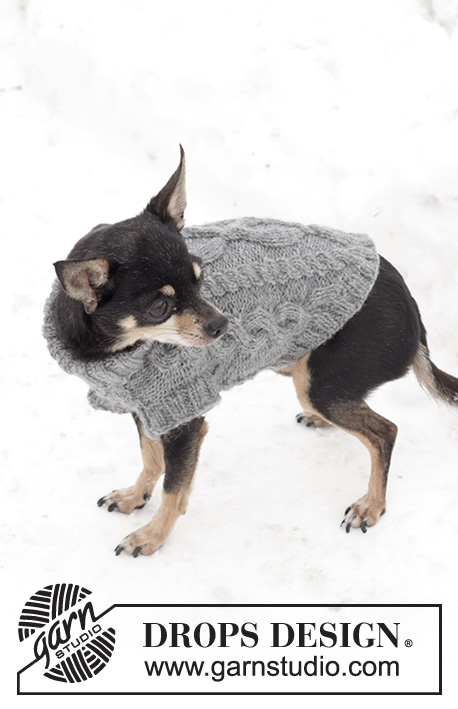
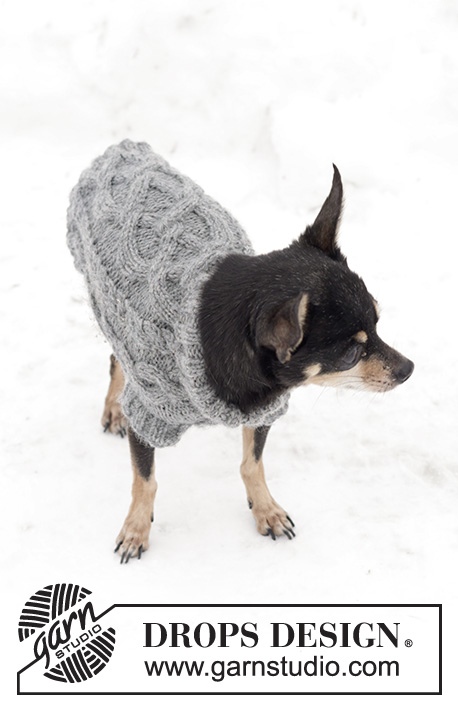
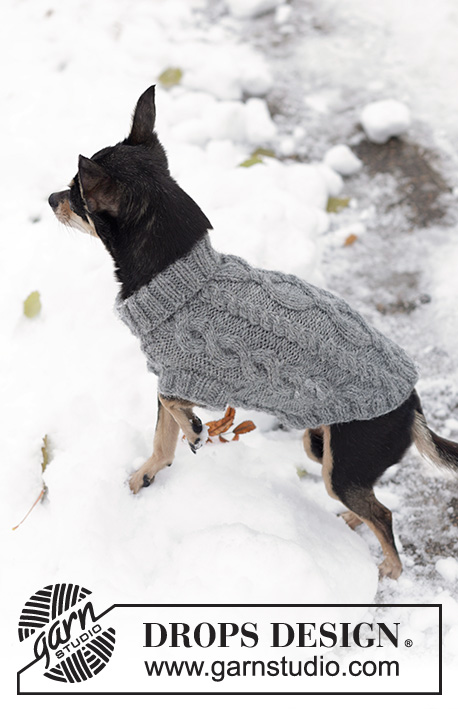
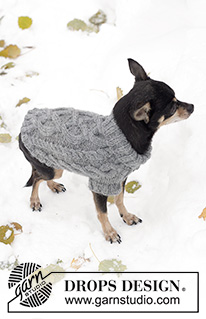
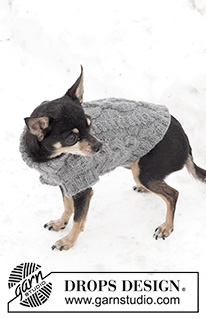
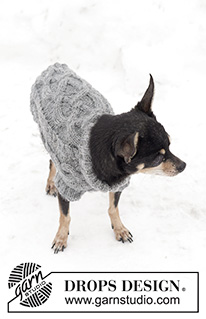
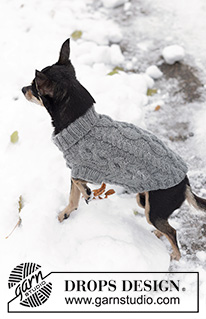
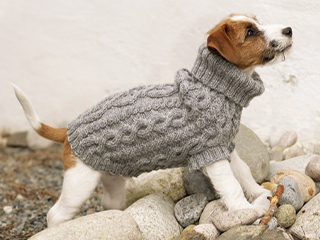
Gebreide DROPS hondentrui met kabels van ”Karisma”.
DROPS 102-43 |
|||||||||||||||||||
|
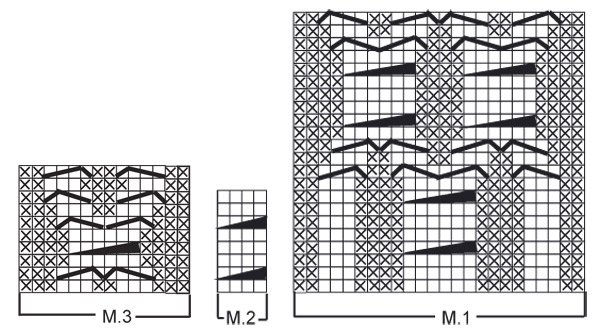
Motief: Zie teltekening M.1 t/m M.3. De teltekening geeft het motief weer op de goede kant. Boordst: * 2 r, 2 av *, herhaal steeds *-*. Trui: De trui wordt in het rond gebreid, begin bij de hals. Zet 60-80-100 st op met sokkenbreinld 3 mm en lichtgrijs. Brei 8-10-12 cm Boordst (= boord, die omgeslagen wordt). Wissel naar de kleine rondbreinld 4 mm (of sokkenbreinld). Brei 1 nld r en meerder tegelijkertijd gelijkmatig verdeeld 16-32-54 st in deze nld = 76-112-154 st. Brei het motief door als volgt: Maat XS: M.2, 2 av, M.2, 3 av, M.3, M.2, M.1 (= midden rugpand), M.2, M.3 en 3 av. Maat S: * M.2, 2 av *, herhaal *-* 2 keer, M.2, * M.3, M.2 *, herhaal *-* 2 keer, M.1 (= midden rugpand), * M.2, M.3 *, herhaal *-* 2 keer. Maat M: * M.2, 2 av *, herhaal *-* 3 keer, M.2, * M.3, M.2 *, herhaal *-* 3 keer, M.1 (= midden rugpand), * M.2, M.3 *, herhaal *-* 3 keer. Deel tegelijkertijd het werk voor de voorpoten bij een hoogte van 12-16-20 cm in als volgt: Plaats de eerste 10-16-22 st op 1 draad (= buik), kant 1 st af, en brei door over het rugpand tot aan het eind van de nld, en kant de laatste st af = 64-94-130 st (= rugpand). Brei vervolgens 6-8-10 cm heen en weer over de st voor het rugpand (het werk heeft nu een hoogte van 18-24-30 cm). Plaats nu de st voor het rugpand op 1 draad. Zet de st van de draad (= buik) terug op de breinld. Zet 1 nieuw st op aan weerskanten hiervan = 12-18-24 st. Brei door volgens het motief heen en weer met 1 av aan weerskanten. Zet na 6-8-10 cm alle st terug op de dezelfde breinld = 76-112-154 st. Brei door over alle st. Kant bij een totale hoogte van 24-31-38 cm de 12-20-28 st af van het midden van het buikpand. De rest van het werk wordt heen en weer gebreid. Kant tegelijkertijd af aan weerskanten in elke 2e nld: 1 x 3 st, 2-3-4 x 2 st, 2-3-4 x 1 st, 2-3-4 x 2 st en 1 x 3 st = 32-50-74 st over op de breinld. Het werk heeft nu een totale hoogte van ca 30-39-48 cm. Afwerken: Zet de resterende st op de kleine rondbreinld 3 mm, en neem daarbij ook st op langs de afgekante rand tot een totaal van ca 84-108-140 st. Brei 2-3-4 cm Boordst, en kant vervolgens losjes af. Poten: Neem ca 36-44-52 st op met sokkenbreinld 3 mm rondom de ene opening voor de voorpoot. Brei 2-3-4 cm Boordst en kant vervolgens losjes af in patroon. Herhaal dit om de andere opening voor de voorpoot. |
|||||||||||||||||||
Uitleg van het telpatroon |
|||||||||||||||||||
|
|||||||||||||||||||
 |
|||||||||||||||||||
Heeft u dit patroon gemaakt?Tag dan uw afbeeldingen met #dropspattern of stuur ze naar de #dropsfan galerij. Heeft u hulp nodig voor dit patroon?U vind 24 instructievideo's, een commentaar/vragengedeelte en nog veel meer, als u naar het patroon gaat op garnstudio.com © 1982-2025 DROPS Design A/S. Alle rechten voorbehouden. Op dit document, inclusief alle subdocumenten, rust copyright. Lees meer over wat u kunt doen met onze patronen onderaan elk patroon op onze site |
|||||||||||||||||||









Laat een opmerking achter voor DROPS 102-43
Wij horen graag wat u vindt van dit patroon!
Wilt u een vraag stellen, kies dan de juiste categorie in het formulier hieronder om sneller een antwoord te krijgen. Verplichte velden zijn gemarkeerd met een *.