
Populaire categorieën
Op zoek naar garen?





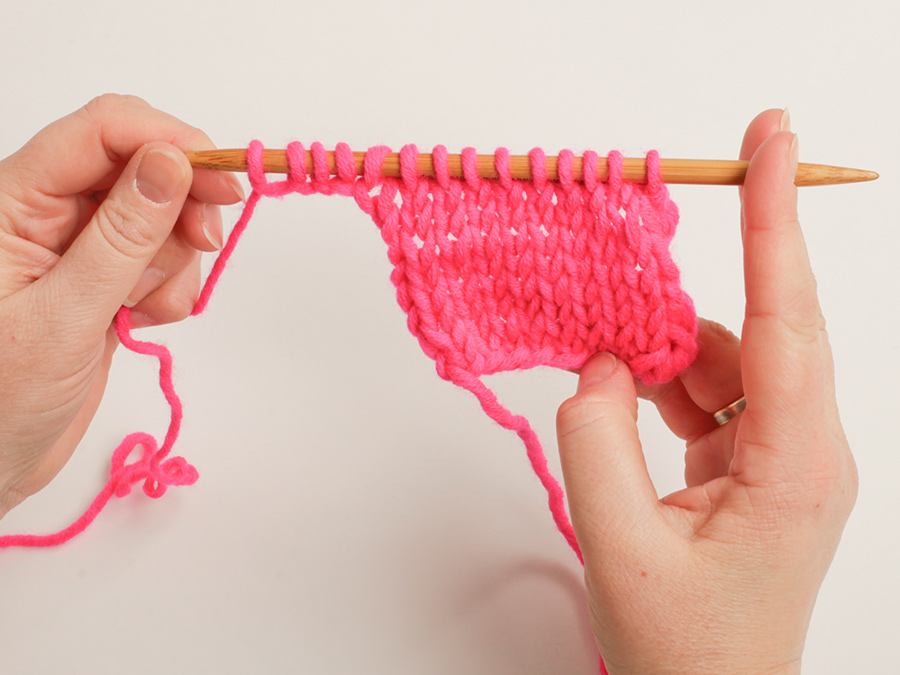
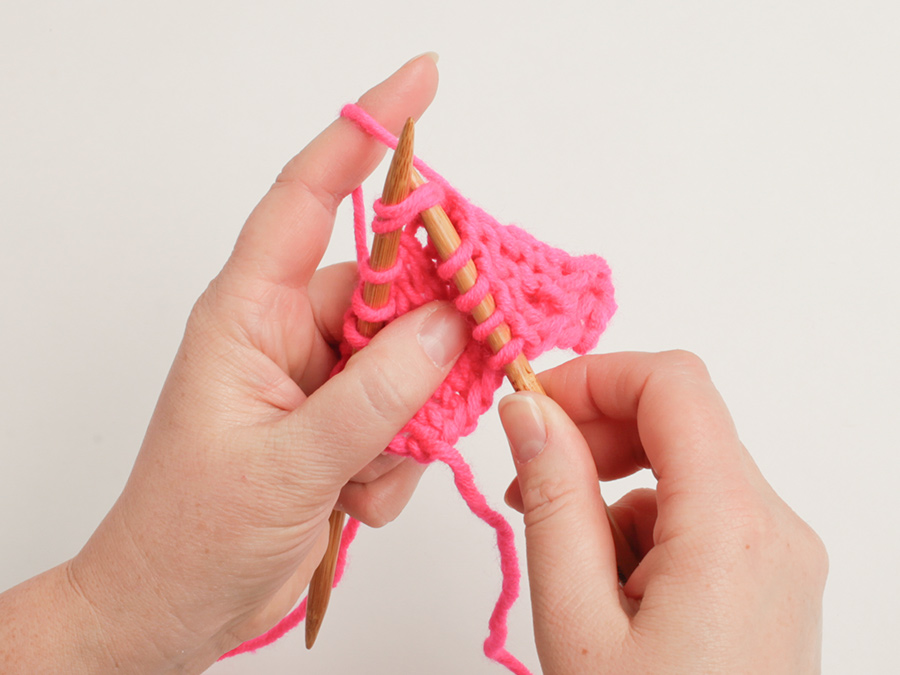
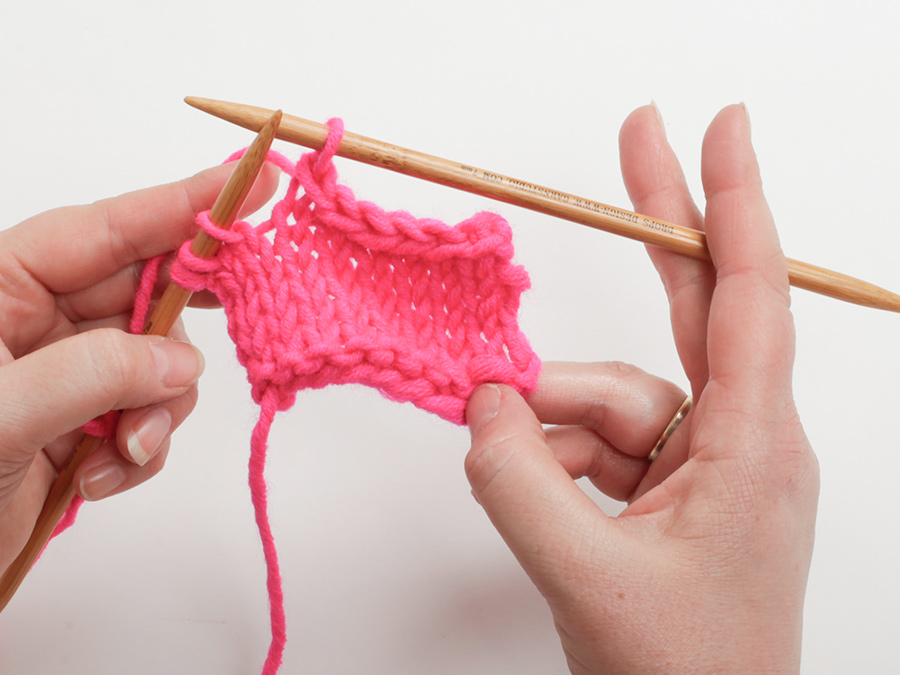
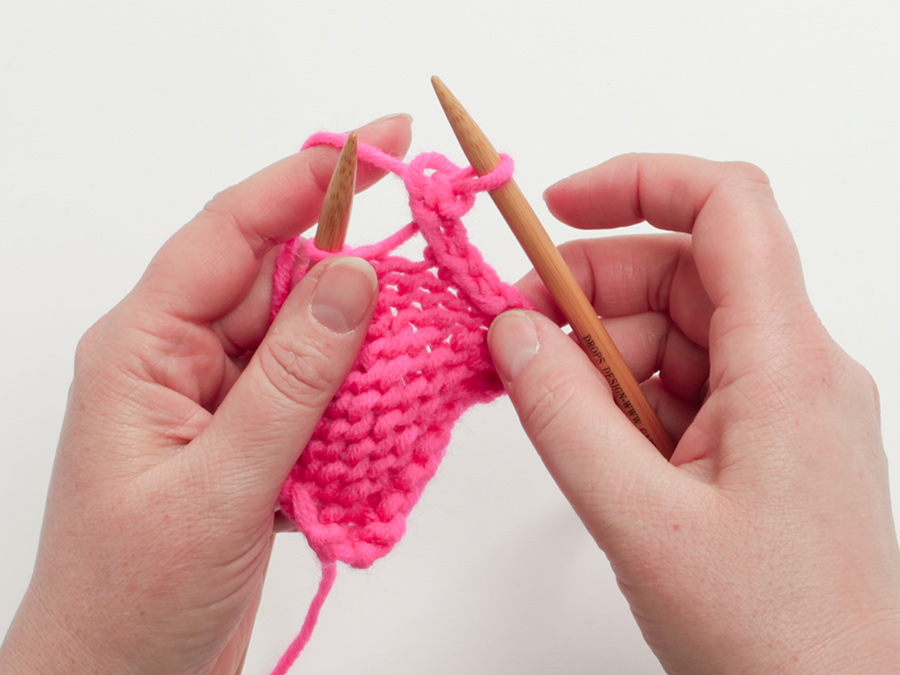
Opmerkingen / Vragen (18)
 Kim schreef:
This pattern needs updated clear instructions! Please!
22.09.2026 - 00:26
Kim Butchko schreef:
My question is the numbers. If you add 12 on each side to the hundred that makes 124 then if you add 34 on the right side where you are working the 62 stitches that gives you 158 not 186 so I’m a little confused on this.
21.09.2026 - 21:33DROPS Design antwoorde:
Hi Kim, There is a sentence missing from the US instructions (after increasing stitches each side): "Now divide the piece mid-back, i.e., turn and work across one half of the row as far as the face opening. Cast on 28 stitches (= under chin), continue across the other half of the stitches (other side of the opening) to mid-back = 152 stitches (the seam will then be worked mid-back). The piece is now measured from here". You now continue as described in your text. Regards, Drops Team.
22.09.2026 - 07:04
Kim Butchko schreef:
I finished the increase of 12 on each side and not sure what to do next. I love the look of this hood but the instructions are not very clear. Help lol
20.09.2026 - 00:34DROPS Design antwoorde:
Hi Kim, After finishing the increases (12 stitches each side), you then work each side of the row separately. So on the next row after the last increase, work to the middle of the row and turn (either keeping the other stitches on the needle un-worked or placing them on a stitch holder). Then continue back and forth across the first half as described in the text. Regards, Drops Team.
20.09.2026 - 07:28
 Sharron schreef:
I am totally cannot make out how to continue after completing the 22cm. Does on increase 1 st at each end on alternate rows, then increase 2 st at each of alternate row 5 times. a total of 14 rows knitted ? Also which part is centre back?
28.06.2026 - 21:10DROPS Design antwoorde:
Dear Sharron, you increase 1 stitch at the beginning and end of 1 row, work back without increases, increase 1 stitch at the beginning and end of the previous row. Work back without increases and now increase 2 stitches at the beginning and end of the previous row. Repeat this last section 4 more times (you should have increased 12 stitches in total on each side). Now you find the center of the back section of the hood, which should match with the center of the whole hood, approx. the 62nd stitch after the increases. Now you start on this stitch, work the row towards the opening at the front, cast on stitches over the front opening, work over the other side of the front opening towards the back, until you reach the new beginning of the row, the mid-back stitch. Happy knitting!
29.06.2026 - 01:38
 Dale schreef:
I'm stuck at this part:Now divide the work at the center back and knit all sts back and forth like so: work across sts on side of head towards the opening for face, cast on 28 stitches (= under chin), continue working across stitches on the other side of opening for face until you get to mid-back = 152 sts (you do this so that you will sew together at the center back). I don't understand this. Do I knit 122 stitches and then cast on 28 stitches and do I join in the round?
16.01.2026 - 20:04DROPS Design antwoorde:
Dear Dale, when you have cast off the 28 sts for mid under face, you will have 152 sts on needle. Now you will continue back and forth but from mid back (so that the seam will not be visible on front of piece), so slip the stitches from left needle onto right needle until the mid back of piece, then join yarn and work back and forth from here. Happy knitting!
19.01.2026 - 08:02
Collin Ng schreef:
I want to ask a question about the hook. When I finished to increase to 212 stitches, how long I need to knit before the next right side row to increase 26 stitches?
02.02.2025 - 22:11DROPS Design antwoorde:
Dear Mrs Collin, just work 1 row from RS increasing evenly 26 stitches on the next row from RS (just as you did before to increase from 152 to 212). Find how to increase evenly here. Happy knitting!
03.02.2025 - 14:07
 Isabelle Crespy schreef:
Bonjour, Est il possible de connaître les dimensions de l'ouvrage fini, il n'y a pas de schéma. Merci
27.02.2024 - 21:14DROPS Design antwoorde:
Bonjour Mme Crespy, il n'y a pas de schéma pour ce modèle, toutefois, si votre échantillon est conforme et que vous conservez bien la bonne tension, vous aurez un résultat similaire à celui de la photo Bon tricot!
28.02.2024 - 09:21
Jadwiga Zerda schreef:
By following instructions I cannot visualize how the balaclava is being made. Could you draw a picture.
22.02.2024 - 18:39DROPS Design antwoorde:
Dear Mrs Zerda, balaclava is worked top down first in rows, the cast on edge will be later folded double and sewn, that's on top of head; after you have worked the height for face opening, you cast on new stitches under chin to close face opening and then continue in the round from mid back (- from the middle of previous rows). Hope it can help. Happy knitting!
23.02.2024 - 08:11
 Celine schreef:
Hei. Nå har jeg strikket sånn at jeg har 124 masker. Skjønner ikke helt oppskriften. Skal jeg strikke tilbake 62 masker (i midten), også legge opp 28 masker? For å så strikke videre igjen?
25.10.2023 - 23:35DROPS Design antwoorde:
Hej Celine, ja du vender efter de 62 masker i midten (det bliver bagpå), strikker 62 masker, legger op 28 masker (foran) og strikker 62 masker i den anden side. Vend og strik frem og tilbage :)
26.10.2023 - 14:16
Agnes Mesnier schreef:
Puis-je avoir des explications plu détaillées après : 124 m. Diviser maintenant l'ouvrage au milieu dos et tricoter...je necomprends pas ce que je dois faire..... les 12 mailles augmentées de chaque côté se retrouvent elles devant ou au dos de la cagoule ? Merci de votre réponse rapide. Cordialement
28.02.2022 - 12:29DROPS Design antwoorde:
Bonjour Mme Mesnier, auparavant, le début des rangs se trouvait côté ouverture du visage; maintenant le début des rangs doit être au milieu dos: glissez la moitié des mailles sur l'aiguille droite pour commencer au milieu du rang, tricotez la 1ère moitié des mailles, montez 28 mailles (dessous du visage), et tricotez la 2ème moitié des mailles, tournez et continuez ainsi en allers et retours à partir du milieu dos. Bon tricot!
28.02.2022 - 13:37
|
|
Snow Bound |
|
|
|
|
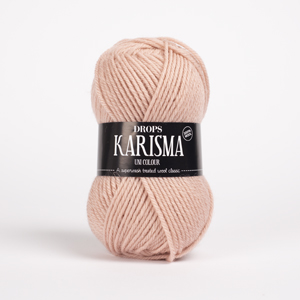
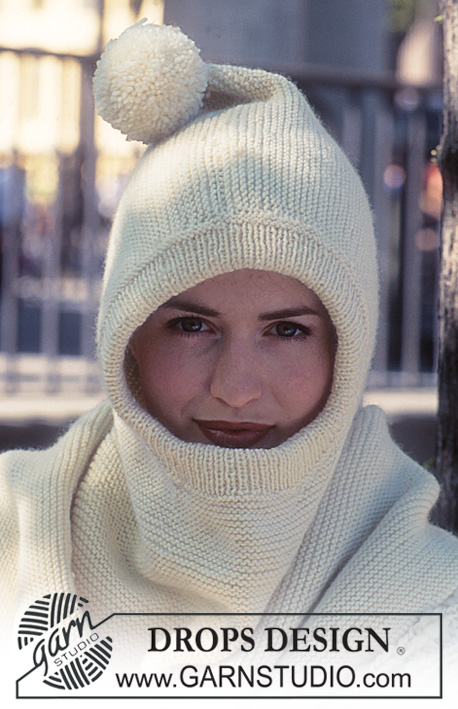
Gebreide DROPS Bivakmuts en Handschoenen van “Karisma”. Maat One-size en S – L.
DROPS 58-22 |
|
|
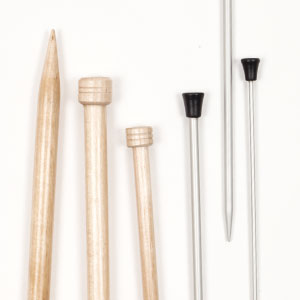
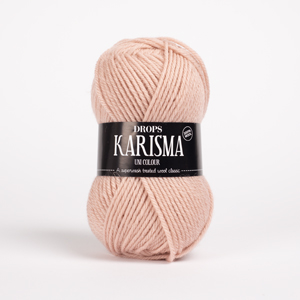
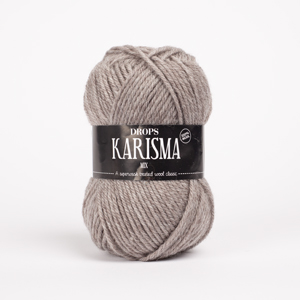
BIVAKMUTS: Steekverhouding: 23 st x 48 nld met Karisma op breinld 3 mm in ribbelst = 10 x 10 cm. Gebruik indien nodig dikkere of dunnere naalden. Brei altijd een proeflapje! Ribbelst (heen en weer breien): Alle naalden recht breien. Bivakmuts: De muts wordt heen en weer gebreid op de rondbreinaald, beginnend aan de bovenkant van het hoofd. U breit vanaf de opening naar het gezicht, helemaal rondom het hoofd en naar de andere kantvan de openening tegen het gezicht. De opzetrand wordt aan het eind dichtgenaaid = naad op de bovenkant van het hoofd. Later zet u steken op onder het kin en dan wordt het werk heen en weer gebreid vanaf midden achter. Zet 100 st op met rondbreinld 3 mm. Brei ribbelst heen en weer vanaf middenvoor. Meerder vanaf een hoogte van 22 cm aan weerszijden van middenvoor in iedere 2e nld: 2 keer 1 st en 5 keer 2 st (= 12 steken gemeerderd aan elke kant) = 124 st op de naald. Verdeel nu het werk midden achter en brei alle st heen en weer als volgt: brei over de st aan de kant van het hoofd richting de opening voor het gezicht, zet 28 steken op (onder kin), ga verder met breien over de steken langs de andere kant van de opening voor het gezicht tot u bij midden achter bent = 152 st (u doet dit zodat u midden achter samen naait). Meet steeds vanaf dit punt het werk! Brei 10 cm. Meerder in de volgende nld aan de goede kant gelijkmatig verdeeld in de nld 34 st = 186 st. Brei 7 cm. Meerder in de volgende nld aan de goede kant st gelijkmatig verdeeld in de nld 26 st = 212 st. Brei 7 cm. Meerder in de volgende nld aan de goede kant gelijkmatig verdeeld in de nld 26 st = 238 st. Brei 7 cm. Kant alle st af met een dubbele draad. Afwerken: Neem ca 150 st op rond de gezichtsopening met korte rondbreinld 2,5 mm. Brei als volgt: 1 nld av, 1 nld tricotsteek, 1 nld av, 1 nld tricotsteek, 6 cm boordsteek 1 r/1 av. Kant dan alle st elastisch af met r boven r en av boven av. Sla de rand dubbel naar binnen en zoom deze vast. Maas de naad middenachter aan elkaar. Maak een stevige pompon met een diameter van ca 8-10 cm. Naai de pompon aan de punt middenachter. HANDSCHOENEN: Steekverhouding: 22 st x 30 nld met Karisma op breinld 3,5 mm in tricotsteek = 10 x 10 cm. Gebruik indien nodig dikkere of dunnere naalden. Brei altijd een proeflapje! Boordsteek: * 2 r, 2 av *, herhaal steeds *-*. Ribbelst (op de rondbreinaald): 1e nld recht, 2e nld averecht. Herhaal steeds de 1e en 2e nld. Handschoenen: Zet 52 (56) st op met breinaalden zonder knop 3 mm en naturel. Brei 4 nld ribbelst. Brei daarna 15 cm boordsteek en minder tegelijkertijd gelijkmatig verdeeld in de laatste nld 8 (8) st = 44 (48) st. Wissel naar breinld zonder knop 3,5 mm. Brei verder in tricotsteek. Plaats een markeerring na 22 (24) st = handrug – plaats de markeerring in de 23e (25e) st – dit wordt de spie voor de duim meerder aan weerszijden van deze st – brei de resterende 21 (23) st = handpalm. Meet steeds vanaf dit punt het werk! Meerder vanaf een hoogte van 1 cm 5 (6) keer 1 st aan weerszijden van de st met de markeerring als volgt in iedere 4e (3e) nld= 54 (60) st. Zet na de meerderingen voor de duimspie de middelste 11 st boven de duim op een hulpnld. Zet 1 nieuwe st op boven de st op de hulpnld = 44 (50) st. Brei tot een hoogte van 10 (11) cm. Brei de vingers als volgt als volgt: Pink: Neem 4 (6) st op van de handrug en 4 (5) st van de handpalm. Zet 3 nieuwe st op boven de ringvinger = 11 (14) st. Brei 5 (6) cm. Brei de st in de volgende nld 2 aan 2 sm. Rijg een dubbele draad door de resterende st en maak de draad goed vast. Brei 3 nld over de resterende st van de handschoen. Brei dan de resterende vingers. Ringvinger: Neem 6 (6) st op van de handrug en 6 (7) st van de handpalm. Zet 1 nieuwe st op boven de pink en 1 nieuwe st boven de middelvinger = 14 (15) st. Brei 6 (7) cm. Brei de st in de volgende nld 2 aan 2 sm. Rijg een dubbele draad door de resterende st en maak de draad goed vast. Middelvinger: Brei als de ringvinger, maar brei 7 (8) cm. Wijsvinger: Neem 6 (6) st op van de handrug en 6 (7) st van de handpalm. Zet 1 nieuwe st op boven de middelvinger = 13 (14) st. Brei als de ringvinger. Duim: Neem de 11 st van de hulpnld + 3 (5) st van de handschoen en brei 6 (6,5) cm. Kant af als bij de ringvinger. Maas de gaatjes tussen de vingers dicht. Brei nog een handschoen, maar in spiegelbeeld. |
|
Heeft u dit patroon gemaakt?Tag dan uw afbeeldingen met #dropspattern of stuur ze naar de #dropsfan galerij. Heeft u hulp nodig voor dit patroon?U vind 15 instructievideo's, een commentaar/vragengedeelte en nog veel meer, als u naar het patroon gaat op garnstudio.com © 1982-2026 DROPS Design A/S. Alle rechten voorbehouden. Op dit document, inclusief alle subdocumenten, rust copyright. Lees meer over wat u kunt doen met onze patronen onderaan elk patroon op onze site |
Met meer dan 40 jaar ervaring in brei- en haakdesign biedt DROPS Design één van de meest uitgebreide collecties van gratis patronen aan op internet vertaald in 333 talen. Tot en met vandaag hebben wij 12525 boeken en 12233 patronen gepubliceerd.
Wij werken hard om u het beste van haken en breien te bieden; patronen, inspiratie, advies en natuurlijk garens van uitstekende kwaliteit voor de allerbeste prijzen! Wilt u onze patronen gebruiken voor meer dan privégebruik? U kunt lezen wat wel en niet is toegestaan is in de Copyright tekst, die u onderaan elk patroon kunt vinden. Veel handwerkplezier!
Laat een opmerking achter voor DROPS 58-22
Wij horen graag wat u vindt van dit patroon!
Wilt u een vraag stellen, kies dan de juiste categorie in het formulier hieronder om sneller een antwoord te krijgen. Verplichte velden zijn gemarkeerd met een *.