
Popular categories
Looking for a yarn?


Comments / Questions (50)
![]() Amy wrote:
Amy wrote:
Hello Thanks for previous reply that really helped. Another confusion it says in the pattern increase on body every second round and increase on the sleeves every 4th round so that means on the 4th round you have to increase for body and sleeves at the same time. Thanks
16.12.2025 - 03:26DROPS Design answered:
Dear Amy, you will increase alternately 4 and 8 stitches, ie increase 4 sts (front and back pieces only), work 1 round without increasing, increase 8 sts (front, back pieces and sleeves), work 1 round without increasing and repeat these 4 rounds as many times as stated for the size. Happy knitting!
17.12.2025 - 10:10
![]() Amy wrote:
Amy wrote:
Hello I am confused when you knit the first short row and A1 how you do raglan on both side of A1. Because there are only 2 stitches before marker and you can not increase for raglan because in the instructions it says the knit stitch should be on the marker. And there are only 2 stitches before marker. Please explain Thanks
12.12.2025 - 00:40DROPS Design answered:
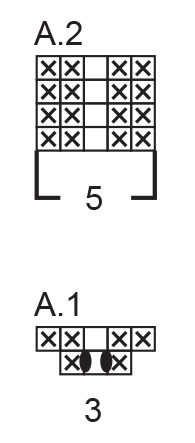
Dear Amy, the increases for raglan are worked on each side of A.1/A.2, so on first round, work A.1 and increase for raglan at the same time as follows: YO (raglan increase), P1, YO, K1, YO, P1 (= A.1 with 2 increases), YO (raglan increase), on next row, purl the yarn overs on each side of A.1 twisted, and knit the both yarn overs on each side of the middle stitch in A.1 twisted; you have now P2, K1, P2 for A.2 on next row. Happy knitting!
12.12.2025 - 08:17
![]() Amy wrote:
Amy wrote:
Hi Please let me know how to increase in the second row of A1 from wrong side. Because it says in the pattern only increase for body 4 stitches. Thanks
10.12.2025 - 22:46DROPS Design answered:
Hi Amy, When increasing only on the body, you increase before marker-1 (on the back piece), the work across the sleeve without increasing, increase after marker-2 and before marker-3 on the front piece, work across the sleeve without increasing and, finally, increase after marker-4. Hope this helps. Regards, Drops Team.
11.12.2025 - 06:25
![]() Amy wrote:
Amy wrote:
Thanks for reply. Another question It says in the pattern Turn, tighten the strand and work from the wrong side (increasing for raglan on the body only) to 2 stitches past where the short rows began by marker-3 (4 increased stitches. So that means you have to increase from wrong side also. Thanks
10.12.2025 - 18:21DROPS Design answered:
Hi Amy, When working short rows you increase from both the right and wrong side. Follow the instructions for how to increase as described under Raglan at the top of the pattern. Regards, Drops Team.
11.12.2025 - 06:32
![]() Amy wrote:
Amy wrote:
Hello increasing for raglan and working A.2 over A.1, to 2 stitches Please explain how do you work A2overA1 Thanks
10.12.2025 - 00:56DROPS Design answered:
Hi Amy, Both A.1 and A.2 consist of 5 stitches, so when you work across the stitches from the last row in A.1, you work according to A.2 (which is the same pattern but without increases). Regards, Drops Team.
10.12.2025 - 06:44
![]() Amy wrote:
Amy wrote:
Hi I am confused at this point. Knit 10-12-12-14-14-16 and increase 1 stitch (half back piece), insert marker-1 in the next stitch. Do I have to insert marker in the next stitch without knitting or after knitting the stitch. Thanks
09.12.2025 - 20:24DROPS Design answered:
Hi Amy, The marker-stitch is also knitted but not included in the numbers (so for the smallest size, you knit 10, then knit the next stitch with marker, knit 21, knit the next stitch with marker, etc.). Regards, Drops Team.
10.12.2025 - 06:59
![]() Alexandra wrote:
Alexandra wrote:
Thank you for answering my last question. I have one more. Are the raglan increases (yo) worked twisted on the next row? When I work twisted, I am getting a lumpy result. When I work regular, I am still getting holes, even when "pulling tight".
15.03.2025 - 00:34DROPS Design answered:
Dear Alexandra, if you want to close the holes you need to work the yarn over twisted, otherwise there will be a hole. You can see a video here on how to work these yarn overs, including how to work the yarn over twisted to better close the hole. Happy knitting!
16.03.2025 - 19:10
![]() Alexandra wrote:
Alexandra wrote:
Hello! I'm having trouble understanding the neckline. What does "work A.2 over A.1" signify? Why are there 5 rows for A.2 but only 2 for A.1? Why am I getting holes in the raglan and body increases, even when working a correct yarn over? I've had to frog 2x now, a little frustrated as I can see the end result is a beautiful fit, but the pattern seems needlessly complex.
13.03.2025 - 15:17DROPS Design answered:
Dear Alexandra, you first work the 2 rows A.1 increasing on first row and then, on next row diagram shows how to work these 5 stitches. After these 2 rows, work these 5 stitches as shown in A.2, ie P2, K1, P2 (seen from RS, ie K2, P1, K2 from WS) all the way until yoke is done. Happy knitting!
14.03.2025 - 07:06
![]() Theresa wrote:
Theresa wrote:
Hi! I am wondering about the dividing of the body and sleeves. How is it possible that in the instructions there is an equal amount of stitches in the front and back section, when I did the short rows and increased the stitches in the front? Thank you for clarifying! Kind regards, Theresa
05.03.2025 - 18:23DROPS Design answered:
Dear Theresa, while working shor trows for neckline you should have the same number of increases on front and back pieces; then, because of the uneven number of stitches on both front/back piece, you will have a different number of stitches at the beginning of the round (37 to 58, see size) than at the end of the round (38-57) but in both case you will have 75-115 sts for front piece and for both half back pieces. Happy knitting!
06.03.2025 - 10:22
![]() Prerana Karki wrote:
Prerana Karki wrote:
I am working on the Yoke(sizeL) and having the same trouble Start mid-back, round 1: A.2 no increases round 2: increase for raglan on the body and sleeve- that's 8 increases and repeat the above?
10.01.2025 - 03:24DROPS Design answered:
Dear Mrs Karki, correct, work these 2 rounds a total of 10 times = you get 212 stitches on needle. Happy knitting!
10.01.2025 - 09:40
|
||||||||||
Spice Market#spicemarketsweater |
||||||||||
 |
 |
|||||||||
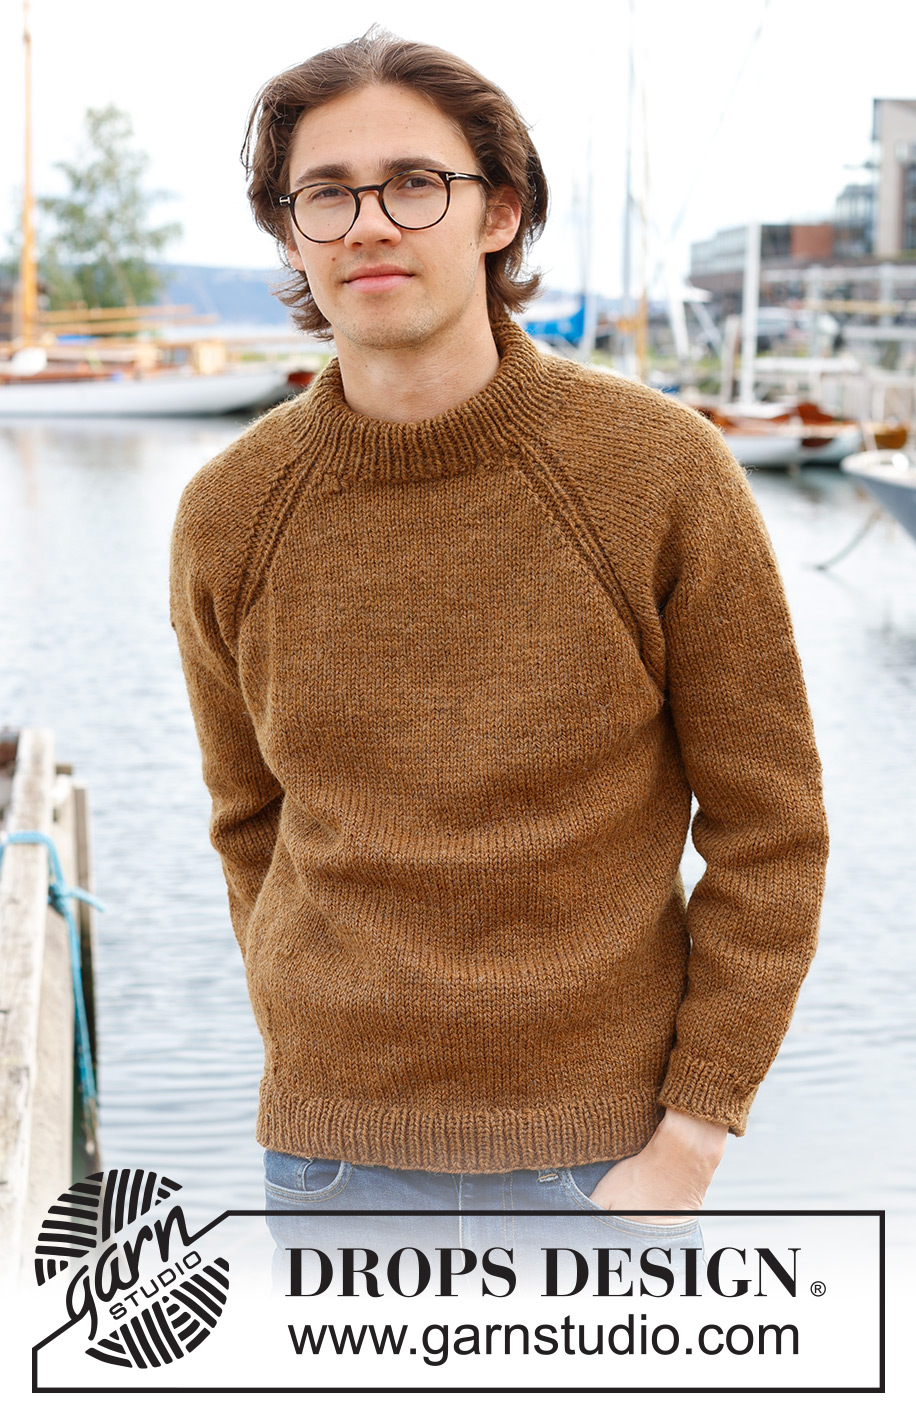
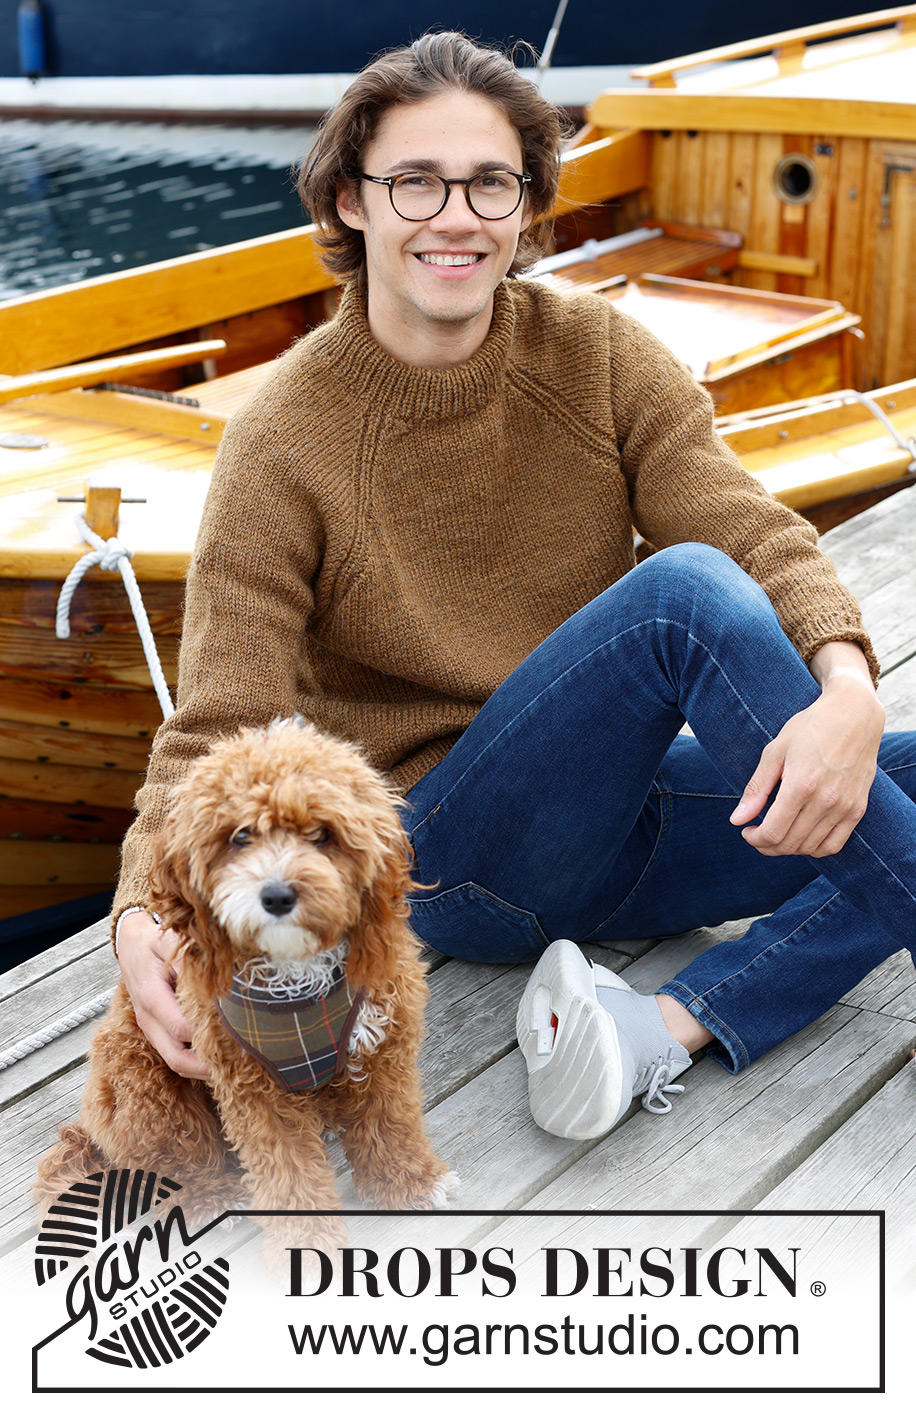
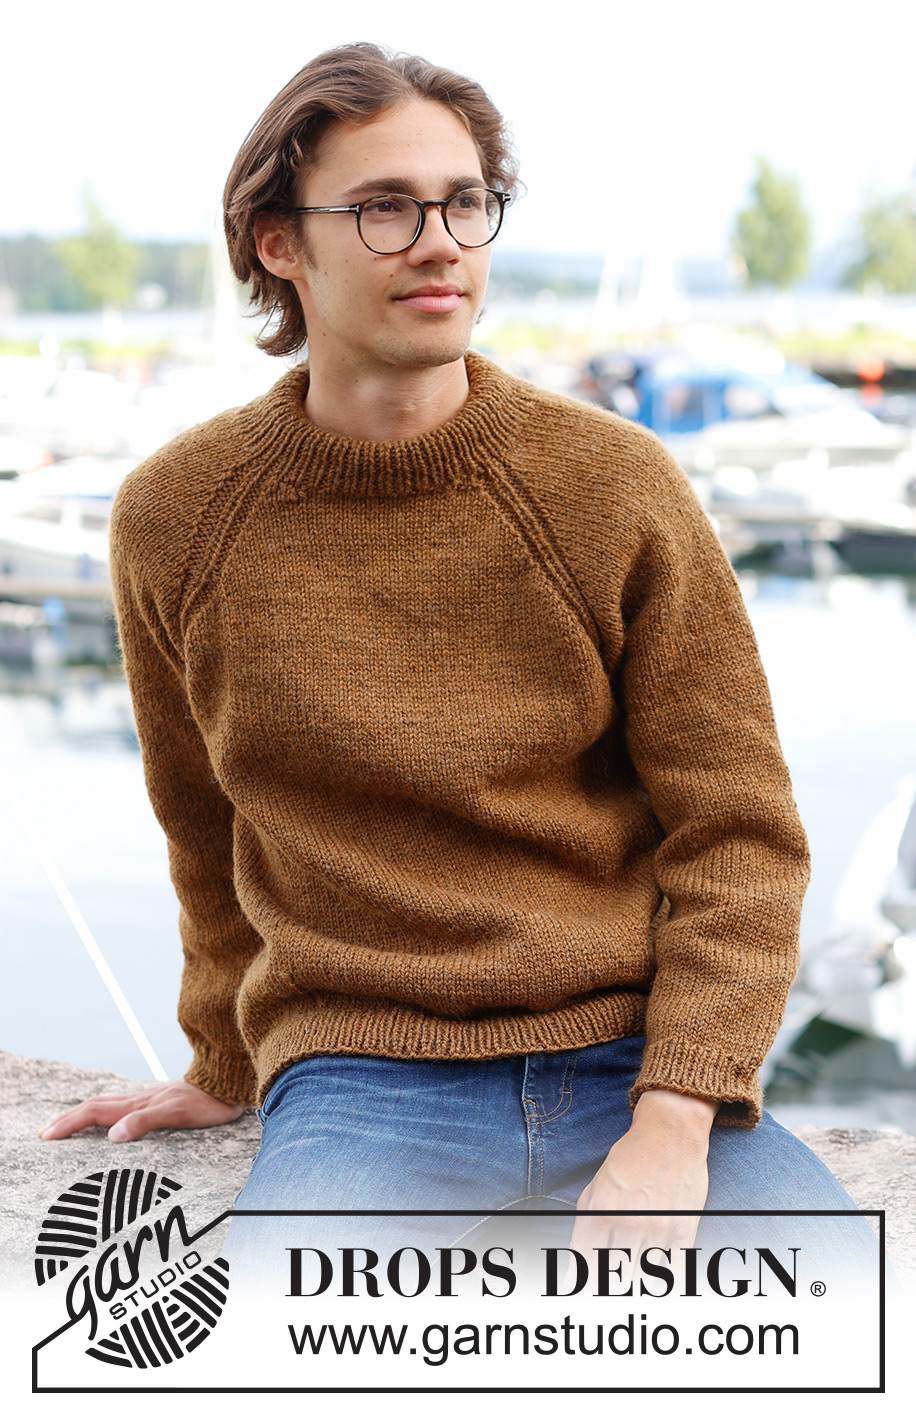
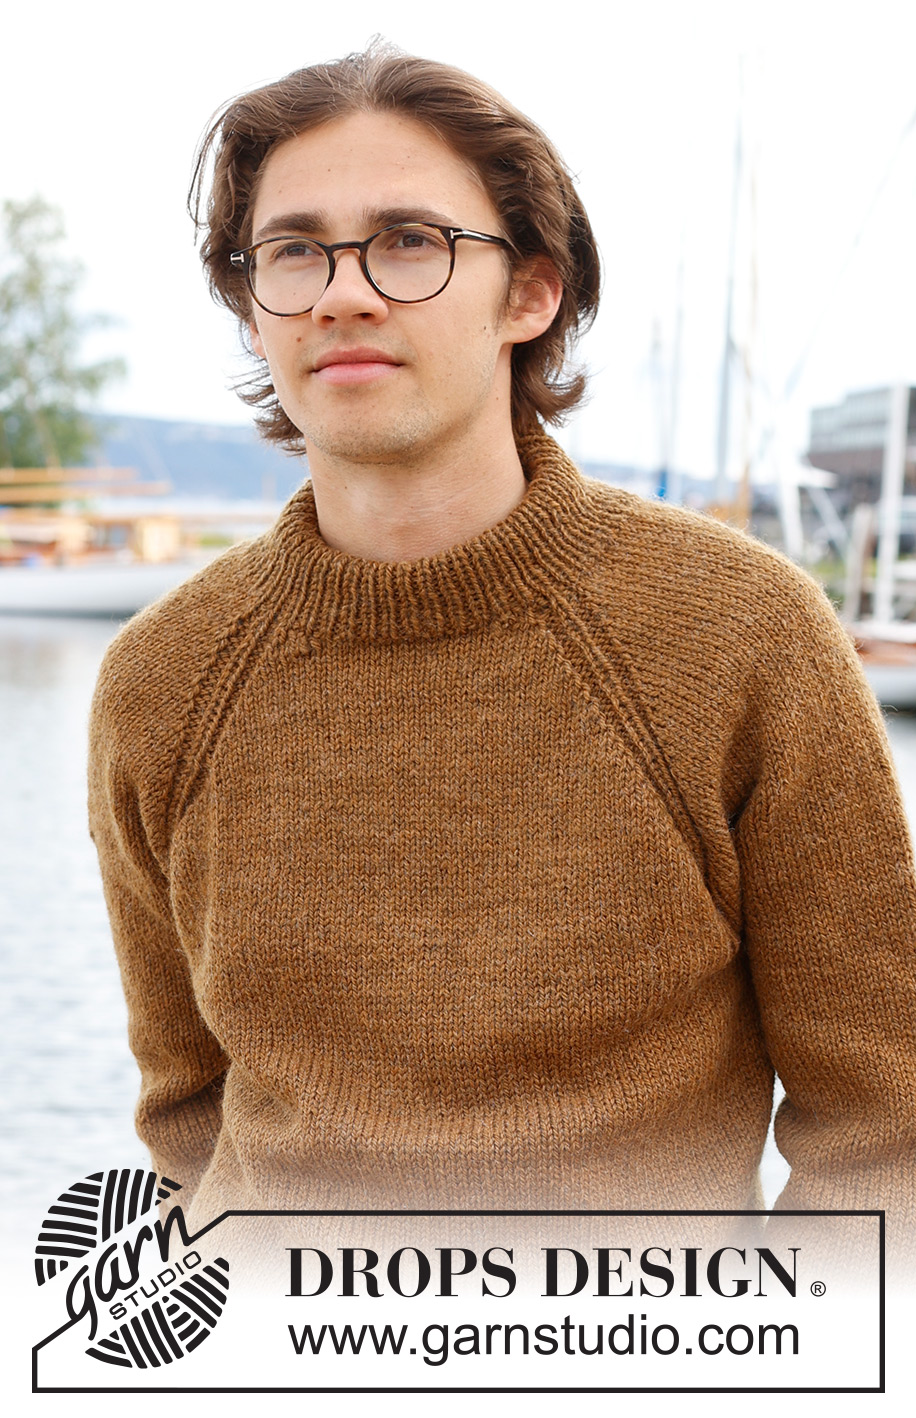
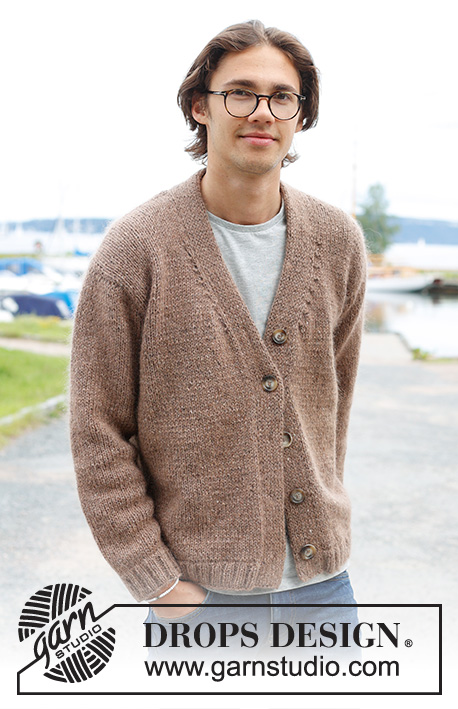
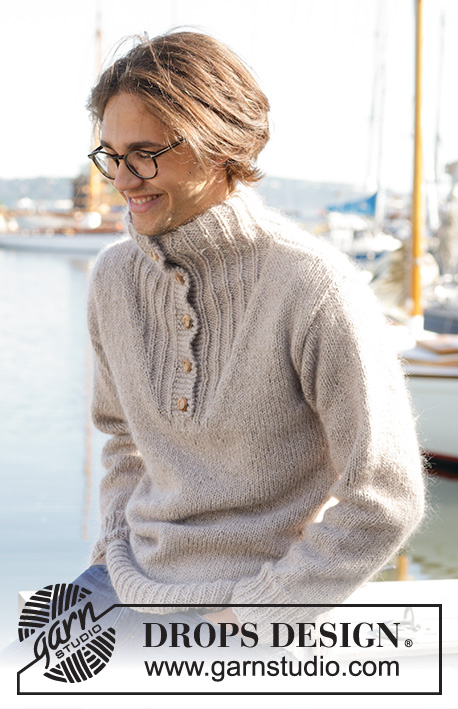
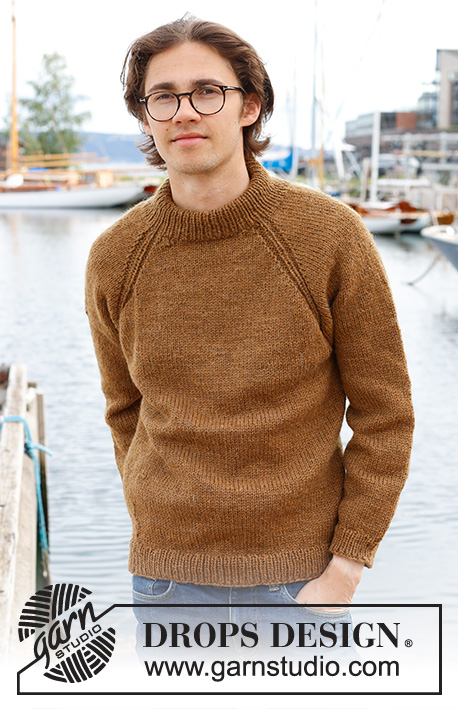
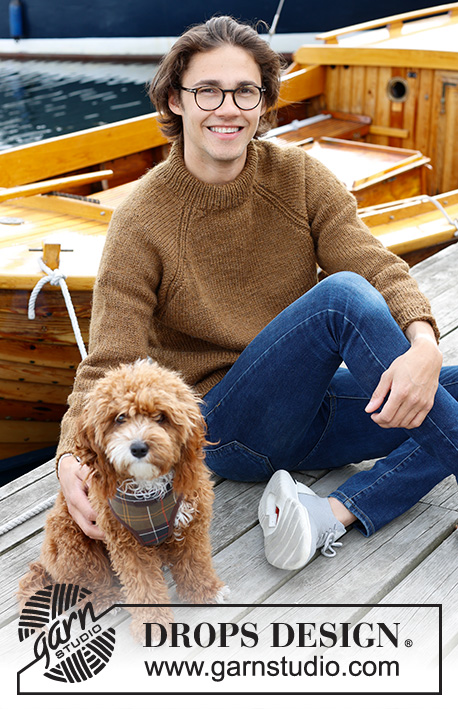
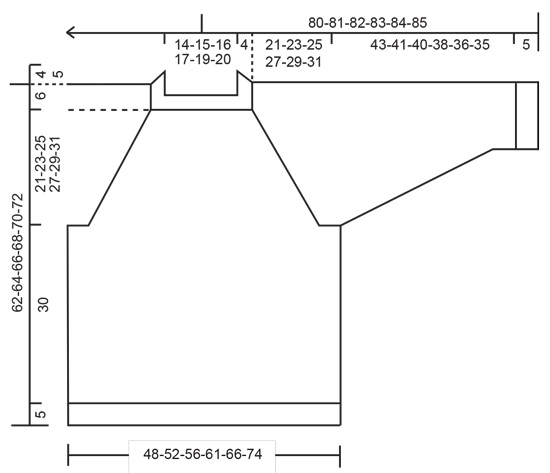
Knitted sweater for men in DROPS Alaska. The piece is worked top down with stockinette stitch, double neck and raglan. Sizes S - XXXL
DROPS 233-10 |
||||||||||
|
------------------------------------------------------- EXPLANATIONS FOR THE PATTERN: ------------------------------------------------------- PATTERN: See diagrams A.1 and A.2. The diagrams show all rows in the pattern from the right side. RAGLAN: Increases vary on the body and sleeves and in the different sizes. Increase before/after A.1/A.2 (the marker-stitch is the middle stitch in A.1/A.2). Increase for the body before markers 1 and 3 and after markers 2 and 4 when working from the right side, after markers 1 and 3 and before markers 2 and 4 when working from the wrong side. Increase for the sleeves after markers 1 and 3 and before markers 2 and 4. Always increase from the right side on the sleeves. Increase by making 1 yarn over. When working back and forth work the yarn overs from the wrong side as follows: BEFORE A.1/A.2: Purl the back loop. No hole. AFTER A.1/A.2: Slip the yarn over off the needle and replace it twisted (insert the left needle from the back when replacing it). Purl the front loop. No hole. When working back and forth work the yarn overs from the right side as follows (also applies when working in the round): BEFORE A.1/A.2: Slip the yarn over off the needle and replace it twisted (insert the left needle from the back when replacing it). Knit the front loop (the stitch twists to the right. No hole. AFTER A.1/A.2 Knit the back loop (the stitch twists to the left). No hole. DECREASE TIP (for sleeves): Start 3 stitches before the marker, knit 2 together, knit 2 (marker sits between these 2 stitches), slip 1 stitch as if to knit, knit 1 and pass the slipped stitch over the knitted stitch. ------------------------------------------------------- START THE PIECE HERE: ------------------------------------------------------- SWEATER – SHORT OVERVIEW OF THE PIECE: The neck and yoke are worked in the round with circular needle, from mid back and top down. The yoke is divided for body and sleeves and the body is continued in the round with circular needle. The sleeves are worked with short circular needle/double pointed needles. DOUBLE NECK: Cast on 88-92-96-100-104-108 stitches with short circular needle size 5 MM = US 8 and DROPS Alaska. Change to circular needle size 4 MM = US 6 and work rib in the round (knit 1, purl 1) for 9-9-9-11-11-11 cm = 3½"-3½"-3½"-4⅜"-4⅜"-4⅜". On the next round insert 4 markers and increase 4 stitches as described below. The markers are used when increasing for raglan (each marker is inserted in a knitted stitch from the rib): Knit 10-12-12-14-14-16 and increase 1 stitch (half back piece), insert marker-1 in the next stitch, knit 21 (sleeve), insert marker-2 in the next stitch, knit 21-23-25-27-29-31 and increase 2 stitches evenly spaced (front piece), insert marker-3 in the next stitch, knit 21 (sleeve), insert marker-4 in the next stitch, knit the last 11-11-13-13-15-15 stitches and increase 1 stitch (half back piece) = 92-96-100-104-108-112 stitches. Cut the strand. NECKLINE: Change to circular needle size 5 MM = US 8 and work a neckline with short rows, AT THE SAME TIME increase for raglan as described below. In addition work A.1 at each marker (the marker-stitches are the middle stitches in each A.1). Start from the right side 2 stitches before marker-stitch-3 (front left neck when the garment is worn). Work stockinette stitch, A.1 and increase for RAGLAN – read description above, until you have worked 2 stitches past marker-stitch-2 (front right of neck and 8 stitches increased for raglan). Turn, tighten the strand and work from the wrong side (increasing for raglan on the body only) to 2 stitches past where the short rows began by marker-3 (4 increased stitches). Turn and work from the right side, increasing for raglan and working A.2 over A.1, to 2 stitches past where you turned last time by marker-2. Turn, tighten the strand and work from the wrong side (increasing for raglan on the body only) to 2 stitches past marker-3. Cut the strand. YOKE: = 124-128-132-136-140-144 stitches. Work in the round over all stitches as follows: SIZES S, M, L and XL: Start mid-back, work stockinette stitch and A.2 and increase for raglan on the body and sleeves every 2nd round 2-8-10-11 times = 140-192-212-224 stitches. Continue working and increasing, but every 2nd increase is only on the body (4 stitches increased); i.e. increase on the body every 2nd round and on the sleeves every 4th round. Increase like this 18-15-14-16 times on the body (9-7-7-8 times on the sleeves). A total of 24-27-28-31 times on the body and 13-17-19-21 times on the sleeves. After the last increase there are 248-280-296-320 stitches. Go to ALL SIZES. SIZES XXL and XXXL: Start mid-back, work stockinette stitch and A.2, continuing to increase for raglan on the body on every round 2-6 more times and every other round on the sleeves1-3 more time = 152-180 stitches. Then increase on the body and sleeves every 2nd round 10-7 times = 232-236 stitches. Continue working and increasing, but every 2nd increase is only on the body (4 stitches increased); i.e. increase on the body every 2nd round and on the sleeves every 4th round. Increase like this 18-22 times on the body (9-11 times on the sleeves). A total of 34-39 times on the body and 22-23 times on the sleeves. After the last increase there are 340-368 stitches. Go to ALL SIZES. ALL SIZES. = 248-280-296-320-340-368 stitches. Continue with stockinette stitch and A.2 without further increases until the piece measures 21-23-25-27-29-31 cm = 8¼"-9"-9¾"-10⅝"-11⅜"-12¼" mid-front – measured from the neck. Now divide for the body and sleeves as follows: Work 37-42-43-48-51-58 stitches (half back piece), place the next 49-57-61-65-67-69 stitches on a thread for the sleeve, cast on 6-6-8-8-10-10 stitches (in side under sleeve), work 75-83-87-95-103-115 stitches (front piece), place the next 49-57-61-65-67-69 stitches on a thread for the sleeve, cast on 6-6-8-8-10-10 stitches (in side under sleeve), work the last 38-41-44-47-52-57 stitches (half back piece). Finish the body and sleeves separately. The piece is now measured from here! BODY: = 162-178-190-206-226-250 stitches. Work stockinette stitch in the round until the body measures 30 cm = 11¾" from the division. Knit 1 round and increase 20-20-22-26-26-32 stitches evenly spaced = 182-198-212-232-252-282 stitches. Change to circular needle size 4 MM = US 6 and work rib (knit 1, purl 1) for 5 cm = 2". Bind off a little loosely with knit over knit and purl over purl. The sweater measures approx. 62-64-66-68-70-72 cm = 24⅜"-25¼"-26"-26¾"-27½"-28⅜" from the shoulder down. SLEEVES: Place the 49-57-61-65-67-69 stitches from the thread on the one side of the piece on short circular needle/double pointed needles size 5 MM = US 8 and knit up 1 stitch in each of the 6-6-8-8-10-10 stitches cast on under the sleeve = 55-63-69-73-77-79 stitches. Insert a marker in the middle of the new stitches under the sleeve. Allow the marker to follow your work onwards; it is used when decreasing under the sleeve. Work stockinette stitch in the round. When the sleeve measures 4 cm = 1½" decrease 2 stitches on each side of the marker – read DECREASE TIP. Decrease like this every 6-3½-3-2½-2-2 cm = 2⅜"-1¼"-1⅛"-1"-¾"-¾" a total of 7-10-12-13-15-15 times = 41-43-45-47-47-49 stitches. Continue working until the sleeve measures 43-41-40-38-36-35 cm = 17"-16⅛"-15¾"-15"-14¼"-13¾" from the division (or to desired length; there is approx. 5 cm = 2" left). Knit 1 round and increase 5-5-5-5-7-7 stitches evenly spaced = 46-48-50-52-54-56 stitches. Change to double pointed needles size 4 MM = US 6 and work rib (knit 1, purl 1) for 5 cm = 2". Bind off a little loosely with knit over knit and purl over purl. The sleeve measures approx. 48-46-45-43-41-40 cm = 19"-18"-17¾"-17"-16⅛"-15¾" from the division. Work the other sleeve in the same way. ASSEMBLY: Fold the neck double to the inside and fasten with a stitch in each raglan-line. |
||||||||||
Diagram explanations |
||||||||||
|
||||||||||
 |
||||||||||
 |
||||||||||
Have you finished this pattern?Tag your pictures with #dropspattern #spicemarketsweater or submit them to the #dropsfan gallery. Do you need help with this pattern?You'll find 31 tutorial videos, a Comments/Questions area and more by visiting the pattern on garnstudio.com. © 1982-2026 DROPS Design A/S. We reserve all rights. This document, including all its sub-sections, has copyrights. Read more about what you can do with our patterns at the bottom of each pattern on our site. |
||||||||||


With over 40 years in knitting and crochet design, DROPS Design offers one of the most extensive collections of free patterns on the internet - translated to 17 languages. As of today we count 324 catalogs and 12290 patterns - 12280 of which are translated into English (US/in).
We work hard to bring you the best knitting and crochet have to offer, inspiration and advice as well as great quality yarns at incredible prices! Would you like to use our patterns for other than personal use? You can read what you are allowed to do in the Copyright text at the bottom of all our patterns. Happy crafting!
Post a comment to pattern DROPS 233-10
We would love to hear what you have to say about this pattern!
If you want to leave a question, please make sure you select the correct category in the form below, to speed up the answering process. Required fields are marked *.