
Popular categories
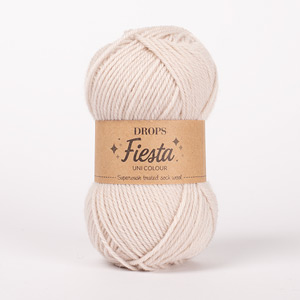
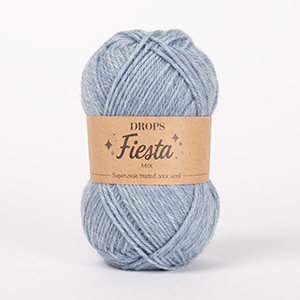
Looking for a yarn?






































Comments / Questions (7)
 Julia wrote:
Hi, ich bin gerade beim Passe mit der 32 Runde fertig geworden und soll jetzt 18 mal nur am Vorderteil und Rückenteil zunehmen und nicht mehr an den Ärmeln. Wie führe ich das Muster an den Ärmeln fort ohne zuzunehmen? Weil die Diagramme nehmen ja in der Höhe zu aber die Ärmeln nehmen nicht mehr zu.
01.11.2026 - 18:10DROPS Design answered:
Liebe Julia, schreiben Sie in A.2 welche ist die erste/letzte Masche beim Ärmel, das Diagram A.3 beginnen Sie dann ab diese Masche. Viel Spaß beim Stricken!
02.11.2026 - 09:39
 Monika wrote:
Kan man sticka den här tröjan nerifrån och upp i stället för uppifrån och ner
31.10.2026 - 11:17DROPS Design answered:
Hei Monika. Ja, det vil jeg mene. Men les godt igjennom oppskriften og se hvor du må gjøre forandringene ( f.eks økninger/fellinger, diagrammene, målene). mvh DROPS Design
02.11.2026 - 11:50
 Marilyn wrote:
Thank you.
23.09.2026 - 13:48
Marilyn wrote:
I have established the pattern for Rows 1 and 2 for the raglan increases. It says to repeat these two rounds 16 times (32 rounds total). Am I to follow just rounds 1 and 2 of the patterns as stated OR do I follow the patterns and A 2 and A4 increase? If so, there are only 24 rows shown.
22.09.2026 - 23:23DROPS Design answered:
Hi Marilyn, You repeat rounds 1 and 2 as stated in the text, following the diagrams upwards. After finishing A.2 and A.4 you continue the patterns (repeat the last 8 rows in the diagram, then the first 4 rows of these 8 rows). Regards, Drops Team.
23.09.2026 - 06:50
 Lori wrote:
Does the pattern have short rows in the back?
19.09.2026 - 16:45DROPS Design answered:
Hi Lori, No, this pattern does not have short rows at the back. But you can work short rows if you wish. Here is a link to our video if you need help: https://www.garnstudio.com/video.php?id=1796&lang=en which will need to be adjusted to the number of stitches you have on the round. Regards, Drops Team.
20.09.2026 - 07:38
Michaela Salt wrote:
Ein super schöner Pullover mit tollem Muster. Die Farben gefallen mir sehr gut.
19.09.2026 - 13:29
 Rosanna wrote:
Potrei lavorare la maglia con ferri tradizionali e non ferro circolare? Come dovrei dividere il numero delle maglie ? Ho taglia XS Grazie
19.09.2026 - 12:45DROPS Design answered:
Buongiorno Rosanna, in questa sede non possiamo riadattare i modelli alle singole richieste: questo modello è stato progettato per essere lavorato in tondo. Può rivolgersi però al suo rivenditore DROPS di fiducia. Buon lavoro!
20.09.2026 - 09:07
|
|||||||
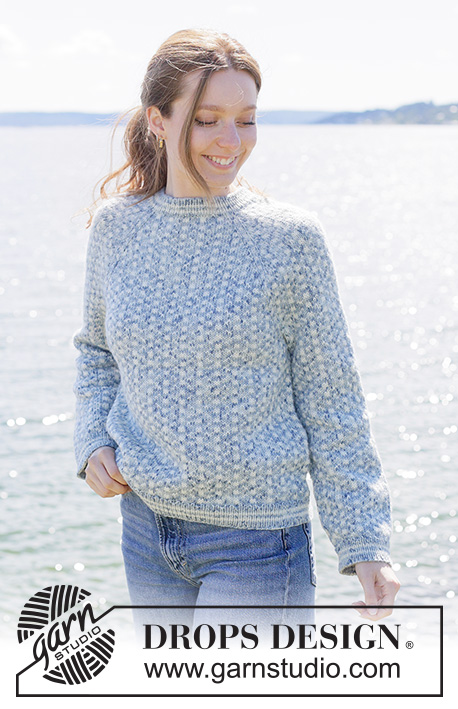
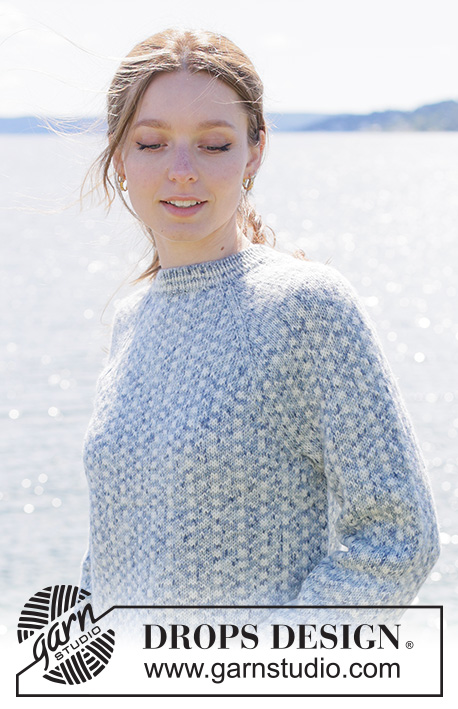
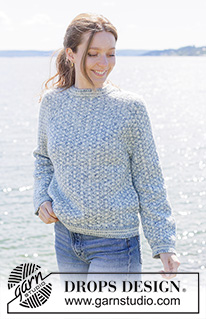
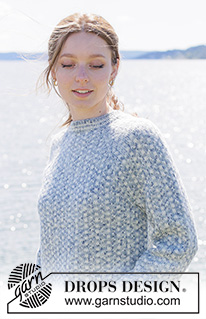
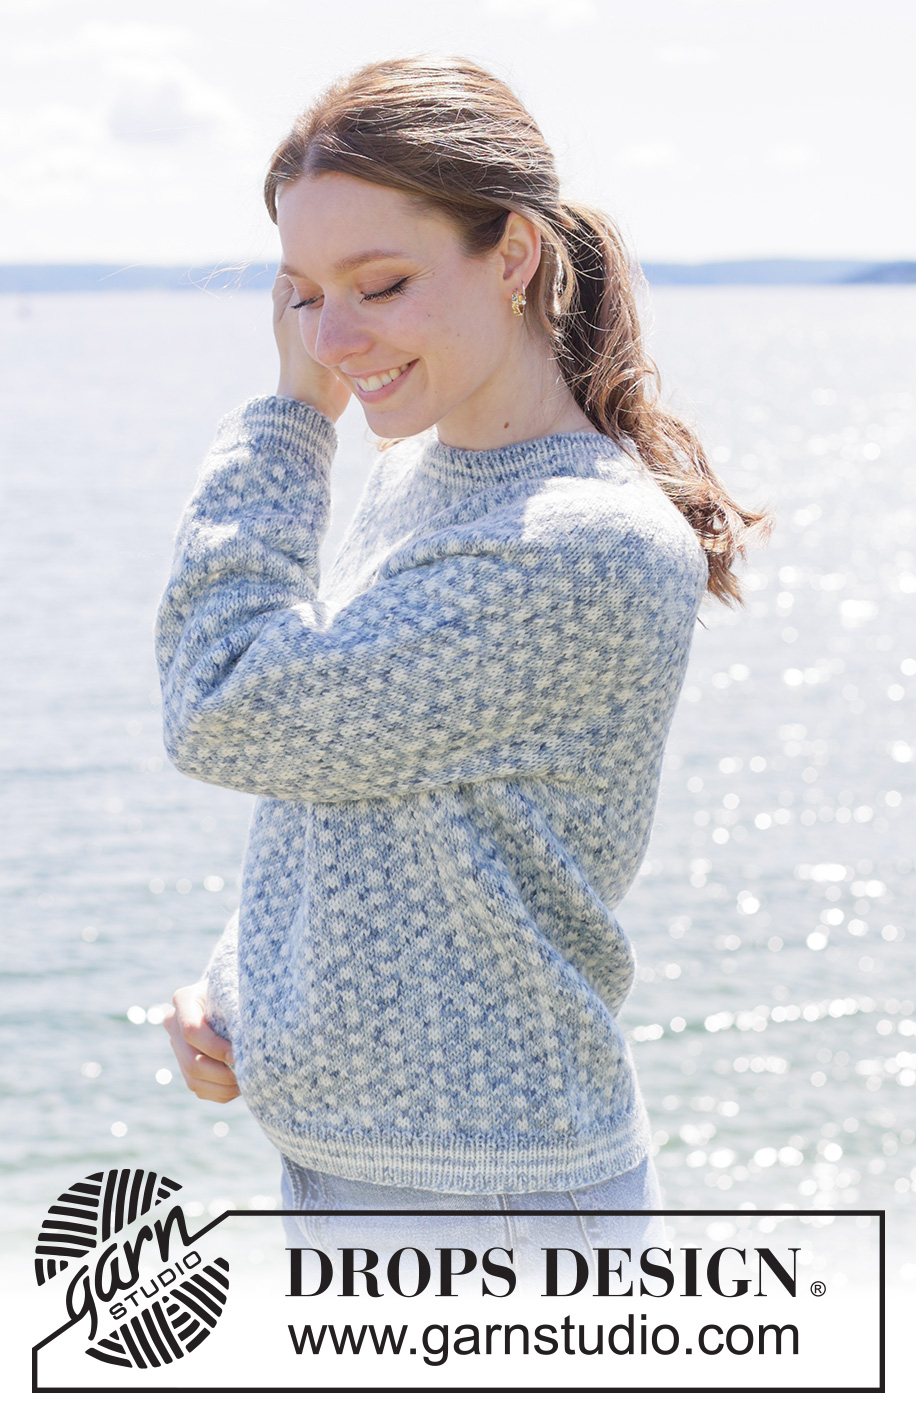
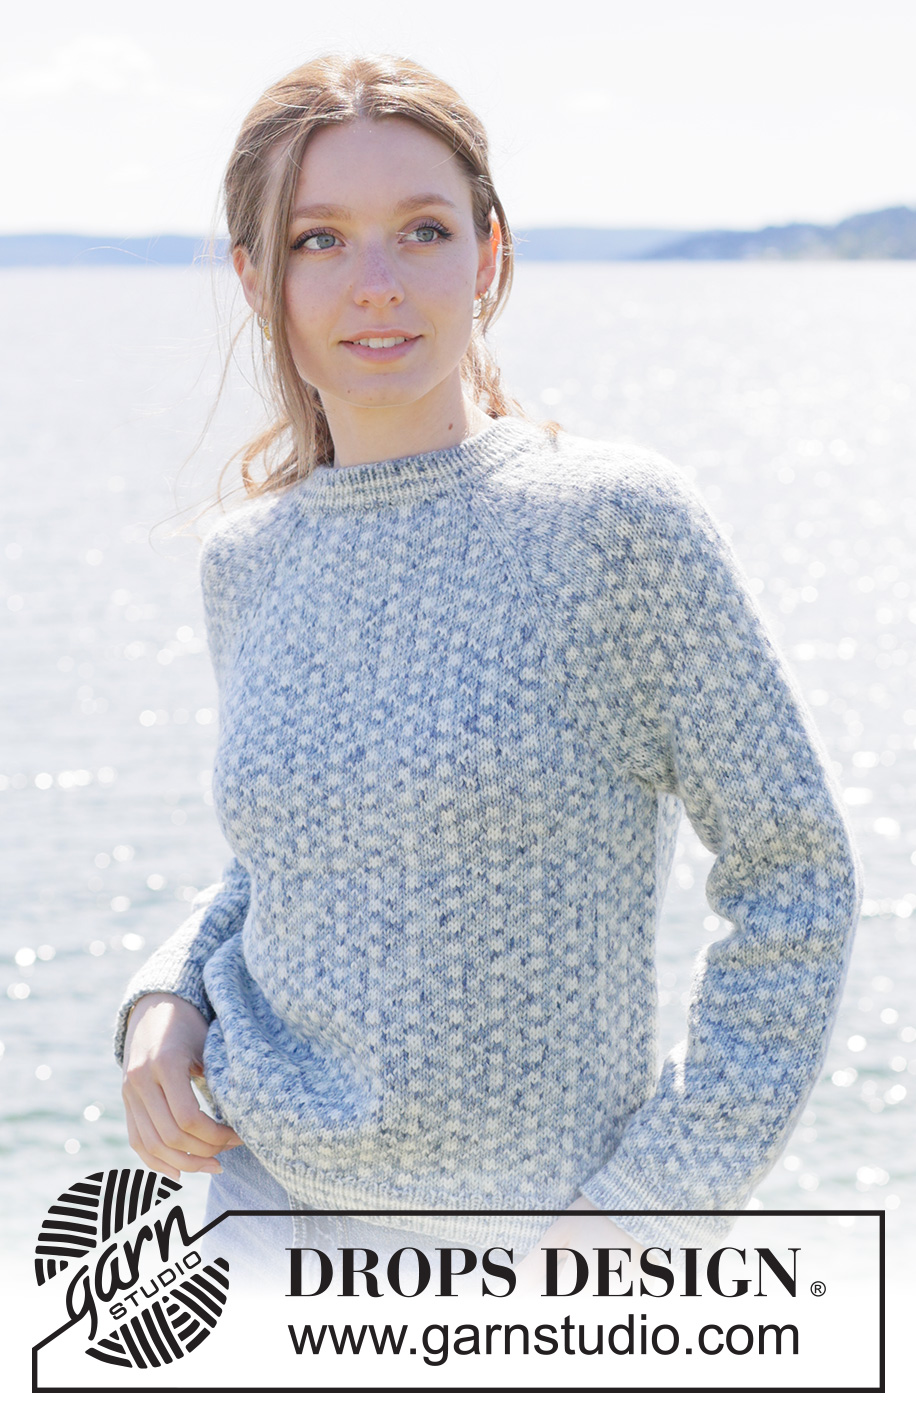
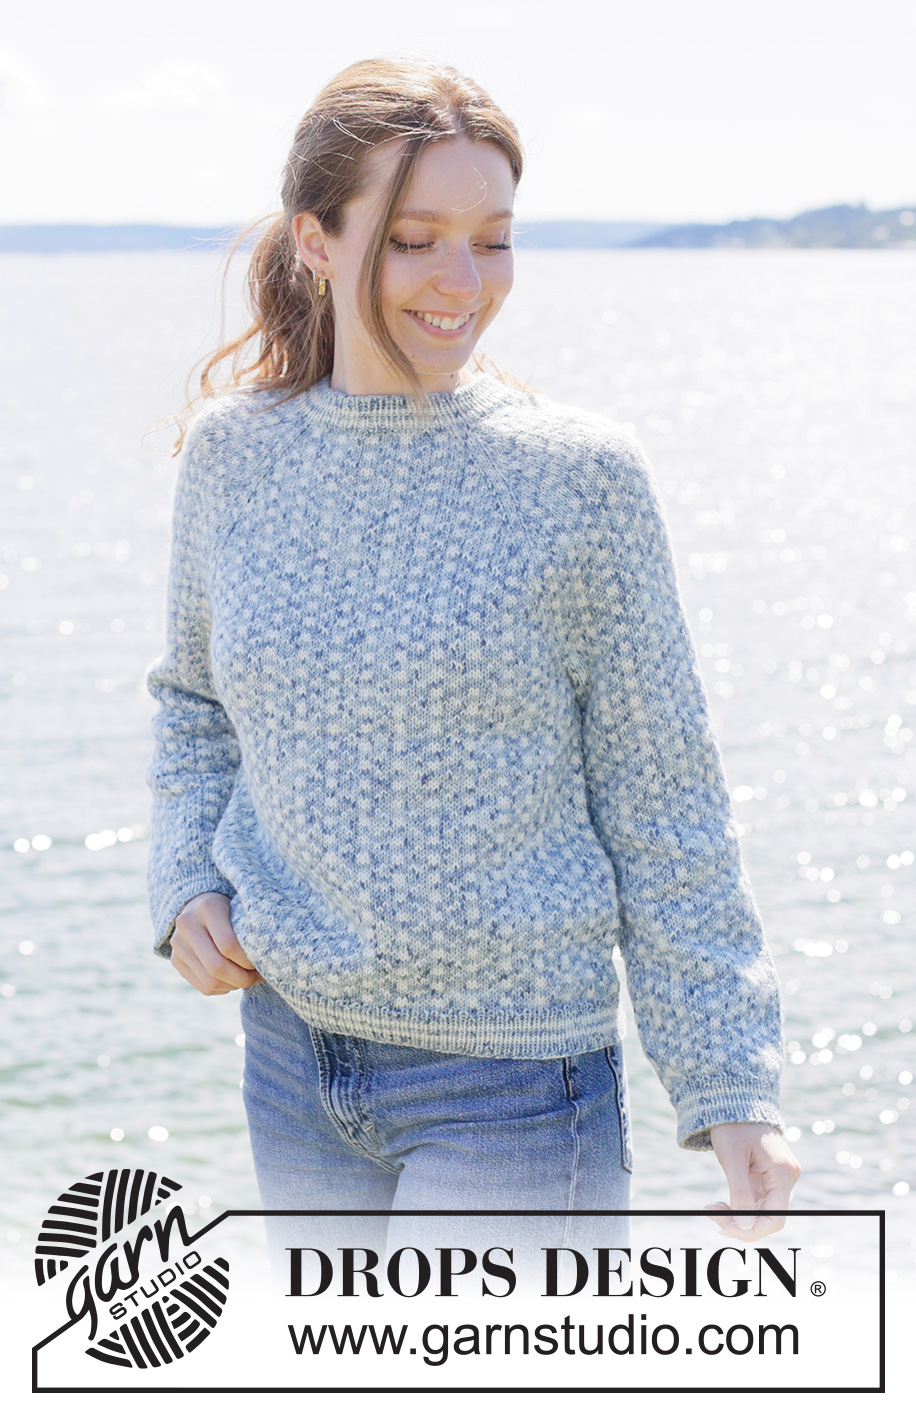
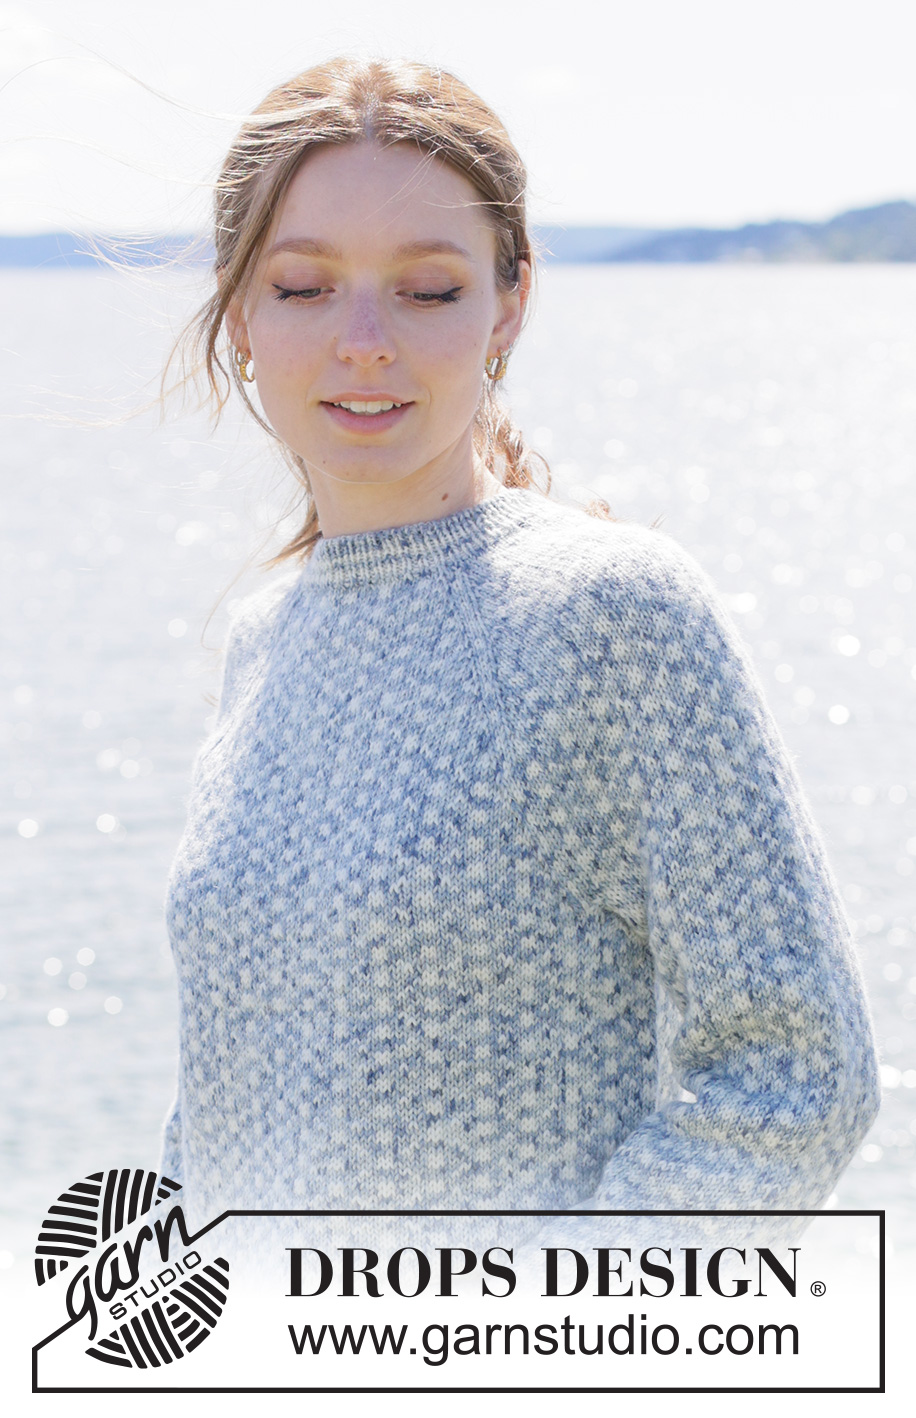
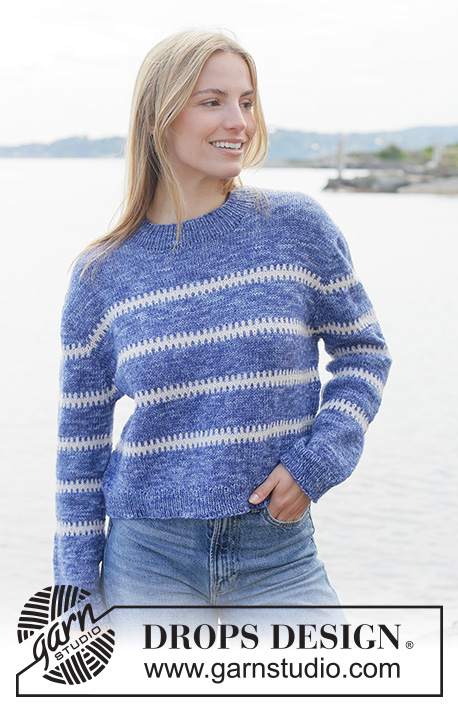
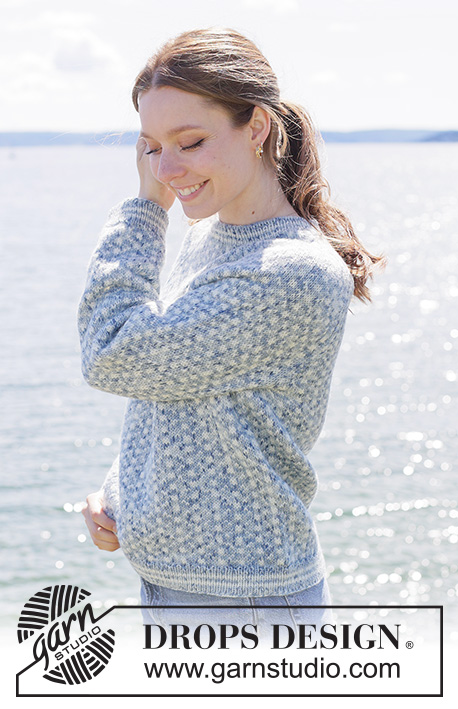
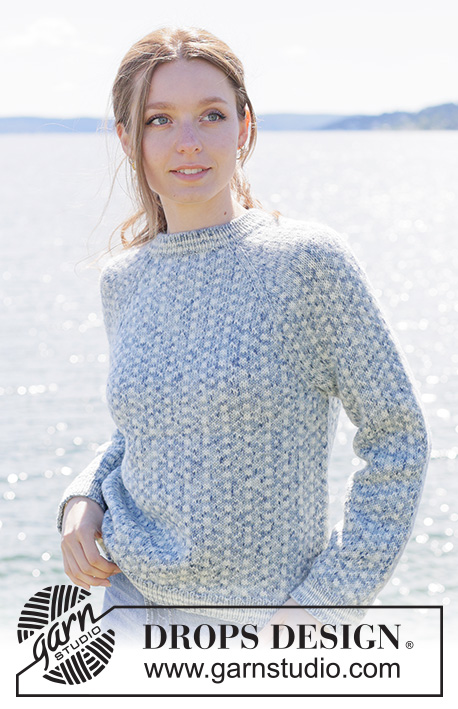
Blueberry Biscuit Sweater#blueberrybiscuitsweater |
|||||||
 |
 |
||||||
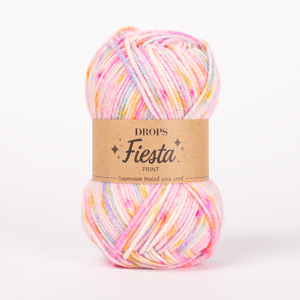
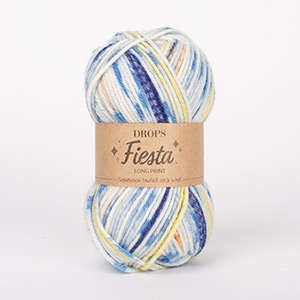
Knitted sweater in DROPS Fiesta. Piece is knitted top down in stockinette stitch with raglan and Nordic pattern / Icelandic pattern. Size XS – XXXL.
DROPS 273-6 |
|||||||
|
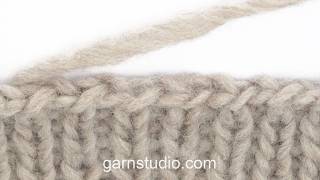
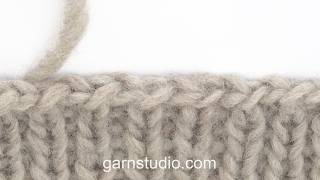
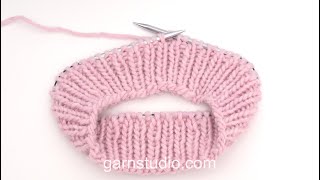
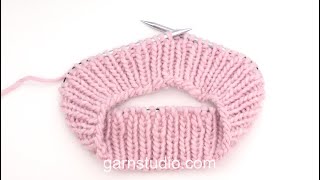
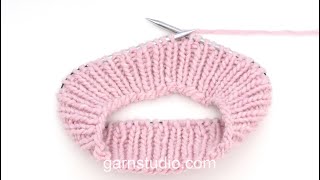
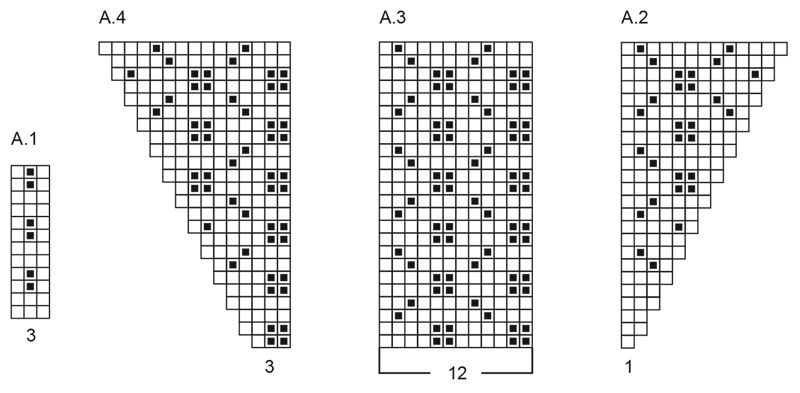
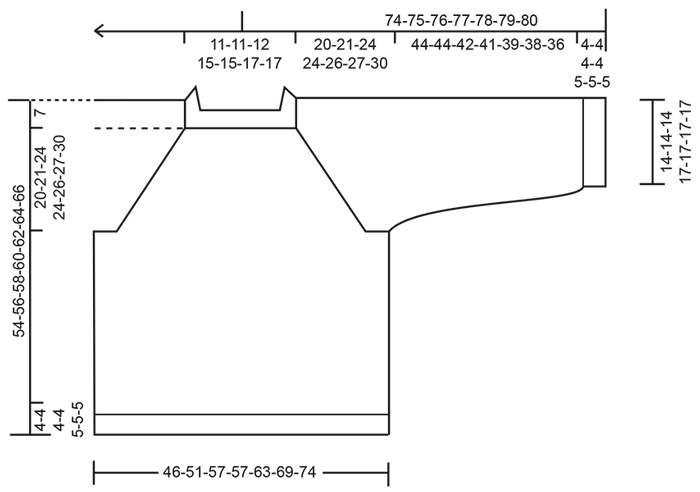
---------------------------------------------------------- EXPLANATION FOR THE PATTERN: ---------------------------------------------------------- STRIPES-1 (applies to neck edge): Work stripes in rib in the following color order: 3-3-3-4-4-4-4 rounds with color Washed Denim 2 rounds in color Off White 2-2-2-3-3-3-3 rounds with color Washed Denim 2 rounds in color Off White 3-3-3-4-4-4-4 rounds with color Washed Denim STRIPES-2 (applies to body and sleeves): Work stripes in rib in the following color order: 3-3-3-3-4-4-4 rounds with color Washed Denim 2-2-2-2-3-3-3 rounds in color Off White 2-2-2-2-3-3-3 rounds with color Washed Denim 2-2-2-2-3-3-3 rounds in color Off White 4-4-4-4-5-5-5 rounds with color Washed Denim PATTERN: See diagrams A.1 to A.4. Work the entire pattern in stockinette stitch. RAGLAN: Increase 1 stitch by making 1 yarn over with color Washed Denim. On next round work yarn overs as explained below: BEFORE RAGLAN STITCHES (= twist yarn over towards the right): Move yarn over from left needle to right needle purlwise, slip yarn over back on left needle by inserting left needle from behind in yarn over (yarn over is now twisted). Knit yarn over in loop in front of needle - to avoid holes. Work the new stitches in pattern. AFTER RAGLAN STITCHES (= twist yarn over towards the left): Knit yarn overs in loop behind the needle - to avoid holes. Work the new stitches in pattern. INCREASE TIP - rib transition: When increasing stitches evenly in transition for rib, there will be an even increase if you increase where stitches are going to be purled, the stitches in stockinette stitch will then continue nicely over into rib. SLEEVE TIP: When picking up stitches mid under sleeve, there will be a small hole in the transition between stitches on body and sleeves. The holes can be closed by picking up the strand between two stitches - work this strand twisted together with the first stitch between body and sleeve to close the hole. DECREASE TIP: Decrease 1 stitch on each side of marker with color Washed Denim as follows: Work until 3 stitches remain before marker thread, knit 2 together, knit 2 (marker thread is between these 2 stitches), slip 1 stitch knitwise, knit 1, pass slipped stitch over stitch worked (= 2 stitches decreased). ---------------------------------------------------------- START THE PIECE HERE: ---------------------------------------------------------- SWEATER - SHORT OVERVIEW OF THE PIECE: In this pattern needles of different length have been used, begin with fitting length for number of stitches and switch as needed. Work neck edge and yoke in the round on circular needle from right shoulder at the back and work top down with increases for raglan. When yoke is done, divide piece for body and sleeves. Work body downwards in the round on circular needle while putting the sleeves aside. Then work sleeves downwards in the round on needle. If 0 stitches are given for the chosen size, it means that you skip the information and jump to next information. NECK EDGE: Cast on 112-112-116-128-128-136-136 stitches on circular needle size 2.5 MM = US 1.5 with color Washed Denim in DROPS Fiesta, you can use Italian cast-on. Work rib in the round (= purl 1 and knit 1) and STRIPES-1 - read explanation above. When stripes are done, rib measures approx. 4 cm = 1½" in all sizes. Beginning of round is at right shoulder at the back. Insert 1 marker after the first 43-43-44-47-47-49-49 stitches on round (= approx. mid front), measure piece from this marker. YOKE: Continue with circular needle size 4 MM = US 6 and color Washed Denim. Work 1 round in stockinette stitch while AT THE SAME TIME inserting 4 markers in the piece, insert markers in a stitch. This stitch + 1 stitch on each side of this stitch (= 3 stitches) are called raglan stitches and are used for increase for raglan on each side of these 3 raglan stitches. Work raglan stitches in pattern according to diagram A.1 later. Insert 1st marker in 2nd stitch on round (= knit stitch), work 27 stitches while at the same time increasing 3 stitches evenly over these stitches = 30 stitches for sleeve, insert 2nd marker in next stitch (= knit stitch), work 27-27-29-35-35-39-39 stitches while at the same time increasing 3-3-1-7-7-3-3 stitches evenly over these stitches = 30-30-30-42-42-42-42 stitches for front piece, insert 3rd marker in next stitch (= knit stitch), work 27 stitches while at the same time increasing 3 stitches evenly over these stitches = 30 stitches for sleeve, insert 4th marker in next stitch (= knit stitch), work 26-26-28-34-34-38-38 stitches while at the same time increasing 3-3-1-7-7-3-3 stitches evenly over these stitches = 30-30-30-42-42-42-42 stitches for back piece. 12-12-8-20-20-12-12 stitches have been increased evenly and there are 124-124-124-148-148-148-148 stitches on needle. The beginning of the round is just before the raglan line at the transition between the back piece and the right sleeve, and follows the raglan line all the way down to the point where the body and sleeves separate. Then work PATTERN in the round while AT THE SAME TIME increasing for RAGLAN on each side of raglan stitches - read explanation above for increase method and work as explained below. ROUND 1: Work A.1 over the first 3 raglan stitches, increase 1 stitches for raglan, work A.2, work A.3 2 times in total, work A.4 (= sleeve), work A.1 over raglan stitches and increase 1 stitches for raglan on each side of raglan stitches, work A.2, work A.3 2-2-2-3-3-3-3 times in total, work A.4 (= front piece), work A.1 over raglan stitches and increase 1 stitch for raglan in each side of raglan stitches, work A.2, work A.3 2 times in total, work A.4 (= sleeve), work A.1 over raglan stitches and increase 1 stitch for raglan on each side of raglan stitches, work A.2, work A.3 2-2-2-3-3-3-3 times in total, work A.4 (= back piece), increase 1 stitch for raglan. The pattern is now established, and 8 stitches have been increased for raglan. ROUND 2: Work established pattern without increase. Work 1st and 2nd ROUND 14-14-16-24-22-20-20 times in total (= 28-28-32-48-44-40-40 rounds worked). Increases for sleeve are now done, there are 236-236-252-340-324-308-308 stitches on needle. NOTE! Work the increased stitches in the pattern as shown in A.2 to A.4. When 1 repetition with A.2 to A.4 has been worked vertically, there is room for 2 more repetitions of A.3 in width. Continue to increase for raglan on front piece and back piece every other round 14-16-18-10-14-18-22 more times (= 4 stitches increased on every increase round). Increase has been done 14-14-16-24-22-20-20 times in total on sleeves and 28-30-34-34-36-38-42 times on front piece/back piece = 292-300-324-380-380-380-396 stitches on needle. After last round with increase piece measures approx. 20-21-24-24-26-27-30 cm = 8"-8¼"-9½"-9½"-10¼"-10⅝"-11¾" from marker mid front. On next round decrease 1 stitch in each raglan line, i.e. knit the last 2 stitches in every A.1 together with color Washed Denim (= 4 stitches decreased) = 288-296-320-376-376-376-392 stitches. A.1 is now finished. Now divide yoke for body and sleeves – the beginning of the round is now before the 2 raglan stitches at the transition between back piece and right sleeve. DIVIDING FOR BODY AND SLEEVES: AT THE SAME TIME as next round is worked divide yoke for body and sleeves as follows: Work first stitch in color Washed Denim (= this stitch belongs to back piece), slip the next 58-58-62-78-74-70-70 stitches on 1 thread for sleeve, cast on 10-18-22-10-18-26-30 new stitches on needle with color Washed Denim (= in the side mid under sleeve), work the next 86-90-98-110-114-118-126 stitches in pattern as before (= front piece), slip the next 58-58-62-78-74-70-70 stitches on a thread for sleeve, cast on 10-18-22-10-18-26-30 new stitches on needle with color Washed Denim (= in the side mid under sleeve) and work the last 85-89-97-109-113-117-125 stitches in pattern as before (= back piece). Cut the yarn. Finish body and sleeves separately. BODY: = 192-216-240-240-264-288-312 stitches. Insert 1 marker in one side of piece (= in the middle of the 10-18-22-10-18-26-30 stitches that were cast on under sleeve). Begin round at the marker and work A.3 in the round over all stitches - NOTE: Make sure to continue the pattern correctly over stitches from yoke, and count stitches out towards the side to find out where to start in the diagram mid under sleeve. Work until piece measures 42-44-46-48-49-51-53 cm = 16½"-17¼"-18"-19"-19¼"-20"-21" from marker mid front. Work 3 rounds in stockinette stitch with color Washed Denim. Switch to circular needles size 2.5 MM = US 1.5, work rib (= knit 1 and purl 1) and STRIPES-2 - read explanation above, while AT THE SAME TIME increasing 50-54-60-60-68-76-78 stitches evenly on 1st round - read INCREASE TIP = 242-270-300-300-332-364-390 stitches. When the stripes are done, rib measures approx. 4-4-4-4-5-5-5 cm = 1½"-1½"-1½"-1½"-2"-2"-2". Bind off with knit over knit and purl over purl, or use Italian bind off. Sweater measures 47-49-51-53-55-57-59 cm = 18½"-19¼"-20"-21"-21⅝"-22½"-23¼" from marker mid front and approx. 54-56-58-60-62-64-66 cm = 21¼"-22"-22¾"-23⅝"-24⅜"-25¼"-26" from the top of shoulder. SLEEVES: Slip 58-58-62-78-74-70-70 sleeve stitches from one thread on to needle size 4 MM = US 6 and pick in addition up 1 stitch in each of the 10-18-22-10-18-26-30 stitches cast on under sleeve - read SLEEVE TIP = 68-76-84-88-92-96-100 stitches. Insert 1 marker in the middle of the 10-18-22-10-18-26-30 new stitches under sleeve - round begins at the marker thread. Work A.3 in the round - make sure to continue the pattern correctly over stitches from yoke, the pattern will not fit mid under sleeve in all sizes but work as far as possible and always work the 2 middle stitches under sleeve in color Washed Denim. AT THE SAME TIME when 1 round has been worked after division, decrease mid under sleeve – read DECREASE TIP and decrease as follows: Decrease 2 stitches every other round 2-2-2-3-3-3-3 times, then decrease 2 stitches every 2-2-3-3-3½-3½-3 cm = ¾"-¾"-1⅛"-1⅛"-1¼"-1¼"-1⅛" 2-6-10-5-7-9-11 times = 60-60-60-72-72-72-72 stitches on needle. Work until sleeve measures 43-43-41-40-38-37-35 cm = 17"-17"-16⅛"-15¾"-15"-14½"-13¾" from division. Work 3 rounds in stockinette stitch with color Washed Denim. Switch to double pointed needles size 2.5 MM = US 1.5 and work rib (= knit 1 and purl 1) and STRIPES-2 while AT THE SAME TIME increasing 12-12-12-8-8-12-12 stitches evenly on 1st round - remember INCREASE TIP = 72-72-72-80-80-84-84 stitches. When the stripes are done, rib measures approx. 4-4-4-4-5-5-5 cm = 1½"-1½"-1½"-1½"-2"-2"-2". Bind off with knit over knit and purl over purl, or use Italian bind off. Sleeve measures approx. 48-48-46-45-44-43-41 cm = 19"-19"-18"-17¾"-17¼"-17"-16⅛" from division. |
|||||||
Diagram explanations |
|||||||
|
|||||||
 |
|||||||
 |
|||||||
Have you finished this pattern?Tag your pictures with #dropspattern #blueberrybiscuitsweater or submit them to the #dropsfan gallery. Do you need help with this pattern?You'll find 28 tutorial videos, a Comments/Questions area and more by visiting the pattern on garnstudio.com. © 1982-2026 DROPS Design A/S. We reserve all rights. This document, including all its sub-sections, has copyrights. Read more about what you can do with our patterns at the bottom of each pattern on our site. |
|||||||






With over 40 years in knitting and crochet design, DROPS Design offers one of the most extensive collections of free patterns on the internet - translated to 17 languages. As of today we count 333 catalogs and 12525 patterns - 12515 of which are translated into English (US/in).
We work hard to bring you the best knitting and crochet have to offer, inspiration and advice as well as great quality yarns at incredible prices! Would you like to use our patterns for other than personal use? You can read what you are allowed to do in the Copyright text at the bottom of all our patterns. Happy crafting!
Post a comment to pattern DROPS 273-6
We would love to hear what you have to say about this pattern!
If you want to leave a question, please make sure you select the correct category in the form below, to speed up the answering process. Required fields are marked *.