Comments / Questions (9)
![]() Danka wrote:
Danka wrote:
Taki piękny sweter i bardzo chciałabym go zrobić, jednak niezrozumiały dla mnie jest opis karczku po przerobieniu pierwszy raz schematu. Co to znaczy "Dalej przerabiać tak samo" ? I supełki - dla rozmiaru L żeby wyszły symetrycznie - nie może być wyjściowo 78 oczek tylko 76? I jeszcze: czy po narzutach w okrążeniu 4 w następnym okrążeniu przerabia się je na lewo?
11.11.2024 - 09:45DROPS Design answered:
Witaj Danko, dalej przerabiać tak samo znaczy, aby dalej dodawać oczka na reglan jak w schematach A.1 i A.3, a pozostałe oczka w okrążeniu przerabiać jak wcześniej. Co do supełków na górze masz rację, powinna być liczba oczek podzielna przez 4 jak w pozostałych rozmiarach - zgłoszę to do działu projektów. Narzuty okrążenia 4 w następnym okrążeniu przerabiamy na lewo. Pozdrawiamy!
12.11.2024 - 08:56
![]() Isabella wrote:
Isabella wrote:
In de beschrijving van de noppen blijkt een fout te zitten. Dat is blijkbaar al een paar keer aangegeven. Waarom wordt dit niet aangepast? Ik denk dat Marlies op 3-4-2023 de juiste oplossing al heeft gegeven. Daar kom je helaas pas achter als je naald 2 van de noppen wilt gaan breien.
06.01.2024 - 14:09
![]() Castelli wrote:
Castelli wrote:
Bonjour Je commence le pull ref:232-37, je ne peux pas réaliser le tour 4. Avant le tour 1 on parle de nopes. OK ça, je sais faire. Hors dans les tours 1 , 2 et 3 ce ne sont pas des nopes. Tour 4, tricoter ensemble les 6 premières mailles , impossible à réaliser. pouvez vous m'expliquez le point svp? D'avance merci.
03.04.2023 - 14:45DROPS Design answered:
Bonjour Mme Castelli, pour tricoter ces nopes, suivez bien les tours 1 à 4, au 1er tour, on va augmenter en tricotant plusieurs fois la même maille (chaque nope sera espacée de 3 mailles), vous tricotez ensuite les tours 2 et 3 ocmme indiqué (on tricote ici toutes les mailles des tours, pas seulement celles des nopes) et, au 4ème tour, on diminue les mailles augmentées au 1er tour pour former les nopes. Dans cette vidéo, nous montrons comment tricoter 5 mailles ensemble à l'endroit, procédez de la même façon mais avec les 6 mailles de chaque nope. Bon tricot!
11.04.2023 - 11:06
![]() Marlies wrote:
Marlies wrote:
In de beschrijving van dit patroon zit een fout, denk ik. Bij naald 1 bolletjes in de boordt moet staan: NAALD 1: * 1 recht, maar laat de steek niet van de naald af glijden, maak 1 omslag, 1 recht in dezelfde steek, 1 omslag, 1 recht in dezelfde steek (= 3 steken + 2 omslagen in 1 steek), 1 averecht, 1 gedraaid recht, 1 averecht , 1 gedraaid recht, 1 averecht*, brei van *-* tot het einde van de naald = 120-120-130-130-140-140 steken.
03.04.2023 - 09:12
![]() Maria Karlsson wrote:
Maria Karlsson wrote:
Jag förstår inte denna beskrivning. Den är för mig väldigt otydlig. Jag har stickat havskanten och första möstervarvet på oket, men hur gör jag på varv 2 och tre.? Det står bara”” ”fortsätt så runt”. Hurdå fortsätt SÅ ? Förstår inte diagrammet, då det inte stämmer överens med matskandaler och det inte står något om vad man gör i mellanrummet mellan diagrammen. Dessutom står det fel i teckenbeskrivningen. Det står samma sak på 2 tecken.
21.03.2023 - 17:19DROPS Design answered:
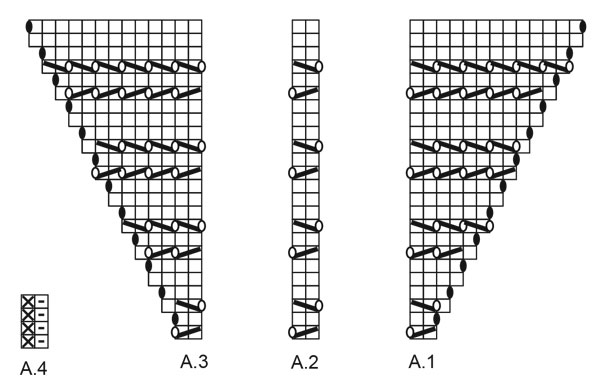
Hei Maria. Diagramteksten er oppdatert, takk for at du gjorde oss oppmerksom på dette. Når du har strikket 1. omgang slik det står i oppskriften og etter diagrammene, fortsetter du på samme måte når du skal starte på 2. omgang. Når du følger forklaringen er det beskrever hva du skal strikke mellom diagrammene. I f.eks str. S har du 72 masker etter halskanten, så strikker du 1 m rett + A.1 (2 m) + A.2 (4 m) + A.3 (2 m) + 2 m rett + A.1 (2 m) + A.2 (20 m) + A.3 (2 m) + 1 m rett = 36 masker, så gjentas alt dette 1 gang til = 36+36= 72 masker. mvh DROPS Design
27.03.2023 - 10:23
![]() Doris Soehe wrote:
Doris Soehe wrote:
Ich stricke dieses Modell in Gr. S und verstehe nicht was gemeint ist mit " das Muster in der Höhe wiederholen". Ich habe das Diagramm einmal fertig, es fehlen mir aber noch 4 Raglanzunahmen bis ich auf 200 Maschen komme. Im welcher Weise (in welchem Musterverlauf) soll ich weiter stricken nach Ende des Diagramms. Neu beginnen ab Reihe 1 des Diagramms oder die Fortsetzung selbst ausrechnen nach Reihe 24 Danke für Ihre Antwort.
18.01.2023 - 10:53DROPS Design answered:
Liebe Frau Soehe, jetzt stricken Sie das Lochmuster wie zuvor mit (1 Runde mit Lochmuster, 1 Runde rechts, 1 Runde mit Lochumster, 3 Runden rechts) und gleichzeitig nehmen Sie wie zuvor in jeder 2. Runde zu. dh ab der 13. Reihe im A.2/A.3 wiederholen, bis die Zunahmenanzahl erreicht wird. Viel Spaß beim stricken!
18.01.2023 - 16:51
![]() Heidi Poelmans wrote:
Heidi Poelmans wrote:
Ik kom niet uit met de noppen... Ik heb 72 steken maar kom nooit tot 120 steken. Niet zoals beschreven in patroon en niet als ik bijhorend filmpje volg. Doe ik zelf iets fout...
16.10.2022 - 12:54DROPS Design answered:
Dag Heidi,
Het lijkt inderdaad of het aantal steken niet klopt na de eerste naald. Maar als je het patroon volgt kom je, als het goed is, na naald 4 weer uit op 72 steken. Ik zal het even doorgeven aan de ontwerpafdeling om te controleren en eventueel aan te passen.
26.10.2022 - 09:42
![]() Joyce Clews wrote:
Joyce Clews wrote:
When I try to print this pattern it only prints up to Diagram section/header and wont print the charts etc. This is happening with all the patterns I’ve tried to download? I tired turning it into a PDF and downloading but I then get the first page greyed out and “Accept terms and conditions” over the pattern. Also it only downloads up to the Diagram section and no charts
01.08.2022 - 09:10
![]() Conny wrote:
Conny wrote:
Cuddly hideaway
15.01.2022 - 11:11
Luminous Sand#luminoussandsweater |
||||||||||||||||||||||
 |
 |
|||||||||||||||||||||
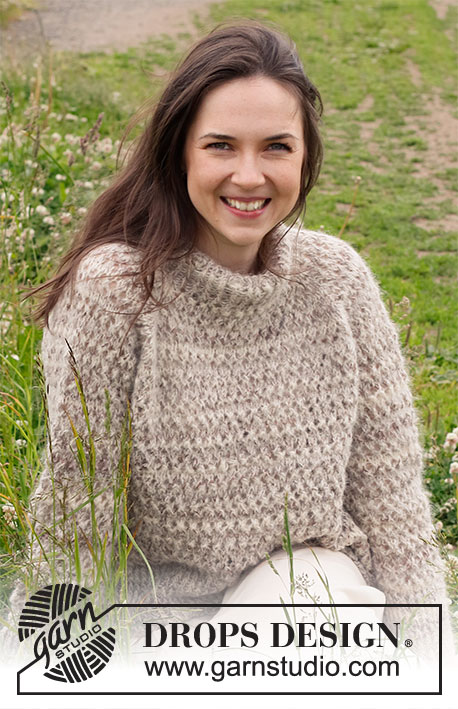
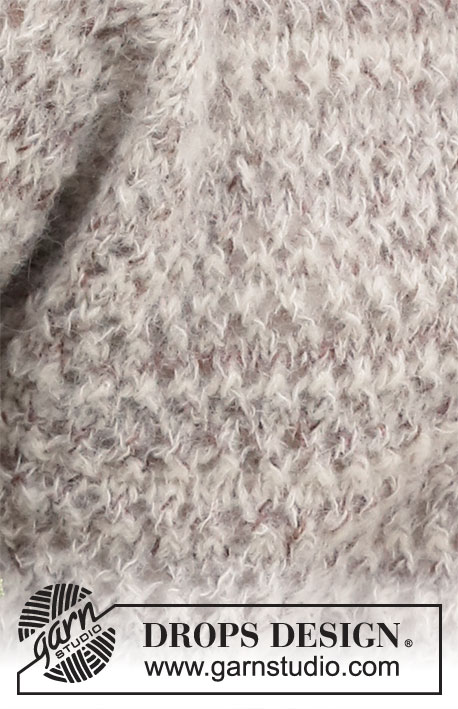
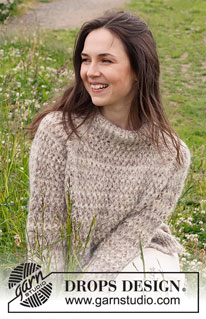
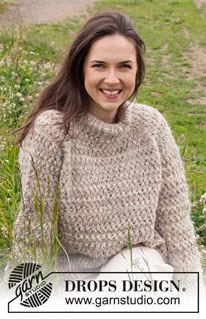
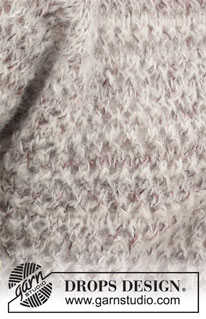
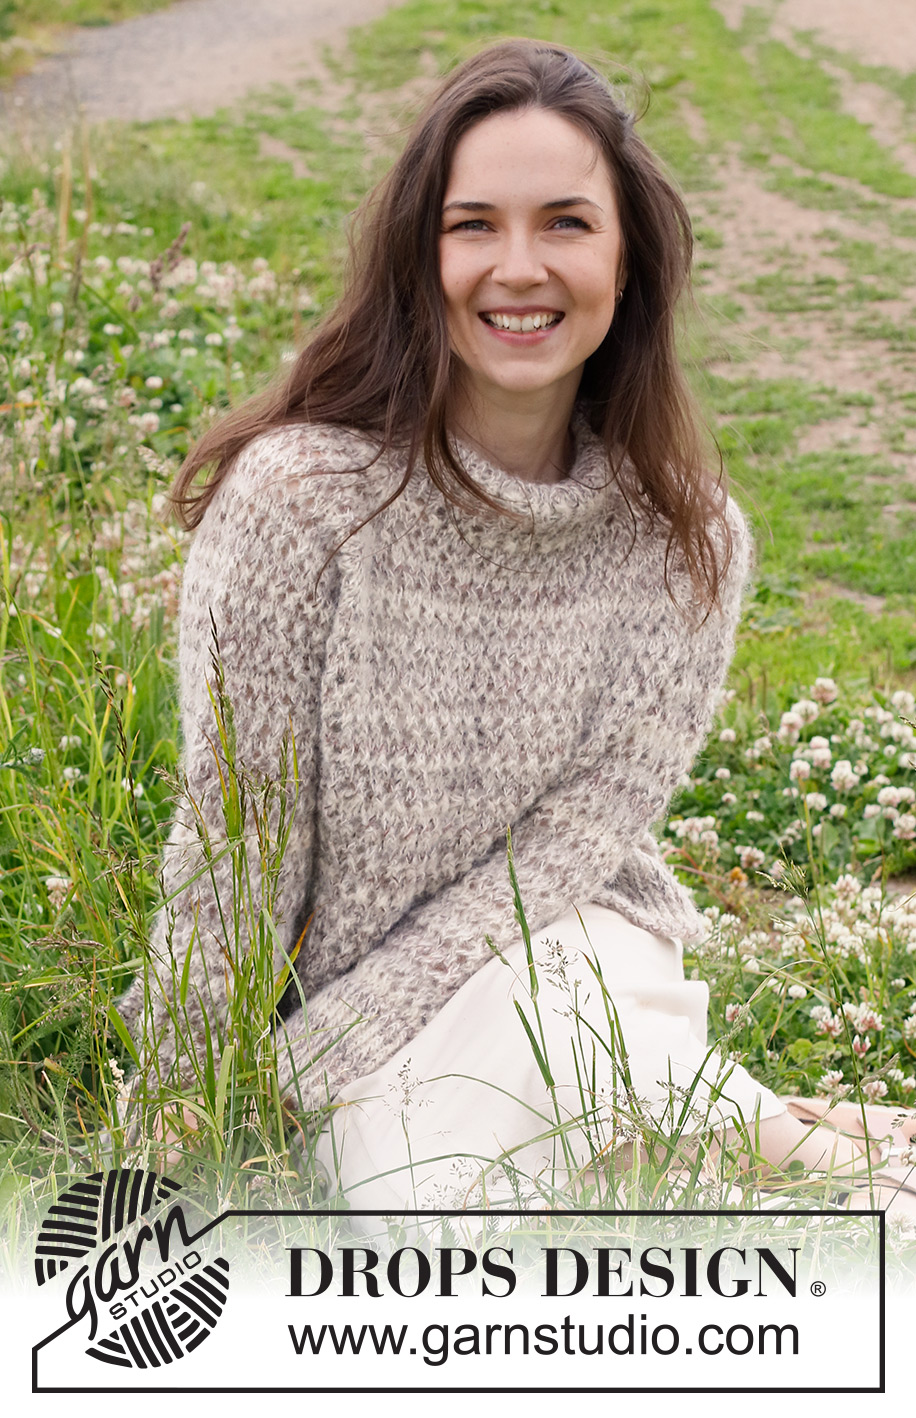
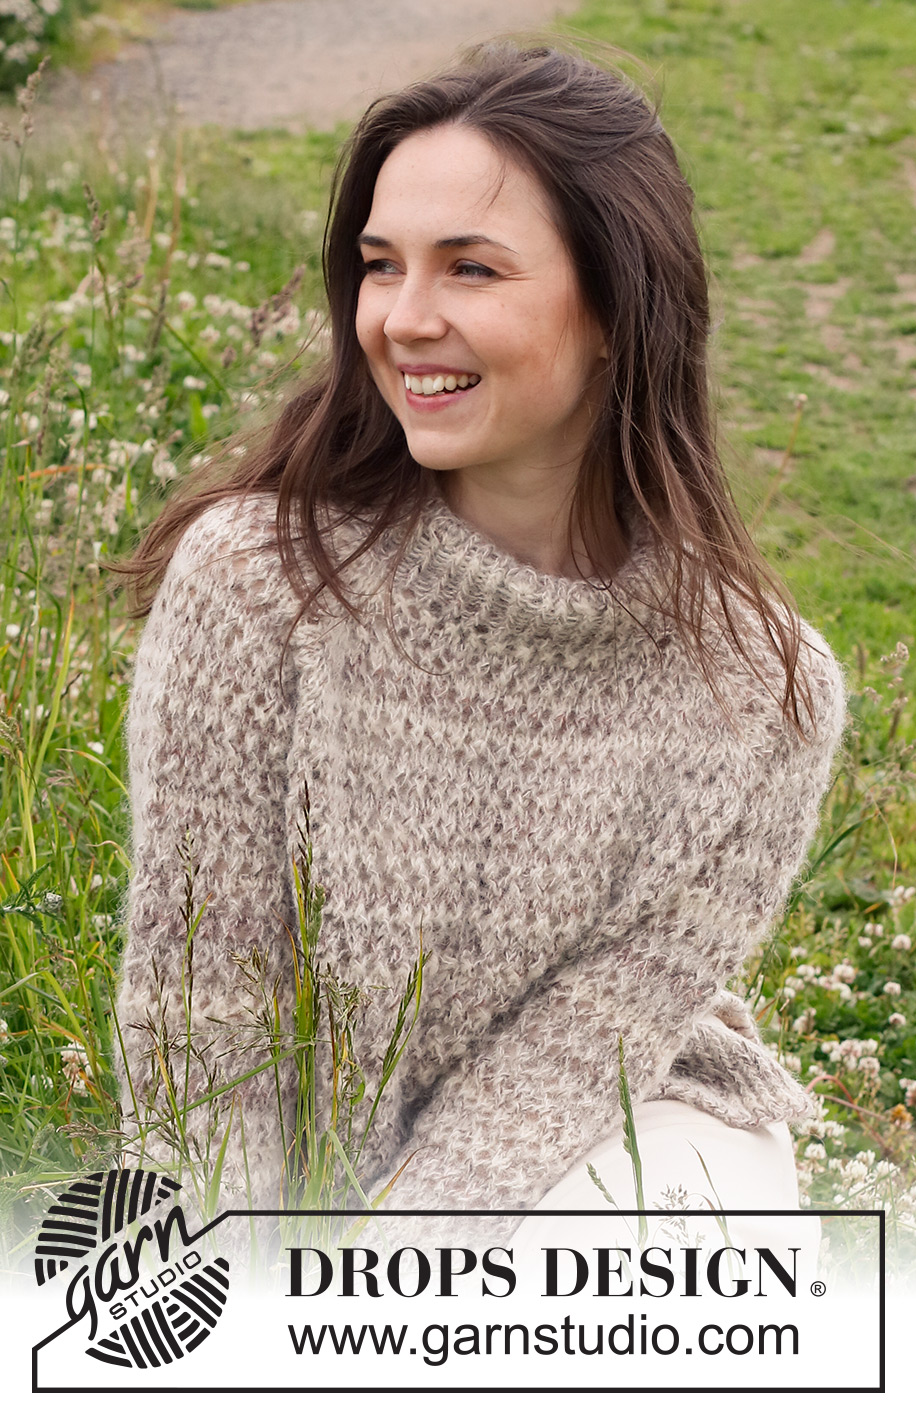
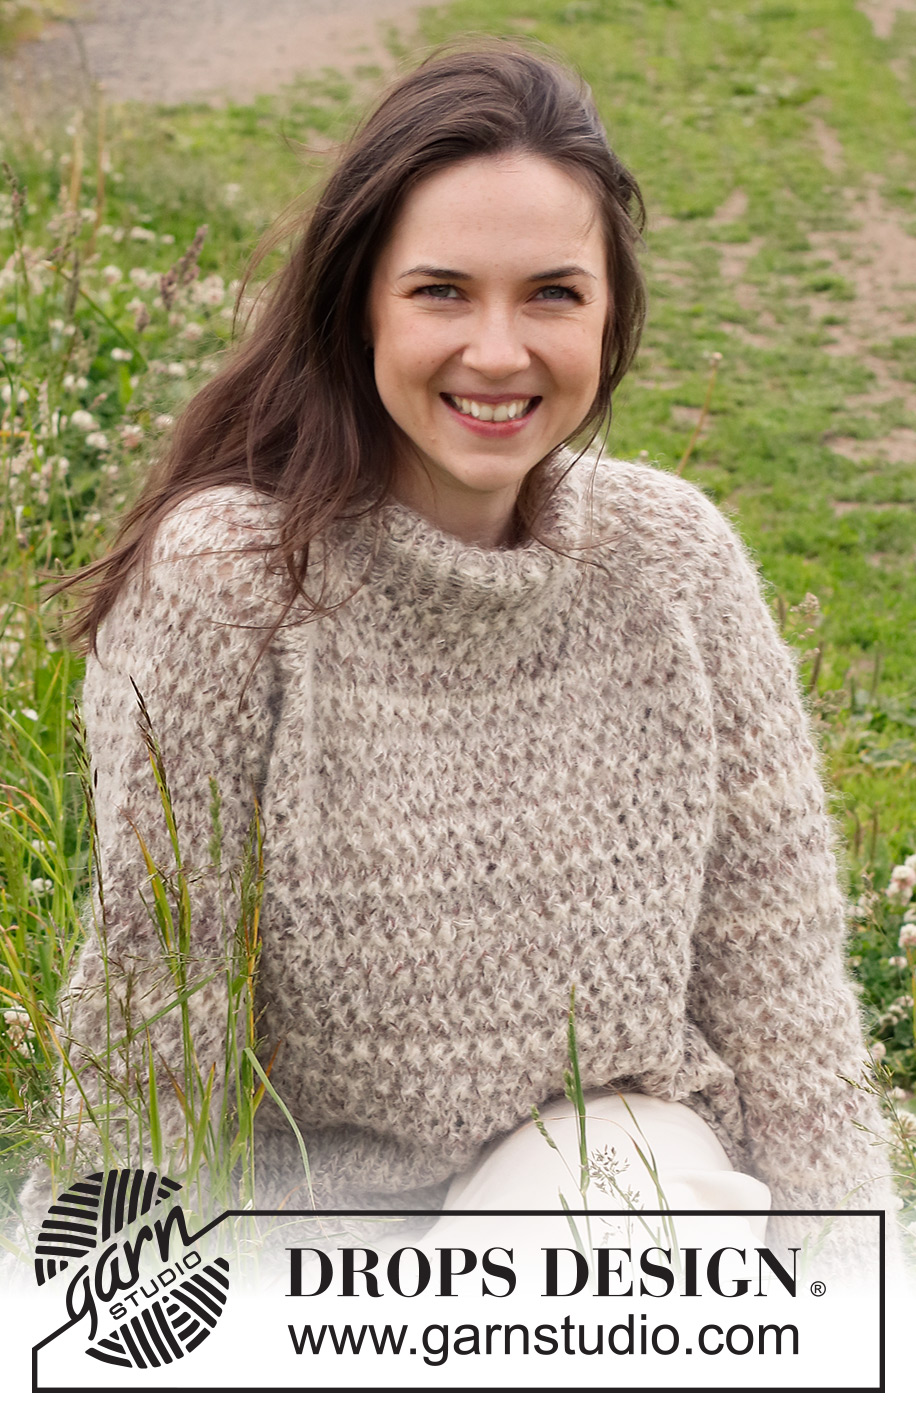
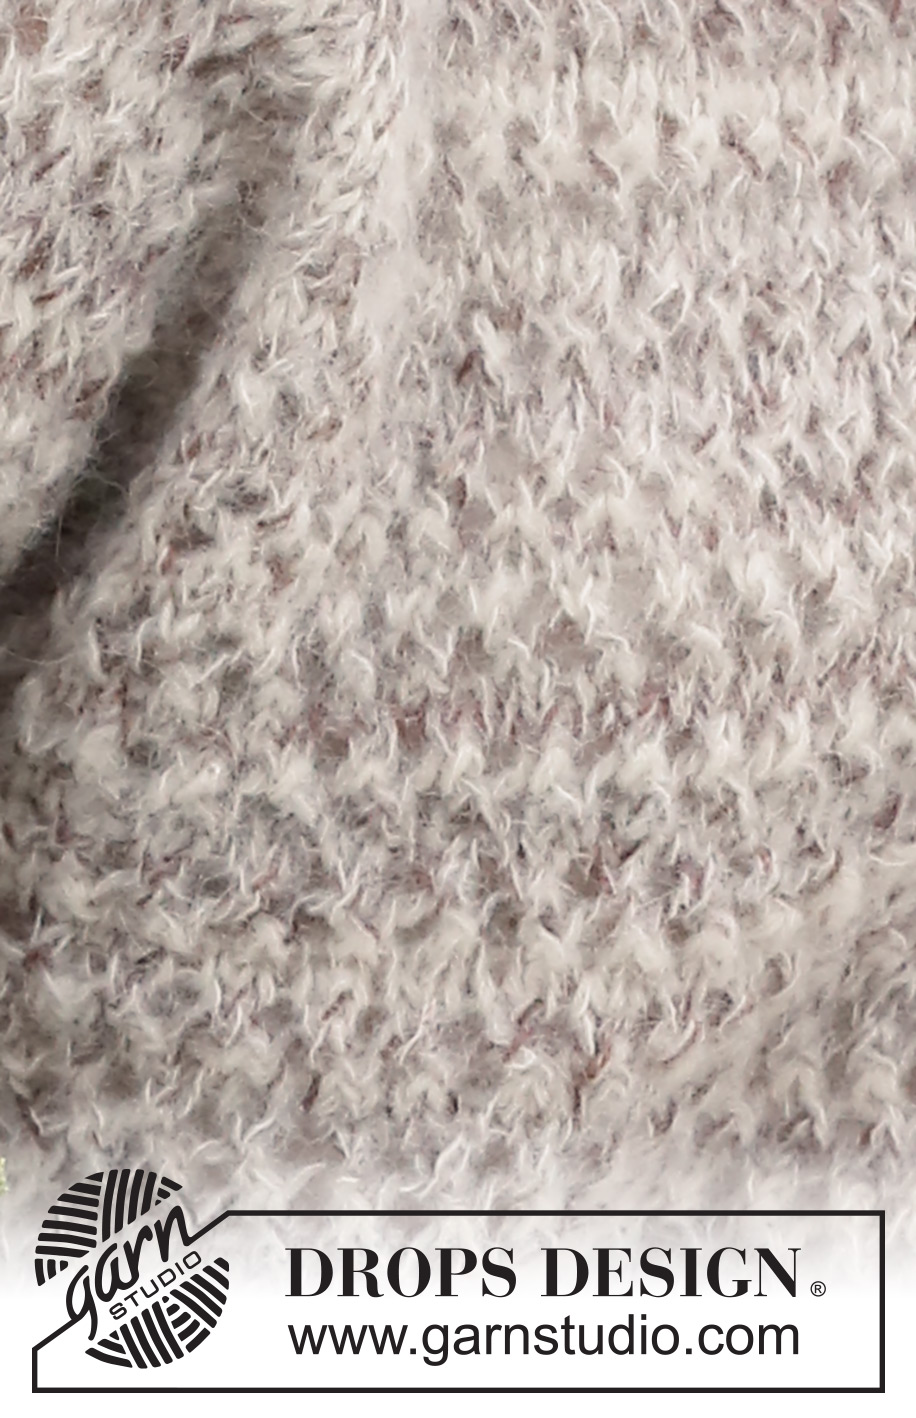
Knitted sweater in DROPS Fabel and DROPS Brushed Alpaca Silk. The piece is worked top down with raglan, double neck, lace pattern and split in the sides. Sizes S - XXXL.
DROPS 232-37 |
||||||||||||||||||||||
|
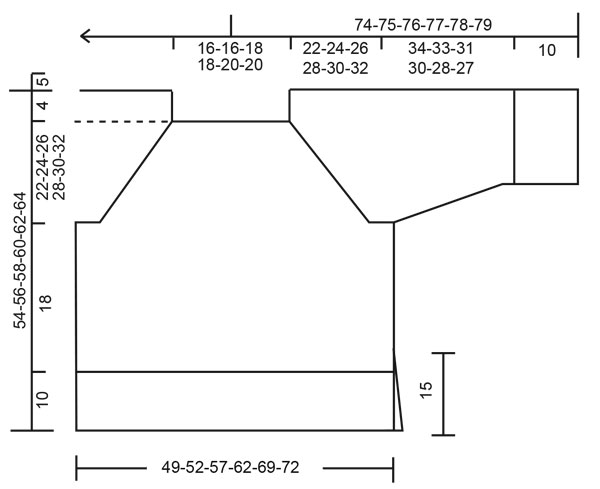
------------------------------------------------------- EXPLANATIONS FOR THE PATTERN: ------------------------------------------------------- RIDGE/GARTER STITCH (worked in the round): 1 ridge in height = 2 rounds; Knit 1 round and purl 1 round. RIDGE/GARTER STITCH (worked back and forth): Knit all rows. 1 ridge = knit 2 rows. PATTERN: See diagrams A.1 to A.4. The diagrams show all rows in the pattern from the right side. INCREASE TIP (evenly spaced): To work out how to increase evenly, count the total number of stitches on the needle (e.g. 58 stitches) and divide by the number of increases to be made (e.g. 41) = 1.4. In this example, increase by making 1 yarn over after alternately each 1st and each 2nd stitch. On the next row work the yarn overs twisted to avoid holes. DECREASE TIP (for sleeves): Decrease 1 stitch on either side of the marker thread as follows: Work until there are 3 stitches left before the marker, knit 2 together, knit 2 (marker sits between these 2 stitches), slip 1 stitch as if to knit, knit 1 and pass the slipped stitch over the knitted stitch (2 stitches decreased). BINDING-OFF TIP: To avoid the bind-off edge being tight you can bind off with a larger size needle. If the edge is still tight, make 1 yarn over after approx. each 4th stitch at the same time as binding off; the yarn overs are bind off as normal stitches. ------------------------------------------------------- START THE PIECE HERE: ------------------------------------------------------- SWEATER – SHORT OVERVIEW OF THE PIECE: The neck and yoke are worked in the round with circular needle, top down, from the transition between the back piece and the right sleeve. The yoke is divided for body and sleeves and the body is continued in the round as far as the split, then finished back and forth. The sleeves are worked with double pointed needles/short circular needle, top down. DOUBLE NECK: Cast on 108-108-117-117-126-126 stitches with short circular needle size 4.5 MM = US 7 and 1 strand DROPS Fabel and 1 strand DROPS Brushed Alpaca Silk (= 2 strands). Knit 1 round. Then work rib (knit 1 twisted, purl 2) in the round for 2 cm = ¾". Now purl together all 2-purl to purl-1 = 72-72-78-78-84-84 stitches. Continue the new rib (knit 1 twisted, purl 1) until the neck measures 5 cm = 2". Now work bobbles along the folding edge as follows: ROUND 1: * Knit 1, but do not drop the stitch from the needle, make 1 yarn over, knit 1 in the same stitch, 1 yarn over, knit 1 in the same stitch (= 3 stitches + 2 yarn overs in 1 stitch), purl 1, knit 1 twisted, purl 1 *, work from *-* to the end of the round = 120-120-130-130-140-140 stitches. ROUNDS 2 and 3: * Knit the first 5 stitches, purl 1, knit 1 twisted, purl 1, knit 1 twisted, purl 1 *, work from *-* to the end of the round. ROUND 4: * Knit together the first/next 6 stitches (= 5 knitted stitches + 1 purled stitch), 1 yarn over, knit 1 twisted, purl 1, knit 1 twisted, purl 1*, work from *-* to the end of the round = 72-72-78-78-84-84 stitches. ROUND 5: * Knit 1 twisted, purl 1*, work from *-* to the end of the round. Continue with rib (knit 1 twisted, purl 1) until the neck measures 11 cm = 4⅜". YOKE: Change to circular needle size 5.5 MM = US 9. Insert 1 marker; the yoke is measured from here! Knit 1 round where you adjust the number of stitches to 72-72-76-80-84-84 stitches (decrease 2 stitches in M and increase 2 stitches in XXL. In S, L, XL and XXXL the number stays the same). Insert 4 markers without working the stitches: Marker 1: Insert at the beginning of the round (= transition between back piece and right sleeve). Marker 2: Skip 10 stitches (= right sleeve), insert marker here. Marker 3: Skip 26-26-28-30-32-32 stitches (= front piece), insert marker here. Marker 4: Skip 10 stitches (= left sleeve), insert marker here. There are 26-26-28-30-32-32 stitches left after marker 4 (= back piece). Now work pattern as follows: * Knit 1, work A.1 over the next 2 stitches, A.2 over the next 4 stitches, A.3 over the next 2 stitches, knit 2 (marker sits between these 2 stitches), A.1 over the next 2 stitches, A.2 over the next 20-20-22-24-26-26 stitches, A.3 over the next 2 stitches, knit 1 *, work from *-* 1 more time. REMEMBER THE KNITTING GAUGE! Continue the pattern and increase to raglan every 2nd round a total of 16-18-20-20-20-22 times (increase as shown in the diagram – the black circles are increases to raglan, and repeat the pattern in height) = 200-216-236-240-244-260 stitches. The increases in S, M and L are finished. Continue to increase in XL, XXL and XXXL as follows: Increase on the front and back pieces only (= 4 stitches increased on the round) 2-4-4 times = 248-260-276 stitches. All sizes: Continue working until the piece measures 22-24-26-28-30-32 cm = 8¾"-9½"-10¼"-11"-11¾"-12½" from the marker on the neck. Divide the yoke for the body and sleeves as follows: Place the first 42-46-50-50-50-54 stitches on a thread for the sleeve, cast on 6-6-6-6-10-10 stitches (= side under the sleeve), work the next 58-62-68-74-80-84 stitches (= front piece), place the next 42-46-50-50-50-54 stitches on a thread for the sleeve, cast on 6-6-6-6-10-10 stitches (= side under the sleeve), work the last 58-62-68-74-80-84 stitches (= back piece). The body and sleeves are finished separately. THE PIECE IS NOW MEASURED FROM HERE. BODY: = 128-136-148-160-180-188 stitches. Insert 1 marker thread in the middle of the 6-6-6-6-10-10 stitches cast on under each sleeve (= 3-3-3-3-5-5 new stitches on each side of the thread). Start the new round 1 stitch after one of the marker threads. Continue in the round with A.2 – make sure you start on the correct row to continue the pattern from the yoke. Work the pattern for 13 cm = 5⅛" in all sizes – adjust so the last round does not have yarn overs. Try the sweater on and work to desired length (there is approx. 15 cm = 6" left). Work GARTER STITCH – read description above, over 10 stitches on each side, i.e. 5 stitches on each side of both marker threads. When you have worked 2 ridges, divide for the split at both marker threads and continue the back and front pieces separately, back and forth. FRONT PIECE: Work back and forth with pattern over the middle 54-58-64-70-80-84 stitches and garter stitch over the 5 outermost stitches on both sides. When the split measures 5 cm = 2", work as follows from the right side: 5 stitches in garter stitch, knit 54-58-64-70-80-84 and increase 39-41-45-49-53-57 stitches evenly over these stitches, 5 stitches in garter stitch = 103-109-119-129-143-151 stitches. Change to circular needle size 4.5 MM = US 7. Purl 1 row with 5 stitches in garter stitch on each side. Now work rib as follows: 5 stitches in garter stitch, A.4 until there are 6 stitches left, work the first stitch in A.4 (so the rib is symmetrical) and 5 stitches in garter stitch. Continue this rib for 10 cm = 4". Bind off with knit over knit and purl over purl – read BINDING-OFF TIP. The sweater measures approx. 54-56-58-60-62-64 cm = 21¼"-22"-22¾"-23⅝"-24⅜"-25¼" from the shoulder down. BACK PIECE: Work in the same way as the front piece. SLEEVES: Place the 42-46-50-50-50-54 stitches from the thread on the one side of the piece on short circular needle/double pointed needles size 5.5 MM = US 9 and knit up 1 stitch in each of the 6-6-6-6-10-10 stitches cast on under the sleeve = 48-52-56-56-60-64 stitches. Insert a marker thread in the middle of the 6-6-6-6-10-10 stitches under the sleeve. Start at the marker thread and work pattern as follows: Knit 1, A.2 as before over the next 46-50-54-54-58-62 stitches and knit 1. Continue this pattern in the round for 4 cm = 1½". Now decrease 2 stitches under the sleeve – read DECREASE TIP. Decrease like this every 3-2½-2-2-1-1 cm = 1⅛"-1"-¾"-¾"-⅜"-⅜" a total of 6-7-8-8-9-11 times = 36-38-40-40-42-42 stitches. The stitches which do not fit into the pattern are worked in stockinette stitch. Continue working until the sleeve measures 34-33-31-25-30-28-27 cm = 13⅜"-13"-12¼"-9¾"-11¾"-11"-10⅝" from the division. Try the sweater on and work to desired length; there is approx. 10 cm = 4" left. Knit 1 round where you increase 22-22-22-24-26-26 stitches evenly spaced = 58-60-62-64-68-68 stitches. Change to double pointed needles size 4.5 MM = US 7 and work rib (knit 1 twisted, purl 1) for 10 cm = 4". Bind off with knit over knit and purl over purl – remember BINDING-OFF TIP! The sleeve measures approx. 44-43-41-40-38-37 cm = 17¼"-17"-16⅛"-15¾"-15"-14½". Work the other sleeve in the same way. ASSEMBLY: Fold the neck double (along the line of bobbles) to the inside and sew down. To avoid the neck being tight and rolling outwards, it is important that the seam is elastic. |
||||||||||||||||||||||
Diagram explanations |
||||||||||||||||||||||
|
||||||||||||||||||||||
 |
||||||||||||||||||||||
 |
||||||||||||||||||||||
Have you finished this pattern?Tag your pictures with #dropspattern #luminoussandsweater or submit them to the #dropsfan gallery. Do you need help with this pattern?You'll find 33 tutorial videos, a Comments/Questions area and more by visiting the pattern on garnstudio.com. © 1982-2026 DROPS Design A/S. We reserve all rights. This document, including all its sub-sections, has copyrights. Read more about what you can do with our patterns at the bottom of each pattern on our site. |
||||||||||||||||||||||





Post a comment to pattern DROPS 232-37
We would love to hear what you have to say about this pattern!
If you want to leave a question, please make sure you select the correct category in the form below, to speed up the answering process. Required fields are marked *.