
Popular categories
Looking for a yarn?


Comments / Questions (52)
![]() Anne De Keersmaeker wrote:
Anne De Keersmaeker wrote:
Bonjour, je suppose qu'après les côtes tricotées avec les aiguilles 6 on passe aux aiguilles 8 ? Merci Anne
01.12.2023 - 19:33DROPS Design answered:
Bonjour Mme De Keersmaeker, pas exactement, vous changerez pour l'aiguille circulaire 8 quand les côtes de l'empiècement seront terminées (l'ouvrage mesure 13 cm depuis le marqueur), autrement dit, au 1er rang jersey après les côtes. Bon tricot!
04.12.2023 - 07:43
![]() Irene Skatvedt Ellefsrød wrote:
Irene Skatvedt Ellefsrød wrote:
Under erme på denne oppskriften må det være en feil på mål fra deling, virker som ant. cm. er feil vei, minste størrelsen har lengst erme.
30.11.2023 - 12:58DROPS Design answered:
Hei Irene. Jo, målene stemmer. Det er kortere mål i de større størrelsene pga bredere skuldervidde og lengre ermetopp. mvh DROPS Design
04.12.2023 - 10:56
![]() Gwen Meythaler wrote:
Gwen Meythaler wrote:
Is this pattern available in English?
01.11.2023 - 16:55DROPS Design answered:
Hi Gwen, Yes, you click on the box under the photograph (endre språk) and change to your chosen language. Happy crafting!
02.11.2023 - 06:55
![]() Lena wrote:
Lena wrote:
Hej, vilka mått är det på de olika storlekarna? Tack på förhand för svar
30.08.2023 - 21:22DROPS Design answered:
Hej Lena, du finder koftans mått i måttskissen nederst i opskriften :)
08.09.2023 - 15:19
![]() Monica wrote:
Monica wrote:
What is the difficulty, please?
14.08.2023 - 18:09DROPS Design answered:
Dear Monica, the difficulty level is difficult to determine since each experience is different - thoroughly read the whole pattern, look at the videos/lessons at the bottom of the pattern and feel free to use this section to ask any question if you need some. Happy knitting!
15.08.2023 - 08:59
![]() Alice wrote:
Alice wrote:
Tere taas! Aitäh eelmise vastuse eest. Mul nüüd küsimus selle kohta: "Nüüd jaga töö lõhikute tegemiseks külgedel. Tõsta esimesed ja viimased 37 silmust abilõngale, koo seljaosa 64 silmusel." - kas ma õigesti saan aru, et teen täitsa eraldi selja osa uue niidiga ja siis eraldi küljed- ka iga külg uue niidiga? Vabandust rumale käsimuse eest, ma täitsa algaja:) Parimate soovidega, Alice
31.05.2023 - 22:31DROPS Design answered:
Tere Alice! Et lõnga ei peaks katkestama, kuduge seljaosa algusesse ja siis tõstke ülejäänud silmused hoiule ja kuduge seljaosa lõpuni. Kui jätkate hõlmadega, siis alustage töö paremal või pahemal pool, olenevalt mis real pooleli jäi, et ei tekiks triipu, mis võib juhtuda, kui koote 2 rida samal pool. Head kudumist!
06.06.2023 - 16:14
![]() Alise wrote:
Alise wrote:
Tere! Teen L suurust, ja tahan küsida üle kas siin kohas silmuste number on ikkagi õige : "PASSE: Kui töö kõrgus on 5 cm silmusemärkijast, kasvata nii: tee 1 õhksilmus iga pahempidi soonikutriibu alguses = 107 silmust." -- mul tuleb 106 silmust. Lugesin, kontrollisin mitu korda. Ei saa aru, kus viga võiks olla. Enne kasvatamist oli 75 silmust, nagu pidi olema. Kui ikkagi peab 107 silmust olema, kas ma saan kuskile lihtsalt lisada ühe silmust? Tänan ette!
26.02.2023 - 22:13DROPS Design answered:
Tere Alise! Kõige lihtsam ongi lihtsalt lisada kuskile vähemnähtava koha peale 1 silmus. Head kudumist!
27.02.2023 - 20:59
![]() Glynne wrote:
Glynne wrote:
Lovely pattern with a fabulous shape and drape. Only my second ever attempt at top down construction and it the instructions were easy to follow and adjust for fit. Wonderful thank you.
28.01.2023 - 03:31
![]() Hanne wrote:
Hanne wrote:
Hvordan kan der i mønsteret i størrelse L i bærestykket tages ud fra 160 m til 210 ved at tage 10 masker ud ? Det kan vel ikke gå op ? Vh. Hanne
20.01.2023 - 20:47DROPS Design answered:
Hei Hanne. Du har 160 masker og når arbeidet måler 15 cm fra merket økes det 10 masker jevnt fordelt. Øk slik på hver 2,5 cm totalt 5 ganger = 210 masker. Altså ved 15 cm har du 160 masker og det økes med 10 masker = 170 masker =1 økning, så økes det ved 17,5 cm/2. økning/180 masker, ved 20 cm/3. økning/190 masker, ved 22,5 cm/4. økning/200 masker og ved 25 cm/5. økning/210. Du har da økt 10 masker hver 2,5 cm 5 ganger = 210 masker. mvh DROPS Design
23.01.2023 - 09:47
![]() Marianne Nilsson wrote:
Marianne Nilsson wrote:
Hej! Har sett att min fråga varit aktuell, men jag förstår inte svaret på engelska. - Om jag inte vill sticka sprund, stickar jag bara vidare utan att dela upp arbetet, eller behöver jag vidta någon åtgärd i stickningen, för detta avsteg från mönstret?
17.11.2022 - 22:55DROPS Design answered:
Hei Marianne. Du kan fortsette å strikke frem og tilbake uten splitt, men husk at når det deles til splitt ( i oppskriften) økes det også masker. Det må også økes til masker om det strikkes uten splitt, bare husk å få riktig maskeantall i den str. du strikker med tanke på vrangborden (1 rett / 1 vrang) og stolpemasker i front (at det startes med 1 vrang etter de 5 stolpemaskene på begge forstykkene). mvh DROPS Design
21.11.2022 - 09:43
|
|
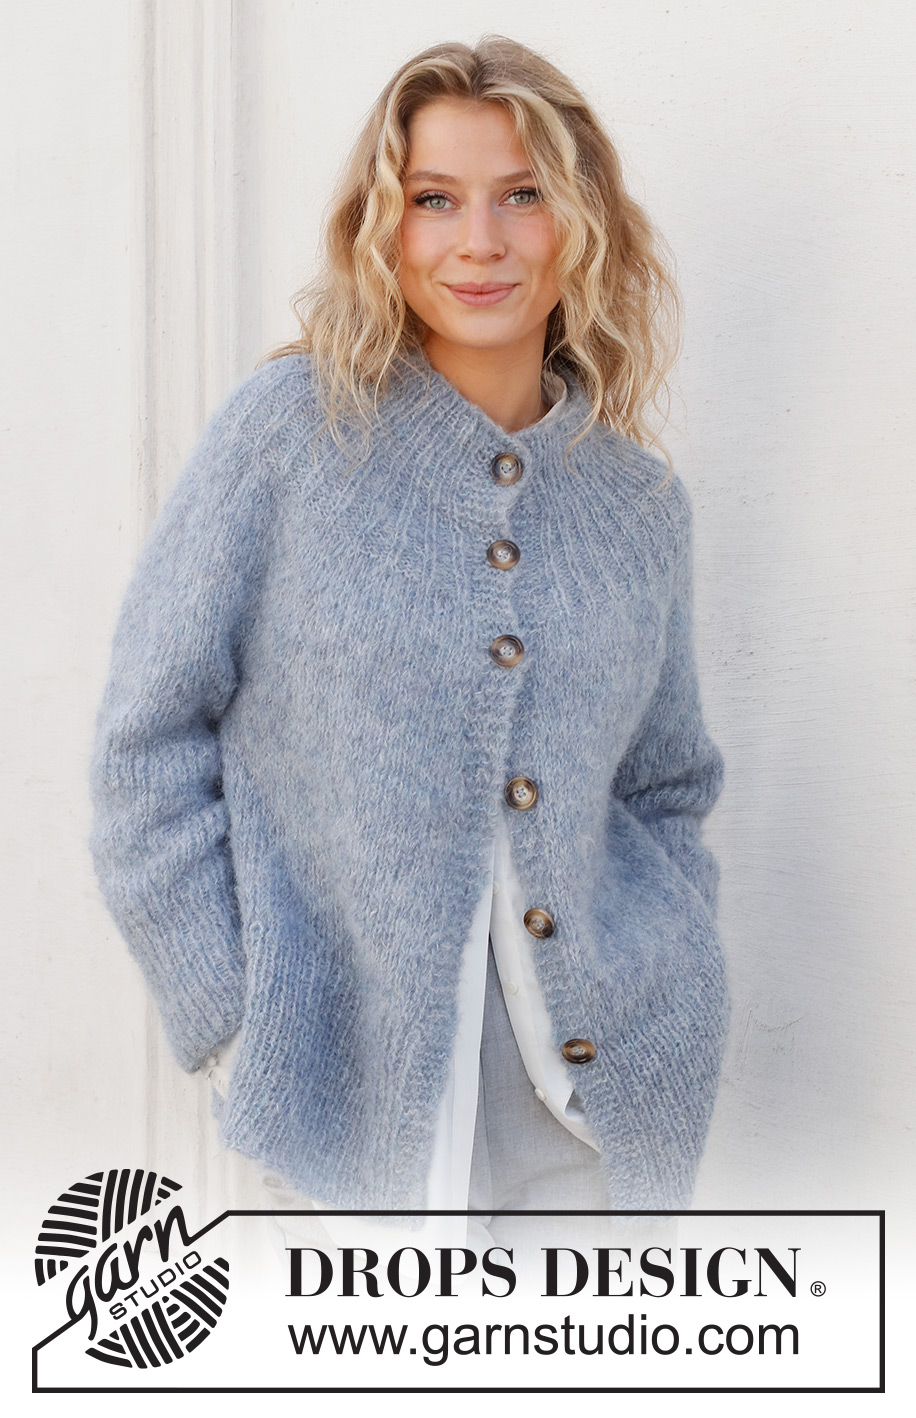
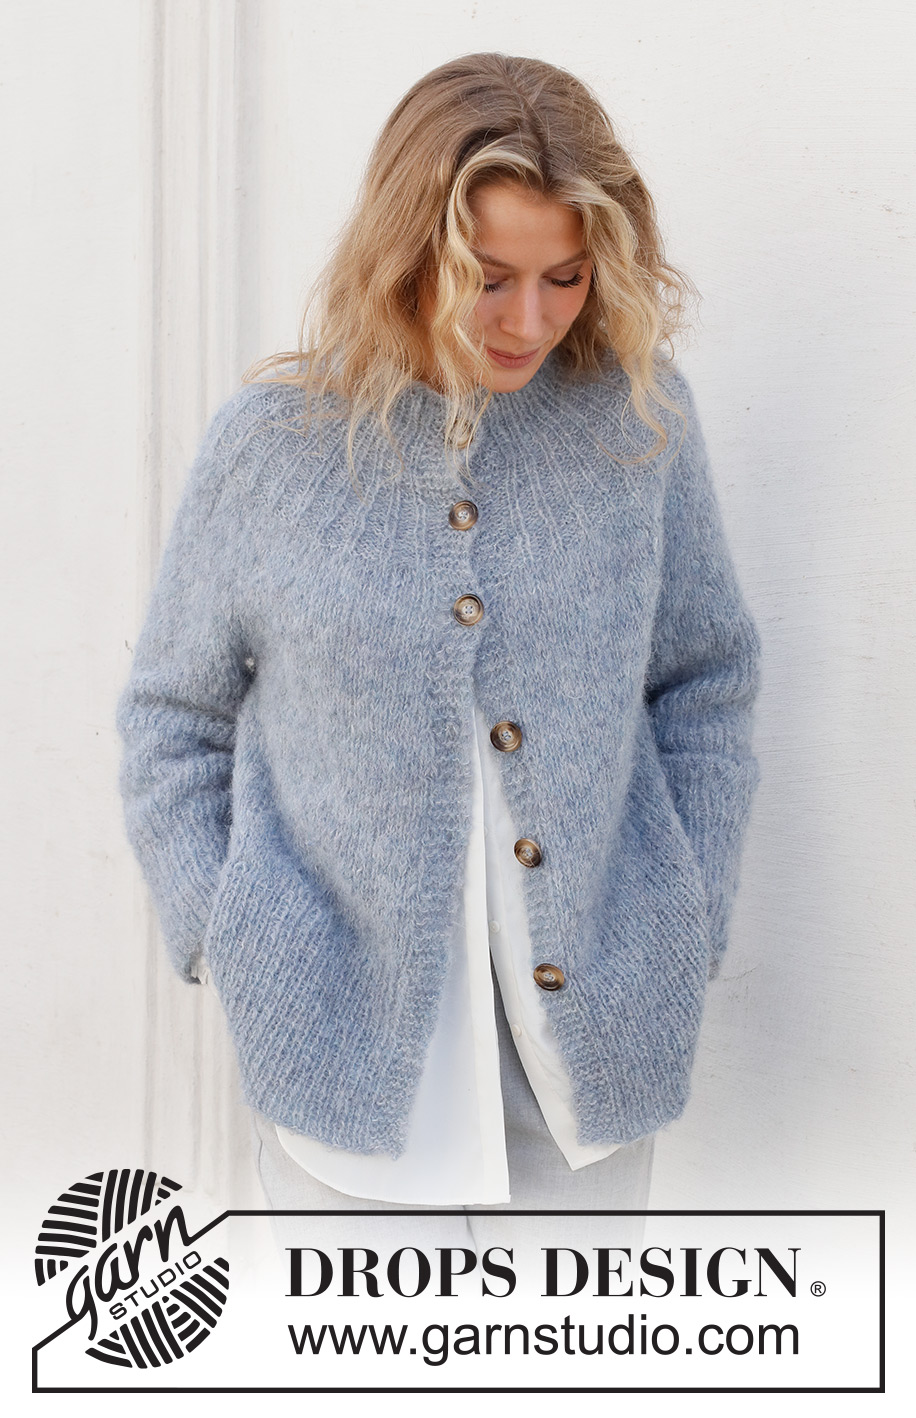
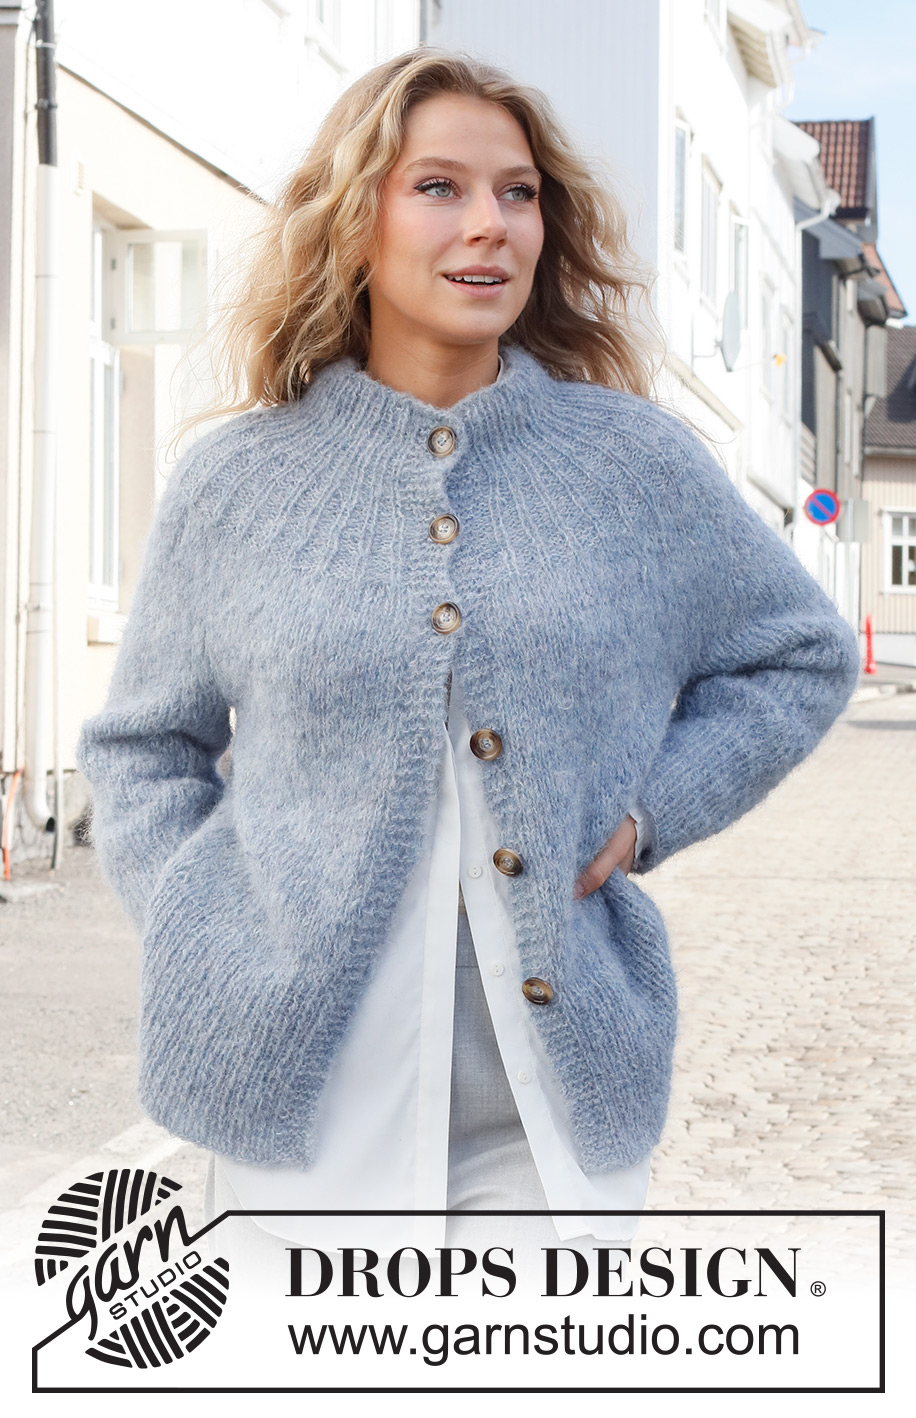
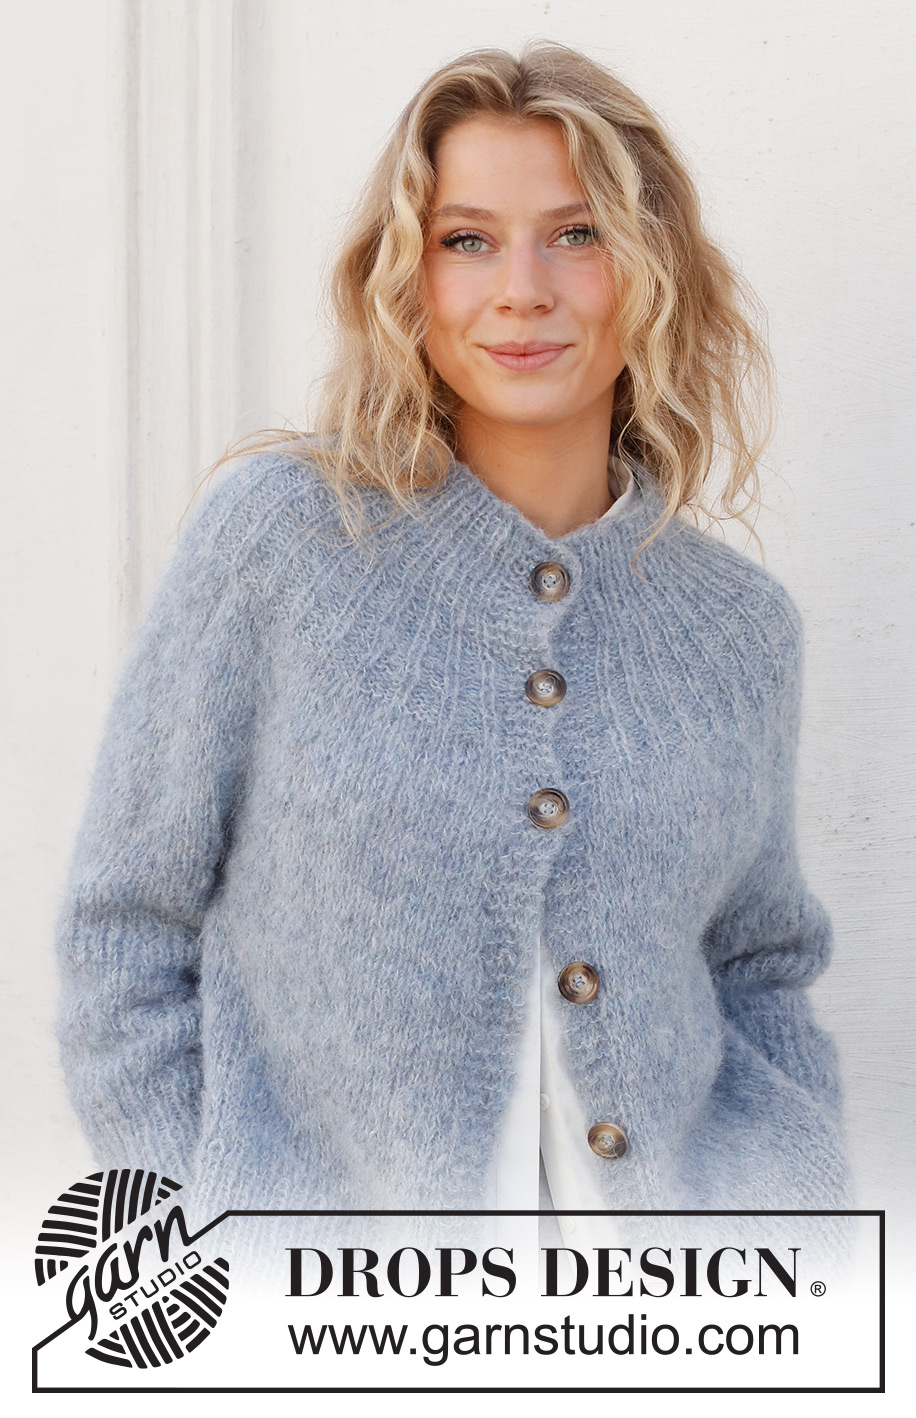
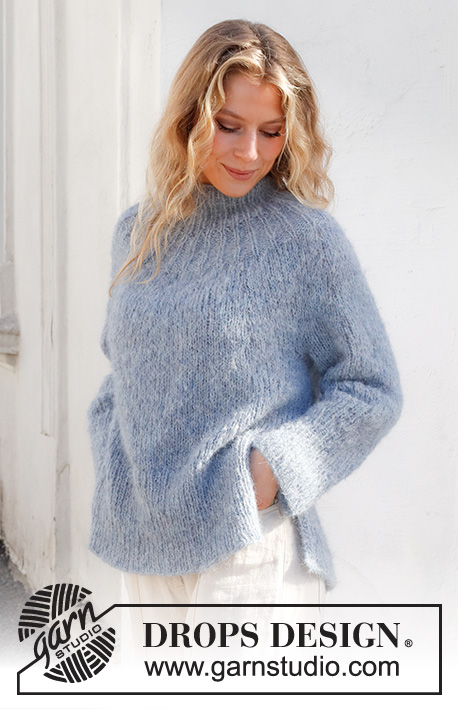
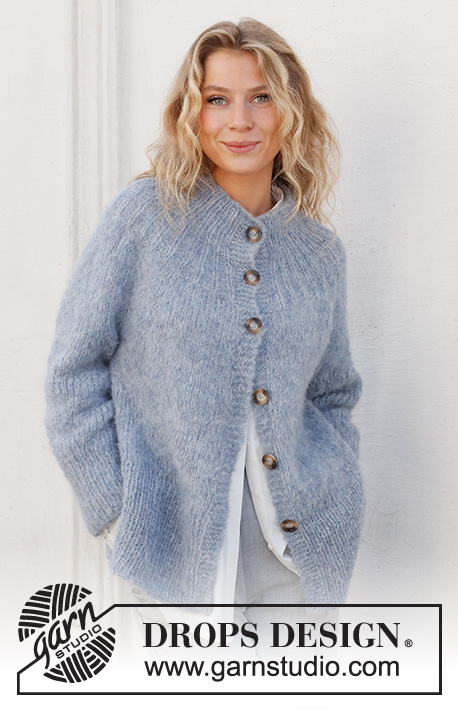
Rhythmic Rain Jacket#rhythmicrainjacket |
|
 |
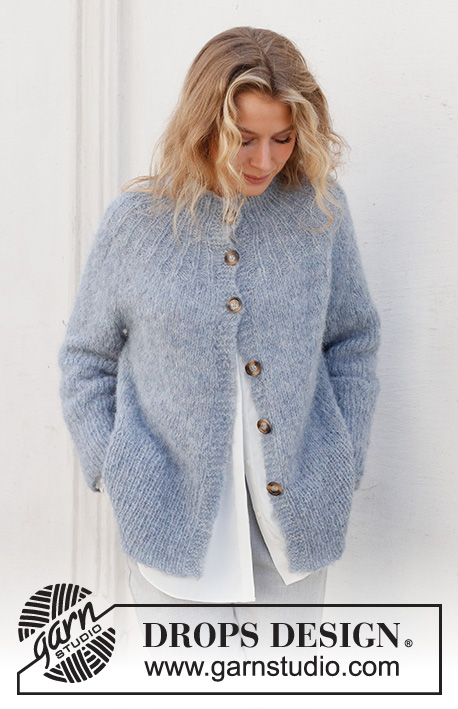 |
Knitted jacket in DROPS Melody. Piece is knitted top down with round yoke, edges in rib and vents in the side. Size: S - XXXL
DROPS 228-41 |
|
|
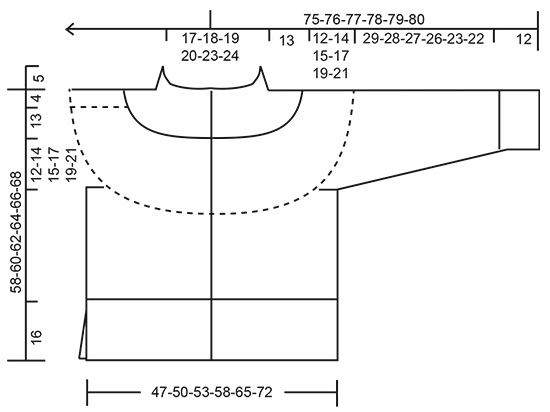
---------------------------------------------------------- EXPLANATION FOR THE PATTERN: ---------------------------------------------------------- GARTER STITCH (back and forth): Knit all rows. 1 ridge vertically = knit 2 rows. INCREASE TIP (evenly): To calculate how to increase evenly, use the total number of stitches on row (e.g. 142 stitches), subtract the band (= 10 stitches) and divide the remaining stitches by number of increases to be done (e.g. 11) = 12. In this example increase by making 1 yarn over after every 12th stitch. On next row work yarn over twisted to avoid hole. DECREASE TIP (applies to sleeves): Decrease 1 stitch on each side of marker thread as follows: Work until 3 stitches remain before marker thread, knit 2 together, knit 2 stitches (marker thread is between these stitches), slip 1 stitch knitwise, knit 1, pass slipped stitch over stitch worked (= 2 stitches decreased). BUTTONHOLES: Decrease for buttonholes on right band (when garment is worn). Decrease from right side when 3 stitches remain on row as follows: Make 1 yarn over, knit the next 2 stitches together, knit last stitch. On next row (wrong side) knit the yarn over to make a hole. Decrease first buttonhole when rib in neck measures approx. 2 cm = ¾". Then bind off the next 5-5-6-6-7-7 buttonholes approx. 9-9-8-8-8-8 cm = 3½"-3½"-3⅛"-3⅛"-3⅛"-3⅛" apart. BIND-OFF TIP: To avoid a tight bind-off edge when binding off, you may use a larger needle. If this still is too tight make 1 yarn over after approx. every 4th stitch while binding off (bind off yarn overs as stitches). ---------------------------------------------------------- START THE PIECE HERE: ---------------------------------------------------------- JACKET - SHORT OVERVIEW OF THE PIECE: Work neck edge and yoke back and forth on circular needle from mid front, work top down. Increase first stitches in rib after neck edge, then increase stitches in stockinette stitch. Now divide yoke for body and sleeves. Work body back and forth on circular needle, top down. Work sleeves in the round on double pointed needles/a short circular needle, top down. NECK EDGE: Cast on 71-73-75-79-85-87 stitches (including 5 band stitches in each side) on circular needle size 6 MM = US 10 with DROPS Melody. Purl 1 row from wrong side. Work next row as follows from right side: 5 band stitches in GARTER STITCH - see explanation above, rib (= knit 1, purl 1) until 6 stitches remain, knit 1 and finish with 5 band stitches in garter stitch. Work BUTTONHOLES on right band - read explanation above. Work rib like this for 5 cm = 2". Insert 1 marker in piece inside 5 band stitches and measures from here. YOKE: Continue with rib and 5 band stitches in garter stitch in each side. When piece measures 5 cm = 2" from marker, increase as follows: Increase 1 stitch in all purl sections, increase by making a yarn over at the beginning of all purl sections = 101-104-107-113-122-125 stitches. Continue as follows - from wrong side: 5 band stitches in garter stitch, * purl 1, knit 2 *, work from *-* until 6 stitches remain, purl 1 and finish with 5 band stitches in garter stitch, knit yarn overs twisted on first row to avoid holes. When piece measures 10 cm = 4" from marker, increase 1 stitch in all purl sections, increase by making a yarn over at the end of all purl sections = 131-135-139-147-159-163 stitches. Work as follows - from wrong side: 5 band stitches in garter stitch, * purl 1, knit 3 *, work from *-* until 6 stitches remain, purl 1 and finish with 5 band stitches in garter stitch, knit yarn overs twisted on first row to avoid holes. Continue until piece measures 13 cm = 5⅛" from marker. Switch to circular needle size 8 MM = US 11. Knit 1 row from right side while increasing 11-19-21-23-25-31 stitches evenly - read INCREASE TIP = 142-154-160-170-184-194 stitches. Work in stockinette stitch with 5 band stitches in garter stitch in each side of piece. When piece measures 15 cm = 6" from marker, increase 10 stitches evenly. Increase like this every 2½-3-2½-2½-2-2 cm = 1"-1⅛"-1"-1"-¾"-¾" 4-4-5-6-7-8 times in total = 182-194-210-230-254-274 stitches. REMEMBER THE KNITTING GAUGE! Continue with stockinette stitch and in garter stitch over bands until piece measures approx. 25-27-28-30-32-34 cm = 9¾"-10⅝"-11"-11¾"-12½"-13⅜" from marker. Now divide yoke for body and sleeves from right side as follows: Knit 30-32-34-37-41-45 (= front piece), slip the next 36-38-42-46-50-52 stitches on 1 stitch holder for sleeve, cast on 6 new stitches on row (= in the side under sleeve), knit 50-54-58-64-72-80 (= back piece), slip the next 36-38-42-46-50-52 stitches on 1 stitch holder for sleeve, cast on 6 new stitches on row (= in the side under sleeve) and knit the remaining 30-32-34-37-41-45 stitches (= front piece). Finish body and sleeves separately. NOW MEASURE THE PIECE FROM HERE! BODY: = 122-130-138-150-166-182 stitches. Continue with stockinette stitch and 5 band stitches in garter stitch in each side towards mid front. Work until piece measures approx. 13-13-14-14-14-14 cm = 5⅛"-5⅛"-5½"-5½"-5½"-5½" from division, adjust so that last row is from wrong side (or desired length, approx. 16 cm = 6¼" remain until finished measurements). Now divide the piece and finish each part separately to make a vent in each side. Slip the first and the last 33-35-37-40-44-48 stitches on a stitch holder = 56-60-64-70-78-86 stitches on needle (= back piece). BACK PIECE: Knit 1 row from right side while increasing 23-25-25-27-31-33 stitches evenly = 79-85-89-97-109-119 stitches. Switch to circular needle size 6 MM = US 10 and work next row – from wrong side as follows: 2 stitches in garter stitch, * purl 1, knit 1 *, repeat from *-* until 3 stitches remain, purl 1 and 2 stitches in garter stitch. Work rib like this for 16 cm = 6¼". Bind off with knit over knit and purl over purl - read BIND-OFF TIP. LEFT FRONT PIECE: Slip stitches from left front piece back on needle (= 33-35-37-40-44-48 stitches). Knit 1 row from right side while increasing 11-11-13-14-16-16 stitches evenly = 44-46-50-54-60-64 stitches. Switch to circular needle size 6 MM = US 10 and work next row – from wrong side as follows: 2 stitches in garter stitch, * purl 1, knit 1 *, repeat from *-* until 6 stitches remain, purl 1 and 5 band stitches in garter stitch. Work rib like this for 16 cm = 6¼". Bind off with knit over knit and purl over purl - remember BIND-OFF TIP. RIGHT FRONT PIECE: Slip stitches from right front piece back on needle (= 33-35-37-40-44-48 stitches). Knit 1 row from right side while increasing 11-11-13-14-16-16 stitches evenly = 44-46-50-54-60-64 stitches. Switch to circular needle size 6 MM = US 10 and work next row as follows – from wrong side and mid front: 5 band stitches in garter stitch * purl 1, knit 1 *, repeat from *-* until 3 stitches remain, purl 1 and 2 stitches in garter stitch. Work rib like this for 16 cm = 6¼". Bind off with knit over knit and purl over purl - remember BIND-OFF TIP. Jacket measures 58-60-62-64-66-68 cm = 22¾"-23⅝"-24⅜"-25¼"-26"-26¾" from shoulder and down. SLEEVE: Slip the 36-38-42-46-50-52 stitches from stitch holder in one side of piece on double pointed needles/a short circular needle size 8 MM = US 11 and pick up 1 stitch in each of the 6 new stitches cast on under sleeve = 42-44-48-52-56-58 stitches. Insert 1 marker thread mid under sleeve, i.e. in the middle of the 6 stitches that were cast on under sleeve. Move the marker thread upwards when working; it should be used for decrease mid under sleeve. Begin round at the marker thread and work stockinette stitch in the round. When sleeve measures 2 cm = ¾" from division, decrease 2 stitches mid under sleeve - read DECREASE TIP. Decrease as follows every 8-8-4½-3½-2½-2½ cm = 3⅛"-3⅛"-1⅝"-1¼"-1"-1" 4-4-6-7-8-8 times in total = 34-36-36-38-40-42 stitches. Work without decreases until sleeve measures 29-28-27-26-23-22 cm = 11⅜"-11"-10⅝"-10¼"-9"-8¾" from division (approx. 12 cm = 4¾" remain before finished measurements, try the sweater on and work to desired length). Knit 1 round while increasing 6 stitches evenly = 40-42-42-44-46-48 stitches. Switch to double pointed needles size 6 MM = US 10. Work rib in the round = knit 1/purl 1 for 12 cm = 4¾". Bind off with knit over knit and purl over purl - remember BIND-OFF TIP. Sleeve measures approx. 41-40-39-38-35-34 cm = 16⅛"-15¾"-15¼"-15"-13¾"-13⅜" from division. Work the other sleeve the same way. ASSEMBLY: Sew the buttons on to left front piece. |
|
 |
|
Have you finished this pattern?Tag your pictures with #dropspattern #rhythmicrainjacket or submit them to the #dropsfan gallery. Do you need help with this pattern?You'll find 31 tutorial videos, a Comments/Questions area and more by visiting the pattern on garnstudio.com. © 1982-2026 DROPS Design A/S. We reserve all rights. This document, including all its sub-sections, has copyrights. Read more about what you can do with our patterns at the bottom of each pattern on our site. |
|


With over 40 years in knitting and crochet design, DROPS Design offers one of the most extensive collections of free patterns on the internet - translated to 17 languages. As of today we count 325 catalogs and 12298 patterns - 12288 of which are translated into English (US/in).
We work hard to bring you the best knitting and crochet have to offer, inspiration and advice as well as great quality yarns at incredible prices! Would you like to use our patterns for other than personal use? You can read what you are allowed to do in the Copyright text at the bottom of all our patterns. Happy crafting!
Post a comment to pattern DROPS 228-41
We would love to hear what you have to say about this pattern!
If you want to leave a question, please make sure you select the correct category in the form below, to speed up the answering process. Required fields are marked *.