
Popular categories
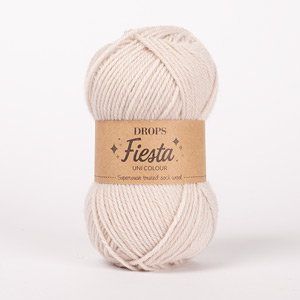
Looking for a yarn?


Comments / Questions (10)
![]() Kirsten wrote:
Kirsten wrote:
Sticka uppifrån o ned är nytt för mig. Önskvärd att det skulle stå antalet masker på varje omgång. Har fått räcka upp många gånger, då felet inte har upptäckts i tid. Får inte rätt antal masker, o blir trött på detta.
21.05.2026 - 20:02
![]() Roza wrote:
Roza wrote:
Bardzo dziękuję, już wszystko rozumiem:) Pozdrawiam serdecznie
05.05.2026 - 22:39
![]() Roza wrote:
Roza wrote:
Jestem w miejscu, gdzie będę dzielić robótkę na przod/tył i rękawy. Nie wiem gdzie maja się znaleźć oczka regionu- na przodach i tyle robótki, czy podzielić te oczka równomiernie na rękawy i przody i tył. Drugie pytanie to nie rozumiem czemu mam dodać oczka przed ściągaczem i zwiększyć ilość oczek na dole swetra.
27.04.2026 - 18:54DROPS Design answered:
Witaj Rozo, zależnie od tego który rozmiar wykonujesz, dzielisz robótkę jak w opisie w części PODZIAŁ ROBÓTKI NA TYŁ/PRZODY i RĘKAWY - masz tam podane ile oczek ma być na poszczególną część swetra (tył, przody, rękawy). Pytanie 2: dodajesz oczka na dole przed ściągaczem, aby ściągacz miał podobną szerokość jak pozostała część swetra. Jeśli wolisz styl bardziej retro, gdzie ściągacz ściąga mocnej robótkę na dole (sweterek ma kształt bombki), to nie musisz tego robić. Pozdrawiamy!
28.04.2026 - 09:48
![]() Régine wrote:
Régine wrote:
Bonjour, Je suis étonnée que le tricot soit tricoter avec des aiguilles n°4 et les côtes avec des aiguilles n°2,5 ? Merci
02.02.2026 - 16:49DROPS Design answered:
Bonjour Régine, pour ce modèle, les côtes sont tricotées en 2,5 et le jersey avec les aiguilles 4, pensez à bien vérifier votre échantillon, vous devez avoir 21 m x 28 rangs jersey = 10 x10 cm; adaptez la taille des aiguilles si besoin, et adaptez celles des côtes en conséquence aussi en fonction. Bon tricot!
02.02.2026 - 17:21
![]() Josefine wrote:
Josefine wrote:
Danke!
15.01.2026 - 13:52
![]() Josefine wrote:
Josefine wrote:
Liebes Drops-Team, dankye für Ihre Nachfrage. Ich möchte Größe M stricken.
12.01.2026 - 21:06DROPS Design answered:
Liebe Joséfine, so in M haben Sie 129 M: 24 (Vorderteil), 3 M (Raglan = A.1), 17 M (Ärmel), 3 m (Raglan/A.1), 35 M (Rückenteil), 3 M (Raglan/A.1), 17 M (Ärmel), 3 M (Raglan/A.1) und 24 M (Vorderteil) = 24+3+17+3+35+3+17+3+24=129 M. Dann wird man insgesamt 28 Mal 8 M für Raglan zunehmen: 129+(8x26)=353 M. Kann das schon hilfen?
14.01.2026 - 09:32
![]() Josefine wrote:
Josefine wrote:
Kann es sein, dass bei der Angabe der gesamten Maschenzahl nach den Raglanzunahmen die Raglanmaschen nicht berücksichtigt worden sind? Ich komme beim Stricken nicht auf die angebene Maschenzahl.
11.01.2026 - 18:06DROPS Design answered:
Liebe Joséfine, alle Masche sind damit gerechnet, welche Größe stricken Sie? So können wir Ihnen erklären, wie die Maschen gerechnet werden.
12.01.2026 - 16:51
![]() Andrea wrote:
Andrea wrote:
Viel zu kompliziert....
07.10.2025 - 10:01
![]() Bulteau wrote:
Bulteau wrote:
A1 c est quoi
23.09.2025 - 17:33DROPS Design answered:
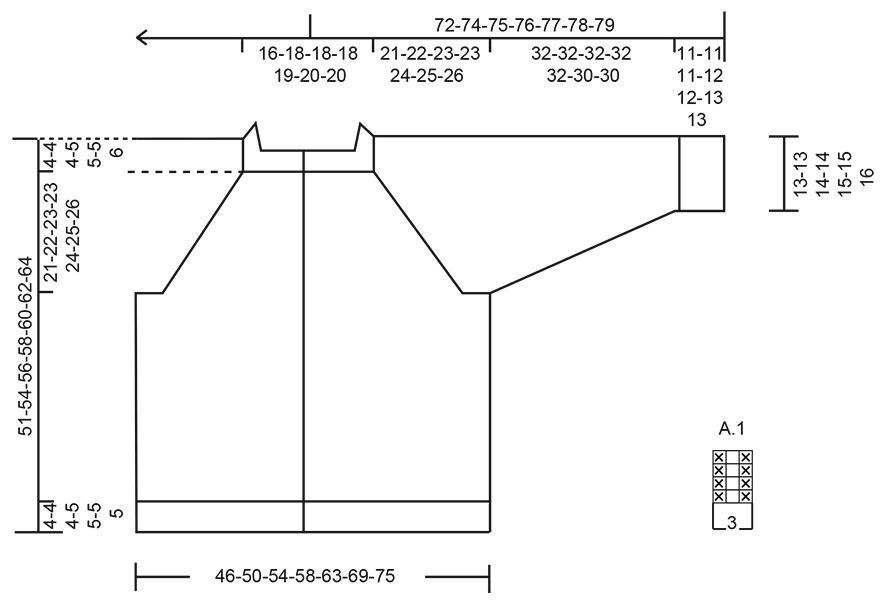
Bonjour Mme Bulteau, A.1 correspond au diagramme tricoté pour les raglans (entre les manches et le dos/les devants); vous trouverez ce diagramme en bas de page, à droite du schéma des mesures, il se tricote ainsi (vu sur l'endroit): 1 m envers, 1 m endroit, 1 m envers. Bon tricot!
24.09.2025 - 16:58
![]() Wenche Trolsberg wrote:
Wenche Trolsberg wrote:
Hei. Hvor er diagram A1? Jeg finner ikke dette i oppskriften
19.09.2025 - 18:31DROPS Design answered:
Hei Wenche, Diagram A.1 er på bunnen av oppskriften, nederst til høyre ved målskissen. Hilsen Drops team.
22.09.2025 - 06:26
|
|||||||
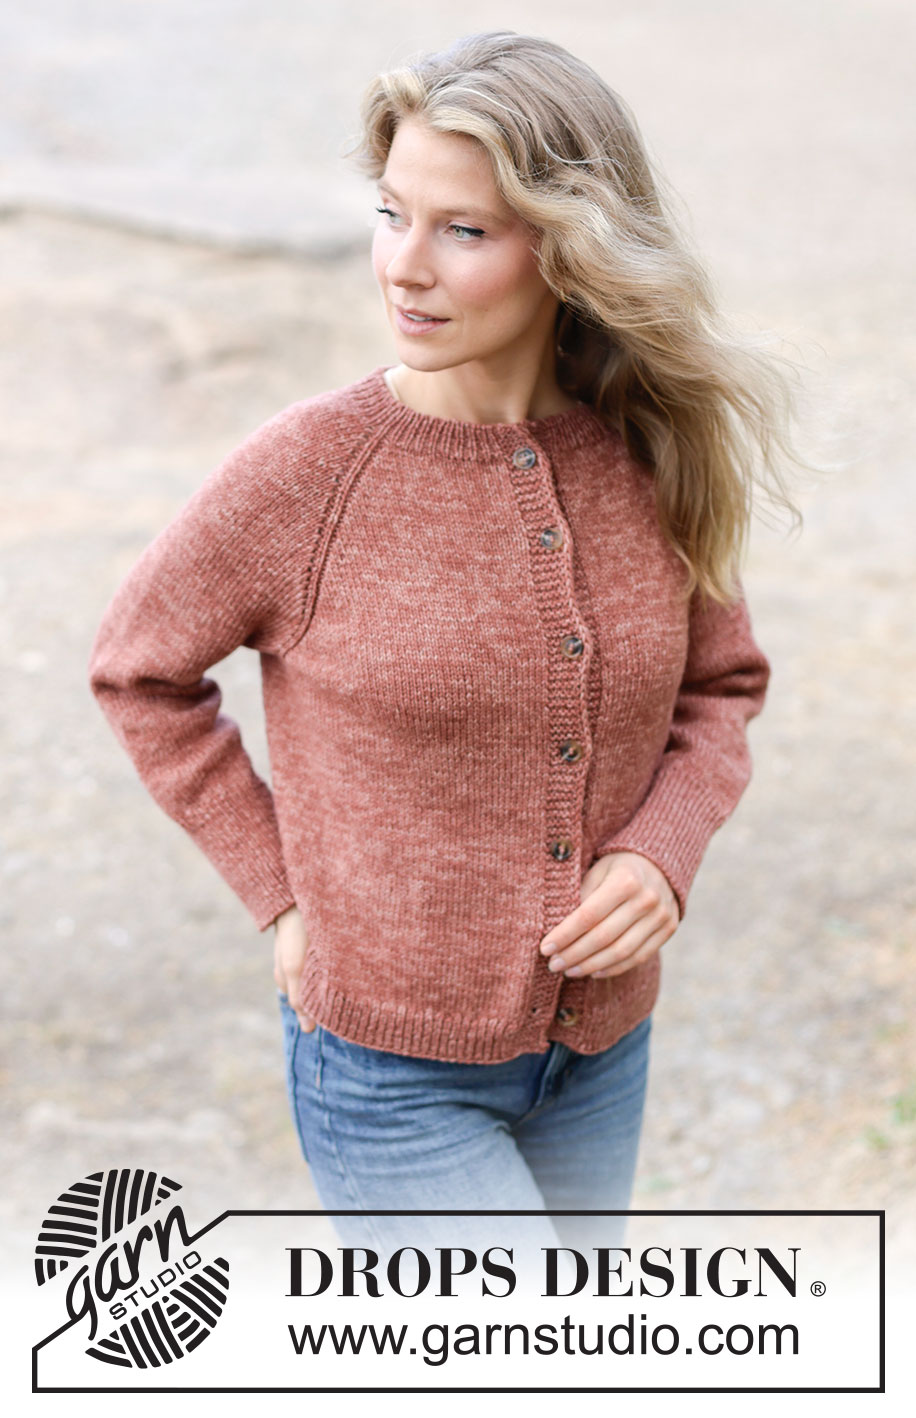
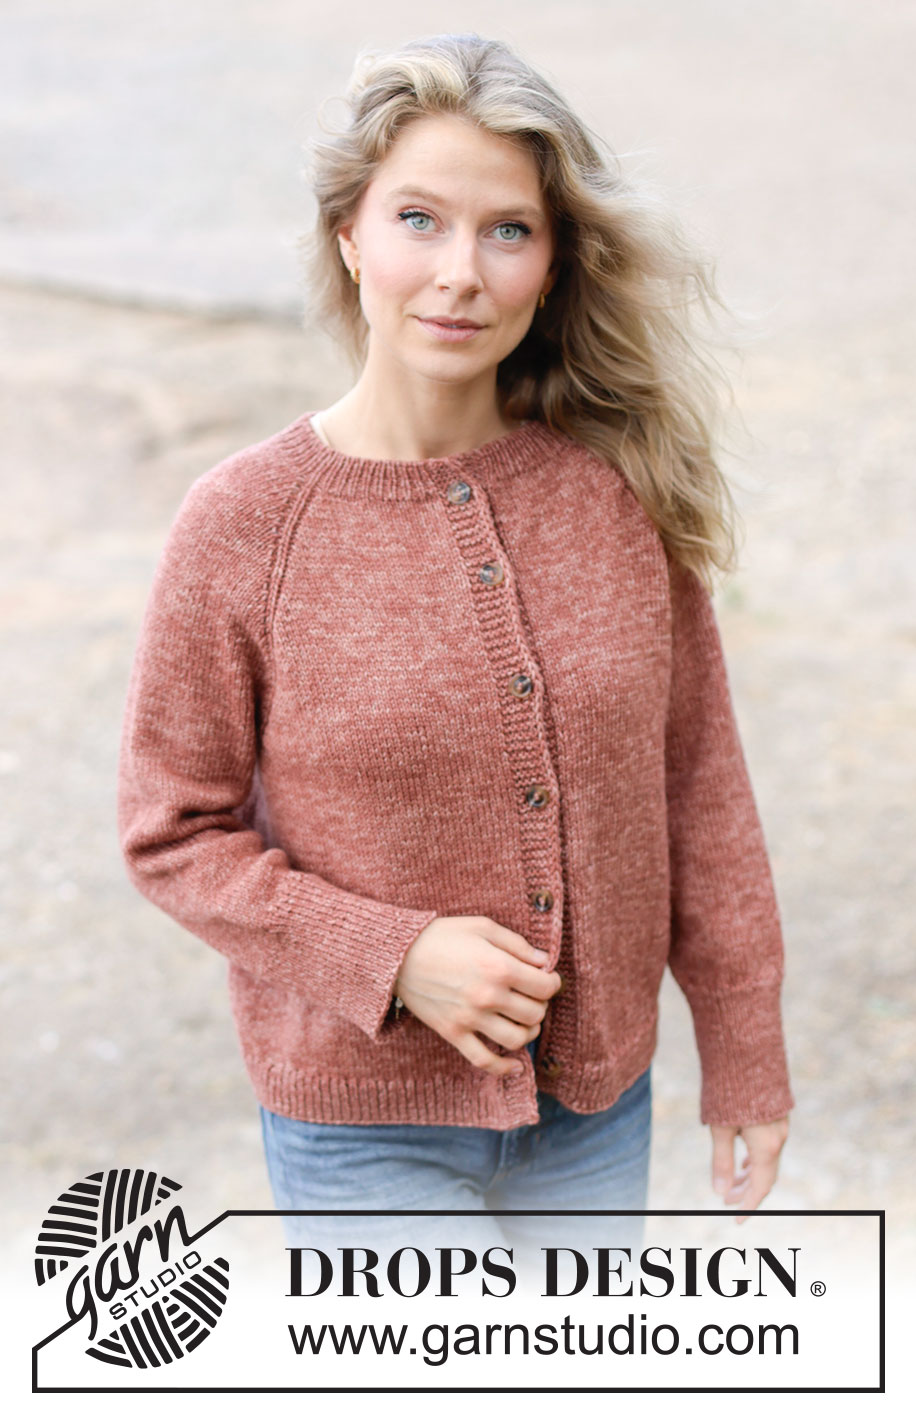
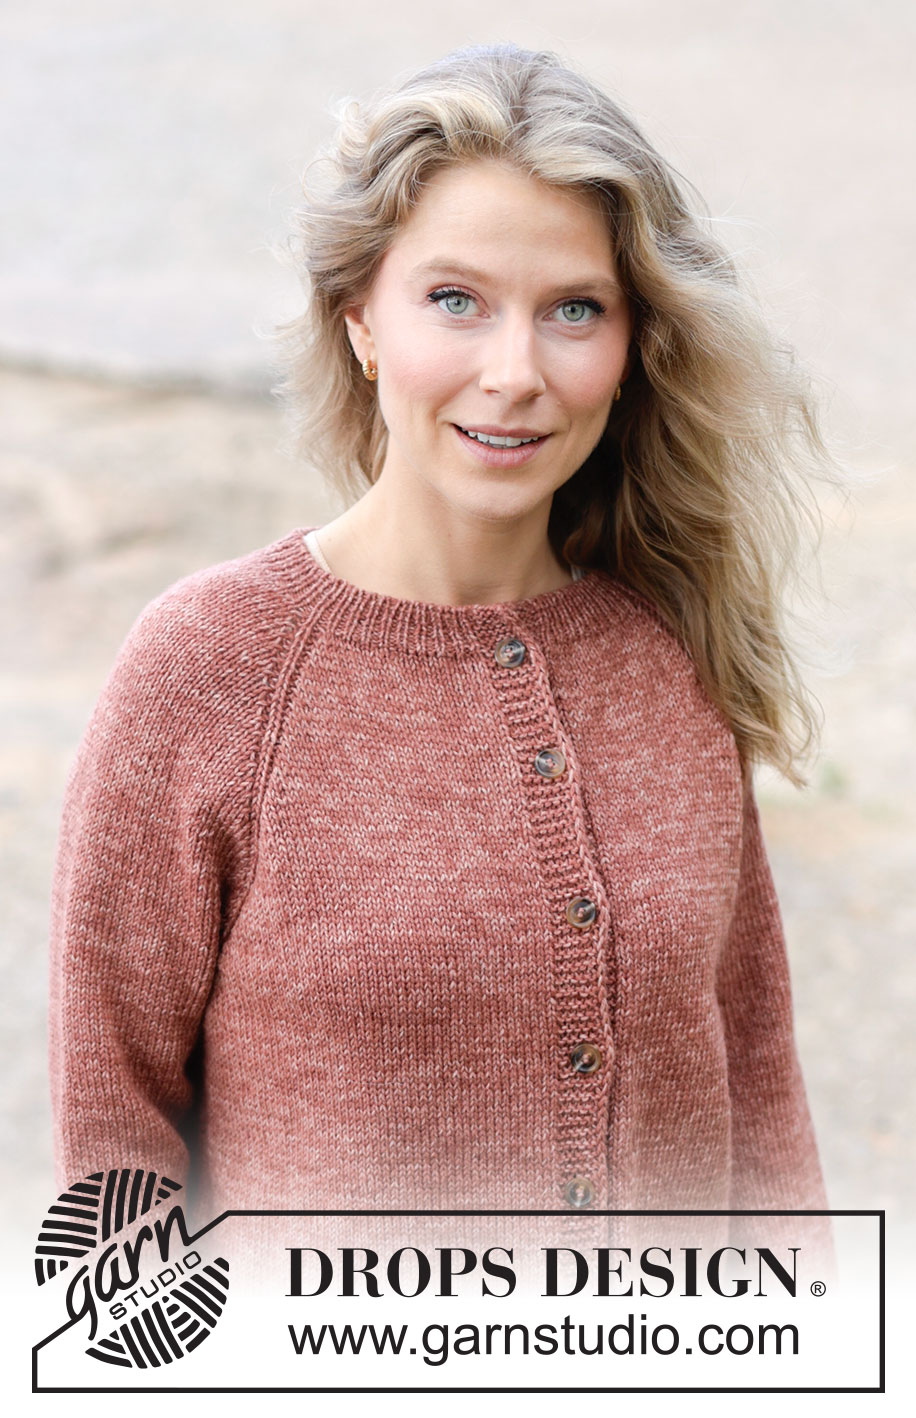
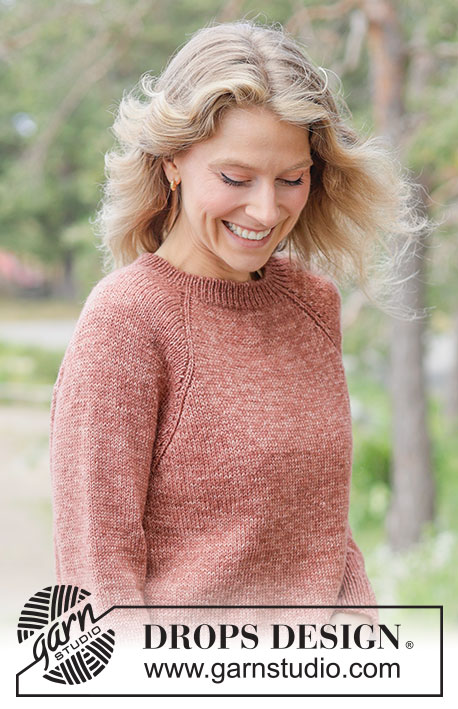
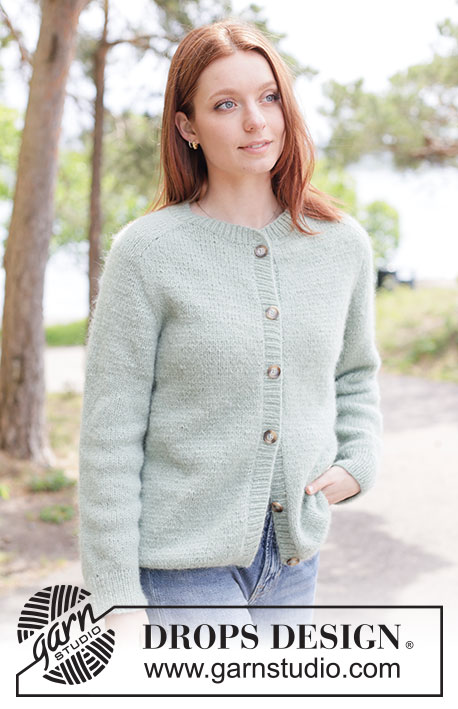
Canyon Twist Cardigan#canyontwistcardigan |
|||||||
 |
 |
||||||
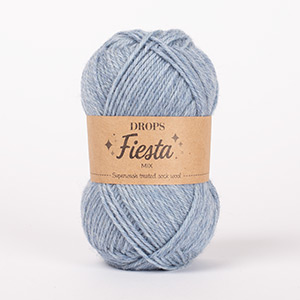
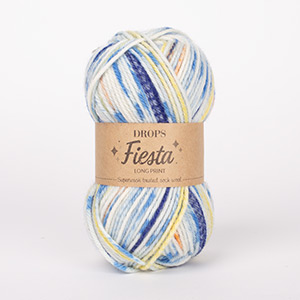
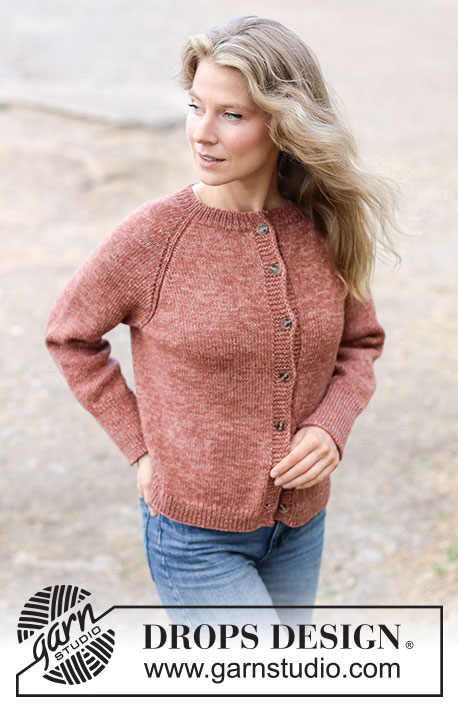
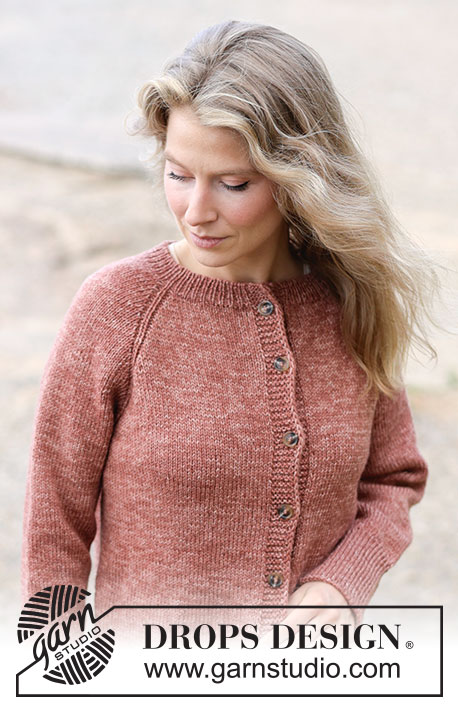
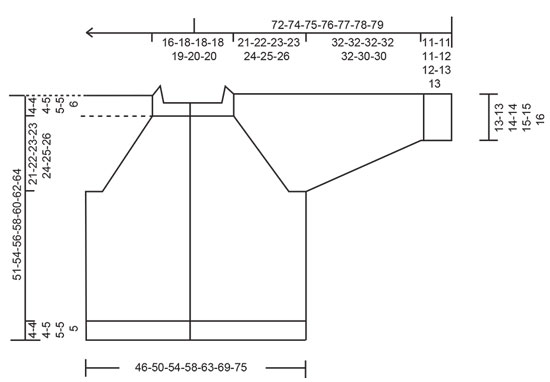
Knitted jacket in DROPS Fiesta. The piece is worked top down with stockinette stitch and raglan. Sizes XS - XXXL.
DROPS 264-20 |
|||||||
|
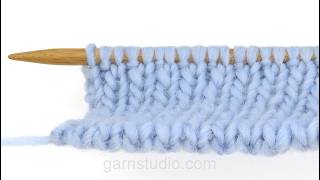
------------------------------------------------------- EXPLANATIONS FOR THE PATTERN: ------------------------------------------------------- BANDS WITH I-CORD BEGINNING OF ROW: Slip 1 stitch purl-wise with strand in front, knit 1, work 5 garter stitches. END OF ROW: Work until there are 7 stitches left on the row, work 5 garter stitches, slip 1 stitch purl-wise with strand in front, knit 1. Work in the same way from both the right and wrong side. PATTERN: See diagram A.1. The diagram shows all rows in the pattern from the right side. BUTTONHOLES: Work the buttonholes on the right front band (when garment is worn), from the right side, when there are 5 stitches left on the row. ROW 1 (right side): Make 1 yarn over, knit 2 together, knit 1, slip 1 purl-wise with strand in front, knit 1. ROW 2 (wrong side): Work the band as before, knit the yarn over to leave a hole. The first buttonhole is worked on the first row from the right side after the neck is finished. Then work the other 6-6-6-6-7-7-7 buttonholes with 7-7½-8-8-7-7-7½ cm = 2¾"-2⅞"-3⅛"-3⅛"-2¾"-2¾"-2⅞" between each one. RAGLAN: Increase 1 stitch by making 1 yarn over. On the next row work the yarn overs as follows: BEFORE MARKER: Purl through the back loop of the yarn over to avoid a hole. Work the new stitch in stockinette stitch. AFTER MARKER: Slip the yarn over off the left needle and replace it the other way round (insert the left needle through the back when replacing it). Purl through the front loop to avoid a hole. Work the new stitch in stockinette stitch. SLEEVE TIP: When knitting up stitches under the sleeve, you can get a small hole in the transition between stitches on the body and sleeve. This hole can be closed by picking up the strand between 2 stitches and working this strand twisted together with the first stitch between body and sleeve. DECREASE TIP: Decrease 1 stitch on each side of the marker-thread as follows: Work until there are 3 stitches left before the marker-thread, knit 2 together, knit 2 (marker-thread sits between these 2 stitches), slip 1 stitch knit-wise, knit 1 and pass the slipped stitch over the knitted stitch (2 stitches decreased). ------------------------------------------------------- START THE PIECE HERE: ------------------------------------------------------- JACKET – SHORT OVERVIEW OF THE PIECE. The pattern uses both long and short needles; start with the length which fits the number of stitches and change when necessary. The neck and yoke are worked back and forth, top down. When the yoke is finished, it is divided for body and sleeves and the body continued back and forth, while the sleeves wait. The sleeves are worked in the round, top down. If there is a «0» in your chosen size, skip the information and go straight to the next instruction. NECK: Cast on 121-129-129-137-143-145-153 stitches with circular needle size 2.5 MM = US 1.5 and DROPS Fiesta or cast on with Italian cast-on – see our videos. ROW 1 (wrong side): Work BAND WITH I-CORD – read explanation above, rib (purl 1, knit 1) until there are 7 stitches left, work band with I-cord. ROW 2 (right side): Work BAND WITH I-CORD – read explanation above, rib (knit 1, purl 1) until there are 7 stitches left, work band with I-cord. Repeat ROWS 1 and 2 until the neck measures 4-4-4-4-5-5-5 cm = 1½"-1½"-1½"-1½"-2"-2"-2" – finishing after a row from the wrong side. Insert 1 marker inside one band; the piece is now measured from here. YOKE: Insert 8 markers from the right side, without working the stitches, with the markers inserted on each side of 3 stitches (raglan-stitches). You increase for raglan on each side these 3 raglan-stitches. The raglan-stitchers are worked in PATTERN – read explanation above. Count 22-24-24-24-26-26-26 stitches (= front piece), Insert marker-1 before the next stitch, count 3 stitches (= raglan-stitches/A.1), Insert marker-2 before the next stitch, count 17-17-17-21-21-21-25 stitches (= sleeve), Insert marker-3 before the next stitch, count 3 stitches (= raglan-stitches/A.1), Insert marker-4 before the next stitch, count 31-35-35-35-37-39-39 stitches (= back piece), Insert marker-5 before the next stitch, count 3 stitches (= raglan-stitches/A.1), Insert marker-6 before the next stitch, count 17-17-17-21-21-21-25 stitches (= sleeve), Insert marker-7 before the next stitch, count 3 stitches (= raglan-stitches/A.1), Insert marker-8 before the next stitch, there are 22-24-24-24-26-26-26 stitches left after the last marker (= front piece). Change to circular needle size 4 MM = US 6. Work the next row as follows, increasing for RAGLAN – read explanation above, and remembering to work the BUTTONHOLES – read explanation above: RAGLAN: ROW 1 (right side): Work the band as before, stockinette stitch and work A.1 across the raglan-stitches. Increase for raglan on each side of the raglan-stitches/A.1 (= 8 increased stitches). In addition, increase 0-0-0-0-0-2-3 stitches evenly on each front piece and 0-0-0-0-0-4-6 stitches evenly on the back piece = 129-137-137-145-151-161-173 stitches. ROW 2 (wrong side): Work the band as before, stockinette stitch and A.1 – remember to work the yarn overs as explained under RAGLAN. ROW 3 (right side): Work the band as before, stockinette stitch and A.1, increase for raglan on each side of the raglan-stitches/A.1 (= 8 increased stitches). ROW 4 (wrong side): Work the band as before, stockinette stitch and A.1 – remember to work the yarn overs as explained under RAGLAN. Work ROWS 3 and 4 a total of 19-25-27-21-24-30-29 times (40-52-56-44-50-62-60 rows worked) = 281-337-353-313-343-401-405 stitches. Remember to maintain the knitting gauge. Now increase as follows: ROW 1 (right side): Work the band as before, stockinette stitch and A.1 increase for raglan on each side of the raglan-stitches/A.1 (= 8 increased stitches). ROW 2 (wrong side): Work the band as before, stockinette stitch and A.1. ROW 3 (right side): Work the band as before, stockinette stitch and A.1, increase for raglan on the front and back pieces, i.e., before markers 1 and 5 and after markers 4 and 8 – do not increase across the sleeves (= 4 increased stitches). ROW 4 (wrong side): Work the band as before, stockinette stitch and A.1. Work ROWS 1 to 4 a total of 3-1-1-5-4-2-3 times (= 12-4-4-20-16-8-12 rows worked = 3-1-1-5-4-2-3 increases in height on the sleeves and 6-2-2-10-8-4-6 increases in height on the front and back pieces) = 317-349-365-373-391-425-441 stitches. All increases for raglan are finished; a total of 26-28-30-32-33-35-36 increases in height on the front and back pieces and 23-27-29-27-29-33-33 increases in height on the sleeves. Continue working stockinette stitch and A.1, without further increases, until the yoke measures 21-22-23-23-24-25-26 cm = 8¼"-8¾"-9"-9"-9½"-9¾"-10¼" from the marker mid-front. Now divide for the body and sleeves. DIVIDE FOR BODY AND SLEEVES: After dividing, the raglan-stitches will be positioned slightly inside the front and back pieces. Work the band as before, work 44-48-50-52-57-62-66 stockinette stitches, place the next 63-71-75-75-75-81-81 stitches on a thread for the sleeve, cast on 8-8-12-16-20-20-24 stitches (mid-under the sleeve), work 89-97-101-105-113-125-133 stockinette stitches (= back piece), place the next 63-71-75-75-75-81-81 stitches on a thread for the sleeve, cast on 8-8-12-16-20-20-24 stitches (mid-under the sleeve), work 44-48-50-52-57-62-66 stockinette stitches and the band as before. The body and sleeves are finished separately. BODY: = 207-223-239-255-281-303-327 stitches. Continue the bands and stockinette stitch until the piece measures 43-46-48-48-50-52-53 cm = 17"-18"-19"-19"-19¾"-20½"-21" from the marker mid-front. On the next row from the right side begin the rib, AT THE SAME TIME increase 48-52-56-60-68-72-76 stitches evenly on the first row (do not increase across the bands) = 255-275-295-315-349-375-403 stitches, working as follows: Change to circular needle size 2.5 MM = US 1.5, work the band as before, rib (knit 1, purl 1 – remember to increase) until there are 8 stitches left, knit 1 and work the band as before. When the rib measures 4-4-4-5-5-5-5 cm = 1½"-1½"-1½"-2"-2"-2"-2", bind off a little loosely with rib. The jacket measures approx. 47-50-52-53-55-57-58 cm = 18½"-19¾"-20½"-21"-21⅝"-22½"-22¾" from the marker mid-front and 51-54-56-58-60-62-64 cm = 20"-21¼"-22"-22¾"-23⅝"-24⅜"-25¼" from the shoulder. SLEEVES: Place the 63-71-75-75-75-81-81 sleeve-stitches from one thread on circular needle size 4 MM = US 6 and knit up 1 stitch in each of the 8-8-12-16-20-20-24 stitches cast on under the sleeve – read SLEEVE TIP = 71-79-87-91-95-101-105 stitches. Insert a marker-thread in the middle of the 8-8-12-16-20-20-24 stitches under the sleeve- the round starts by the marker-thread. Work stockinette stitch in the round. AT THE SAME TIME, when the sleeve measures 1 cm = ⅜" from the division, decrease mid-under the sleeve – read DECREASE TIP as follows: Decrease 2 stitches every 2nd round 2-2-2-2-3-3-3 times, then decrease 2 stitches every 4-2½-2-2-2-1½-1½ cm = 1½"-1"-¾"-¾"-¾"-½"-½" a total of 7-11-13-14-13-15-16 times = 53-53-57-59-63-65-67 stitches. Continue working until the sleeve measures 31-31-31-31-31-30-30 cm = 12¼"-12¼"-12¼"-12¼"-12¼"-11¾"-11¾" from the division. Change to double pointed needles size 2.5 MM = US 1.5. Work rib (knit 1, purl 1), AT THE SAME TIME increase 13-15-15-15-15-17-17 stitches evenly on the first round = 66-68-72-74-78-82-84 stitches. When the rib measures 11-11-11-12-12-13-13 cm = 4⅜"-4⅜"-4⅜"-4¾"-4¾"-5⅛"-5⅛", bind off slightly loosely with rib. The sleeve measures approx. 43-43-43-44-44-43-43 cm = 17"-17"-17"-17¼"-17¼"-17"-17" from the division. ASSEMBLY: Sew the buttons onto the left band. |
|||||||
Diagram explanations |
|||||||
|
|||||||
 |
|||||||
 |
|||||||
Have you finished this pattern?Tag your pictures with #dropspattern #canyontwistcardigan or submit them to the #dropsfan gallery. Do you need help with this pattern?You'll find 34 tutorial videos, a Comments/Questions area and more by visiting the pattern on garnstudio.com. © 1982-2026 DROPS Design A/S. We reserve all rights. This document, including all its sub-sections, has copyrights. Read more about what you can do with our patterns at the bottom of each pattern on our site. |
|||||||


With over 40 years in knitting and crochet design, DROPS Design offers one of the most extensive collections of free patterns on the internet - translated to 17 languages. As of today we count 325 catalogs and 12298 patterns - 12288 of which are translated into English (US/in).
We work hard to bring you the best knitting and crochet have to offer, inspiration and advice as well as great quality yarns at incredible prices! Would you like to use our patterns for other than personal use? You can read what you are allowed to do in the Copyright text at the bottom of all our patterns. Happy crafting!
Post a comment to pattern DROPS 264-20
We would love to hear what you have to say about this pattern!
If you want to leave a question, please make sure you select the correct category in the form below, to speed up the answering process. Required fields are marked *.