
Popular categories
Looking for a yarn?

































Comments / Questions (67)
 Valérie wrote:
Ce point fantaisie porte bien un nom, c'est le "point croisé". Le fait de devoir tricoter la maille glissée que l'on rabat sur la maille endroit et idem que faire un jeté. Je peux vous envoyer une photo avec explications, mais je ne sais pas comment faire.
15.07.2026 - 15:19DROPS Design answered:
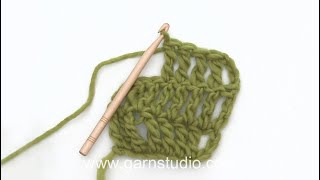
Bonjour Valérie, vous trouverez ici, une vidéo montrant comment réaliser ce point fantaisie. Elle devrait pouvoir vous aider. Bon tricot!
03.08.2026 - 16:26
 Fulvia wrote:
Buongiorno, vorrei sapere se gli aumenti a ridosso dei segna punti si effettuano uno prima e uno dopo di questi ultimi. Grazie
11.07.2026 - 17:02DROPS Design answered:
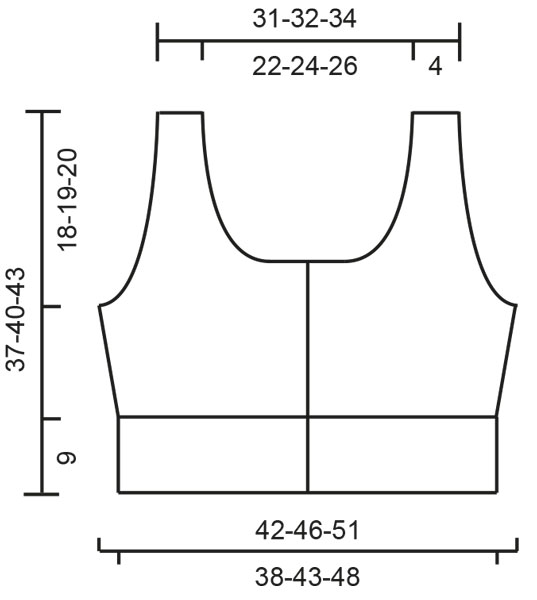
Buongiorno Fulvia, può trovare lo schema delle misure in fondo alla pagina. Buon lavoro!
05.08.2026 - 16:01
 Antonia wrote:
Hola, según el patrón para talla S, hay que colocar un MP a los 55 pt y otro a los 165 pt. En la sección de comentarios, el 02/07/2019, la respuesta al usuario SAVALLE dice lo siguiente: "debe colocar 2 marcadores, cada uno a 61 puntos del borde; esto deja 122 puntos para la parte de la espalda entre los dos marcadores (coloque el primer marcador después del punto 61 y el segundo marcador después del punto 183)"¿No es contradictorio lo que se dice dentro de los paréntesis?
03.07.2026 - 12:07DROPS Design answered:
Hola Antonia, no hay nada contradictorio. La respuesta de los comentarios es para la talla M. En la talla M tienes 244 pts. Los marcapuntos se colocan para separar los delanteros y la espalda, por lo que los puntos antes del 1º marcapuntos y después del 2º marcapuntos deberían ser iguales, para hacer los dos delanteros iguales. Efectivamente, colocas 1 marcapuntos después de 61 pts y, contando desde el final, 244-61= 183 pts, así que el marcapuntos está en el 183º pt (contando desde el principio, no desde el 1º marcapuntos). Para la talla S tenemos 220 pts en total y se coloca el 1º marcapuntos a 55 pts y el 2º a 55 pts del final (220-55 = 165 pts) así que en el 165º pt. Y la espalda es el doble que los delanteros: 110 pts para la talla S o 122 para la M.
05.07.2026 - 20:22
 ALICE PEIXEIRO wrote:
Boa tarde, gosto dos vossos modelos, já fiz vários e queria fazer este top, mas estou com dificuldades no modelo, precisava do esquema para o poder elaborar, visto não estar a compreender com as explicações, acho muito confusas, obrigada
18.06.2026 - 15:38DROPS Design answered:
Bom dia, Este modelo não tem esquema por ser um modelo mais antigo, Pode, contudo, ver os nossos tutoriais em vídeo no separador "Vídeos" ao lado da foto ou no link abaixo: https://www.garnstudio.com/pattern.php?id=830&cid=28 Bons crochés, A equipa DROPS
22.06.2026 - 09:16
 Pascale wrote:
J’ai remarqué une deuxième différence entre la vidéo et les explications pour le carré fleur : Au rang 4 ce n’est pas une maille serrée mais une bride qui est faite avant et après chaque coin de 10 ml. Et c’est en effet plus joli comme cela. Je suggère également dans la partie « Top » de préciser que les augmentations doivent être faites sur l’endroit, précision que j’ai trouvée en remontant le fil des questions. Encore bravo et merci pour votre pédagogie !
13.06.2026 - 07:06
Pascale wrote:
Bonjour. Je fais mon premier carré fleur au crochet en m’aidant de le vidéo et il me semble qu’il y a une correction à apporter sur l’explication Carré fleur au crochet R 2 : 4 DB (=remplacer la 1ere DB par 4 ml dans l’arceau) et non par 3 ml dans l’arceau
30.05.2026 - 15:08DROPS Design answered:
Bonjour Pascale et merci pour votre retour, vous avez raison et la correction a été faite. Bonne continuation!
01.06.2026 - 08:04
 Renate Thienel wrote:
Habe das Garn Drops Safran , wie in der Anleitung für dieses Top, bestellt. Die Anleitung für Größe S schlägt für dieses Rückenteil 110 Maschen vor. Das ist viel zu groß. Es müssten viel weniger Maschen sein. Für eine Antwort wäre ich dankbar. VG
22.01.2026 - 13:11DROPS Design answered:
Liebe Renate, haben Sie die Maschenprobe eingehalten? Achten Sie auch auf die Maße in der Maßskizze. Die Maschenzahl passt auf jeden Fall zu der angegebenen Breite.
27.01.2026 - 10:26
Renate Rauch wrote:
Bis jetzt hat alles super geklappt. Drops Safran ist ein tolles Garn und die Videos haben mir sehr geholfen. Ich bin nun schon fast fertig. Nun meine Frage: wird auf der Knopflochreihe unten an der Blumenkante auch eine Reihe feste Maschen gehäkelt? Vielen Dank und viele Grüße, Renate Rauch
05.08.2025 - 19:51DROPS Design answered:
Liebe Frau Rauch, die Knopflöcher sind nicht bei der Blumenkante, nur bei dem Strickteil vom Top. Viel Spaß beim Stricken!
06.08.2025 - 07:47
 Frances wrote:
I don't understand these instructions. "At the same time after 1 cm, inc at markers in each side: 2 sts 5 times every 7th-8th-10th row - inc 2 sts next to each other and work them in pattern so that pattern still fits = 240-264-292 sts." We start with 244 stitches and ends with 264 so an increase of 20 2 stitches on each side would be 4 and it says to do this 5 times which makes 20. So far so good. But why does it say every 7th-8th-10th row?
16.07.2025 - 18:36DROPS Design answered:
Hi Frances, that is the frequency of increasing sts. You increase 4 stitches per row, every 7h-8th-10th row. Happy knitting!
17.07.2025 - 10:09
 Suzanne wrote:
Bonjour, je ne comprends pas comment faire les augmentations dans ce point fantaisie. Dans la vidéo, on nous montre une augmentation dans un point jersey. Merci
10.07.2025 - 22:16DROPS Design answered:
Bonjour Suzanne, utilisez cette technique ICI, mais augmentez l'une à côté de l'autre. Sur l'envers vous tricotez a l'envers avec 2 mailles au point mousse de chaque cote. Le rang suivant est tricote comme avant (rang 1 du point fantaisie). Bon tricot!
14.07.2025 - 09:16
|
|
Beachside Garden#beachsidegardentop |
|
 |
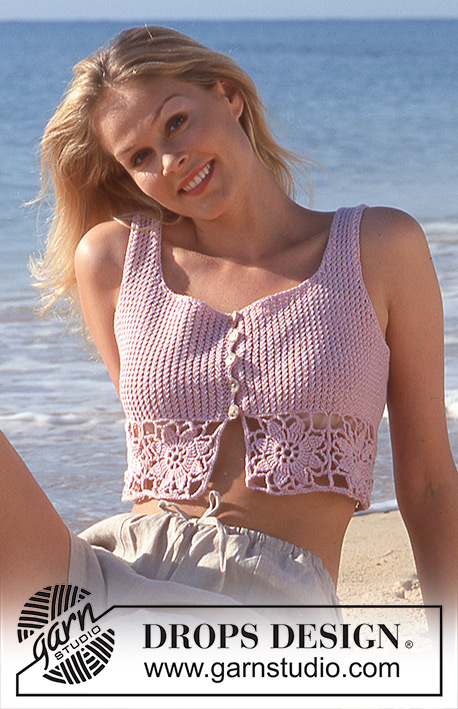 |
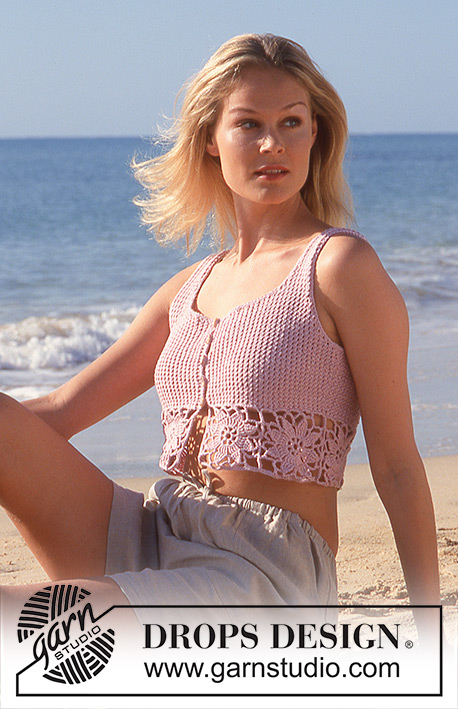
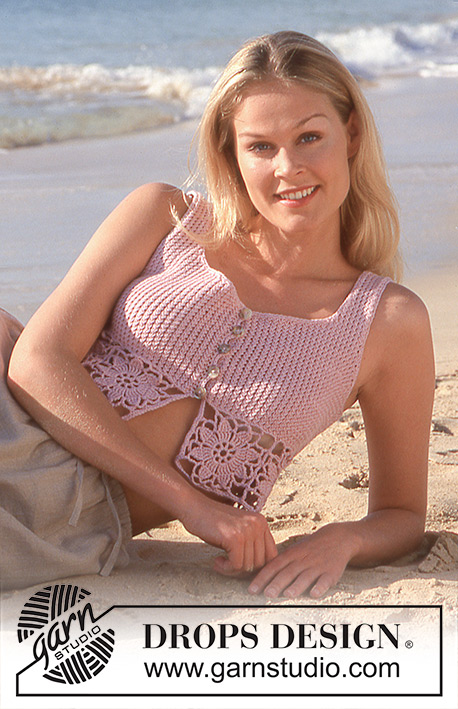
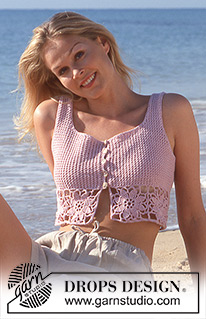
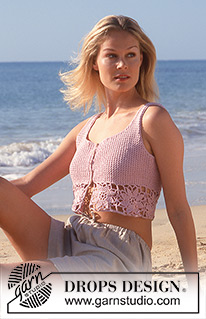
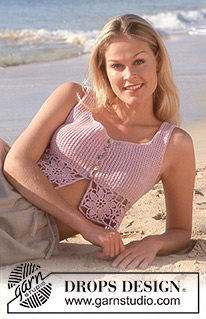
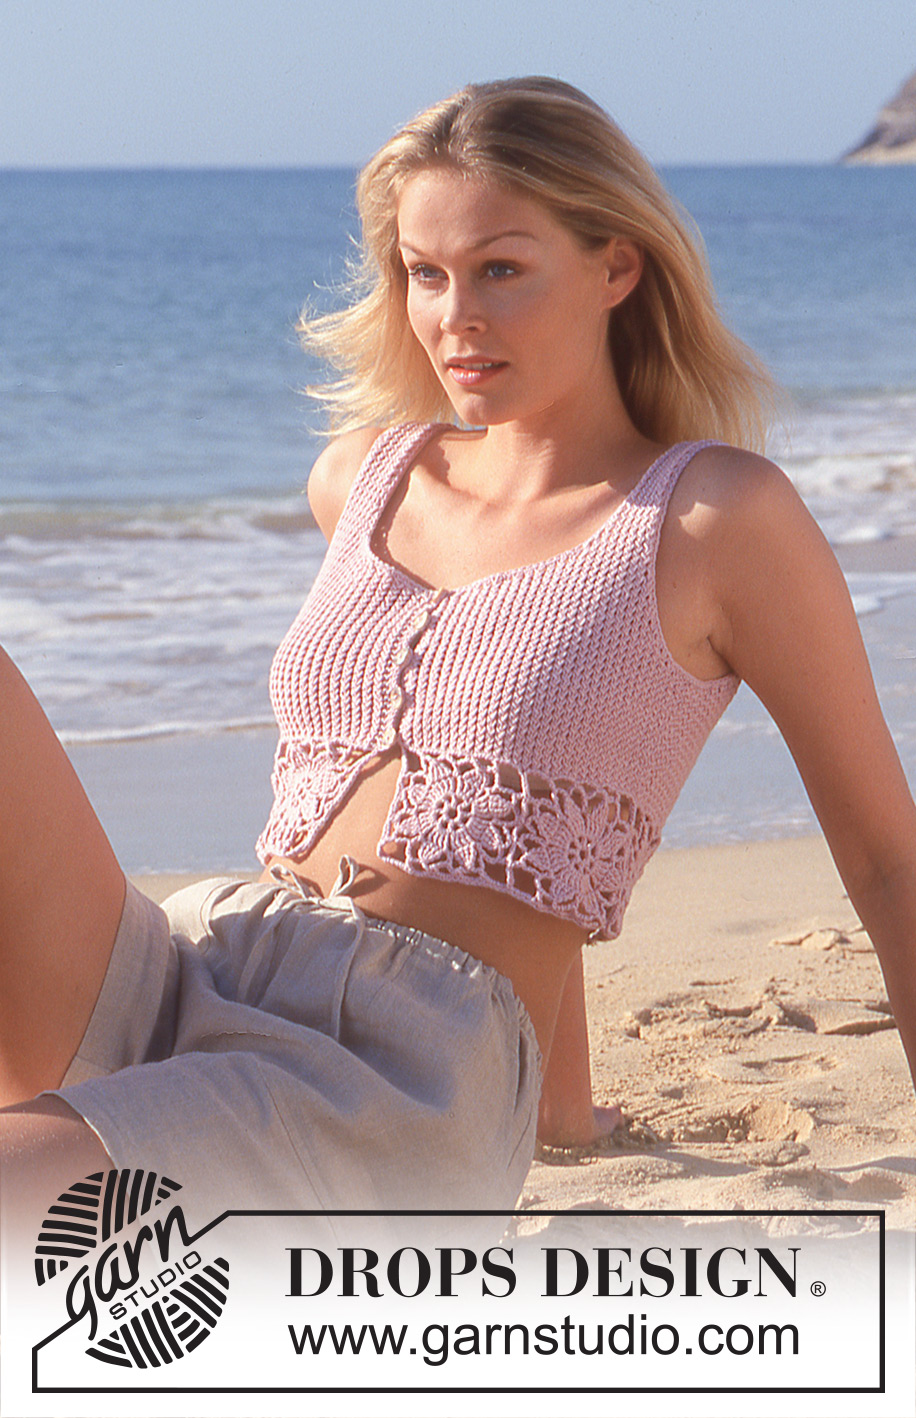
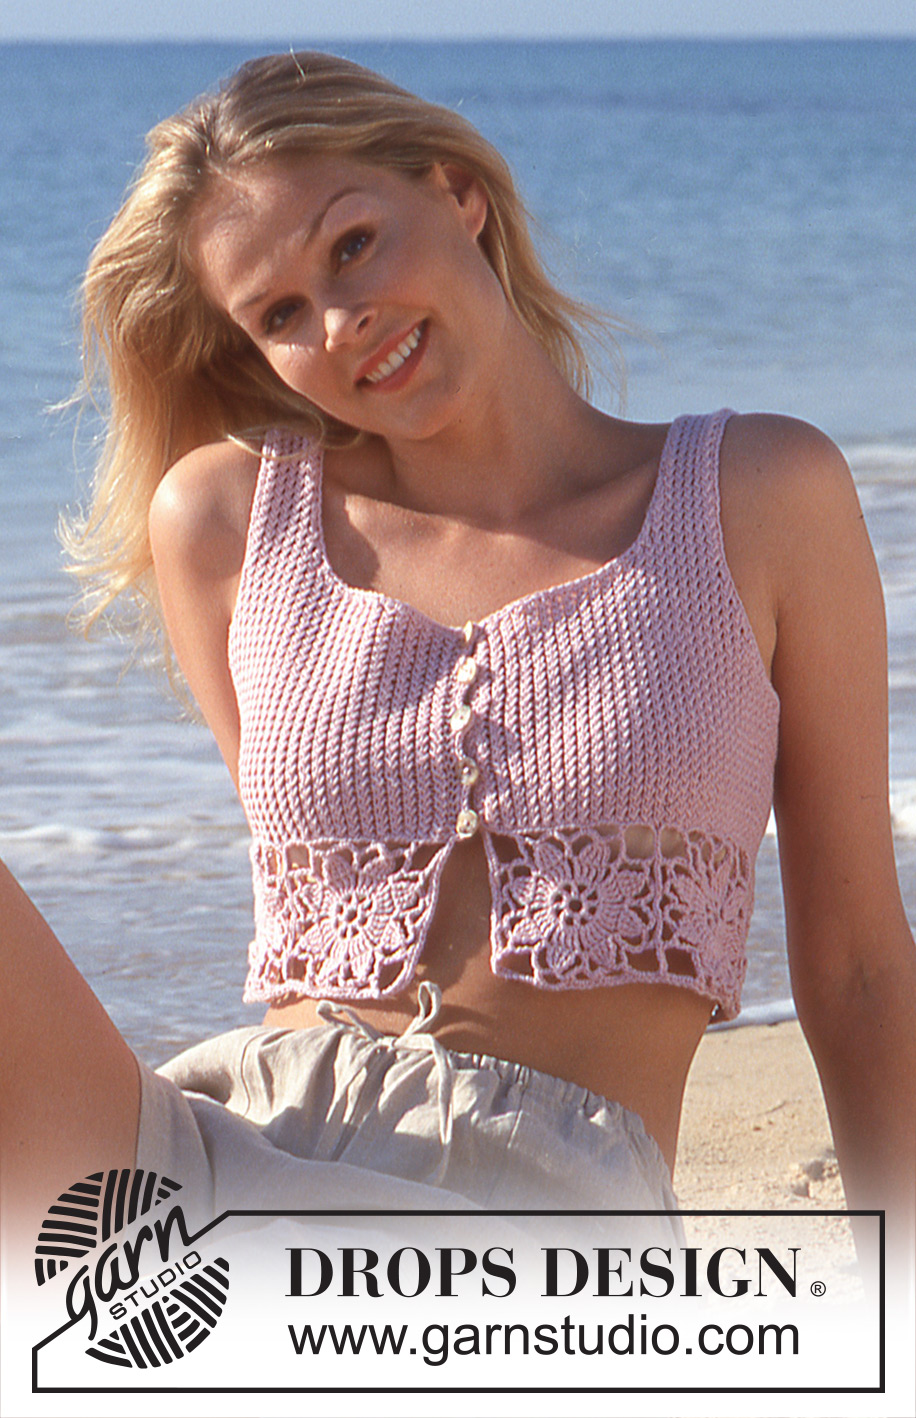
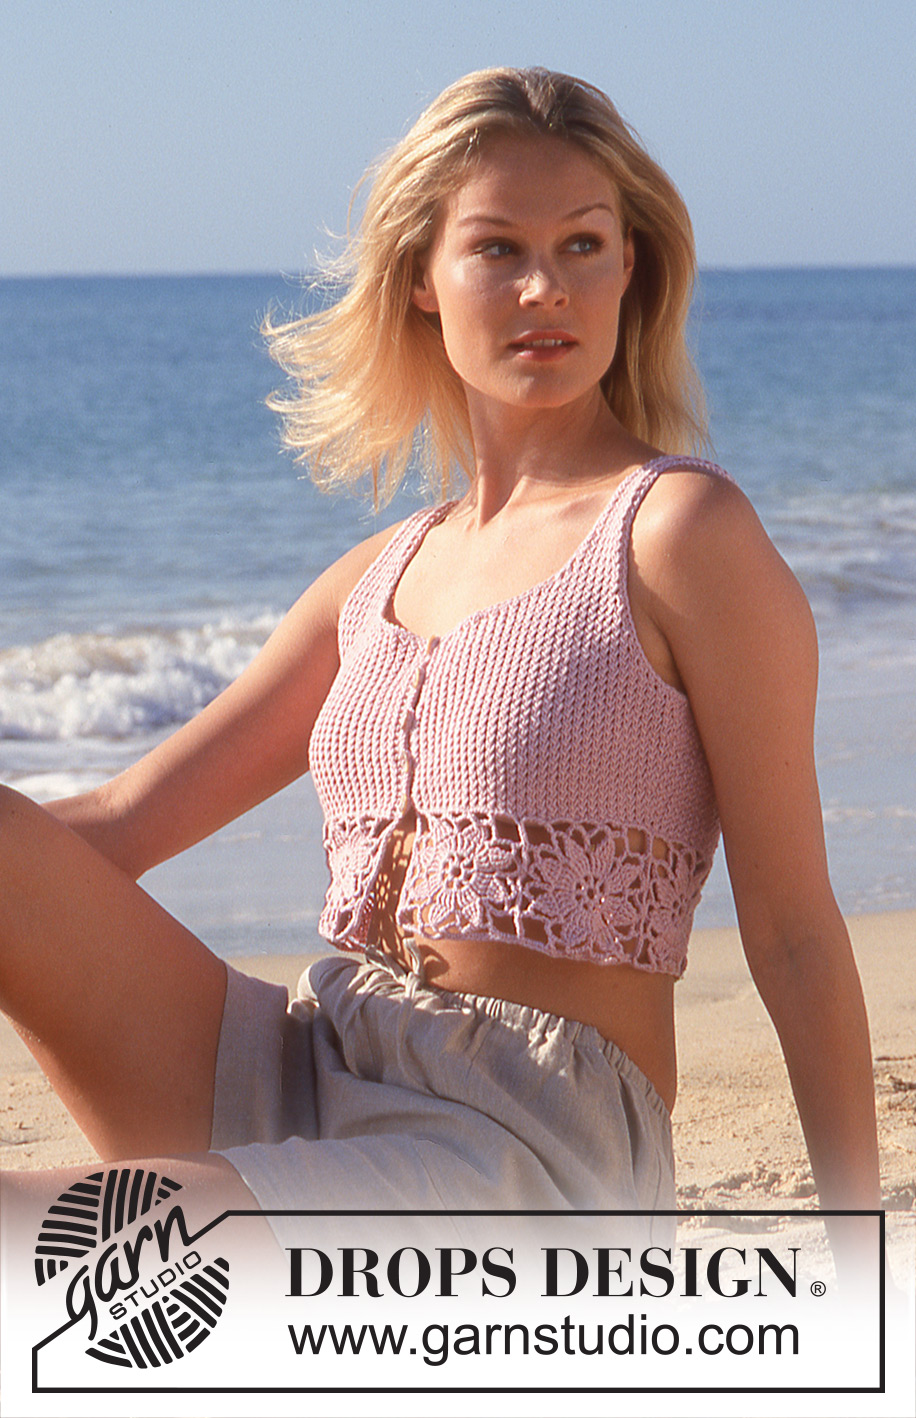
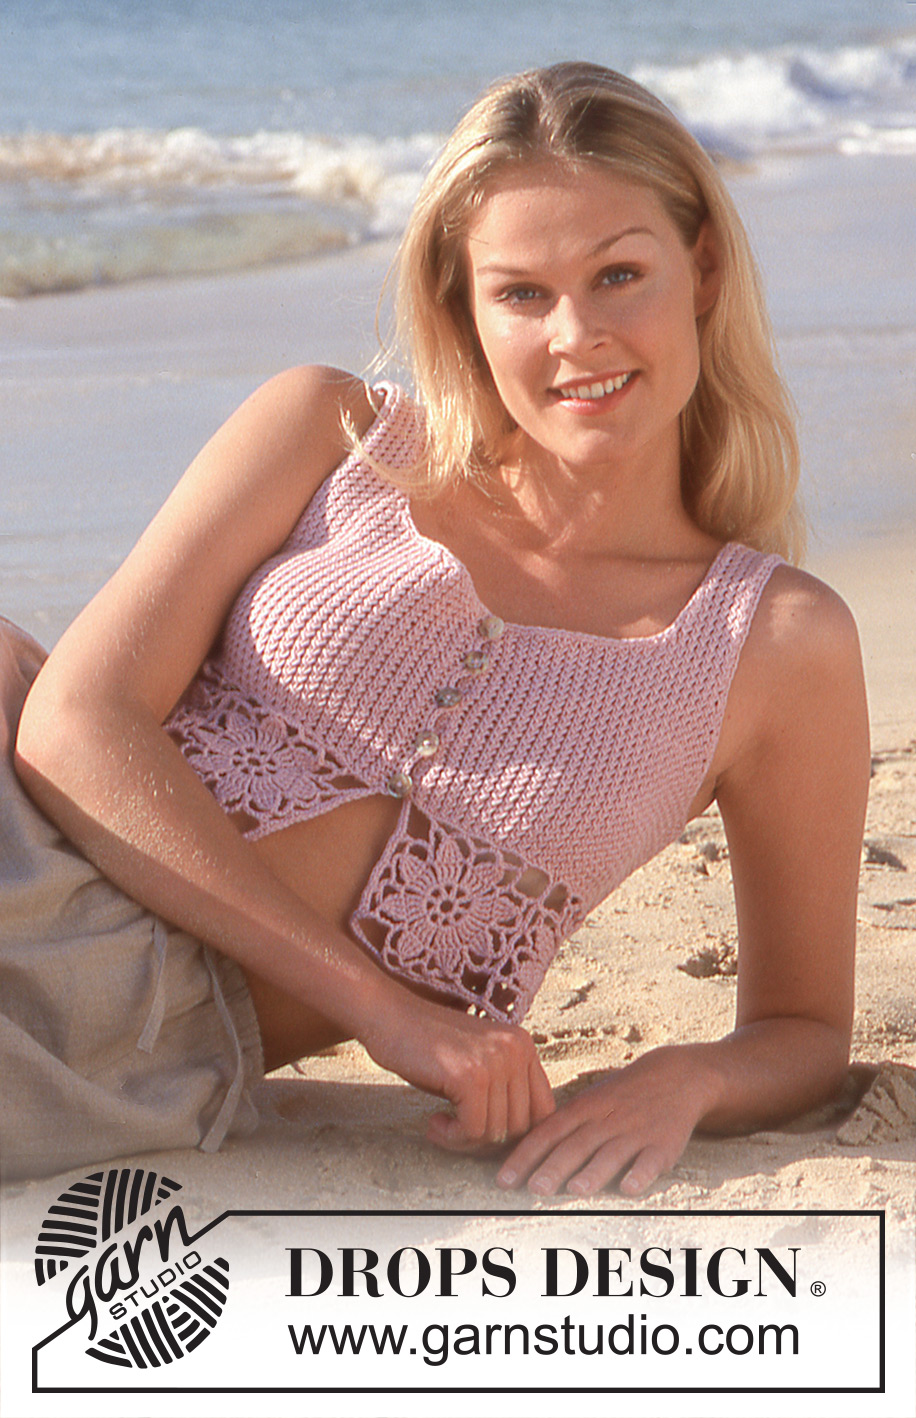
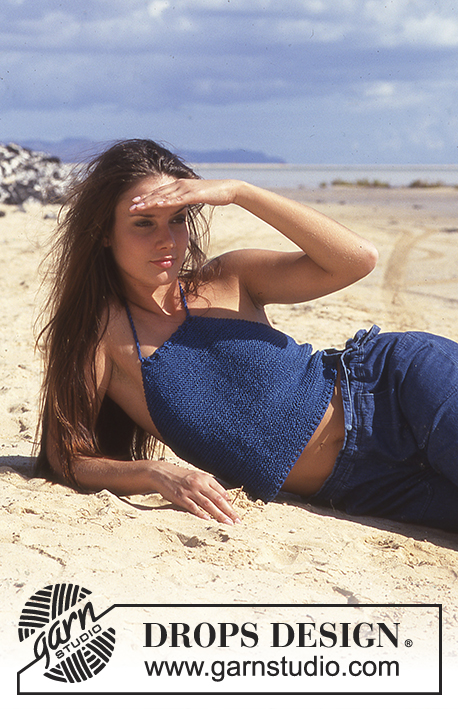
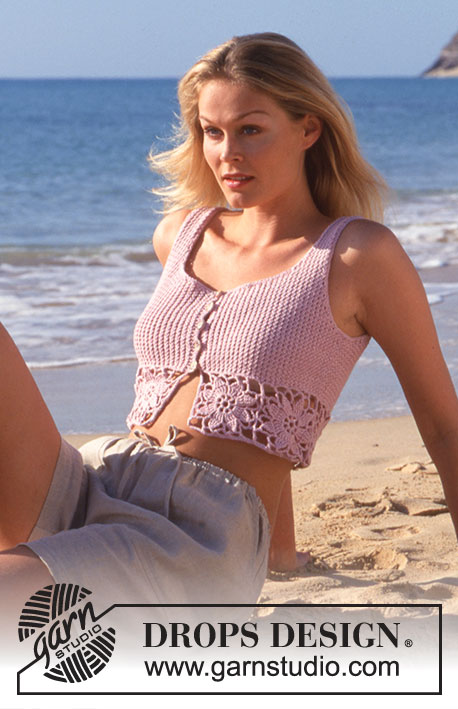
DROPS Short top in Safran with crocheted flower squares.
DROPS 64-8 |
|
|
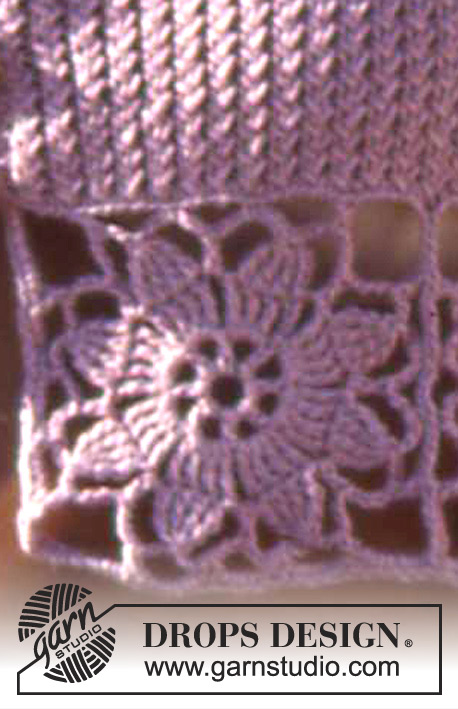
KNITTING GAUGE: 26 stitches in width and 34 rows in height in stocking stitch = 10 x 10 cm [4" x 4"] 28 stitches in width x 36 rows in height in pattern = 10 x 10 cm. [4" x 4"] NOTE: Needle size is only a guide. If you get too many stitches on 10 cm [4"], change to a larger needle size. If you get too few stitches on 10 cm [4"], change to a smaller needle size. Crochet gauge: One flower square measures approx. 9.5 x 9.5 cm [3.75" x 3.75"] PATTERN: Pattern is divisible by 2. Row 1: * slip one st as if to K, K 1, pass the slipped st over 1 K and leave the slipped st on left needle, K the slipped st *, repeat from *-*. Row 2: K2, purl all stitches and finish with K2. Repeat 1st and 2nd row Garter st, when knitting flat: Knit all sts, all rows. Knitting tip: All decs are made on right side rows, inside 1 edge st which is knit in garter st throughout. Dec 2 sts as follows: After 1 edge st: Slip 1, K 2 tog, pass the slipped st over (psso). Before 1 edge st: K 3 tog. Dec 1 st as follows: After 1 edge st: Slip 1, K 1, psso. Before 1 edge st: K 2 tog. Crocheted flower square: Chain 8 and join them into a ring with 1 slip st. Row 1: * 1 double crochet (dc) (the first dc is replaced by ch 3), ch 2 *, repeat from * - * 8 times, join with a slip st into the first dc. Row 2: * 4 trebles (the first treble is replaced by ch 4 around the ch st bow, ch 2 *, repeat from * - * 8 times, join with a slip st in the first treble. Row 3: * 4 trebles in the 4 trebles from the previous row (the first treble is replaced by ch 4) -- but keep the last loop of each on the hook until all trebles have been crocheted, then pull the yarn through all sts on the crochet hook (4 sts become 1), ch 6, 1 treble around the ch 2 from the preceding row, ch 6 *, repeat from * - * 8 times, join with a slip st in the first treble group. Row 4: Slip st to the center of the ch st bow, ch 1, 1 single crochet (sc) around the ch st bow, * ch 5, 1 sc around the next ch st bow, ch 5, 1 dc around the next ch st bow, ch 10, 1 dc around the next ch st bow (= corner), ch 5, 1 sc around the next ch st bow *, repeat from * - * a total of 3 times, then ch 5, 1 sc around the next ch st bow, ch 5, 1 dc around the next ch st bow, ch 10, 1 dc around the next ch st bow (= corner), ch 5, join with a slip st in the first sc. Top: Crochet 8-9-10 flower squares - see instructions above. Join together into a long strip - sew in the edge sts. Pick up and knit 220-244-272 sts in the upper ch st round on the crocheted strip. Attach 1 marker in the work after 55-61-68 sts and 1 marker after 165-183-204 sts. Knit Pattern - see instructions above, but keep the 2 edge sts at each side (center front) in garter st throughout. After 1 cm [⅜"], inc 2 sts at each marker 5 times every 7-8-10 rows - inc 2 sts beside each other and knit them into the pattern = 240-264-292 sts. When the work measures 19-21-23 cm [7.5"-8.25"-9"], knit the next row as follows: 57-62-68 sts for the front, bind off 8-10-12 sts for armhole, 110-120-132 sts for the back, bind off 8-10-12 sts for armhole, 57-62-68 sts for the front. Knit the rest of each part separately. Right Front: = 57-62-68 sts. Keeping the armhole edge st in garter st, dec for armholes every other row - see Knitting tip - 2 sts 3-5-6 times, 1 st 6-5-6 times = 45-47-50 sts. When the work measures 23-24-26 cm [9"-9.5"-10.25"], bind off 24-26-29 sts at the center front for neck opening. Keeping the center front edge st in garter st, dec at the neck edge every other row - see Knitting tip - 2 sts 3 times, 1 st 3 times = 12-12-12 sts remain on each shoulder. Continue by knitting Pattern, but keep 1 st at each side in garter st. Bind off when the work measures 37-40-43 cm [14.5"-15.75"-16⅞"]. Left Front: Knit like the right front, but reverse all shaping. Back: 110-120-132 sts. Keeping the armhole edge st in garter st, dec at each side for armholes as on the front = 86-90-96 sts. When the work measures 23-24-26 cm [9"-9.5"-10.25"], bind off the center 44-48-54 sts for neck opening. Keeping each neck edge st in garter st, dec at each neck edge every other row - see Knitting tip: 2 sts 3 times, 1 st 3 times = 12-12-12 sts remain on each shoulder. Continue knitting Pattern, but keep 1 st at each side in garter st throughout. Bind off when the work measures 37-40-43 cm [14.5"-15.75"-16⅞"]. Assembly: Sew the loops on the shoulders together. Crochet around the armhole: 1 row of single crochet (sc) inside 1 edge st. Make 5 buttonholes evenly distributed along the right front edge - the top buttonhole at the very top, the lowest just before the flower squares begin. Crochet inside the 2 edge sts -- begin at the very top as follows: Row 1: ch 5, skip over 1 cm [⅜"] (= 1 buttonhole), sc until the next buttonhole. Row 2: 4 sc around the ch st loop (buttonhole) and slip st between the buttonholes. After row 2: Continue to work sc around the neck opening, down along the left front and around the entire crocheted flower border. Sew on the buttons. |
|
 |
|
Have you finished this pattern?Tag your pictures with #dropspattern #beachsidegardentop or submit them to the #dropsfan gallery. Do you need help with this pattern?You'll find 21 tutorial videos, a Comments/Questions area and more by visiting the pattern on garnstudio.com. © 1982-2026 DROPS Design A/S. We reserve all rights. This document, including all its sub-sections, has copyrights. Read more about what you can do with our patterns at the bottom of each pattern on our site. |
|






With over 40 years in knitting and crochet design, DROPS Design offers one of the most extensive collections of free patterns on the internet - translated to 17 languages. As of today we count 333 catalogs and 12525 patterns - 12515 of which are translated into English (US/in).
We work hard to bring you the best knitting and crochet have to offer, inspiration and advice as well as great quality yarns at incredible prices! Would you like to use our patterns for other than personal use? You can read what you are allowed to do in the Copyright text at the bottom of all our patterns. Happy crafting!
Post a comment to pattern DROPS 64-8
We would love to hear what you have to say about this pattern!
If you want to leave a question, please make sure you select the correct category in the form below, to speed up the answering process. Required fields are marked *.