
Popular categories
Looking for a yarn?

































Comments / Questions (112)
 Jose Halajdenko wrote:
Hallo, als de markeerders zijn geplaatst, wordt er voor- en na de markeeerder gemeerderd, je hebt dan een groepje van 4 stokjes naast elkaar zeg maar, maar hoe nu verder in de volgende toer, wordt er dan ook 2x gemeerderd of alleen 1x tussen het groepje in?? ik zie het in de video niet zo goed. Alvast bedankt. Jose. xx
02.05.2021 - 10:42DROPS Design answered:
Dag Jose,
Nee je meerdert alleen in de naalden waarin gemeerderd met worden, de andere naalden haak je 1 stokje in elk stokje. Na het plaatsen van de markeerdaden meerder je de eerste keer aan beide kanten van de markeerdraden, daarna meerder je afwisselend voor en na iedere markeerdraad, dus de ene keer dat er gemeerderd moet worden meerdere voor alle markeerdraden en de volgende keer dat er gemeerderd moet worden meerder je na alle markeerdraden.
05.05.2021 - 09:00
 Jenny wrote:
Hej, jag har lite problem med att läsa den andra delen av beskrivningen(med ökningen) Betyder det att första varvet ökar man en maska på varje sida av markören i totalt 7 varv? hur blir det då på den aviga sidan? Gör man enbart vanliga stolpar då?
07.04.2021 - 12:04DROPS Design answered:
Hej Jenny. Ja du ska öka en stolpe på varje sida av alla 12 markörer på rätsidan (på avigsidan virkar du bara stolpar utan ökningar). Detta upprepas sedan på varje varv från rätsidan totalt 7 gånger (i storlek XL). Mvh DROPS Design
15.04.2021 - 14:02
Friedy wrote:
Ik heb maat M, maar de onderkant in die maat is te wijd. Is het mogelijk om dat aan te passen? En hoe?
19.03.2021 - 19:58DROPS Design answered:
Dag Friedy,
Je zou verdeeld over de lengte steken kunnen minderen in de zijnaden.
21.03.2021 - 10:59
 Susanne Altenburg wrote:
Hallo danke für die Antwort aber .bei uns in Deutschland sind die Geschäfte zu wir haben ja lock douwn wegen corona .da könnte ich keinen fragen.eine Frage hätte ich aber noch ich hab jetzt die ärmel angefangen zu häkeln.aber jetzt gehen die stäbchen zu weit außer einander sieht jetzt so gitter mäßig aus.woran liegt das? Das siehst so komisch aus. Gruß Altenburg
23.02.2021 - 18:24DROPS Design answered:
Liebe Frau Altenburg, beim Ärmel häkeln Sie ja nach der ersten Stb-Runde direkt das Fächermuster, also A.2. D.h. in der ersten Runde von A.2 häkeln Sie abwechselnd 4 Luft-M + 1 feste M und überspringen dabei jeweils 3 Stb der Vor-Runde. Ansonsten ist es schwierig, Ihnen hier weiterzuhelfen, da wir Ihr Top nicht anschauen können. Versuchen Sie eventuell, einen Termin bei Ihrem Wollgeschäft zu vereinbaren, das geht vielleicht trotz Schließung (Abholungen sind ja z.B. möglich).
24.02.2021 - 09:39
Susanne Altenburg wrote:
Hallo danke für die Antwort.da hätte ich noch eine frage. Und zwar hab in Oberteile große Größen wegen der brustumfang.nur das blöde ist ich habe aber viel zu dünnere Arme. Also erst heißt die ärmel werden immer viel zu groß. Also da bei der Anzahl an Stäbchen vonnihnen die anleitung würde ich mit zwei Armen rein passen.wie könnte ich es um rechnen oder müsste ich ne Größe kleiner häkeln? Gruß Frau Altenburg
23.02.2021 - 10:32DROPS Design answered:
Liebe Frau Altenburg, leider können wir nicht jede Anleitung nach jeder Anfrage umrechnen aber sicher kann Ihnen Ihr DROPS Laden damit weiterhelfen, die Anleitung anzupassen. Viel Spaß beim häkeln!
23.02.2021 - 14:59
Susanne Altenburg wrote:
Hallo hab mal eine Frage. Ich muss ja bei meiner Größe 74 lm für die Ärmel nehmen.aber die 12 luft maschen für die Verbindung zählen die dann später zu den 74 luftmachen ? Dann hätte ich ja wenn ich alles ein mal rum häkel dann ins gesamt 86 Stäbchen für die ärmel were es richtig? Gruß Frau Altenburg
22.02.2021 - 17:49DROPS Design answered:
Liebe Frau Altenburg, ja so stimmt es, und dann bei der 1. Runde bei den Ärmeln häkeln Sie noch 2 Stäbchen dazu und zwar jet 1 Stäbchen um das Stäbchen der Stäbchen Reihe an der Stelle, wo die Luftmaschen unter den Arm gehäkelt werden (-= also beidseitig, vor den 12 und nach den 12) = 86 + 2 = 88 Stäbchen. Viel Spaß beim häkeln!
23.02.2021 - 09:34
 Cloudy wrote:
Hi there I’m up to the finishing touch on the sleeve edge. It says for size L to do the A2 diagram 11 times but then it says to do it once vertically. Can you please explain which it is.
16.12.2020 - 05:11DROPS Design answered:
Dear Cloudy, you have 88 sts around sleeve edge and can repeat a total of 11 times the 8 stitches in A.2. After you have worked the 2 rows of A.2, diagram is finished (and has been worked one time in height = vertically). Edge is finished. Cut and fasten the yarn. Happy crocheting!
16.12.2020 - 07:10
Erin wrote:
Hello! I am working on this in XXL and I am confused on the marker placement portion. I have (23+4+4+20+4+4+46+4+4+23+4+4=144) with each + being a marker, but I need 164 stitches? Any clarification provided would be much appreciated. Thank you!
15.10.2020 - 18:31DROPS Design answered:
Dear Erin, it looks like you have forgotten 20 one time after the 46+4+4, ie: 23+4+4+20 +4+4+ 46 + 4+4+20+4+4+23=164. Happy crocheting!
16.10.2020 - 08:54
Cloudy wrote:
The garment on the model looks fitted coming in at the waist and flaring out towards the hem. Another reader said hers looks like a dress and so does mine. Very disappointed in this pattern.
09.10.2020 - 03:16DROPS Design answered:
Dear Cloudy, did you check and kept correct tension as explained in the pattern? remember to check your size with the measurement chart - read more about charts here. Happy crocheting!
09.10.2020 - 08:08
 Moira wrote:
One more thing that’s confusing. It says in A1 to work 1st-3rd rounds 40 times (XL) size and then 3rd round until work measures 33cm. It looks like the 1st round is only done once like a set up row, is that correct? If it is and the 3rd is repeated then why are there two instructions, to repeat 40 times and to repeat until work measures 33cm? One would assume that 1st and 3rd rounds are repeated 40 times just by the way it’s written.i must admit these patterns are not easy to work out.
08.10.2020 - 19:28DROPS Design answered:
Dear Moira, you repeat 40 times A.1 in the round in size XL (= the row with the arrow 1 to the row with the 3. on the right side) - then after these 3 rows have been worked, you repeat row 3 until piece measures 33 cm, then work row/repeat 4. in A.1 until piece measures 45 cm. Happy crocheting!
09.10.2020 - 07:39
|
||||||||||||||||||||||||||||
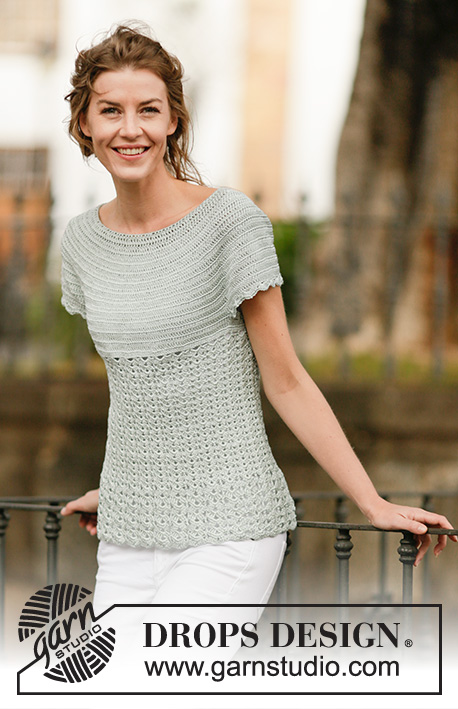
Lady Ascot#ladyascottop |
||||||||||||||||||||||||||||
 |
 |
|||||||||||||||||||||||||||
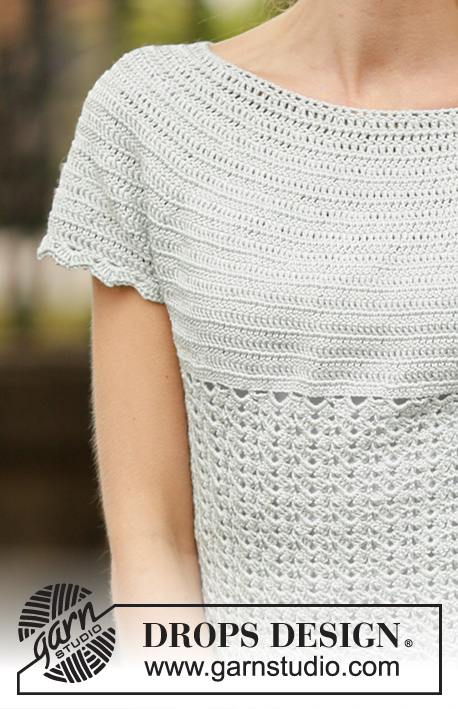
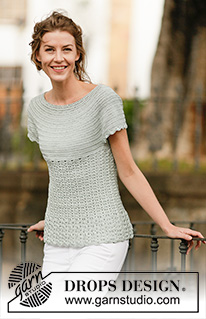
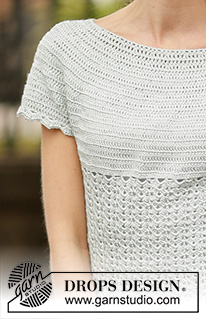
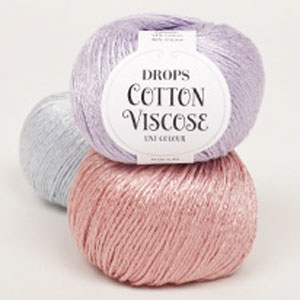
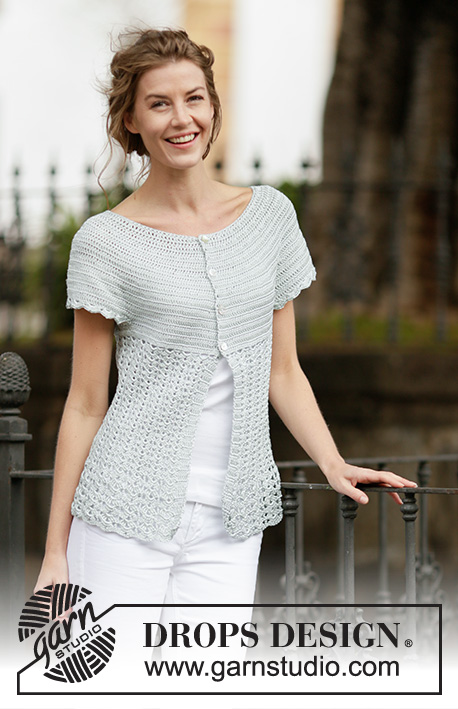
Crochet DROPS top with fan pattern and round yoke, worked top down in ”Cotton Viscose”. Size: S - XXXL.
DROPS 162-26 |
||||||||||||||||||||||||||||
|
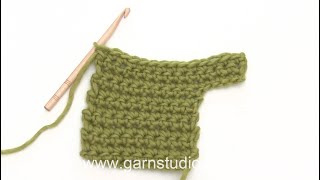
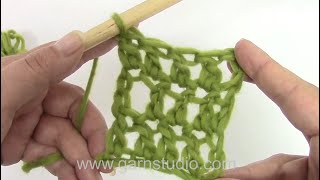
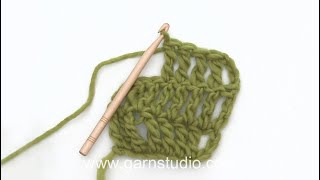
PATTERN: See diagrams A.1-A.2. CROCHET INFO-1: Replace first dc on every row with dc with ch 3, finish row with 1 sl st in 3rd ch. CROCHET INFO-2: Beg every round with 3 ch and finish round with 1 sl st in 3rd ch. INCREASE TIP: Inc 1 dc by working 2 dc in 1 dc. ---------------------------------------------------------- TOP: Worked top down from mid back. Work 133-137-142-147-152-157 ch on hook size 3.5 mm/E/4 with Cotton Viscose and form a ring with 1 sl st in first ch. Work next round as follows: 3 ch (= 1 dc), 1 dc in first ch from ch-ring, * skip ch 1, 1 dc in each of the next 5 ch *, repeat from *-* until 0-4-3-2-1-0 ch remain, 1 dc in each of the last 0-4-3-2-1-0 ch = 112-116-120-124-128-132 dc. Then work piece back and forth. Work every row tog at the end of row with 1 sl st in first ch on row - READ CROCHET INFO-1. Turn piece. Work 1 row with 1 dc in every dc AT THE SAME TIME inc 28 dc evenly (i.e. inc 1 dc after approx. every 4th dc) – READ INCREASE TIP = 140-144-148-152-156-160 dc. Insert 12 markers in the piece as follows: Work 17-18-19-20-21-22 dc (= half back piece) AT THE SAME TIME inc 1-0-0-2-2-1 dc evenly, insert first marker, * work 4 dc, insert next marker *, repeat from *-* 1 more time, work 20 dc, insert next marker, * work 4 dc, insert next marker *, repeat from *-* 1 more time, work 34-36-38-40-42-44 dc (= front piece) AT THE SAME TIME inc 2-0-0-4-4-2 dc evenly, insert next marker, * work 4 dc, insert next marker *, repeat from *-* 1 more time, work 20 dc, insert next marker, * work 4 dc, insert next marker *, repeat from *-* 1 more time, work 17-18-19-20-21-22 dc (= half back piece) AT THE SAME TIME inc 1-0-0-2-2-1 dc evenly = 144-144-148-160-164-164 dc. REMEMBER THE CROCHET GAUGE! On next row from RS, inc as follows: Inc 1 dc on each side of every marker (= 24 dc inc), repeat inc on every row from RS 1-4-5-7-8-10 times in total, then inc before every marker (= 12 dc inc), repeat inc on every row from RS 9-6-6-4-4-3 times in total = 276-312-340-376-404-440 dc. Piece measures approx. 18-18-20-20-22-23 cm / 7"-7"-8"-8"-8¾"-9". Work next row as follows: 36-43-48-54-59-66 dc (= half back piece), work 12 ch (insert a marker in the middle of these new sts = under sleeve), skip 66-70-74-80-84-88 dc from previous row (= sleeve), work 72-86-96-108-118-132 dc (= front piece), work 12 ch (insert a marker in the middle of these new sts = under sleeve), skip 66-70-74-80-84-88 dc from previous row and work 36-43-48-54-59-66 dc (= half back piece) = 168-196-216-240-260-288 dc/ch (= 84-98-108-120-130-144 dc/ch on back piece and front piece). Insert 1 marker in piece. NOW MEASURE PIECE FROM HERE! Work 1 row with 1 dc in every dc and 1 dc in every ch under sleeve while AT THE SAME TIME inc 18-8-6-0-10-6 dc evenly = 186-204-222-240-270-294 dc. Work 1 row with 1 dc in every dc. Now work piece in the round without turning. FAN PATTERN: Work 1st-3rd round in A.1 31-34-37-40-45-49 times - READ CROCHET INFO-2. Then repeat 3rd round until piece measures approx. 29-31-31-33-31-31 cm / 11½"-12¼"-12¼"-13"-12¼"-12¼". Now work 4th round until piece measures approx. 40-42-43-45-45-45 cm / 15¾"-16½"-17"-17¾"-17¾"-17¾". Fasten off. SLEEVE EDGE: Beg by working mid under sleeve as follows: Work 1 sc in 6th ch of the 12 ch worked in armhole on body. Work 3 ch (= 1 dc). Then work 1 dc in each of the next ch 6, work 1 dc in dc-row where ch for sleeve were worked, 1 dc in the next 66-70-74-80-84-88 dc (= over sleeve) AT THE SAME TIME inc 0-4-0-2-6-2 dc evenly, work 1 dc in dc-row where ch for sleeve were worked, work 1 dc in each of the remaining 5 ch under sleeve = 80-88-88-96-104-104 dc. Then work A.2 10-11-11-12-13-13 times in total. Fasten off when A.2 has been worked 1 time vertically. Work the other sleeve edge the same way. |
||||||||||||||||||||||||||||
Diagram explanations |
||||||||||||||||||||||||||||
|
||||||||||||||||||||||||||||
 |
||||||||||||||||||||||||||||
 |
||||||||||||||||||||||||||||
Have you finished this pattern?Tag your pictures with #dropspattern #ladyascottop or submit them to the #dropsfan gallery. Do you need help with this pattern?You'll find 14 tutorial videos, a Comments/Questions area and more by visiting the pattern on garnstudio.com. © 1982-2026 DROPS Design A/S. We reserve all rights. This document, including all its sub-sections, has copyrights. Read more about what you can do with our patterns at the bottom of each pattern on our site. |
||||||||||||||||||||||||||||






With over 40 years in knitting and crochet design, DROPS Design offers one of the most extensive collections of free patterns on the internet - translated to 17 languages. As of today we count 333 catalogs and 12532 patterns - 12522 of which are translated into English (US/in).
We work hard to bring you the best knitting and crochet have to offer, inspiration and advice as well as great quality yarns at incredible prices! Would you like to use our patterns for other than personal use? You can read what you are allowed to do in the Copyright text at the bottom of all our patterns. Happy crafting!
Post a comment to pattern DROPS 162-26
We would love to hear what you have to say about this pattern!
If you want to leave a question, please make sure you select the correct category in the form below, to speed up the answering process. Required fields are marked *.