
Popular categories
Looking for a yarn?


Comments / Questions (42)
![]() Yvonne Bergendorff wrote:
Yvonne Bergendorff wrote:
Hej! finns det mönster till barn på denna kofta?
11.08.2025 - 11:05DROPS Design answered:
Hej Yvonne. Nej dessvärre har vi nog inget på exakt denna kofta, men denna är likande (men med kort ärm). Mvh DROPS Design
26.08.2025 - 14:43
![]() Evy wrote:
Evy wrote:
Dubbele halsrand. Er wordt nergens vermeld dat de halsrand samen gebreid moet worden na die 8cm boordsteek. Dit is toch de bedoeling?
01.05.2025 - 08:18DROPS Design answered:
Dag Evy,
De hals wordt helemaal op het einde bij de afwerking naar binnen gevouwen en vast genaaid. (Laatste paragraaf.)
04.05.2025 - 09:24
![]() Mélanie wrote:
Mélanie wrote:
Bonjour, pour l'empiècement il est dit de répéter 13 fois A.1 au total pour une taille S, s'agit t-il de 13 rangs ou de 13 fois en hauteur A.1 ? Merci
04.10.2024 - 14:48DROPS Design answered:
Bonjour Mélanie, vous répétez 13 fois le diagramme A.1 en largeur entre les 5 mailles de bordure des devants, autrement dit tricotez ainsi: 5 m point mousse, 13 x 7 mailles, 5 m point mousse (5+91+5=101 m); en même temps, vous allez augmenter dans chaque A.1 comme indiqué dans le diagramme, ainsi, quand A.1 est terminé, vous avez 21 mailles soit 5+(13x21)+5=283 mailles; tricotez ensuite A.3 (on ne tricote pas A.2 en taille S), et, en même temps vous allez diminuer 2 m dans chaque motif soit: 5+(13x19)+5= 257 mailles. Bon tricot!
04.10.2024 - 16:03
![]() Karin Lindgren wrote:
Karin Lindgren wrote:
Jag får inte mönstret att stämma - har 295 maskor(stirlek L) redan innan diagram A1 är färdigt. Varför finns det ingen video som visar hur man gör diagrammet?
09.09.2024 - 17:38DROPS Design answered:
Hej Karin, sæt 1 mærke imellem hver rapport, så du er sikker på at du tager det rigtige antal masker ud på hver udtagningsomgang. Her ser du hvordan man strikker symbolerne, det er dog vigtigt at følge diagrammet på koftan! Bølgemønster Når du tager ud har du 2 omslag mere end det antal masker du strikker sammen :)
12.09.2024 - 15:11
![]() Minna Oksanen wrote:
Minna Oksanen wrote:
Kuinka monta silmukkaa pitäisi siis lisääntyä yhdellä kerroksella, jossa on langnkiertoja? Laskin äsken silmukat ja niitä oli jo 302. En ole päässyt A1 mallikertaa vielä loppuun. Joudun purkamaan työn jälleen. Mitäköhän mahdan tehdä tässä väärin? Teen kokoa L. Harmittaa, kun en saa onnistumaan, koska kuvio ja malli ovat molemmat kivoja.
05.09.2024 - 21:59DROPS Design answered:
Hei, koossa L piirroksen A.1 mallikertaa toistetaan 15 kertaa. Yhdellä lisäyskerroksella jokaiseen mallikertaan lisätään 2 silmukkaa, eli kerroksella lisätään yhteensä 30 silmukkaa. Kun olet neulonut piirroksen A.1 loppuun, työssä on 325 silmukkaa.
06.09.2024 - 17:33
![]() Manja wrote:
Manja wrote:
Hallo, muss bei dieser Jacke keine Erhöhung nach dem Halsbündchen gestrickt werden? Wie verhält es sich mit der Blende in kraus rechts? Müssen hier keine verkürzten Reihen gestrickt werden, nicht das die Blende dann kürzer als das rstliche Gestrick wird? VG Manja
03.08.2024 - 15:40DROPS Design answered:
Liebe Manja, es wird hier keine Erhöhung gestrickt, so daß Hals wird der gleiche hinten und vorne sein. Sollten Sie dann bemerken, daß Ihre Blende die Arbeit etwas in der Höhe zusammenzieht, dann können Sie gerne verkürzten Reihen dazu stricken. Viel Spaß beim Stricken!
05.08.2024 - 07:32
![]() Wil Durand wrote:
Wil Durand wrote:
Dag, zijn de instructievideo’s ook in het Nederlands?
17.07.2024 - 17:38
![]() Bettina wrote:
Bettina wrote:
Ich habe das Problem gelöst: der Rapport ist okay. Bei der Fortführung habe ich die zusammen gestrickten Maschen nicht 2x hintereinander gestrickt. Alles gut .
01.04.2024 - 17:22
![]() Bettina wrote:
Bettina wrote:
Mit Beginn A1 erhöht sich die Anzahl der Maschen stetig. Nach der 2 . Musterfolgein Reihe 9 habe ich am Ende immer was über. Mit wieviel Maschen mehr beginne ich dann nach den 5 Blendmaschen und schließe zum Ende ? . Gut wäre das setzen eines Maschenmakierers vor dem ersten Umschlag,. Auf den Fotos ist es zu erkennen, aber nicht im Diagramm
01.04.2024 - 14:09DROPS Design answered:
Liebe Bettina, A.1 fängt mit 7 Maschen und endet mit 21 Maschen, es wird bei den 3., 9., 15., 19., 25., 31., und 35. Reihe jeweils 2 Maschen in jedem A.1 zugenommen (so hat man: 7 + (2 x 7) = 21 Maschen in jedem A.1 nach der letzten Reihe A.1. Gerne können Sie jeweils 1 Markierung zwischen jedem Rapport einsetzen, so können Sie die Maschenanzahl besser prüfen. Viel Spaß beim Stricken!
02.04.2024 - 15:13
![]() Gerda wrote:
Gerda wrote:
Er staat boven aan in het patroon dat de telpatronen alle naalden in het patroon aan de goede kant laten zien. Als ik me daar aan houd komt het veel te lang uit en klopt het niet met de foto. Worden ook de teruggaande naalden afgebeeld in het telpatroon?
21.03.2024 - 20:51DROPS Design answered:
Dag Gerda,
Ja, zowel de heengaande als de teruggaande naalden zijn weergegeven in het telpatroon.
24.03.2024 - 19:04
|
|||||||||||||
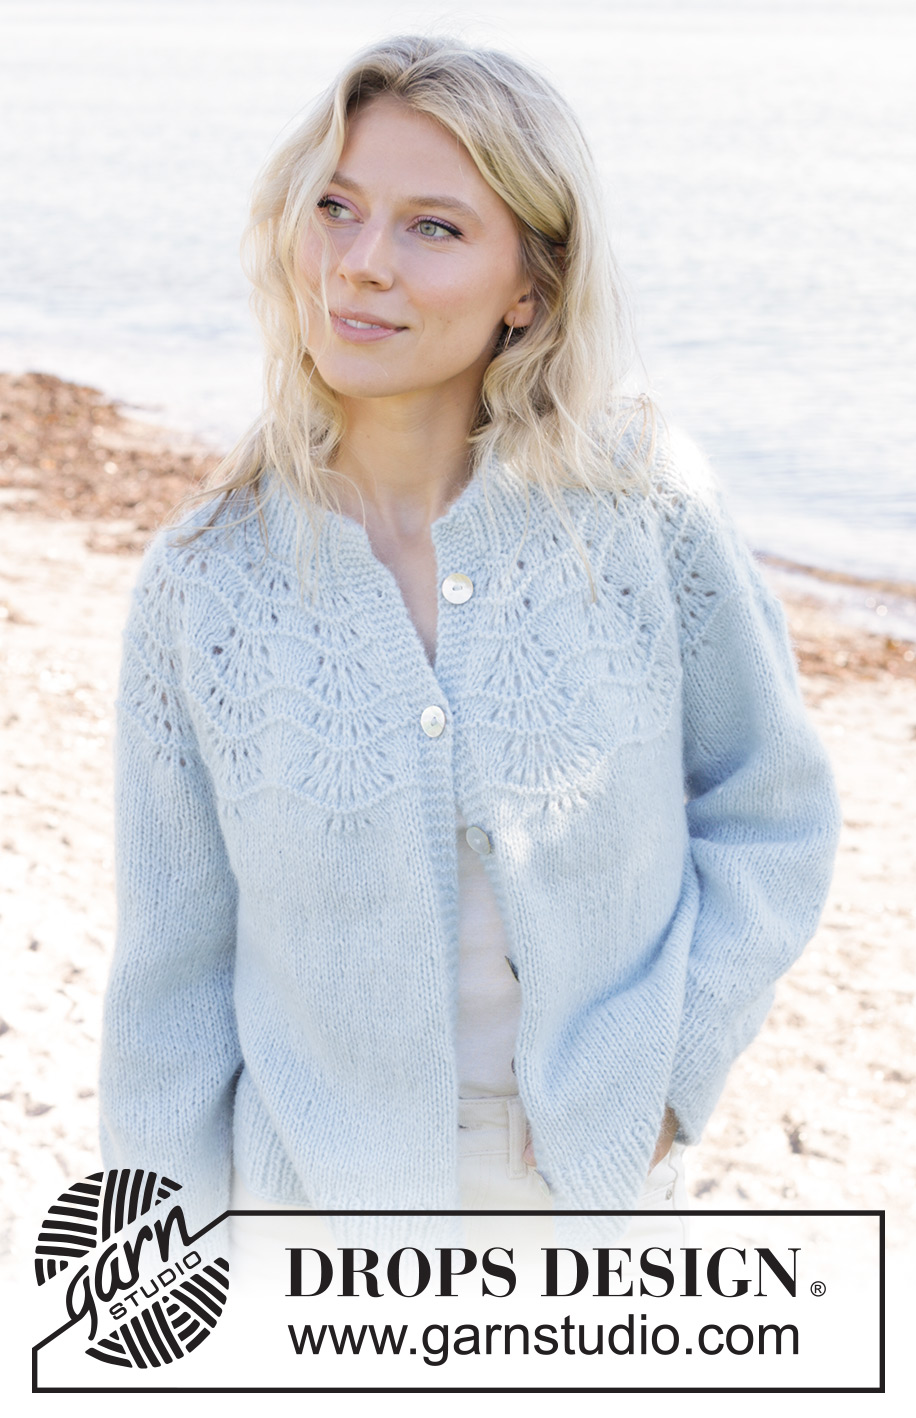
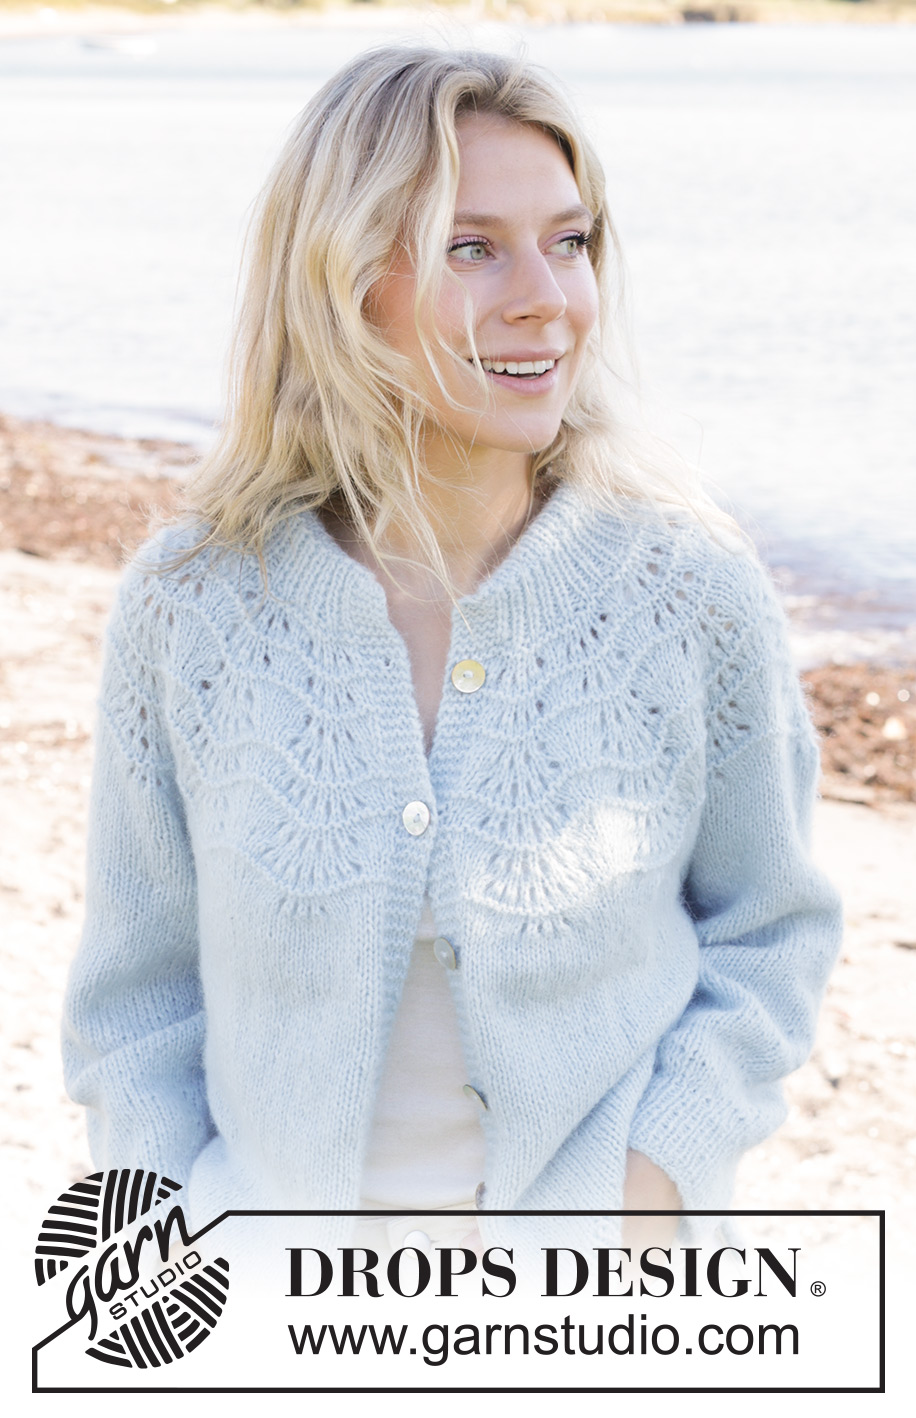
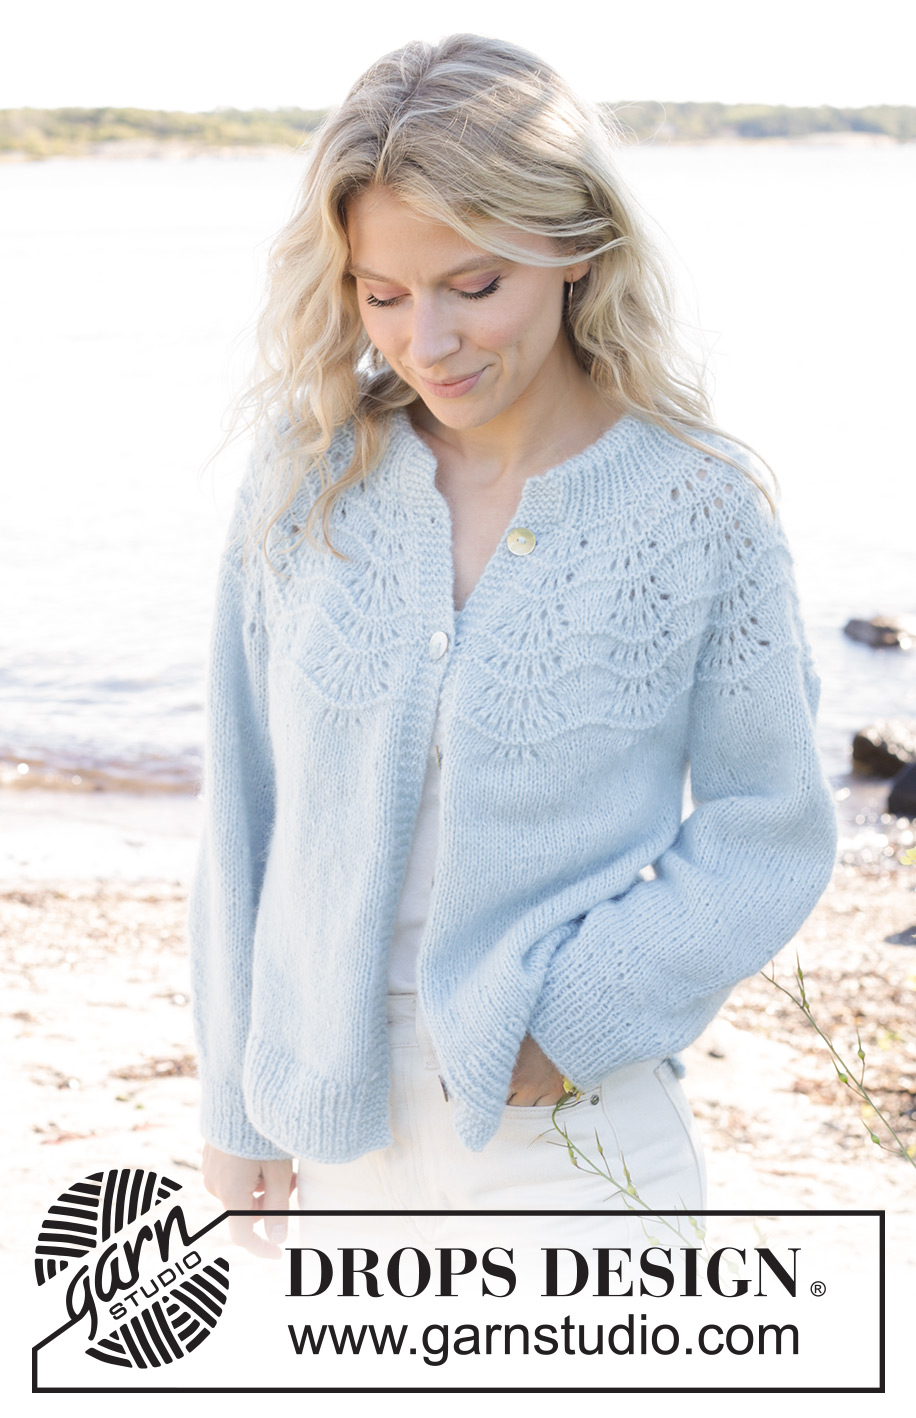
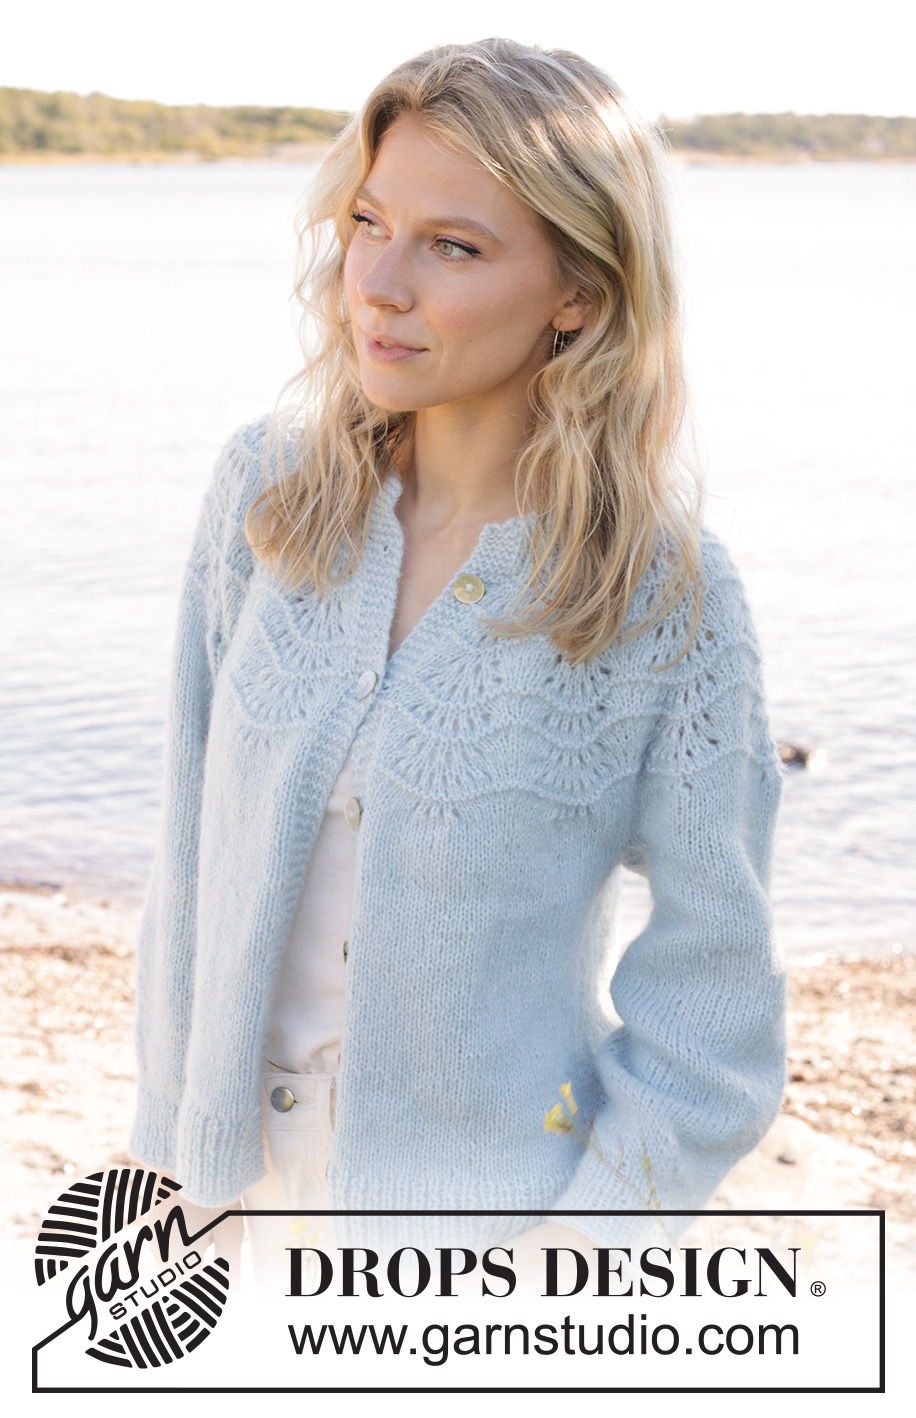
Tidal Treasures Jacket#tidaltreasuresjacket |
|||||||||||||
 |
 |
||||||||||||
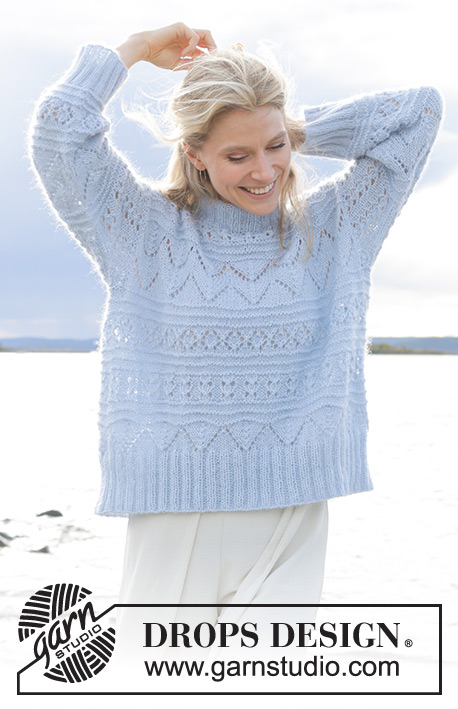
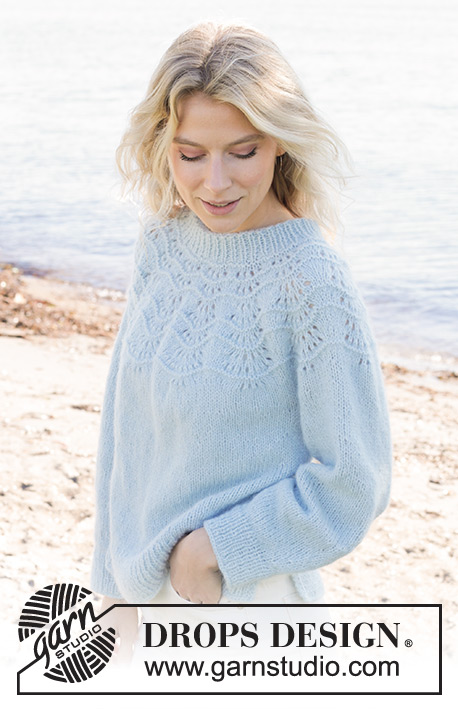
Knitted jacket in DROPS Air. Piece is knitted top down with wave pattern and round yoke. Size: S - XXXL
DROPS 239-7 |
|||||||||||||
|
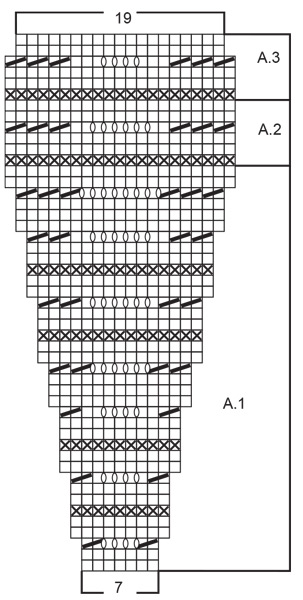
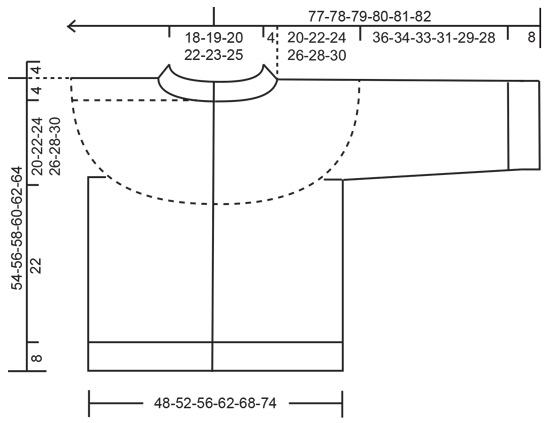
---------------------------------------------------------- EXPLANATION FOR THE PATTERN: ---------------------------------------------------------- GARTER STITCH (back and forth): Knit all rows. 1 ridge vertically = knit 2 rows. PATTERN: See diagrams A.1 to A.3. Diagrams show all rows in pattern seen from the right side. BUTTONHOLES: Decrease for buttonholes on right band (when garment is worn): Work from right side until 4 stitches remain at the end of row, make 1 yarn over, knit the next 2 stitches together and knit 2. On next row knit yarn over to make holes. Decrease first buttonhole right after rib. Then decrease the next 5-5-5-6-6-6 buttonholes, approx. 8-8½-9-7½-8-8½ cm = 3⅛"-3¼"-3½"-2⅞"-3⅛"-3¼" apart. DECREASE TIP (applies to sleeves): Decrease 1 stitch on each side of marker thread as follows: Work until 3 stitches remain before marker thread and knit 2 together, knit 2 (marker thread is between these 2 stitches), slip 1 stitch knitwise, knit 1, pass slipped stitch over stitch worked. ---------------------------------------------------------- START THE PIECE HERE: ---------------------------------------------------------- JACKET - SHORT OVERVIEW OF THE PIECE: Work double neck edge and yoke back and forth on circular needle, work top down. Now divide yoke for body and sleeves. Work body back and forth on circular needle. Work sleeves in the round on double pointed needles/a short circular needle. DOUBLE NECK EDGE: Cast on 89-93-95-101-105-111 stitches with DROPS Air over circular needle size 5 and circular needle size 4 MM = US 6 held together. Pull out circular needle 5 MM = US 8 and keep stitches on the circular needle size 4 MM = US 6 (cast on is done like this to get an elastic cast-on edge). Purl 1 row from wrong side. Work next row as follows from right side: 1 stitch in GARTER STITCH - read explanation above - * knit 1, purl 1 *, work from *-* until 2 stitches remain, knit 1 and finish with 1 stitch in garter stitch. Continue rib like this until piece measures 4 cm = 1½". Knit 1 row from wrong side, and loosely cast on 4 new stitches at the end of this row. Knit 1 row from right side, and cast on 4 stitches at the end of this row = 97-101-103-109-113-119 stitches. Continue rib as before with 5 stitches in garter stitch in each side towards mid front until piece measures 8 cm = 3⅛". Insert 1 marker inside the 5 outermost stitches on needle. Measure yoke from this marker. YOKE: Switch to circular needle size 5 MM = US 8. Knit 1 row from right side while increasing 4-7-12-20-23-24 stitches evenly = 101-108-115-129-136-143 stitches. Decrease for BUTTONHOLES on right band - read explanation above. Knit 1 row from wrong side. Work 5 stitches in garter stitch, A.1 13-14-15-17-18-19 times in total, and finish with 5 stitches in garter stitch. REMEMBER THE KNITTING GAUGE! When A.1 has been worked 1 time vertically, work A.2 0-0-1-1-2-2 times in total vertically, then work A.3 (continue band stitches in garter stitch as before). When A.3 has been worked 1 time vertically, there are 257-276-295-333-352-371 stitches on needle. Knit 1 row from right side while increasing 8-9-6-4-1-2 stitches evenly = 265-285-301-337-353-373 stitches. Work in stockinette stitch with 5 stitches in garter stitch in each side until piece measures 20-22-24-26-28-30 cm = 8"-8¾"-9½"-10¼"-11"-11¾" from marker. On next row divide piece for body and sleeves as follows: DIVIDE THE PIECE FOR BODY AND SLEEVES AS FOLLOWS: Work 43-47-49-54-58-62 stitches as before (front piece), slip the next 52-54-58-66-66-68 stitches on a thread for sleeve, cast on 6-6-8-8-10-12 new stitches on needle (in the side under sleeve), work 75-83-87-97-105-113 stitches in stockinette stitch (back piece), slip the next 52-54-58-66-66-68 stitches on a thread for sleeve, cast on 6-6-8-8-10-12 new stitches on needle (in the side under sleeve), and work the last 43-47-49-54-58-62 stitches as before. Finish body and sleeves separately. Now measure piece from here! BODY: = 173-189-201-221-241-261 stitches. Work in stockinette stitch and 5 stitches in garter stitch in each side until piece measures 22 cm = 8¾" from division. Now divide piece for vents in each side. Keep the first 46-50-53-58-63-68 stitches from right side on the needle (left front piece). Slip the remaining stitches on a thread. LEFT FRONT PIECE: Knit 1 row from right side while increasing 10-10-11-12-13-14 stitches evenly (not over band) = 56-60-64-70-76-82 stitches. Switch to circular needle size 4 MM = US 6. Continue as rib follows (work first row from wrong side): Work 2 stitches in garter stitch, * purl 1, knit 1 *, work from *-* until 6 stitches remain, purl 1 and 5 band stitches in garter stitch. Continue rib the same way for 8 cm = 3⅛". Bind off. RIGHT FRONT PIECE: Slip the outermost 46-50-53-58-63-68 stitches in the other side of piece on circular needle size 5 MM = US 8. Knit 1 row from right side while increasing 10-10-11-12-13-14 stitches evenly (not over band) = 56-60-64-70-76-82 stitches. Switch to circular needle size 4 MM = US 6. Continue as rib follows (work first row from wrong side): 5 band stitches in garter stitch, * purl 1, knit 1 *, repeat from *-* until 3 stitches remain, purl 1 and 2 stitches in garter stitch. Continue rib the same way for 8 cm = 3⅛". Bind off. BACK PIECE: Slip the remaining 81-89-95-105-115-125 stitches on circular needle size 5 MM = US 8. Knit 1 row from right side while increasing 18-18-20-22-24-26 stitches evenly = 99-107-115-127-139-151 stitches. Switch to circular needle size 4 MM = US 6 and work rib as follows (work first row from wrong side): ROW 1 (= wrong side): Work 2 stitches in garter stitch, * purl 1, knit 1 *, work from *-* until 3 stitches remain, purl 1 and 2 stitches in garter stitch. Continue rib the same way for 8 cm = 3⅛". Jacket measures approx. 54-56-58-60-62-64 cm = 21¼"-22"-22¾"-23⅝"-24⅜"-25¼" from shoulder and down. Loosely bind off. SLEEVES: Slip the 52-54-58-66-66-68 stitches from thread in one side of piece on double pointed needles or a short circular needle size 5 MM = US 8 and pick in addition up 1 stitch in each of the 6-6-8-8-10-12 new stitches cast on under sleeve = 58-60-66-74-76-80 stitches. Insert 1 marker thread mid under sleeve – in the middle of the 6-6-8-8-10-12 stitches that were cast on under sleeve. Begin round at the marker thread and work stockinette stitch in the round. When piece measures 3-3-3-2-2-2 cm = 1⅛"-1⅛"-1⅛"-¾"-¾"-¾", decrease 2 stitches mid under sleeve - read DECREASE TIP. Decrease like this every 4-4-2½-2-2-1½ cm = 1½"-1½"-1"-¾"-¾"-½" 4-4-6-9-9-10 times in total = 50-52-54-56-58-60 stitches. Work until sleeve measures 36-34-33-31-29-28 cm = 14¼"-13⅜"-13"-12¼"-11⅜"-11" from division. 8 cm = 3⅛" remain until finished measurements. Try the jacket and work to desired length before rib. Knit 1 round while increasing 10-10-10-12-12-12 stitches evenly = 60-62-64-68-70-72 stitches. Switch to double pointed needles size 4 MM = US 6. Work rib (knit 1/purl 1) for 8 cm = 3⅛". Bind off somewhat loosely by knitting. Sleeve measures approx. 44-42-41-39-37-36 cm = 17¼"-16½"-16⅛"-15¼"-14½"-14¼". Work the other sleeve the same way. ASSEMBLY: Sew buttons on to left front piece. Fold the neck edge down on the inside and fasten with a stitch in each side of the neck (towards the shoulders). |
|||||||||||||
Diagram explanations |
|||||||||||||
|
|||||||||||||
 |
|||||||||||||
 |
|||||||||||||
Have you finished this pattern?Tag your pictures with #dropspattern #tidaltreasuresjacket or submit them to the #dropsfan gallery. Do you need help with this pattern?You'll find 27 tutorial videos, a Comments/Questions area and more by visiting the pattern on garnstudio.com. © 1982-2026 DROPS Design A/S. We reserve all rights. This document, including all its sub-sections, has copyrights. Read more about what you can do with our patterns at the bottom of each pattern on our site. |
|||||||||||||


With over 40 years in knitting and crochet design, DROPS Design offers one of the most extensive collections of free patterns on the internet - translated to 17 languages. As of today we count 324 catalogs and 12290 patterns - 12280 of which are translated into English (US/in).
We work hard to bring you the best knitting and crochet have to offer, inspiration and advice as well as great quality yarns at incredible prices! Would you like to use our patterns for other than personal use? You can read what you are allowed to do in the Copyright text at the bottom of all our patterns. Happy crafting!
Post a comment to pattern DROPS 239-7
We would love to hear what you have to say about this pattern!
If you want to leave a question, please make sure you select the correct category in the form below, to speed up the answering process. Required fields are marked *.