Comments / Questions (6)
![]() Ann-Britt wrote:
Ann-Britt wrote:
När det står (inklusive 5 kantmaskor) betyder det att de är inräknade i maskantalet? Tex om jag stickar st L och det står lägg upp 59 maskor. Ska jag då lägga upp 59 totalt eller 59+10? /Ann-Britt
25.03.2024 - 01:29DROPS Design answered:
Hej Ann-Britt. Ja de är inräknade, så du lägger upp totalt 59 maskor. Mvh DROPS Design
27.03.2024 - 14:15
![]() Phyllis M Gulliver wrote:
Phyllis M Gulliver wrote:
Im ready to start the crisp cranberries cardigan but only have a size 8mm needle. could i use an 8 needle and go to the next size in the pattern ..cant get a needle where i live and im not near the city is there any options i could use
06.11.2023 - 20:16DROPS Design answered:
Hi Phyllis, Yes, you will have to increase the number of stitches if you use a smaller size needle. Whether just going up a size will be correct can only be measured by working a swatch. You might need to do some maths and adjust both stitch number and row number to get the correct size. Good luck and happy knitting!
07.11.2023 - 06:55
![]() Phyllis M Gulliver wrote:
Phyllis M Gulliver wrote:
I am wanting to order the wool for the Crisp Cranberries Cardigan 226-38 i wanted to use the Drops Andes. i am doing a medium and calculated the amount of yarn and got 9 balls, just wanted to make sure if i have the right amount before i order
03.10.2023 - 06:01DROPS Design answered:
Hi Phyllis, As Drops Wish and Andes are in the same yarn group, the pattern can be used with both types of yarn. You need 750g yarn for size M, which will be 8 balls of Andes as it comes in 100g balls (with a little to spare). Work a swatch to check your knitting tension but you should be able to use stitch counts and rows as specified in the pattern. Happy knitting!
03.10.2023 - 06:46
![]() Barbara wrote:
Barbara wrote:
To get buttonhole in the middle of the band should be: “knit two together, yarn over, knit two”.
23.05.2023 - 13:00
![]() Angela wrote:
Angela wrote:
Please correct the stitches number in the yoke division. Size M: I have 71 sts, i place the markers after 15,8,21,8 and the last stitches are 19, cause 15+8+21+8+15= 67.
02.02.2022 - 12:58DROPS Design answered:
Dear Angela, the markers should be inserted each in one stitch, so that you will get in M: 15+1+8+1+21+1+8+1+15=71 sts. Happy knitting!
02.02.2022 - 14:32
![]() Beatrice Mikha wrote:
Beatrice Mikha wrote:
How can I adapt this to straight needles?
14.01.2022 - 11:54DROPS Design answered:
Dear Mrs Mikha, please read more how to adapt a pattern onto straight needles here. Happy knitting!
14.01.2022 - 16:46
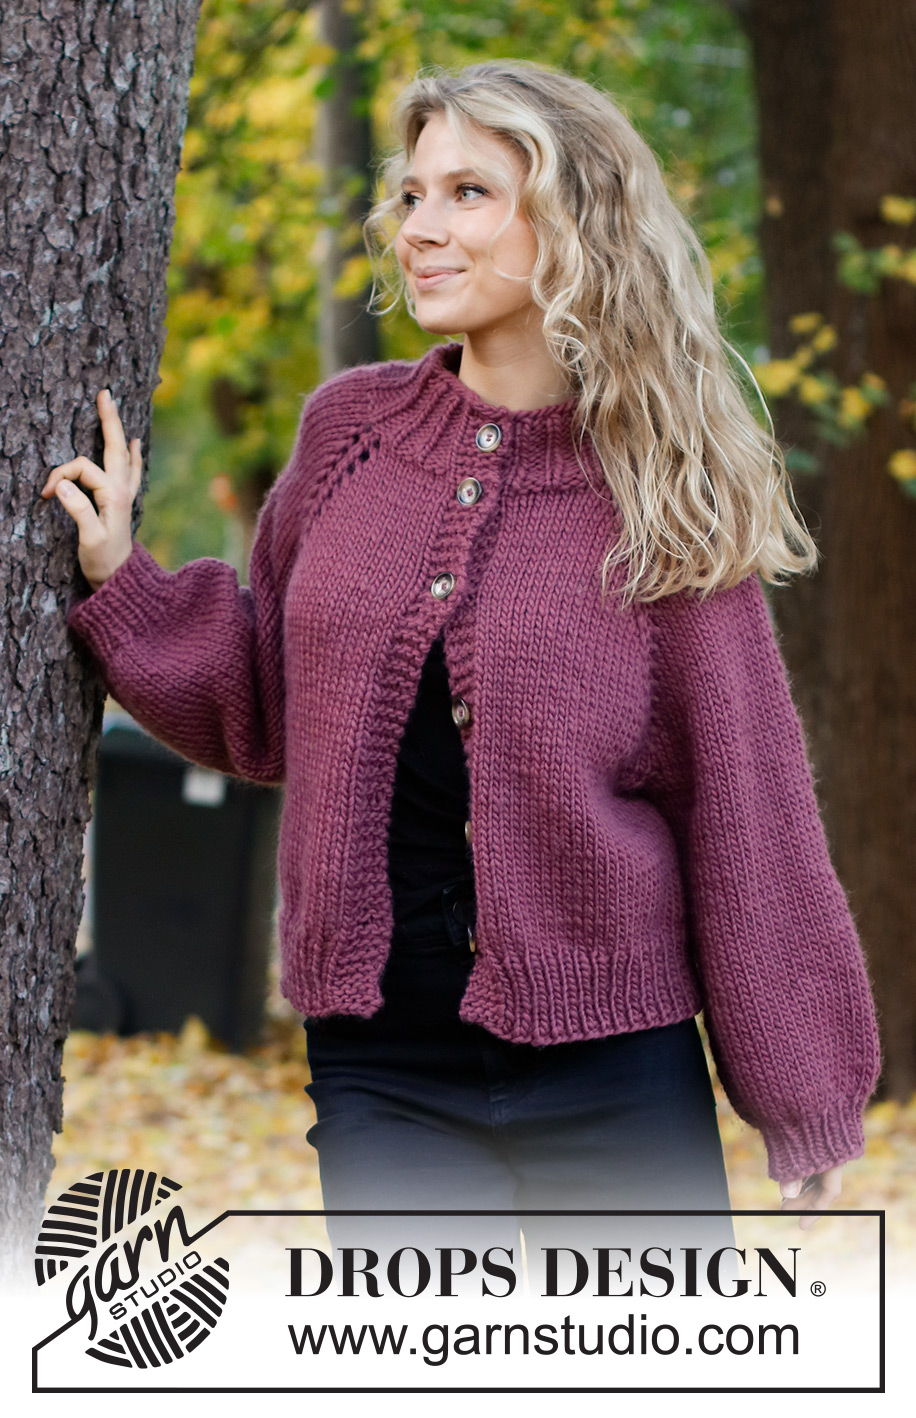
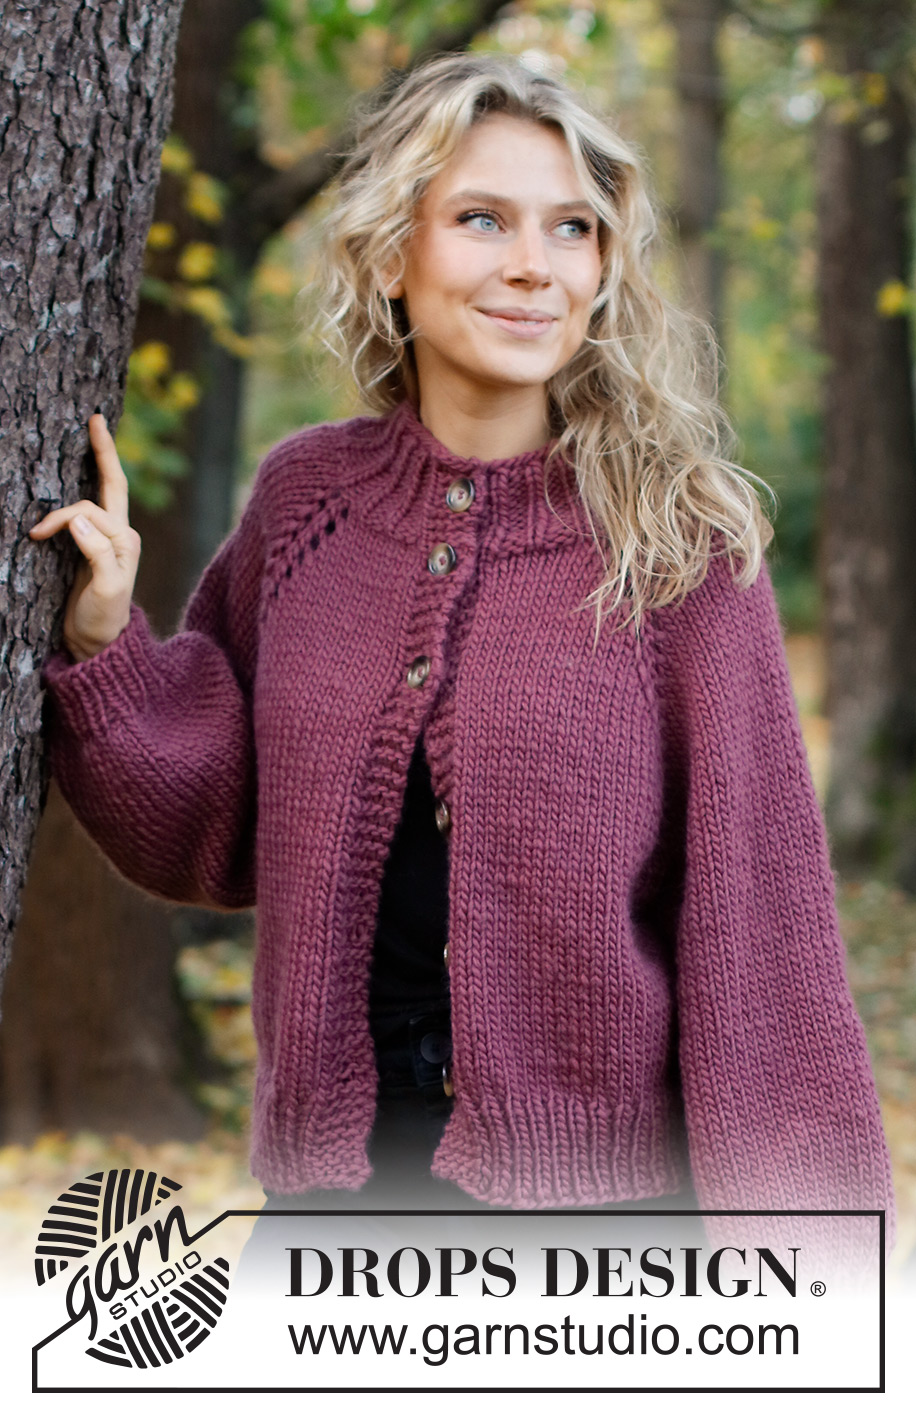
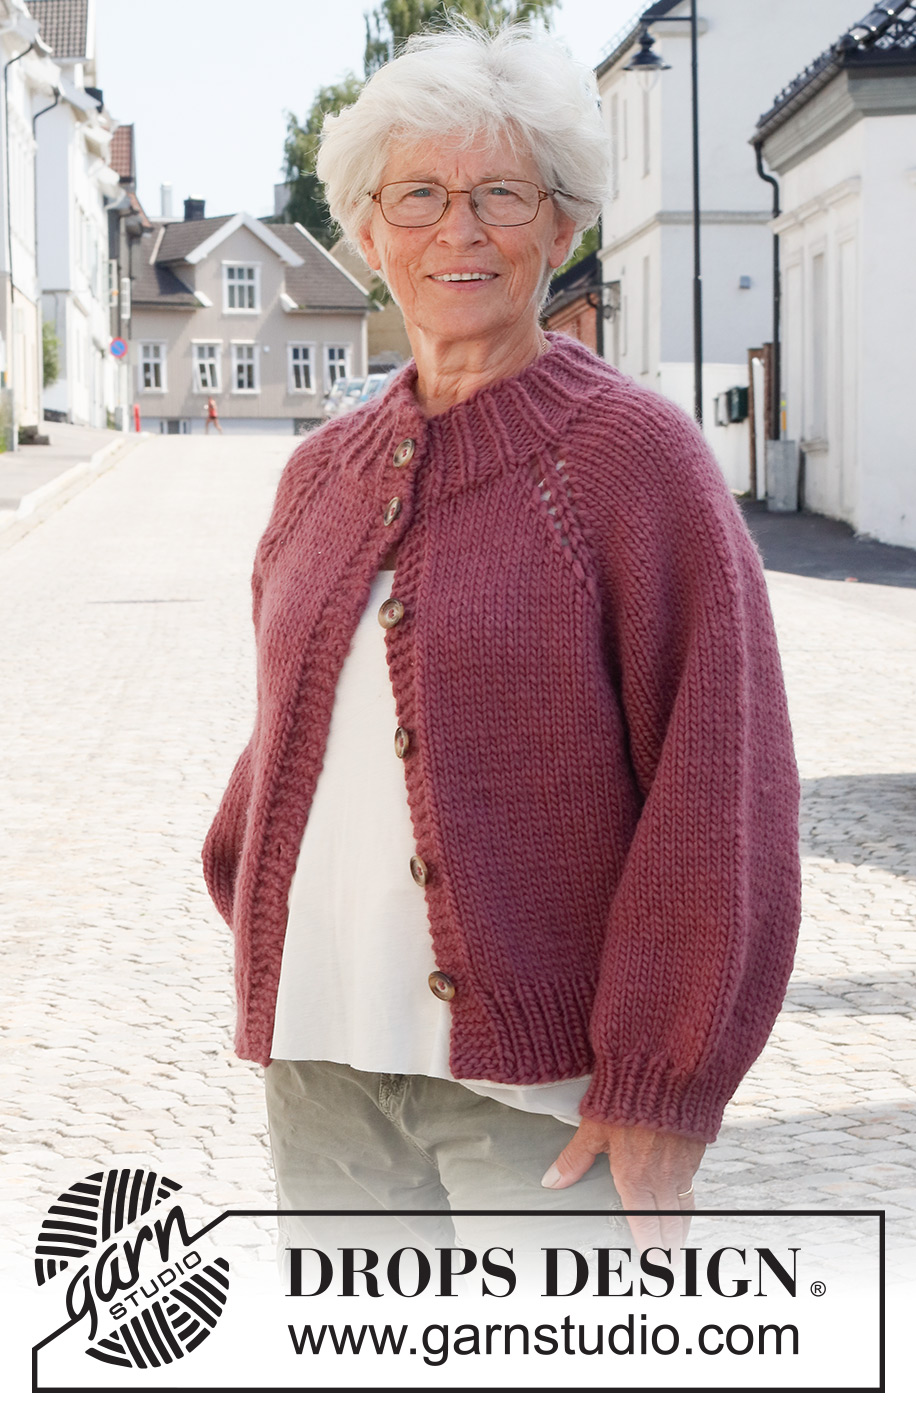
Crisp Cranberries Cardigan#crispcranberriescardigan |
|
 |
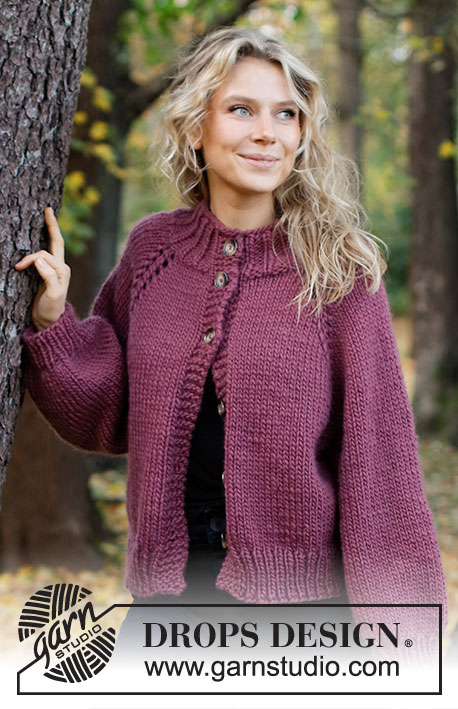 |
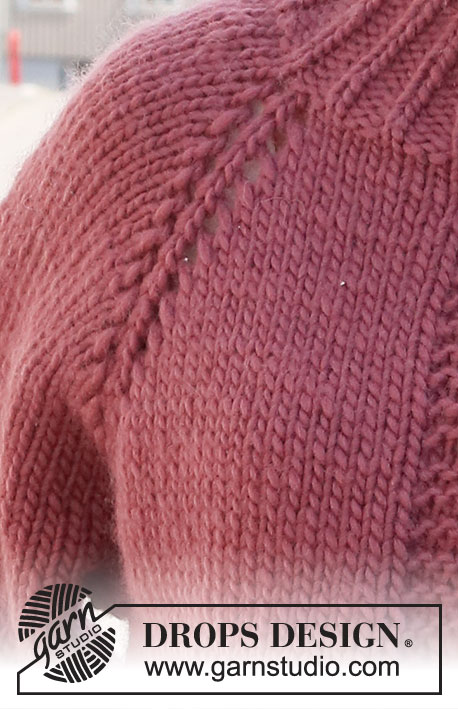
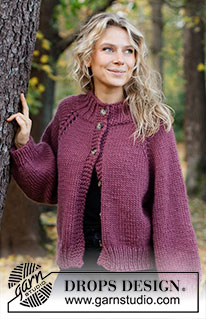
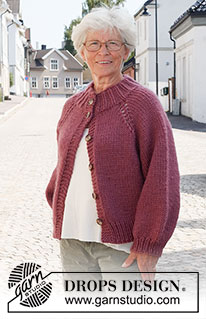
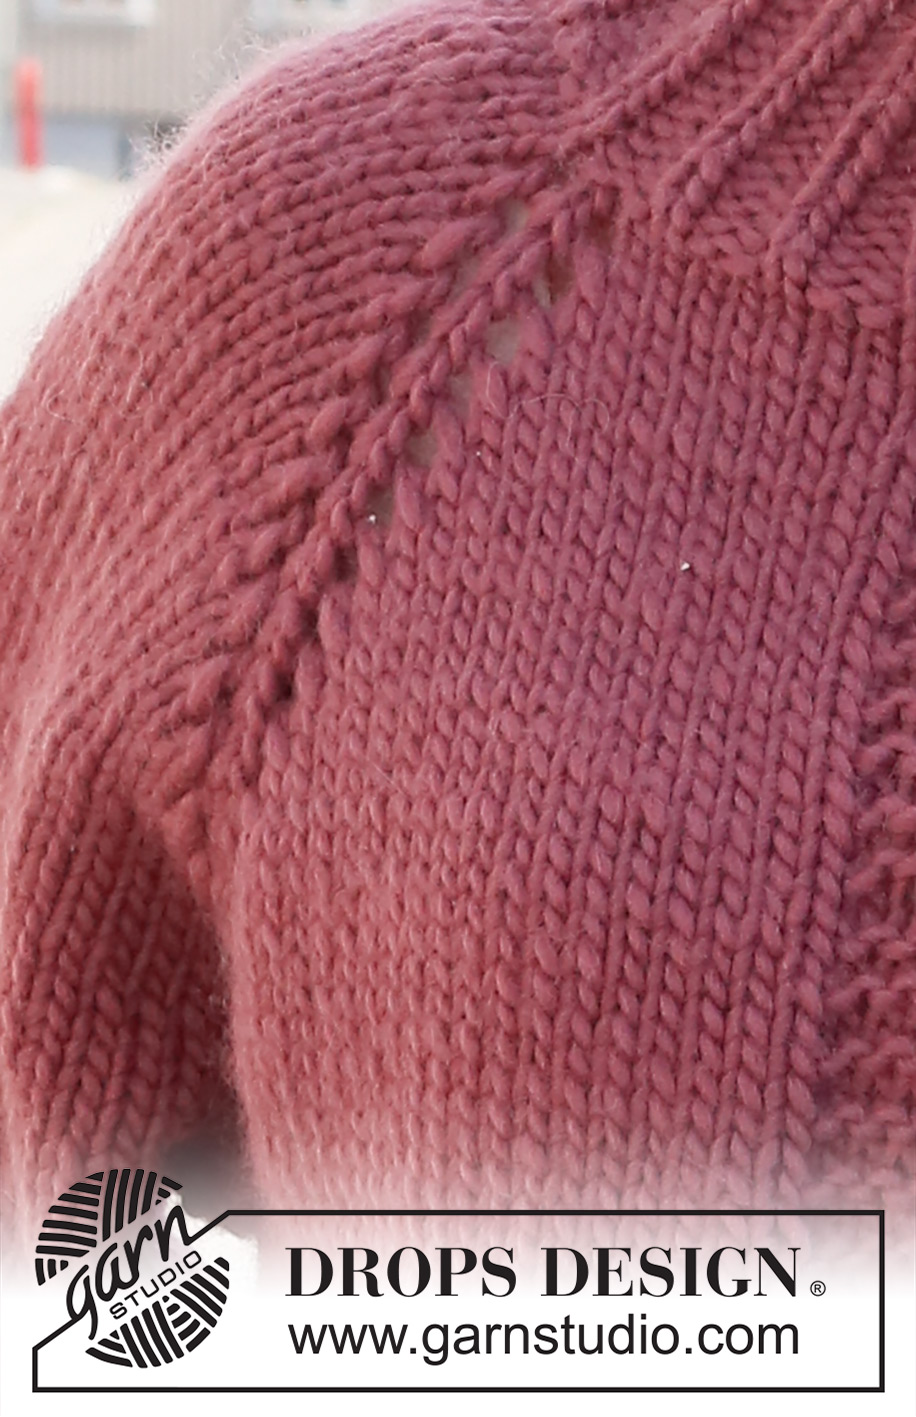
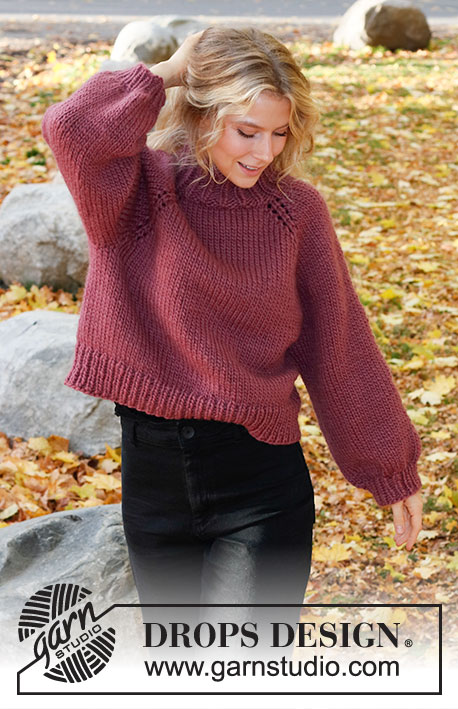
Knitted jacket in DROPS Snow. The piece is worked top down with raglan, balloon sleeves and broad, ribbed edging. Sizes XS - XXL.
DROPS 226-38 |
|
|
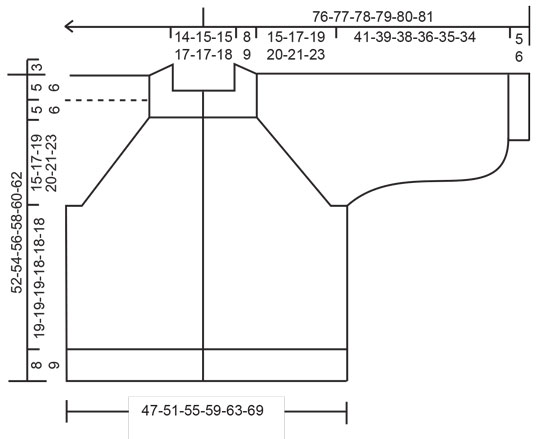
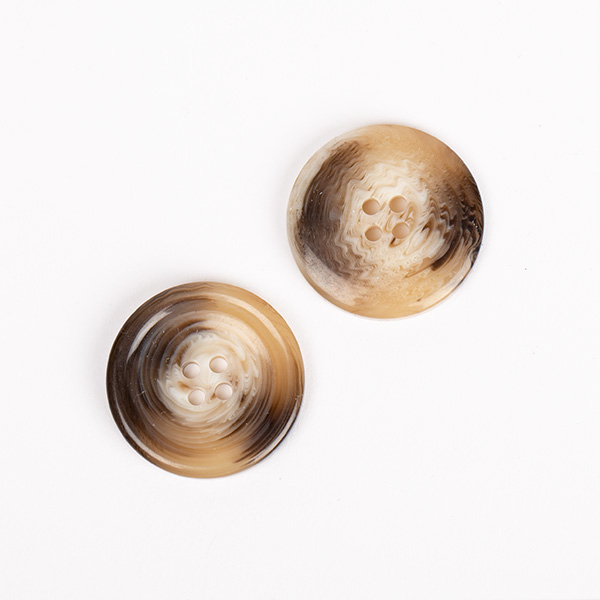
------------------------------------------------------- EXPLANATIONS FOR THE PATTERN: ------------------------------------------------------- RIDGE/GARTER STITCH (worked back and forth): Knit all rows. 1 ridge = knit 2 rows. INCREASE/DECREASE TIP (evenly spaced): To work out how to increase/decrease evenly, count the total number of stitches on needle (e.g. 67 stitches), minus the bands (e.g. 10 stitches) and divide the remaining stitches by the number of increases/decreases to be made (e.g. 4) = 14.3. In this example, increase by making 1 yarn over after approx. each 14th stitch. On the next row/round work the yarn overs twisted to avoid holes. When decreasing, knit together approx. each 14th and 15th stitch. INCREASE TIP-1 (for neck): All increases are worked from the right side! Increase 1 stitch at the end of a purled section by making 1 yarn over. On the next row (wrong side) knit the yarn overs twisted to avoid holes. NOTE: In sizes S, M and XXL there is an odd number of purled sections – in these sizes it is necessary to increase in 2 purled sections next to each other in the middle of piece (= mid back) the first time you increase. RAGLAN: All increases are worked from the right side! Increase 1 stitch on each side of 1 stockinette stitch (raglan-stitch), in each transition between the front/back pieces and the sleeves (= 8 stitches increased on an increase-row). Increase 1 stitch by making 1 yarn over. On the next row (wrong side) purl the yarn overs to make holes. The new stitches are then worked in stockinette stitch. DECREASE TIP (for sleeves): Decrease as follows before the marker thread: Work until there are 3 stitches left before the marker thread, knit 2 together, 1 stockinette stitch (1 stitch decreased). Decrease as follows after the marker thread: 1 stockinette stitch, slip 1 stitch as if to knit, knit 1, pass the slipped stitch over the knitted stitch (= 1 stitch decreased). INCREASE TIP-2 (for sleeves): Increase as follows before the marker thread: Start 1 stitch before the marker thread, 1 yarn over, 1 stockinette stitch (= 1 stitch increased). Increase as follows after the marker thread: 1 stockinette stitch, 1 yarn over (= 1 stitch increased). On the next round knit the yarn overs twisted to avoid a hole. The new stitches are then worked in stockinette stitch. BUTTONHOLE: Work the buttonholes on the right band (when the garment is worn). Work from the right side when there are 4 stitches left on the row as follows: 1 yarn over, knit 2 together and knit 2. On the next row (wrong side) knit the yarn over to leave a hole. The first buttonhole is worked when the neck measures 3 cm = 1⅛". The second when the neck measures 8-8-8-8-9-9 cm = 3⅛"-3⅛"-3⅛"-3⅛"-3½"-3½". The other 4 buttonholes are worked with 8-8½-9-9-8½-8½ cm = 3⅛"-3¼"-3½"-3½"-3¼"-3¼" between each one. BINDING-OFF TIP: To avoid the bind-off edge being tight you can bind off with a larger size needle. If the edge is still tight, make 1 yarn over after approx. each 8th stitch at the same time as binding off; the yarn overs are bind off as normal stitches. ------------------------------------------------------- START THE PIECE HERE: ------------------------------------------------------- JACKET – SHORT OVERVIEW OF THE PIECE. The neck and yoke are worked back and forth with circular needle, from mid front and top down. The yoke is divided for body and sleeves and the body continued back and forth with circular needle. The sleeves are worked in the round with double pointed needles/short circular needle, top down. NECK: Cast on 53-56-56-59-59-62 stitches (including 5 band stitches on each side towards mid-front) with circular needle size 8 MM = US 11 and DROPS Snow. Purl 1 row (= wrong side). The next row is worked as follows from the right side: 5 band stitches in GARTER STITCH – read description above, * knit 1, purl 2 *, work from *-* until there are 6 stitches left on the row, knit 1 and 5 band stitches in garter stitch. Continue this rib for 3 cm = 1⅛". Insert 1 marker after the band at the beginning of the row mid-front – the piece is measured from this marker! Remember the BUTTONHOLES on the right band – read description above. When the rib measures 4 cm = 1½", increase 7-8-8-8-8-9 stitches by increasing every other purl-2 section (seen from the right side) to purl-3 – read INCREASE TIP-1 = 60-64-64-67-67-71 stitches. When the rib measures 7-7-7-7-8-8 cm = 2¾"-2¾"-2¾"-2¾"-3⅛"-3⅛", increase the remaining purl-2 sections (seen from the right side) to purl-3 = 67-71-71-75-75-79 stitches. When the rib measures 8-8-8-8-9-9 cm = 3⅛"-3⅛"-3⅛"-3⅛"-3½"-3½", knit 1 row from the right side where you increase 4-0-0-0-4-0 stitches evenly spaced – read INCREASE/DECREASE TIP = 71-71-71-75-79-79 stitches. Purl 1 row from the wrong side (yarn overs purled twisted and the bands worked in garter stitch). Now work the yoke as described below. YOKE: Change to circular needle size 9 MM = US 13. Insert 4 markers in the piece, without working the stitches. These markers are used when increasing to raglan. Count 15-15-15-15-16-16 stitches (= front piece), insert 1 marker in the next stitch (= raglan-stitch), count 8-8-8-10-10-10 stitches (= sleeve), insert 1 marker in the next stitch (= raglan-stitch), count 21-21-21-21-23-23 stitches (= back piece), insert 1 marker in the next stitch (= raglan-stitch), count 8-8-8-10-10-10 stitches (= sleeve), insert 1 marker in the next stitch (= raglan-stitch). There are 15-15-15-15-16-16 stitches left on the row after the last raglan-stitch (= front piece). Work stockinette stitch back and forth with 5 band stitches in garter stitch on each side. AT THE SAME TIME on the first row from the right side increase to RAGLAN on each side of the 4 raglan-stitches – read description above. Increase to raglan every 2nd row (each row from the right side) a total of 9-11-13-14-14-16 times. REMEMBER THE KNITTING GAUGE! After the last increase to raglan there are 143-159-175-187-191-207 stitches on the needle. Continue working without further increases until the piece measures 20-22-24-25-27-29 cm = 8"-8¾"-9½"-9¾"-10⅝"-11⅜" from the marker on the neck. Now divide the piece for the body and sleeves on the next row as follows: Work the first 25-27-29-31-32-35 stitches as before (= front piece), place the next 26-30-34-36-36-38 stitches on a thread for the sleeve, cast on 6-6-6-6-8-8 new stitches (= in side under sleeve), work the next 41-45-49-53-55-61 stitches (= back piece), place the next 26-30-34-36-36-38 stitches on a thread for the sleeve, cast on 6-6-6-6-8-8 new stitches (= in side under sleeve), work the last 25-27-29-31-32-35 stitches (= front piece). Body and sleeves are finished separately. THE PIECE IS NOW MEASURED FROM HERE! BODY: = 103-111-119-127-135-147 stitches. Continue with stockinette stitch and 5 band stitches in garter stitch on each side until the piece measures 19-19-19-18-18-18 cm = 7½"-7½"-7½"-7"-7"-7" from the division. There is approx. 8-8-8-9-9-9 cm = 3⅛"-3⅛"-3⅛"-3½"-3½"-3½" left to finished length; try the jacket on and work to desired length. Change to circular needle size 8 MM = US 11. The next row is worked as follows from the right side: 5 band stitches in garter stitch, * knit 1, purl 1 *, work from *-* until there are 6 stitches left, knit 1 and 5 band stitches in garter stitch. Continue this rib for 8-8-8-9-9-9 cm = 3⅛"-3⅛"-3⅛"-3½"-3½"-3½". Bind off with garter stitch over garter stitch, knit over knit and purl over purl – read BINDING-OFF TIP! The jacket measures approx. 52-54-56-58-60-62 cm = 20½"-21¼"-22"-22¾"-23⅝"-24⅜" from the shoulder down. SLEEVES: Place the 26-30-34-36-36-38 stitches from the thread on the one side of the piece on double pointed needles/short circular needle size 9 MM = US 13 and knit up 1 stitch in each of the 6-6-6-6-8-8 stitches cast on under the sleeve = 32-36-40-42-44-46 stitches. Insert a marker thread in the middle of the 6-6-6-6-8-8 stitches under the sleeve. Allow the thread to follow your work onwards; it will be used when decreasing and increasing under the sleeve. Start the round at the marker thread and work stockinette stitch in the round. When the sleeve measures 3 cm = 1⅛" from the division, decrease 1 stitch before the marker thread – read DECREASE TIP. When the sleeve measures 6 cm = 2⅜" from the division, decrease 1 stitch after the marker thread. Repeat the decrease before the marker thread when the sleeve measures 9 cm = 3½" and after the thread when the sleeve measures 12 cm = 4¾" from the division = 28-32-36-38-40-42 stitches. When the sleeve measures 16 cm = 6¼" from the division, increase 1 stitch before the marker thread – read INCREASE TIP-2 When the sleeve measures 18 cm = 7" from the division, increase 1 stitch after the marker thread. Increase alternately before and after the thread every 2 cm = ¾" a total of 10-8-6-6-6-6 times (5-4-3-3-3-3 times on each side of the marker thread) = 38-40-42-44-46-48 stitches. Continue working until the sleeve measures 41-39-38-36-35-34 cm = 16⅛"-15¼"-15"-14¼"-13¾"-13⅜" from the division (shorter measurements in larger sizes due to wider neck and longer yoke). There is approx. 5-5-5-6-6-6 cm = 2"-2"-2"-2⅜"-2⅜"-2⅜" left to finished length; try the jacket on and work to desired length. Knit 1 round where you decrease 12-12-12-12-14-14 stitches evenly spaced – remember the INCREASE/DECREASE TIP = 26-28-30-32-32-34 stitches. Change to double pointed needles size 8 MM = US 11 and work rib (knit 1, purl 1) for 5-5-5-6-6-6 cm = 2"-2"-2"-2⅜"-2⅜"-2⅜". Bind off with knit over knit and purl over purl – remember BINDING-OFF TIP! The sleeve measures approx. 46-44-43-42-41-40 cm = 18"-17¼"-17"-16½"-16⅛"-15¾" from the division. Work the other sleeve in the same way. ASSEMBLY: Sew the buttons onto the left band. |
|
 |
|
Have you finished this pattern?Tag your pictures with #dropspattern #crispcranberriescardigan or submit them to the #dropsfan gallery. Do you need help with this pattern?You'll find 30 tutorial videos, a Comments/Questions area and more by visiting the pattern on garnstudio.com. © 1982-2026 DROPS Design A/S. We reserve all rights. This document, including all its sub-sections, has copyrights. Read more about what you can do with our patterns at the bottom of each pattern on our site. |
|










Post a comment to pattern DROPS 226-38
We would love to hear what you have to say about this pattern!
If you want to leave a question, please make sure you select the correct category in the form below, to speed up the answering process. Required fields are marked *.