
Popular categories
Looking for a yarn?




















Comments / Questions (54)
 Inge wrote:
Skal mønstret læses fra venstre mod højre, når man strikker fra vrangsiden (pind 3)? Går i øvrigt ud fra, at det ellers skal læses nedefra og op fra højre mod venstre. En idé var måske at sætte omgangsnummer på illustrationerne.
12.11.2026 - 15:54DROPS Design answered:
Hej Inge, ja det stemmer, du læser diagrammet nøjagtig som du strikker maskerne, så hver maske i diagrammet modsvarer den maske du strikker :)
19.11.2026 - 14:16
 Sylvie wrote:
Bonjour, je suis en train de réaliser le modèle calm Spirit Weater et j'ai un souci pour commencer les manches. Je ne comprends pas où il faut mettre le marqueur qui indique le haut de la manche. Je vous remercie pour toutes les explications que vous me donnez et attends votre réponse avec impatience. Sylvie
07.11.2026 - 18:15DROPS Design answered:
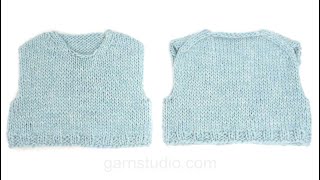
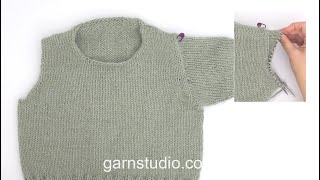
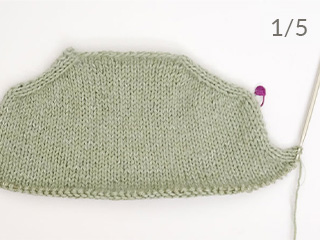
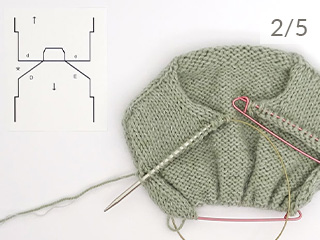
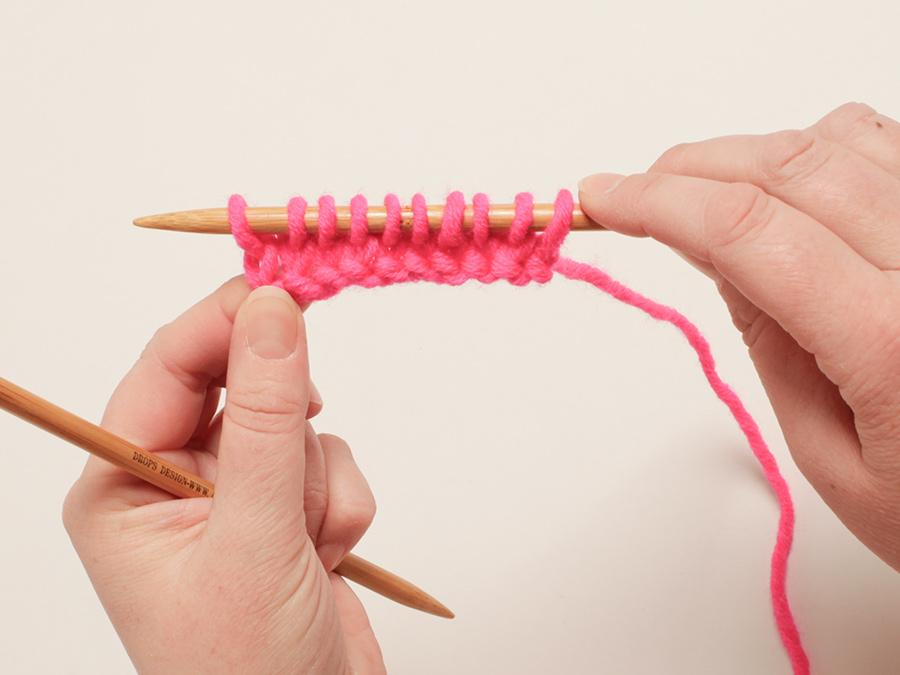
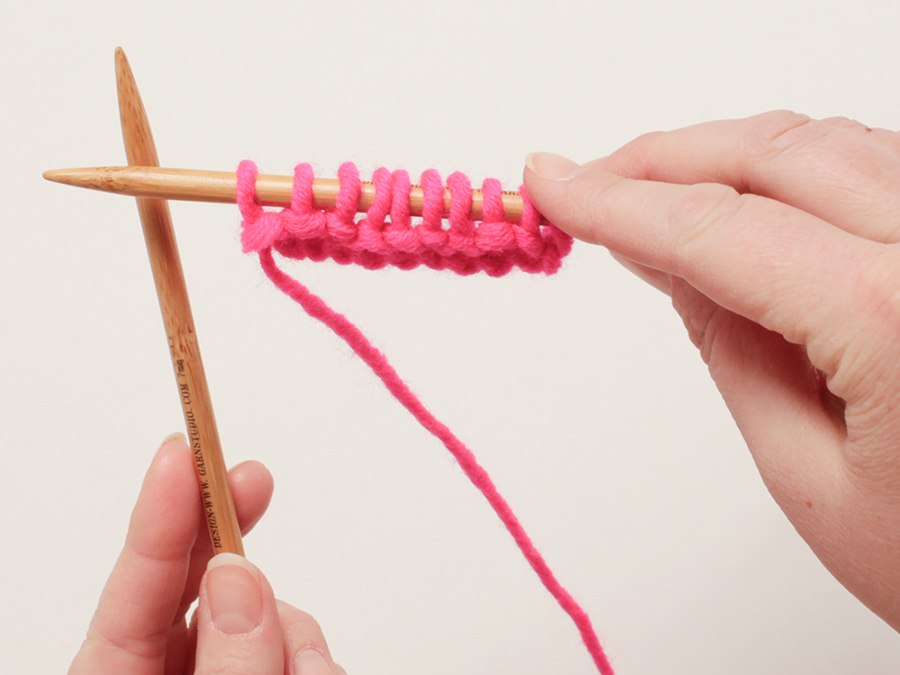
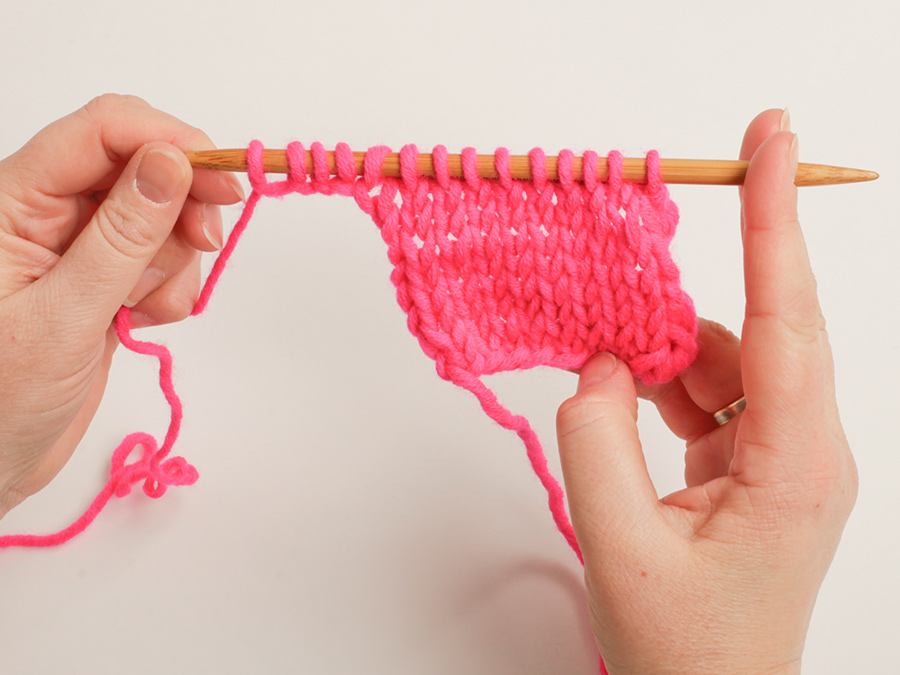
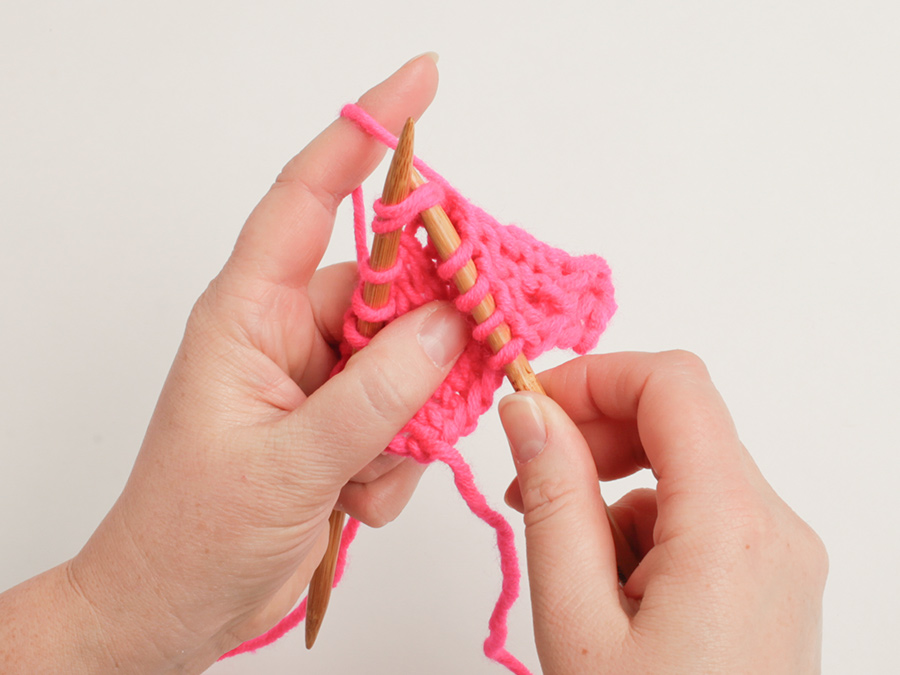
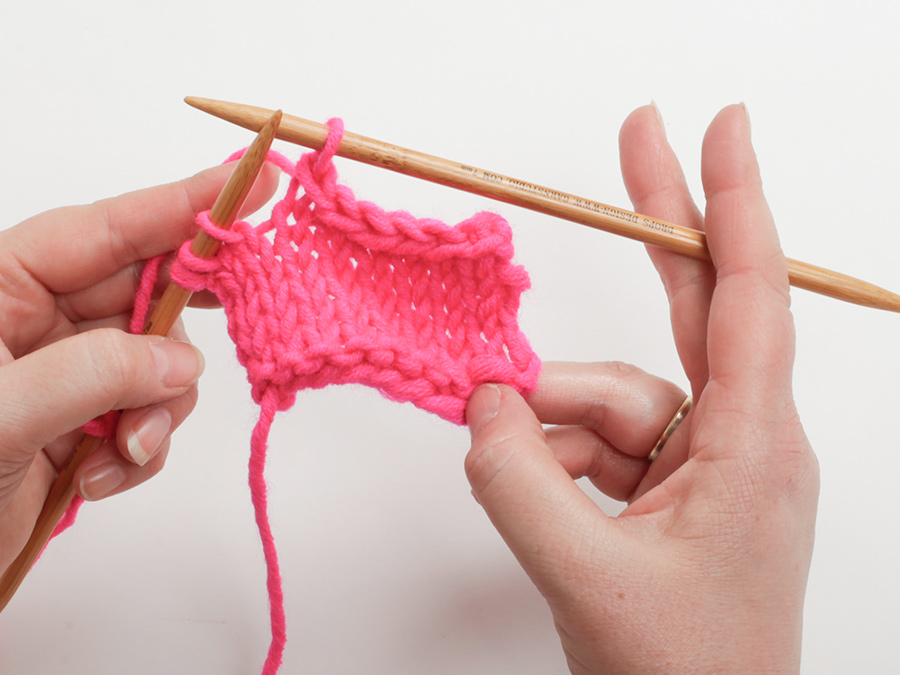
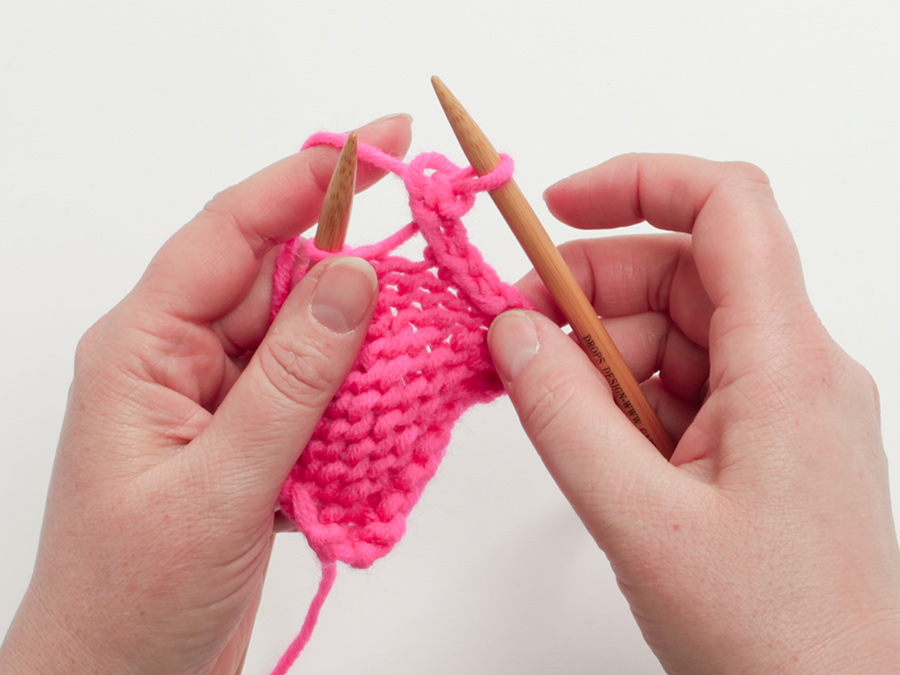
Bonjour Sylvie, retrouvez dans cette leçon comment relever les mailles des manches dans un modèle avec ce type de construction, le marqueur (violet dans les photos) est placé juste en haut de l'épaule, mais l'emplacement ne correspond pas au niveau où les mailles des devants ont été relevées car les épaules sont en biais dans le dos. En fonction des modèles, il peut y avoir plus ou moins de différence entre les mailles relevées et le marqueur ce qui compte c'est que ce marqueur soit au bon endroit. Découvrez également ici, en vidéo comment placer le marqueur et tricoter les manches. Bonne continuation!
09.11.2026 - 08:54
 Heidi wrote:
Tack för svar på tidigare fråga! Att göra ökningen utanför diagrammet betyder att jag ökar när det är 8 maskor kvar och inte när det är 7 maskor kvar på stickan som det står i beskrivningen (i slutet av ökningsvarven för ärmhålen på bakstycket ). Ska jag göra den andra ökningen på ökningsvarvet när det är 7 eller 8 maskor kvar på stickan? Tack på förhand!
19.10.2026 - 13:51DROPS Design answered:
Hej Heidi, det bør stå at der er 8 masker tilbage før du øger og strikker diagrammerne. Vi skal få det opdateret. Du øger altså precis udenfor diagrammet :)
20.10.2026 - 15:19
Sylvie wrote:
Bonjour, Je suis à la fin des augm emmanchures après le dos. Il est écrit de continuer à tricoter jusqu'à ce que l'ouvrage mesure 16cm à partir du marqueur. S'agit-il du marqueur placé plus haut à la fin des augm. dos ? car on a déjà fait 14cm depuis le marqueur avant les aug emmanchures + les 6 rangs d'aug emmanch on dépasse les 16cm alors pourquoi faudrait-il continuer? Ou fallait-il remettre un marqueur au début des aug emmanchures et mesurer à partir de là? Merci d'avance.
17.10.2026 - 18:36DROPS Design answered:
Bonjour Sylvie, il s'agit bien du même marqueur depuis lequel vous avez mesuré vos 14 cm, les 6 rangs d'augmentations = environ 2 cm = vous avez bien 16 cm d'emmanchure au total. Les emmanchures du devant seront plus longues (32 cm en XL), ainsi l'emmanchure totale sera de (16+32)/2 = 24 cm et les épaules seront bien en biais dans le dos. Bon tricot!
19.10.2026 - 10:41
Naty wrote:
Bonjour, Je suis en train de tricoter les manches et j ai l impression que les mesures sur le schéma sont incohérentes des instructions : \"La manche mesure environ 49-.... cm à partir de l épaule.\" Dans le schéma on voit 5+49+4 cm depuis l épaule soit 58cm au total. Dans l instruction \\\"Continuer à tricoter jusqu à ce que la manche mesure 45-... cm à partir de l épaule\\\" ne faudrait il pas plutôt pour la première taille indiquer 5+49 soit 54 cm ?
14.10.2026 - 13:26DROPS Design answered:
Bonjour Naty, la longueur totale de la manche à partir de l'épaule = 49 cm en taille S comprend les rangs raccourcis du haut de la manche (soit les 5 cm du début), vous avez ainsi donc 45 cm à partir de l'épaule + 4 cm de côtes = 49 cm de longueur de manche. Bon tricot!
15.10.2026 - 16:31
Heidi wrote:
Hej, På bakstycket, vid ökning för ärmhål, i slutet av första ökningsvarvet (rätsida); om jag stickar ökningen när det är 7 maskor kvar så hamnar ökningen inne i diagrammet, mellan flätan och den aviga maskan. Ska det vara så eller ska ökningen stickas utanför diagrammet?
13.10.2026 - 19:44DROPS Design answered:
Hei Heidi. Økningene skal skje utenfor diagrammene. Sett maskemarkører ved diagrammene så har du en bedre oversikt. mvh DROPS Design
19.10.2026 - 08:25
Sylvie wrote:
Bonjour, je commence à réaliser le modèle Calm Spirit Weater. Diag A1 et A2, glisser une m, tric 2 m endroit, passer la m glissée par dessus la m tricotée. De quelle maille s'agit il s'il vous plaît ? En dessous : pas de m sautez une case , je ne comprends pas ce qu'il faut faire ??? Je vous remercie de m'aider, j'ai hâte de commencer. Cordialement Sylvie
08.10.2026 - 18:28DROPS Design answered:
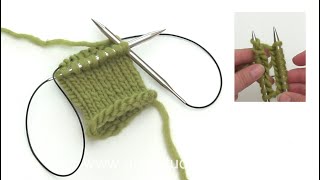
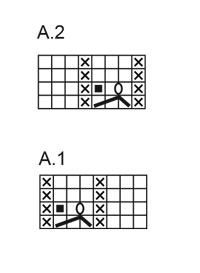
Bonjour Sylvie, découvrez ici en vidéo comment on tricote ce type de petites torsades, vous allez procéder ainsi: glissez 1 maille comme pour la tricoter à l'envers, tricotez les 2 mailles suivantes à l'endroit (pas ensemble), puis passez la maille que vous avez glissé par-dessus les 2 mailles que vous avez tricoté ainsi cette maille entoure maintenant les 2 mailles endroit. Il reste 2 mailles - au tour/rang suivant tricotez ces 2 mailles ainsi: 1 m env sur l'env/ end sur l'end, 1 jeté et 1 m env sur l'env/end sur l'end (le carré noir correspond à la maille que l'on a diminué). Bon tricot!
09.10.2026 - 07:32
 Doris wrote:
Ich verstehe nicht, ob ich das Muster A.1 beim Rückenteil jeweils als verkürzte Reihe fertig stricken soll, also 4 Reihen hin und zurück, oder jeweils pro Gesamtreihe einen Reihe des Musters stricken muss. In diesem Fall bräuchte ich vier Hin-und Rückreihen, bis das Muster beendet ist. Sie schreiben aber, dass man Reihe 2 und 3 XMal wiederholen muss, bis zur Schulterbreite. Ich hoffe, mich vertständlich ausgedrückt zu haben! Vielen Dank Doris
04.09.2026 - 09:53
 Isabella wrote:
Hi, I am working on the back piece and I have a question about row 3. When I am at the A.1 section with my 8 stitches and I follow the chart (purl 3, knit, purl, yarn over, purl, knit), I finish the chart, but I still have one extra stitch left on my needle. Am I doing something wrong, or should I just purl it? Thank you 😊
28.08.2026 - 19:18DROPS Design answered:
Dear Isabella, remember that you work left to right: knit 1, purl 1, yarn over, purl 1, knit 1, purl 3. While you only have 7 stitches in this specific row, most of A.1 is always 8 stitches, as you can see in the chart. So just work A.1 over A.1, working the stitches from the wrong side over the stitches from the previous row as shown in the chart and work A.2 over A.2 on the other side. The increase is worked right before A.1 on this side. But we leave the 8 sts mark since, for example, if you work row 4 of A.1, you will need 8 sts in that case, so the sentence would then be correct. Happy knitting!
30.08.2026 - 23:08
Joan wrote:
Man må slå om efter 7 m ,i mønster A1 ? ellers passer det ikke på 3. pind ?
25.08.2026 - 19:43
|
||||||||||||||||
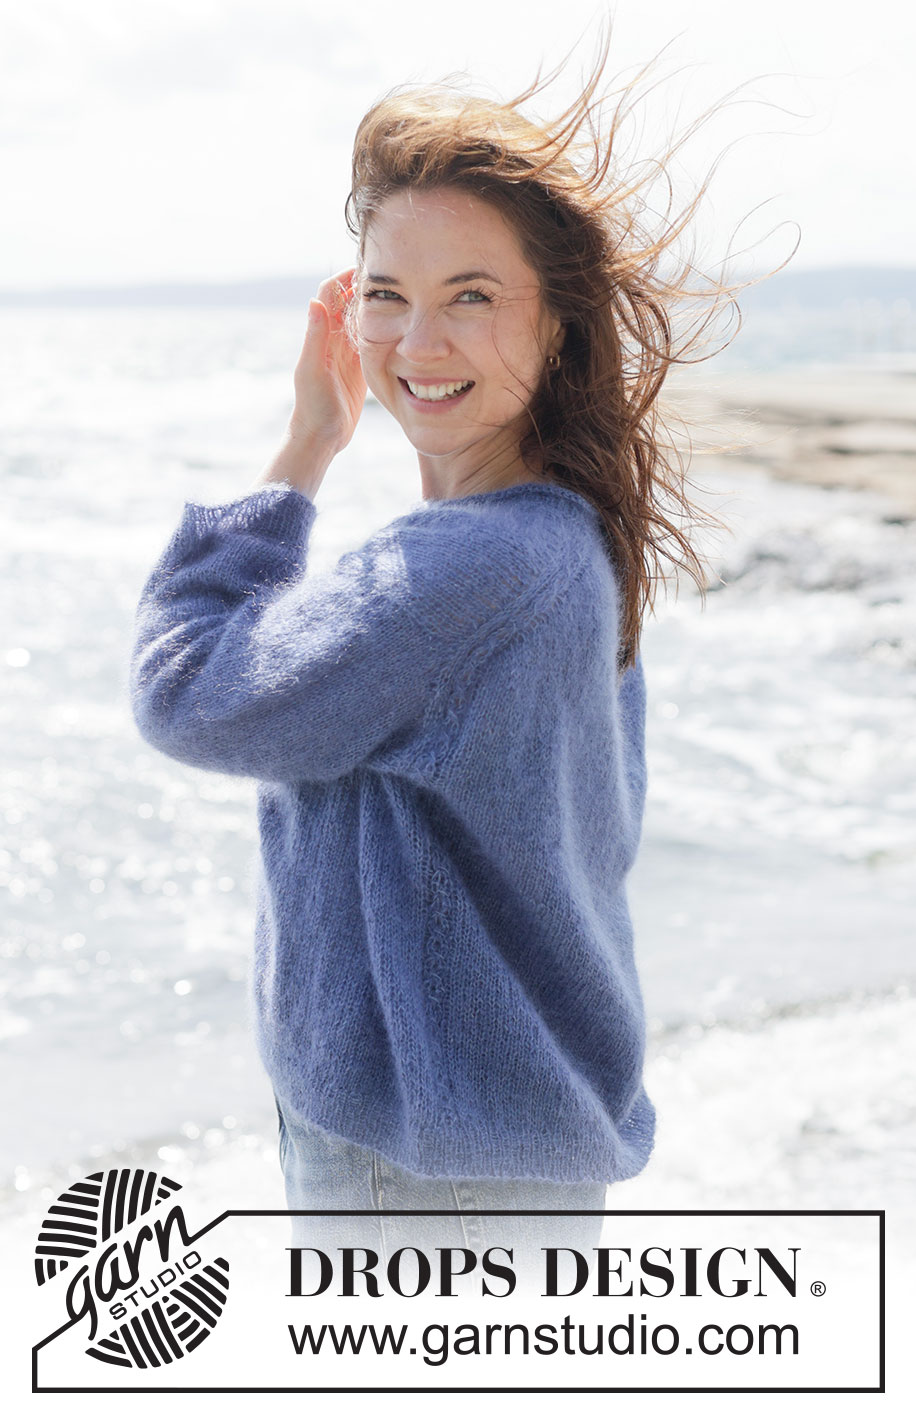
Calm Spirit Sweater#calmspiritsweater |
||||||||||||||||
 |
 |
|||||||||||||||
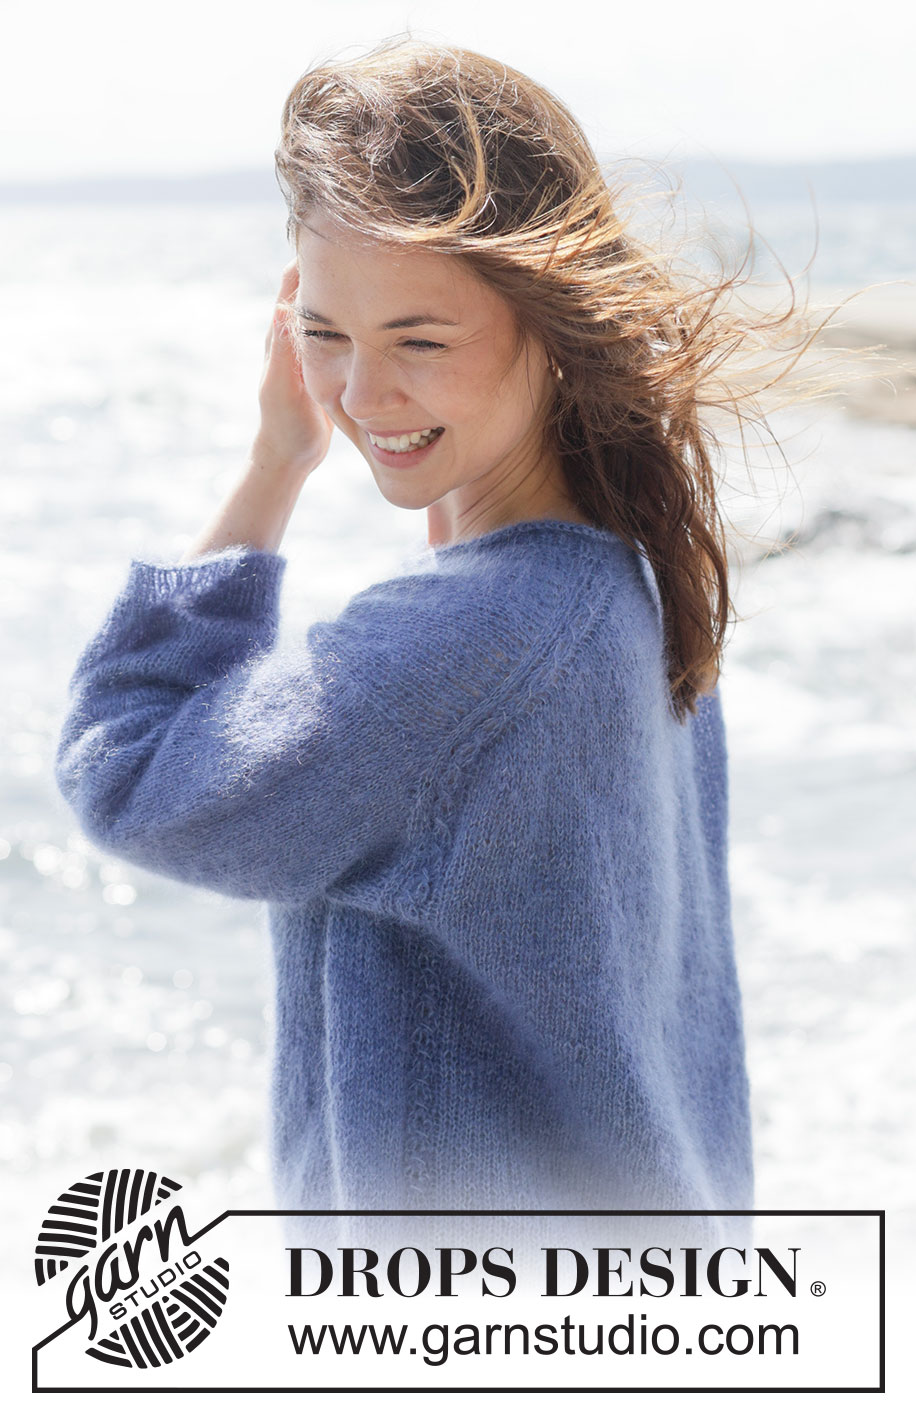
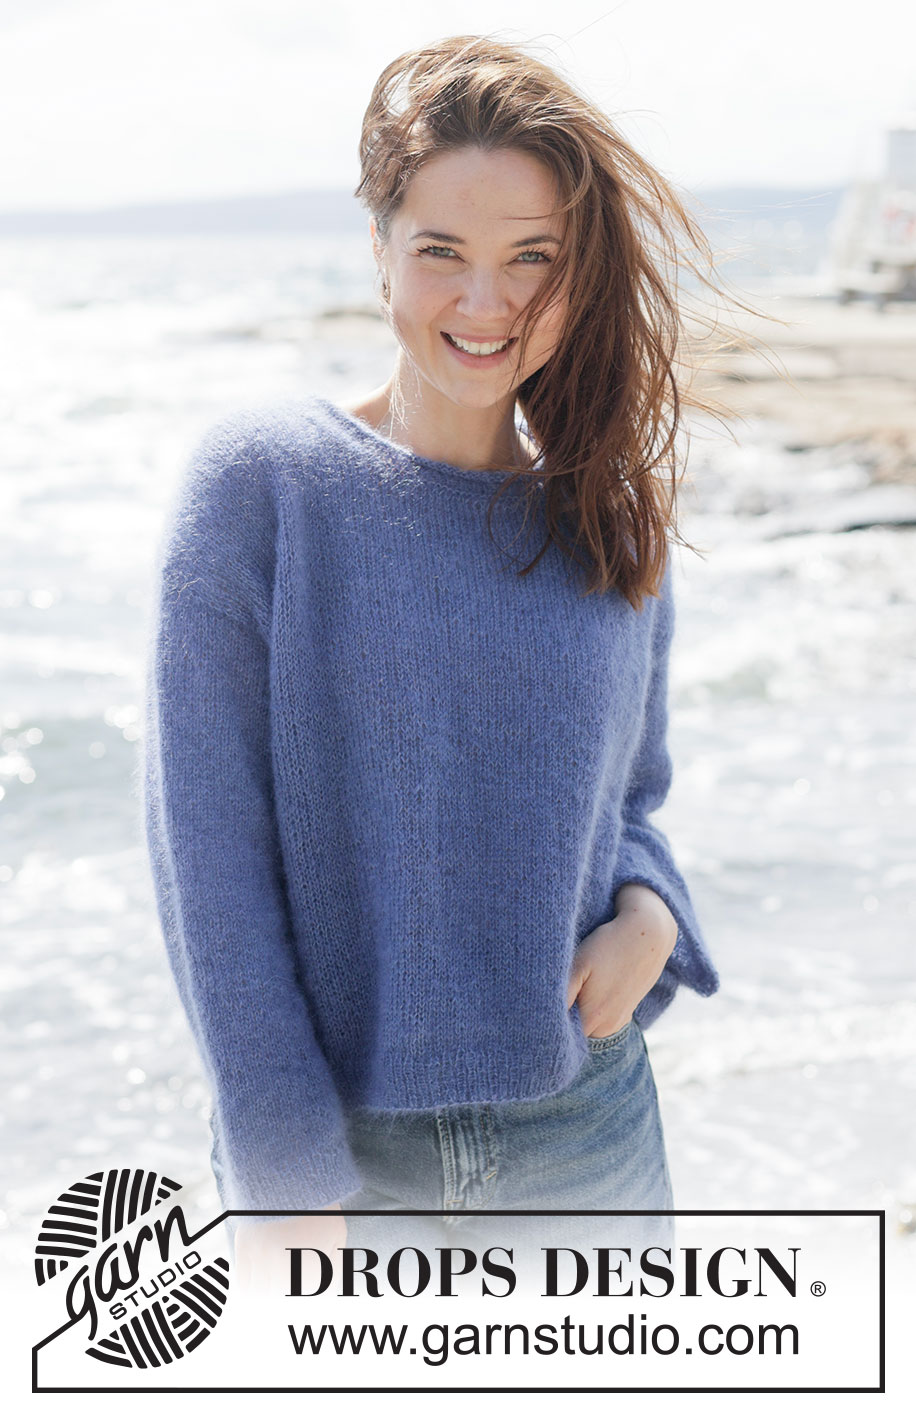
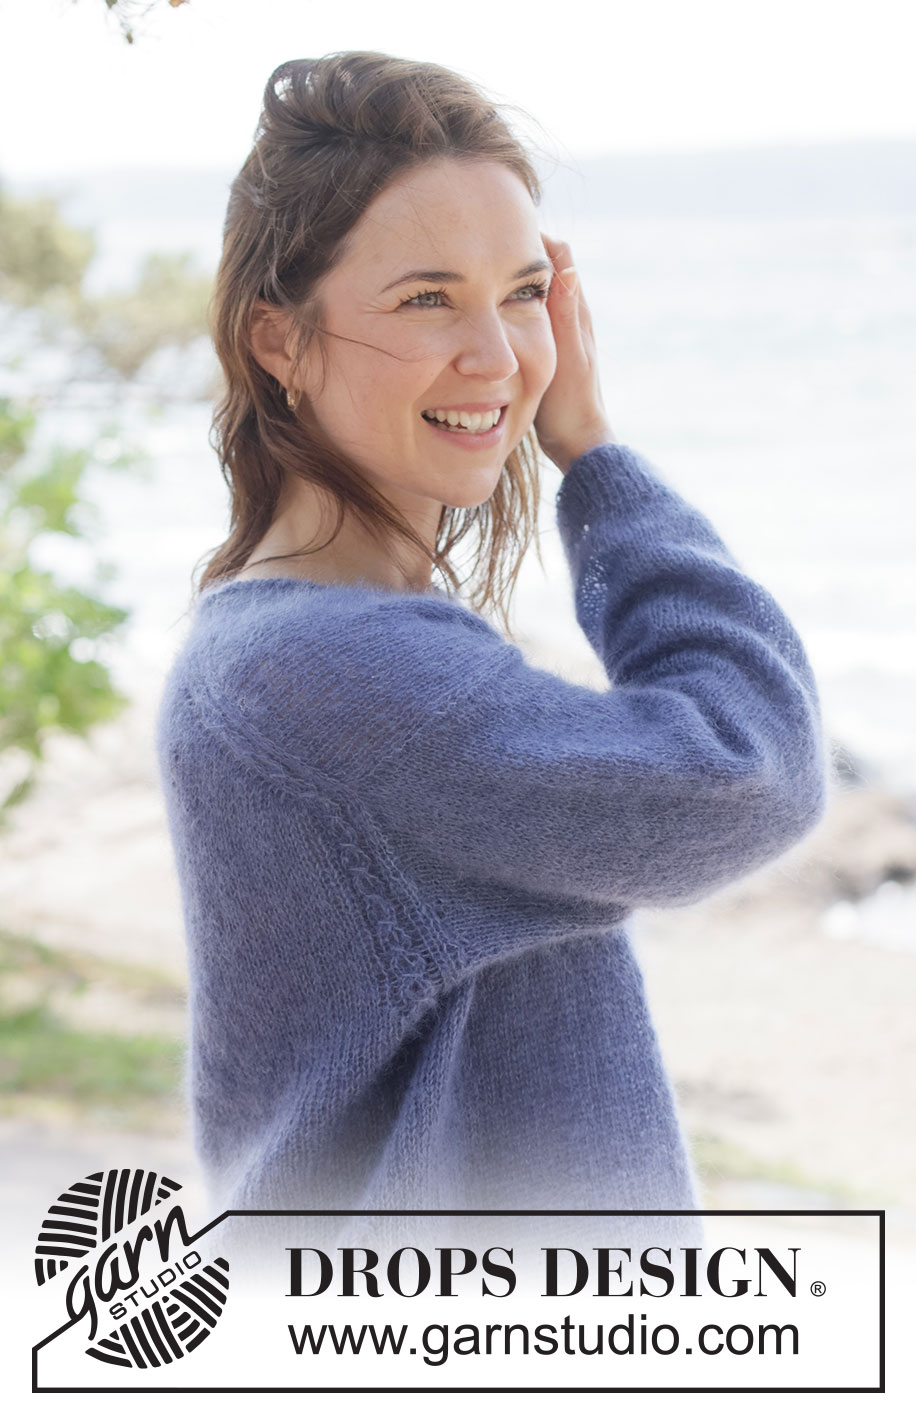
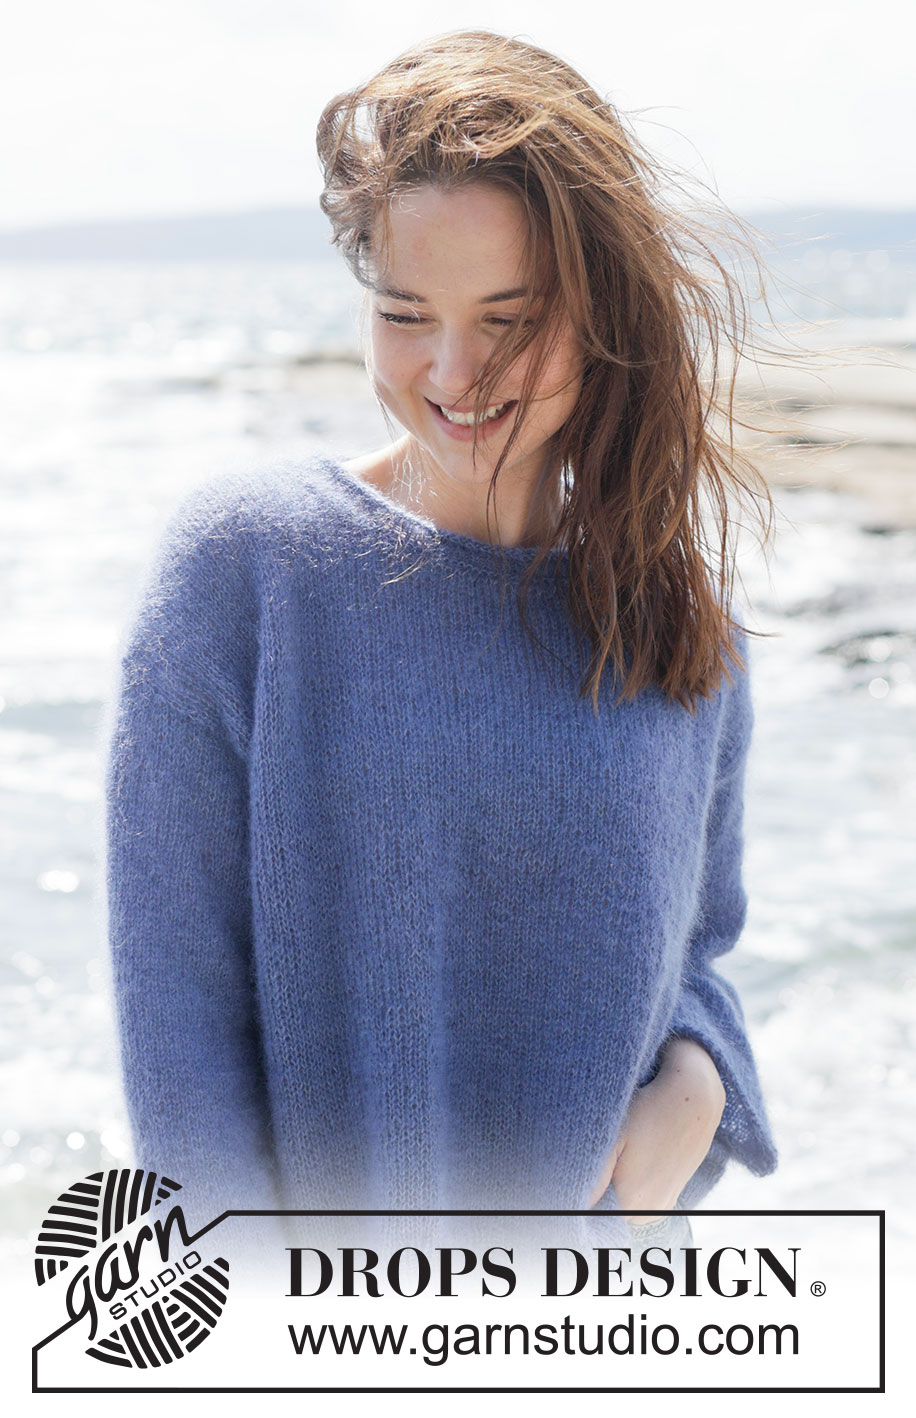
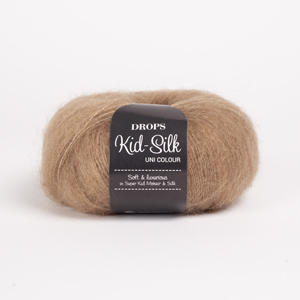
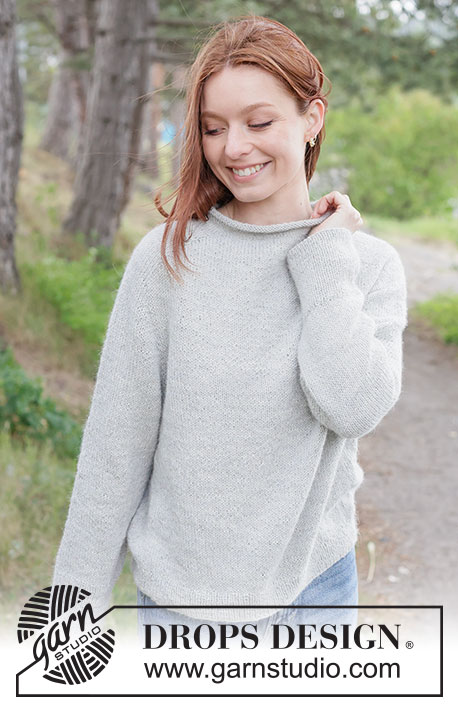
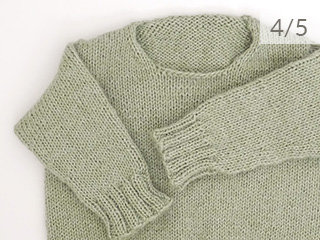
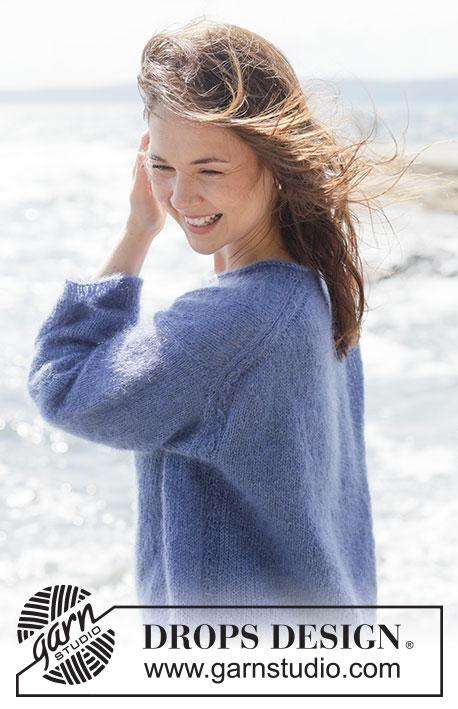
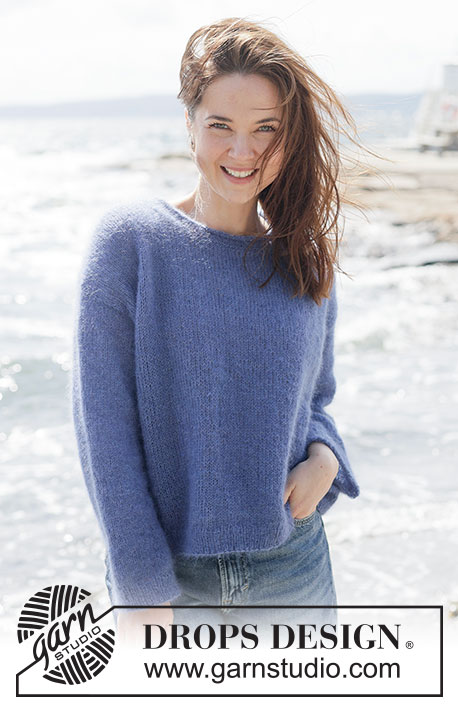
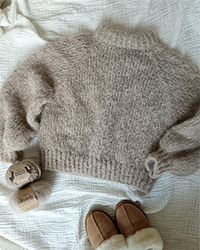
Knitted sweater in 2 strands DROPS Kid-Silk. The piece is worked top down with European/diagonal shoulders, small cables on the back piece and rolled neck. Sizes XS - XXXL.
DROPS 263-4 |
||||||||||||||||
|
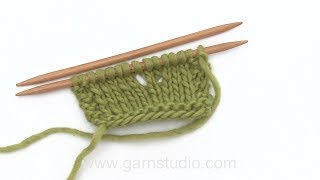
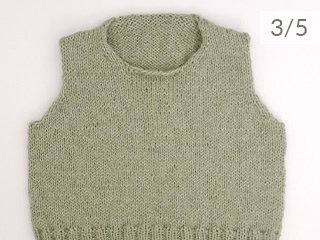
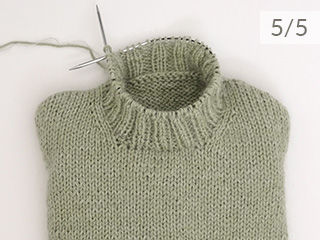
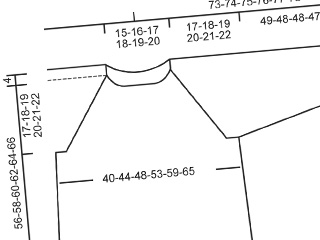
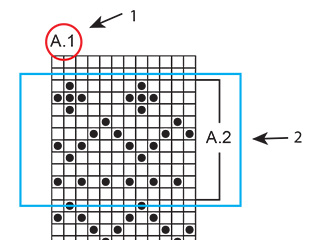
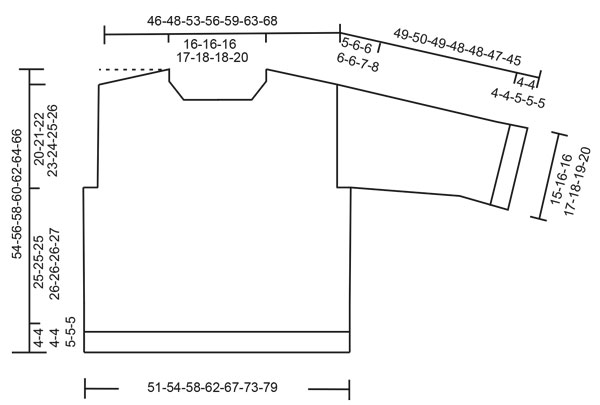
------------------------------------------------------- EXPLANATIONS FOR THE PATTERN: ------------------------------------------------------- PATTERN: See diagrams A.1 and A.2 INCREASE TIP-1: INCREASE 1 STITCH TOWARDS THE LEFT - from RIGHT SIDE: Use left needle to pick up yarn between 2 stitches from row below, pick up yarn from the front and knit the loop of the stitch on the back side of the needle. INCREASE 1 STITCH TOWARDS THE RIGHT - from RIGHT SIDE: Use left needle to pick up yarn between 2 stitches from row below, pick up yarn from the back and knit the loop of the stitch on the front side of the needle. INCREASE TIP-2: INCREASE 1 STITCH TOWARDS THE RIGHT - from WRONG SIDE: Use left needle to pick up yarn between 2 stitches from row below, pick up yarn from the back and purl the loop of the stitch on the front side of the needle.. INCREASE 1 STITCH TOWARDS THE LEFT - from WRONG SIDE: Use left needle to pick up yarn between 2 stitches from row below, pick up yarn from the front and purl the loop of the stitch on the back side of the needle. KNITTING TIP: When working short rows, there will be a small hole after each turn. This hole can be closed by tightening the strand or using the technique German Short Rows as follows: Slip the first stitch purl-wise, take the strand over the right needle and tighten well from the back (2 loops on the needle). These loops are worked together on the next row. DECREASE TIP: Decrease 1 stitch on each side of the marker thread as follows: Work until there are 3 stitches left before the marker thread, knit 2 together, knit 2 (marker thread sits between these 2 stitches) slip 1 stitch knit-wise, knit 1 and pass the slipped stitch over the knitted stitch (= 2 stitches decreased). ------------------------------------------------------- START THE PIECE HERE: ------------------------------------------------------- SWEATER – SHORT OVERVIEW OF THE PIECE: The pattern uses both long and short needles; start with the length which fits the number of stitches and change when necessary. The piece is started back and forth, casting on stitches at the back of the neck and working the back piece top down, while increasing stitches on each side for the shoulders, which become slightly diagonal. The back piece is worked as far as the armholes. The front piece is then worked in 2 sections, knitting up stitches along 1 back shoulder, working pattern and increasing for the neckline. This is repeated on the other shoulder, the 2 front sections are joined when the neckline is finished and worked until the armholes are finished. The front and back pieces are joined on the same circular needle and the body worked in the round Stitches are knitted up around the armholes for the sleeves which are first worked back and forth for the sleeve cap, then finished in the round. Stitches are knitted up around the neckline and the neck worked in the round to finish. BACK PIECE: The piece is worked back and forth. Cast on slightly loosely 32-32-32-34-36-36-42 stitches with circular needle size 4 MM = US 6 and 2 strands DROPS Kid-Silk. ROW 1 (wrong side): Purl. Now work PATTERN – read explanation above, and stockinette stitch while increasing as follows: ROW 2 (right side): Work A.1, read INCREASE TIP-1 and increase 1 stitch towards the left, knit until there are 8 stitches left on the row, increase 1 stitch towards the right, work A.2. ROW 3 (wrong side): Read INCREASE TIP-2. Work A.2, increase 1 stitch towards the right, purl until there are 8 stitches left, increase 1 stitch towards the left, work A.1. Work ROWS 2 and 3 a total of 14-15-17-18-19-21-22 times (28-30-34-36-38-42-44 rows worked) = 88-92-100-106-112-120-130 stitches. Insert 1 marker outermost on one side. The piece is now measured from here! Continue with stockinette stitch and A.1/A.2 (remember to maintain the knitting gauge) until the piece measures 12-12-13-13-14-15-16 cm = 4¾"-4¾"-5⅛"-5⅛"-5½"-6"-6¼" from the marker, measured down the armhole. Now increase for the armholes. INCREASE FOR ARMHOLES: ROW 1 (right side): Remember INCREASE TIP-1. Work A.1, increase 1 stitch towards the left, knit until there are 8 stitches left, increase 1 stitch towards the right, work A.2. ROW 2 (wrong side): Purl and work A.1/A.2. Work ROWS 1 and 2 a total of 2-2-2-2-3-3-3 times = 92-96-104-110-118-126-136 stitches. Continue working until the piece measures 14-14-15-15-16-17-18 cm = 5½"-5½"-6"-6"-6¼"-6¾"-7", from the marker and down the armhole, finishing with a row from the wrong side. Cut the strand and place the stitches on a stitch holder/thread and work the left front piece along the left back piece as follows: LEFT FRONT PIECE: Find the left back shoulder as follows: Lay the back piece flat, right side up, with the stitch holder towards you; left side of piece = left shoulder. Starting from the right side by the neck on the left back shoulder, knit up 1 stitch inside the outermost stitch in each worked row along the shoulder as far as the armhole = 28-30-34-36-38-42-44 stitches. All length-measurements on the front piece are taken from the knitted-up row. Work stockinette stitch back and forth with the first row from the wrong side until the piece measures 7 cm = 2¾". Now increase for the neckline as follows: ROW 1 (right side): Remember INCREASE TIP-1. Knit 3, increase 1 stitch towards the left, work to end of row. ROW 2 (wrong side): Purl. Work ROWS 1 and 2 a total of 5 times (10 rows worked) = 33-35-39-41-43-47-49 stitches (with the next row from the right side). Cut the strand and place the stitches on a stitch holder/thread and work the right front piece along the right back piece as follows: RIGHT FRONT PIECE: Starting from the right side by the armhole on right left back shoulder, knit up 1 stitch inside the outermost stitch in each worked row as far as the neck = 28-30-34-36-38-42-44 stitches. All length-measurements on the front piece are taken from the knitted-up row. Work stockinette stitch back and forth, with the first row from the wrong side until the piece measures 7 cm = 2¾". Now increase for the neckline as follows: ROW 1 (right side): Knit until there are 3 stitches left, increase 1 stitch towards the right, knit 3 - remember INCREASE TIP-1. ROW 2 (wrong side): Purl. Work ROWS 1 and 2 a total of 5 times (10 rows worked) = 33-35-39-41-43-47-49 stitches (with the next row from the right side). Now join the 2 front pieces. FRONT PIECE: From the right side, knit the 33-35-39-41-43-47-49 stitches from the right front piece, cast on 22-22-22-24-26-26-32 stitches for the neckline (make sure the cast-on stitches are not tight), knit the 33-35-39-41-43-47-49 stitches from the left front piece = 88-92-100-106-112-120-130 stitches. Continue stockinette stitch back and forth until the piece measures 24-26-27-29-30-31-32 cm = 9½"-10¼"-10⅝"-11⅜"-11¾"-12¼"-12½". Now increase for the armholes. INCREASE FOR ARMHOLES: ROW 1 (right side): Knit 3, increase 1 stitch towards the left, knit until there are 3 stitches left, increase 1 stitch towards the right, knit 3. ROW 2 (wrong side): Purl. Work ROWS 1 and 2 a total of 2-2-2-2-3-3-3 times = 92-96-104-110-118-126-136 stitches. Continue working until the piece measures 26-28-29-31-32-33-34 cm = 10¼"-11"-11⅜"-12¼"-12½"-13"-13⅜", finishing after a row from the wrong side. Now join the front and back pieces for the body. The piece is measured from here! BODY: Knit the 92-96-104-110-118-126-136 stitches from the front piece, cast on 4-6-6-8-10-12-14 stitches (mid-under the sleeve), work the 92-96-104-110-118-126-136 stitches from the back piece as before, cast on 4-6-6-8-10-12-14 stitches (mid-under the sleeve) = 192-204-220-236-256-276-300 stitches. Continue A.1, A.2 and stockinette stitch in the round for a further 25-25-25-26-26-26-27 cm = 9¾"-9¾"-9¾"-10¼"-10¼"-10¼"-10⅝". Change to circular needle size 2.5 MM = US 1.5. Work rib (knit 1, purl 1), AT THE SAME TIME increase 32-34-36-36-38-46-48 stitches evenly on the first round = 224-238-256-272-294-322-348 stitches. When the rib measures 4-4-4-4-5-5-5 cm = 1½"-1½"-1½"-1½"-2"-2"-2", bind off slightly loosely with rib. The sweater measures approx. 54-56-58-60-62-64-66 cm = 21¼"-22"-22¾"-23⅝"-24⅜"-25¼"-26". SLEEVES: The sleeve is worked top down. Lay the piece flat and insert 1 marker at the top of the armhole. (NOTE! This is not the same place as the knitted-up row on the front piece but approx. 6-7 cm = 2⅜"-2¾" down the front piece). Use 2 strands and circular needle 2.5 MM = US 1.5. Start in the middle of the cast-on stitches under the sleeve and knit up 76-80-82-90-98-106-110 stitches around the armhole, with equal numbers of stitches on both sides of the marker. Change to circular needle size 4 MM = US 6. Work stockinette stitch back and forth with short rows for the sleeve cap (to give the sleeve a better fit), starting from mid-under the sleeve as follows: ROW 1 (right side): Knit to 10-10-10-11-12-13-14 stitches past the marker on top of the sleeve, turn – read KNITTING TIP. ROW 2 (wrong side): Purl to 10-10-10-11-12-13-14 stitches past the marker, turn. ROW 3 (right side): Knit to 4-4-4-4-4-4-4 stitches past the previous turn, turn. ROW 4 (wrong side): Purl to 4-4-4-4-4-4-4 stitches past the previous turn, turn. Repeat row 3 and 4. Work until you have turned a total of 12-14-14-14-14-18-18 times (6-7-7-7-7-8-8 times each side with the last row from the wrong side). After the final turn, knit back to the beginning of the round (mid-under the sleeve). Insert 1 marker-thread here; it is used when decreasing under the sleeve. Allow it to follow your work onwards. Work stockinette stitch in the round. AT THE SAME TIME, when the sleeve measures 1 cm = ⅜" from the division, decrease mid-under the sleeve – read DECREASE TIP as follows: Decrease 2 stitches every 2nd round 2-2-3-3-3-4-4 times, then decrease 2 stitches every 5-5-5-3½-3-2½-2½ cm = 2"-2"-2"-1¼"-1⅛"-1"-1" a total of 7-8-7-10-12-13-13 times = 58-60-62-64-68-72-76 stitches. Continue working until the sleeve measures 45-46-45-44-43-42-40 cm = 17¾"-18"-17¾"-17¼"-17"-16½"-15¾" from the shoulder. Change to double pointed needles size 2.5 MM = US 1.5. Work rib (knit 1, purl 1), AT THE SAME TIME increase 8-10-10-10-12-12-12 stitches evenly on the first round = 66-70-72-74-80-84-88 stitches. When the rib measures 4-4-4-4-5-5-5 cm = 1½"-1½"-1½"-1½"-2"-2"-2", bind off slightly loosely with rib. The sleeve measures approx. 49-50-49-48-48-47-45 cm = 19¼"-19¾"-19¼"-19"-19"-18½"-17¾" from the shoulder. NECK: Use circular needle size 2.5 MM = US 1.5 and 2 strands. Start from the right side on one shoulder-line and knit up 94 to 112 stitches inside 1 stitch around the neckline: the stitch count should be divisible by 2. Purl 1 round, knit 2 rounds, work 4 rounds of rib (knit 1, purl 1), knit 4 rounds (= rolled-edge). Change to circular needle size 4 MM = US 6 and bind off a little loosely. |
||||||||||||||||
Diagram explanations |
||||||||||||||||
|
||||||||||||||||
 |
||||||||||||||||
 |
||||||||||||||||
Have you finished this pattern?Tag your pictures with #dropspattern #calmspiritsweater or submit them to the #dropsfan gallery. Do you need help with this pattern?You'll find 28 tutorial videos, a Comments/Questions area and more by visiting the pattern on garnstudio.com. © 1982-2026 DROPS Design A/S. We reserve all rights. This document, including all its sub-sections, has copyrights. Read more about what you can do with our patterns at the bottom of each pattern on our site. |
||||||||||||||||

With over 40 years in knitting and crochet design, DROPS Design offers one of the most extensive collections of free patterns on the internet - translated to 17 languages. As of today we count 333 catalogs and 12551 patterns - 12541 of which are translated into English (US/in).
We work hard to bring you the best knitting and crochet have to offer, inspiration and advice as well as great quality yarns at incredible prices! Would you like to use our patterns for other than personal use? You can read what you are allowed to do in the Copyright text at the bottom of all our patterns. Happy crafting!
Post a comment to pattern DROPS 263-4
We would love to hear what you have to say about this pattern!
If you want to leave a question, please make sure you select the correct category in the form below, to speed up the answering process. Required fields are marked *.