
Popular categories
Looking for a yarn?


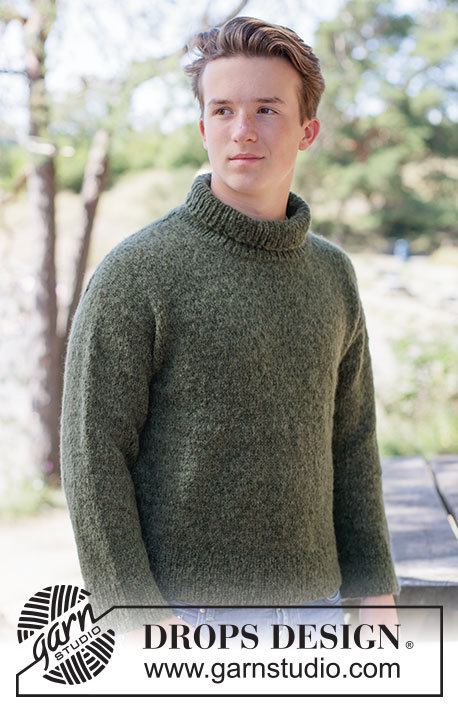
Europeand shoulders – Short overview

1 - BACK PIECE: Cast on stitches for the back of the neck. Work the back piece back and forth, increasing stitches on each side until the shoulder stitch count has been achieved. The back piece has slightly diagonal shoulders. Continue working as far as the armholes. The back piece stitches are now placed on a stitch holder and the front piece is worked.
2 - FRONT PIECE: The piece is begun in 2 sections. Start by knitting up stitches along one back shoulder, working pattern back and forth and downwards, while increasing for the neckline. Repeat on the other shoulder. The right and left front pieces are joined when the neckline increases are finished. The front piece is then continued back and forth as far as the armholes.
3 - YOKE: Place the front and back pieces on the same circular needle, joining them together by cast on stitches under each sleeve. The body is continued in the round to the correct measurement.
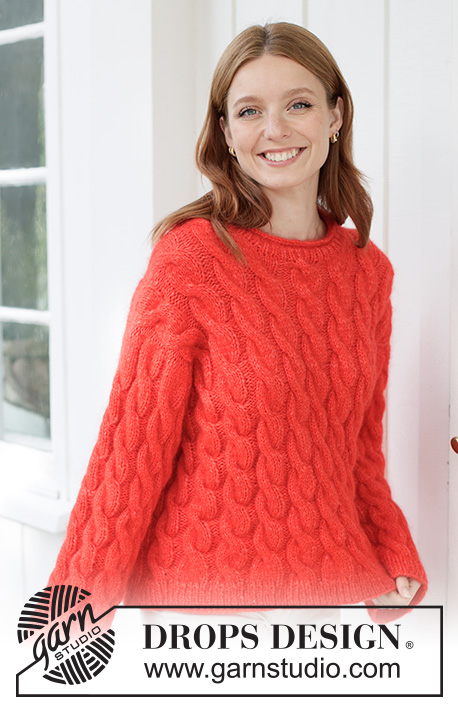
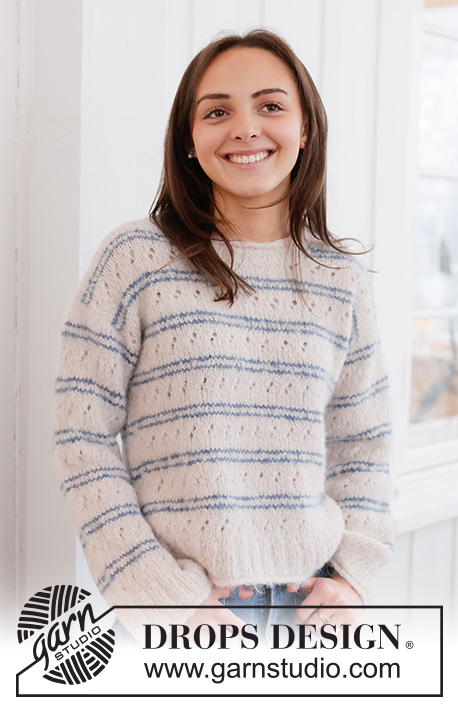
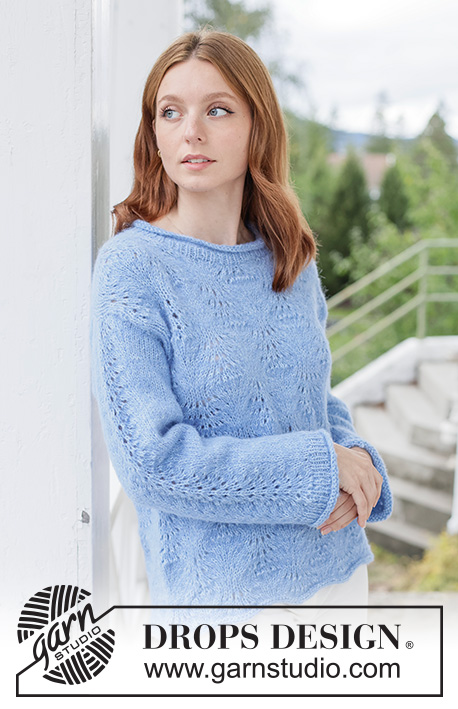
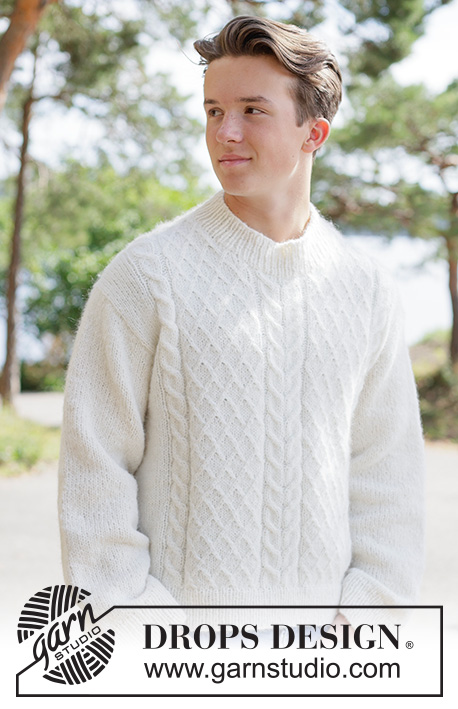
Patterns using this technique

Video #1838, listed in: Learn to knit, European shoulder
Our videos do not have sound. We are a worldwide company and our videos are watched by people speaking endless of different languages and many do not understand English. So since there is not a given language for us to use, we instead have written instructions to accompany the video, and then there is no sound to disturb while watching.
You can adjust the speed of this video by clicking on the icon, on the play bar.
Leave a comment or question to this video
Your email address will not be published. Required fields are marked *.
Continue watching


You might also like


With over 40 years in knitting and crochet design, DROPS Design offers one of the most extensive collections of free patterns on the internet - translated to 17 languages. As of today we count 324 catalogs and 12290 patterns - 12280 of which are translated into English (US/in).
We work hard to bring you the best knitting and crochet have to offer, inspiration and advice as well as great quality yarns at incredible prices! Would you like to use our patterns for other than personal use? You can read what you are allowed to do in the Copyright text at the bottom of all our patterns. Happy crafting!
Ni har fantastiska videos och lärt mig så mycket, tack!! Men jag undrar vad är skillnaden på europeiskt Ok och europeiskt Axel?
26.10.2025 - 09:22DROPS Design :
Hei Hson. Tusen takk for hyggelig tilbakemelding :) En enkel forklaringer: Europeisk axel - en konstruktion där axeln börjar en bit ner på ryggen. Europeiskt ok - en konstruktionsteknik där axlarna börjar en bit ned på ryggen samtidigt som man stickar ärmarna. Om du ser på start-bildet til videoene: Europeisk axel - Kort översikt og Europeiskt ok - kort översikt. Og: Halsen är färdig efter att ärmmaskorna har stickats upp. Vil du se at på siste video strikker man også ermene. mvh DROPS Design
27.10.2025 - 08:23