
Popular categories
Looking for a yarn?


































Comments / Questions (129)
 Emma H wrote:
Er det riktig at ermene strikkes lengre i de minste størrelsene enn i de største størrelsene?
05.08.2026 - 14:45DROPS Design answered:
Hei Emma, Ja, fordi skulder vidden og bærestykket er større i de store størrelsene. Hilsen Drops Team.
07.08.2026 - 06:21
Emma H wrote:
Er det riktig at ermene i de minste størrelsene strikkes lengre enn de største størrelsene?
05.08.2026 - 14:43DROPS Design answered:
Hei Emma. Ja, det stemmer. Det er kortere mål i de større størrelsene pga bredere skuldervidde og lengre ermetopp. mvh DROPS Design
17.08.2026 - 14:16
 Jenna wrote:
Mihin nuo etureunat menee, jotka kudotaan alussa? Jos silmukat luodaan niiden väliin, niin siitä jää 20 senttiä roikkumaan ylimääräisinä reunoja. En jotenkin ymmärrä..
02.08.2026 - 21:03DROPS Design answered:
Hei, roikkumassa jääneet reunat kiinnitetään myöhemmin takakappaleen pääntien reunaan.
03.08.2026 - 18:06
 Raffaella wrote:
Buonasera...gentilmente potreste indicarmi una video lezione per lavorare e cucire i bordi al corpo del cardigan?..grazie infinite
21.07.2026 - 00:16DROPS Design answered:
Buongiorno Raffaella, provi a vedere se questo video le può essere di aiuto. Buon lavoro!
09.08.2026 - 12:25
 Katerina S wrote:
Hello! I am trying to put my stitch markers on correctly before starting with the raglan/v-neck increases. I have 68 stitches (for size S) and the pattern says to count 5 out a stitch marker after that, count 16 put a stitch marker after that, count 22…, then 16 again and I should be left with only 5 stitches. But that does not happen to me, I’m left with 6..Actually 5+16+22+16+5=64, but according to the pattern I should have 68. Can you explain a bit more please ? Thank you in advance.
27.06.2026 - 18:28DROPS Design answered:
Dear Katerina, the markers are inserted into stitches, which are not counted in the sections. So you count 5 stitches (= front piece), insert 1 marker in the next stitch (= 6 sts in total), count 16 stitches (= sleeve), insert 1 marker in the next stitch, count 22 stitches (= back piece), insert 1 marker in the next stitch, count 16 stitches (= sleeve), insert 1 marker in the next stitch, there are 5 stitches left after the last marker (= front piece). 5+1+16+1+22+1+16+1+5 = 68 sts. Happy knitting!
29.06.2026 - 00:53
 Gitte Barton wrote:
Det er virkelig dårligt forklaret både med forkanter og begyndelse på bærestykket. Jeg har strikket i 50 år og vejleder andre. Jeg tror I skal have en professionel til at gennemgå den, så der bliver brugt de rigtige termer.
22.06.2026 - 12:41
Gitte wrote:
Hvad menes der her: Tag 1 maske løst af pinden som om den skulle strikkes vrang med tråden foran arbejdet, strik 1 maske ret
21.06.2026 - 15:55
 Julia wrote:
I finished all the increases and now I want to divide the sleeves. The pattern (M) says: 4 - 35 - [42 + 10] - 70 - [42 + 10] - 35 - 4. That leaves us 158 sts for the body and 104 for the sleeves. But the body section starts with 168 sts. Where do the missing 10 sts come from?
13.06.2026 - 12:40DROPS Design answered:
Dear Julia, you had 232 stitches which you divided for the body and sleeves and you cast on 10 stitches for each armhole, under the arm. The armhole stitches belong to the body, since it connects the different sections of the body now that the sleeves have been slipped to threads. So, for the body you get: 4+35+10+70+10+35+4 = 168 sts. And you get 42 sts for each sleeve. Happy knitting!
15.06.2026 - 01:46
 Elvira wrote:
Können sie mir bitte erklären, wie ich innerhalb der Blenden Maschen die Zunahme machen muss, und wo genau?
20.05.2026 - 21:31
Elvira wrote:
Wie kann ich innerhalb der Blendenmaschen eine Masche zunehmen? Und wo genau? Das ist mir nicht klar.
20.05.2026 - 21:29DROPS Design answered:
Liebe Elvira, die Zunahmen für den V-Halsausschnitt werden mit 1 Umschlag gestrickt (siehe V-AUSSCHNITT-ZUNAHMEN: am Anfang der Anleitung); beim linken Vorderteil wird man am Anfang einer Hinreihe nach der 4 Blenden-Maschen zunehmen und beim rechten Vorderteil wird man am Ende einer Hinreihe vor der 4 Blenden-Maschen zunehmen. Diese Zunahmen arbeitet man in jeder 4. Reihe, dh in jeder 2. Hinreihe. Kann das Ihnen helfen? Viel Spaß beim Stricken!
21.05.2026 - 09:05
|
|
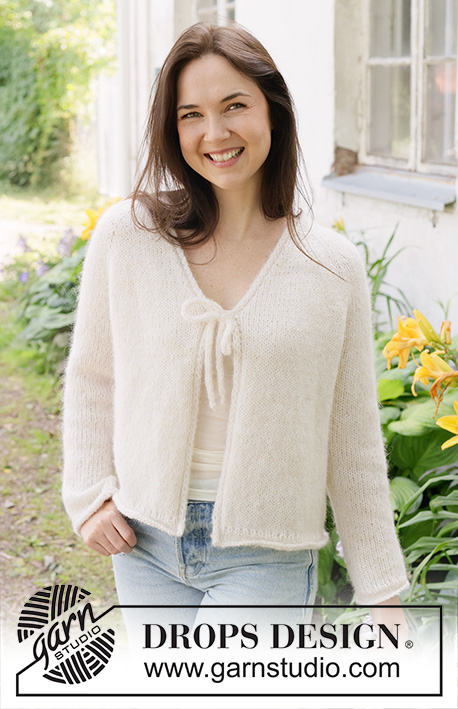
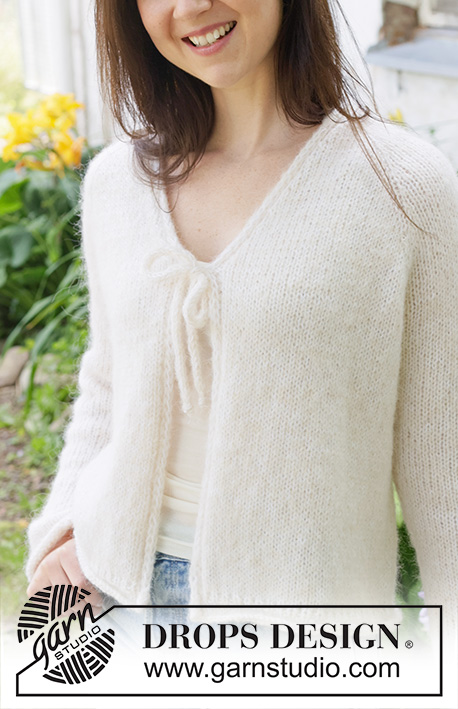
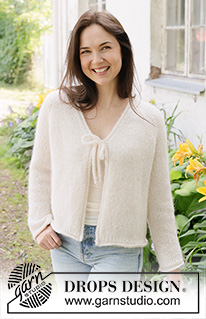
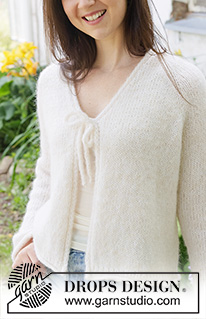
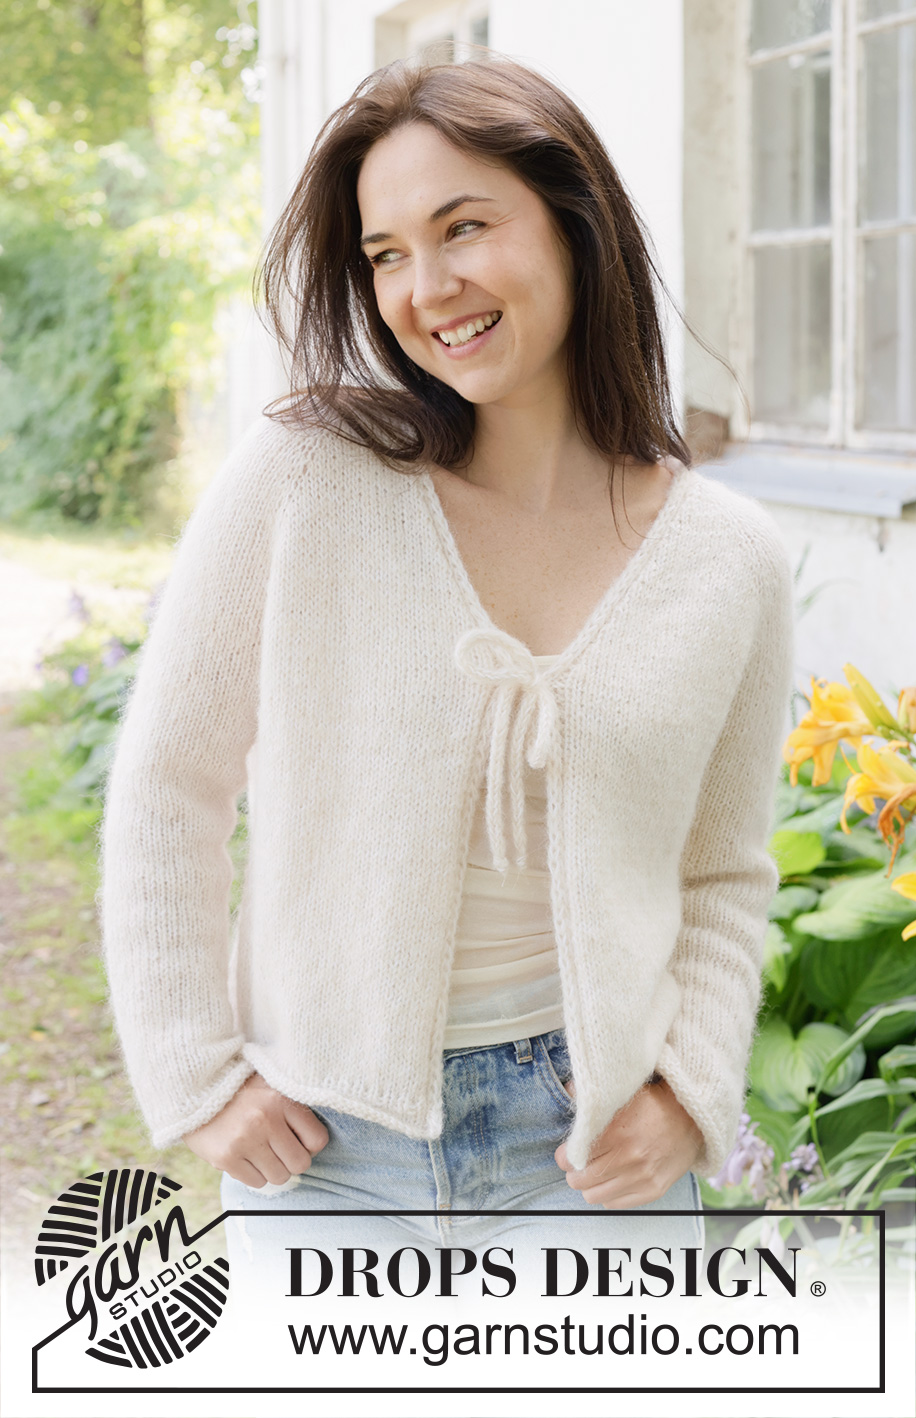
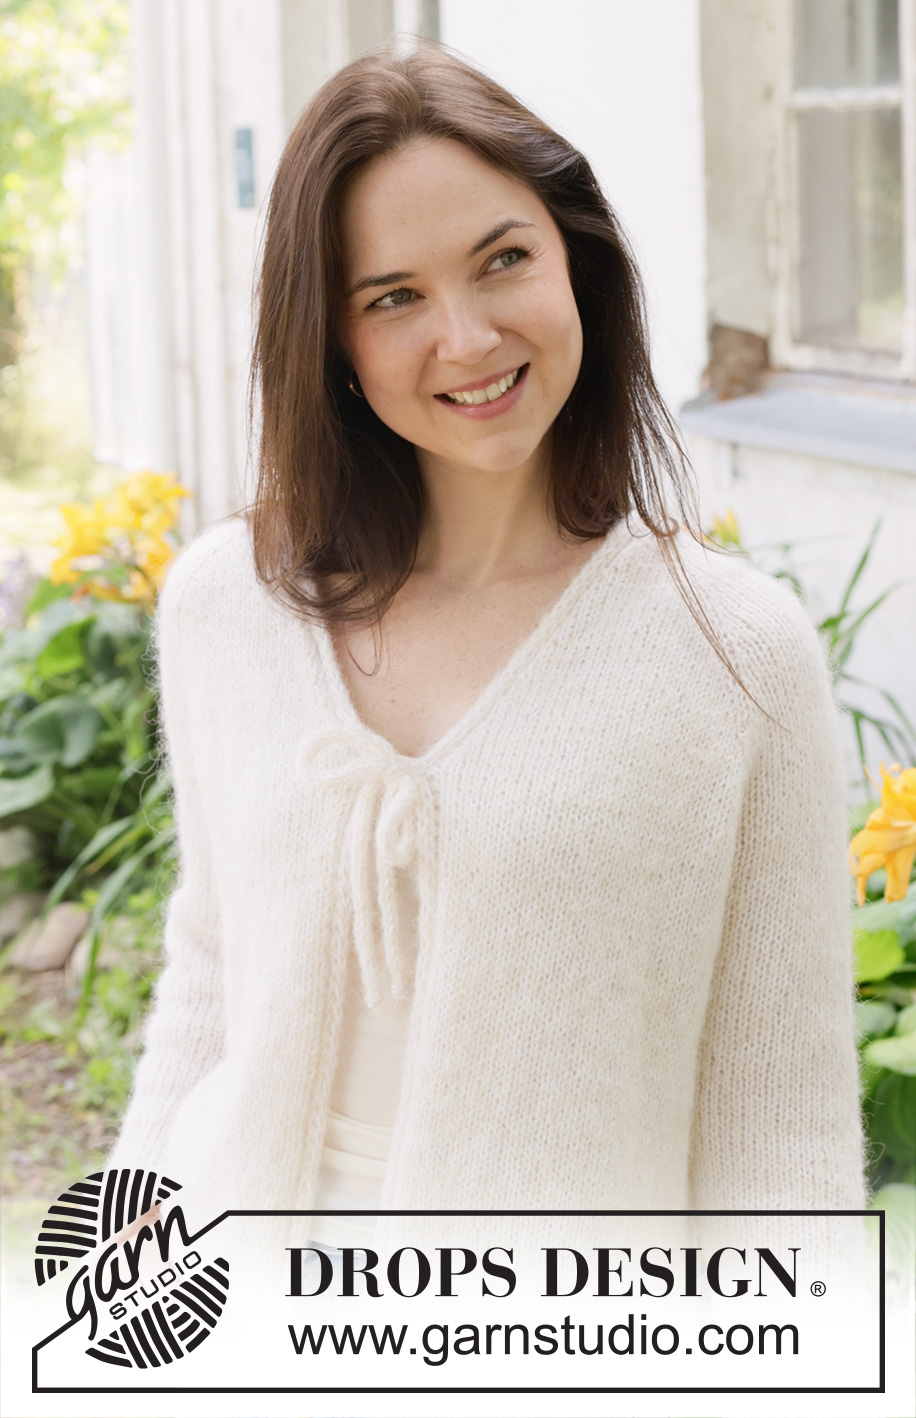
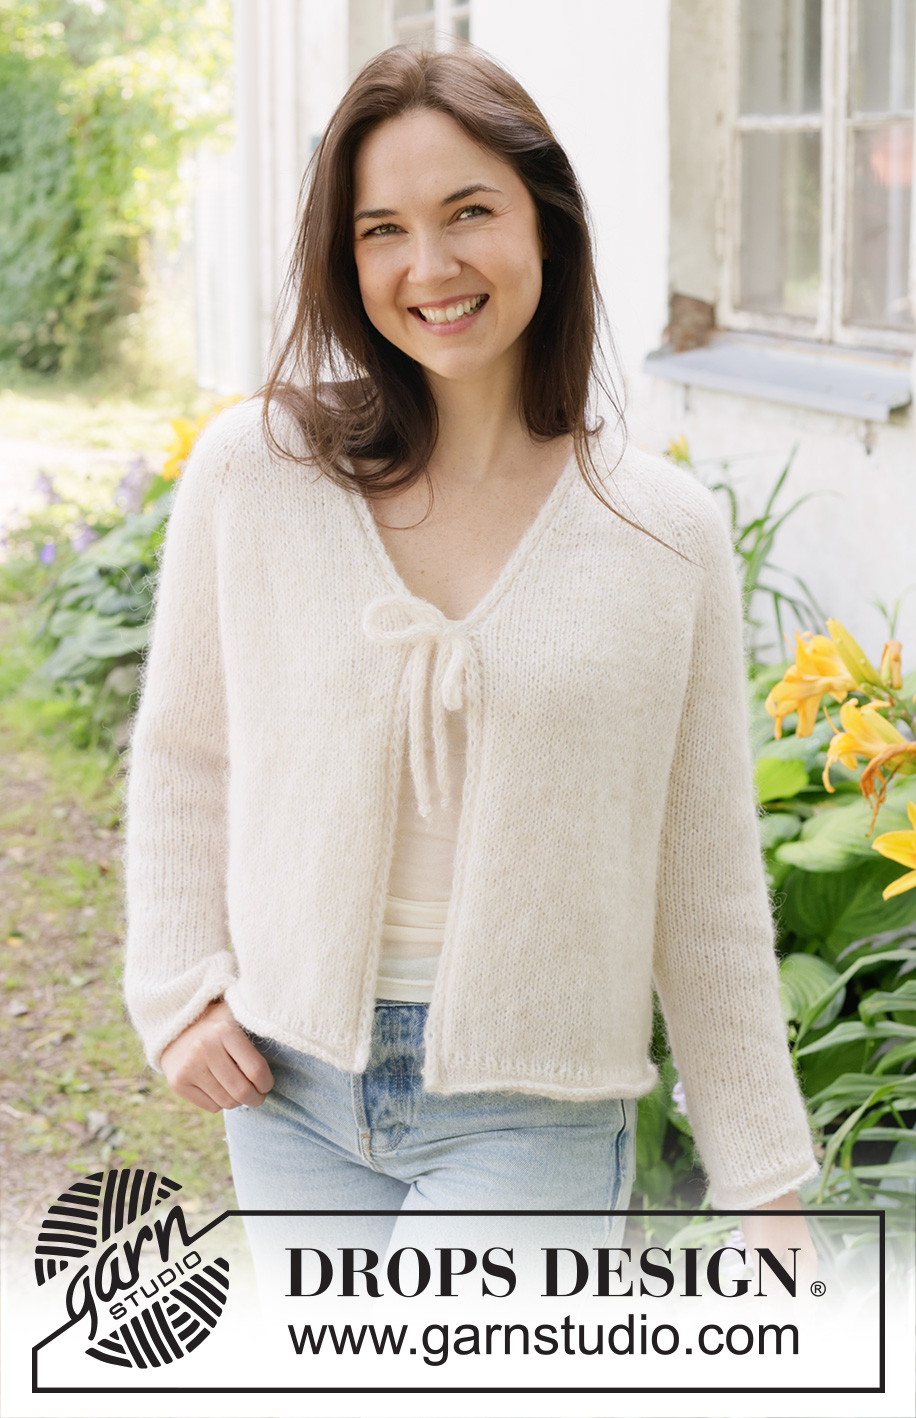
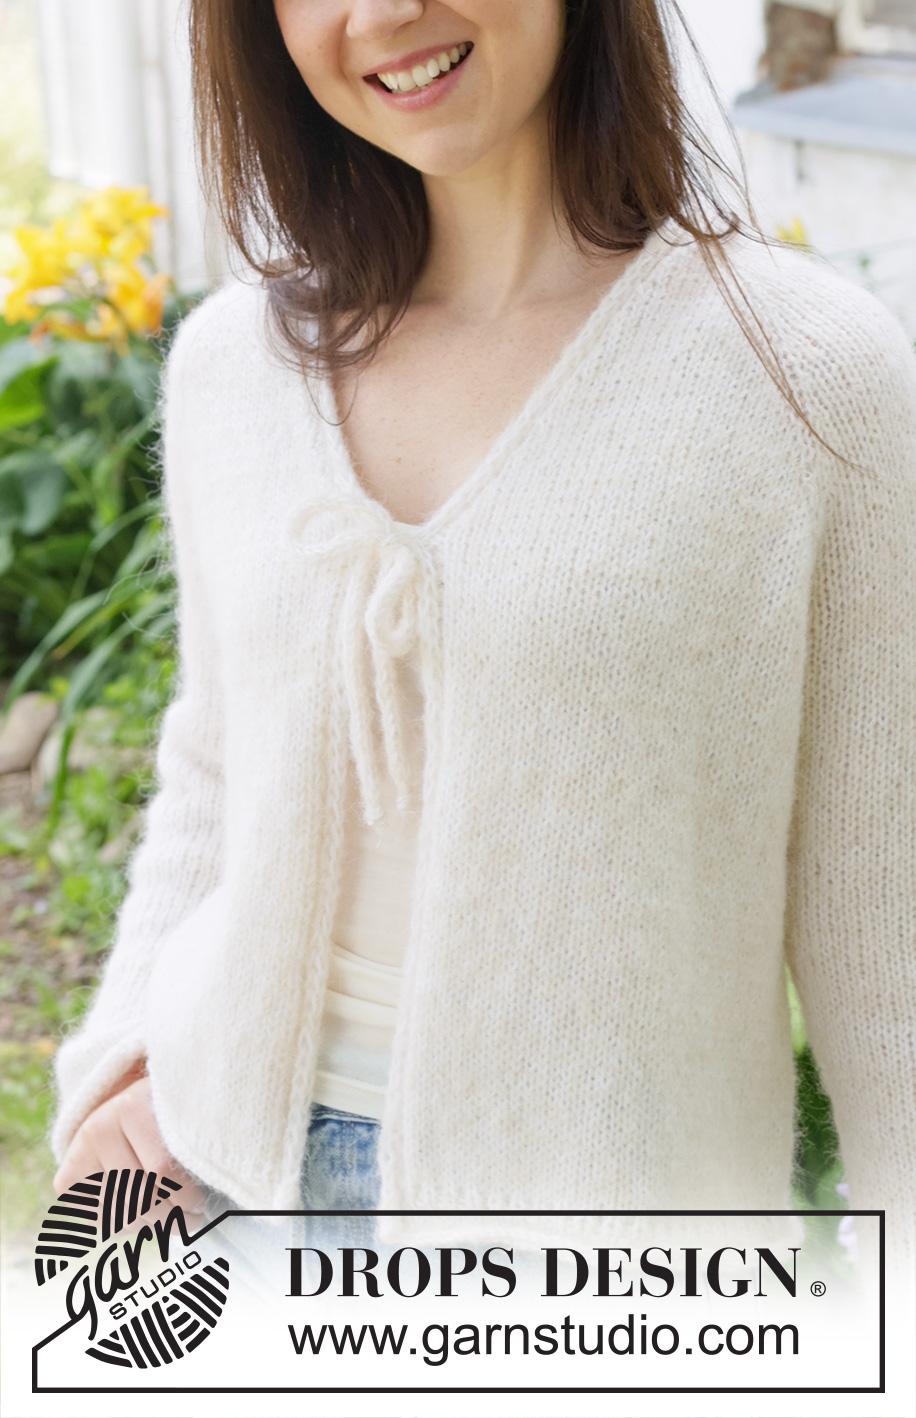
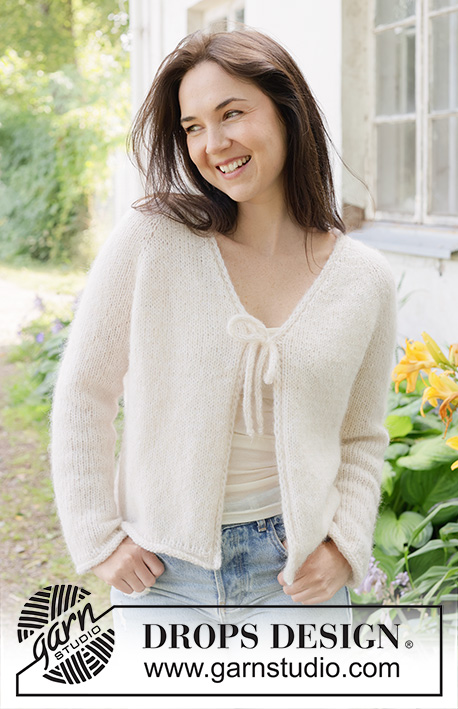
Delicate Dance Cardigan#delicatedancecardigan |
|
 |
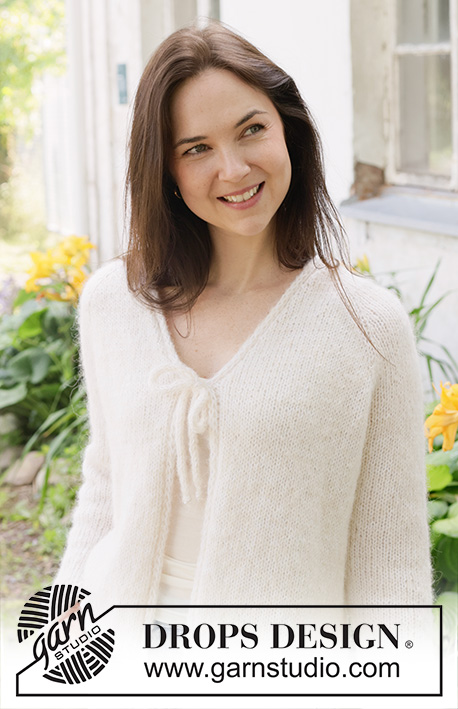 |
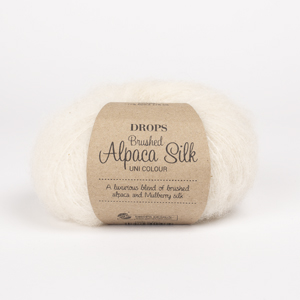
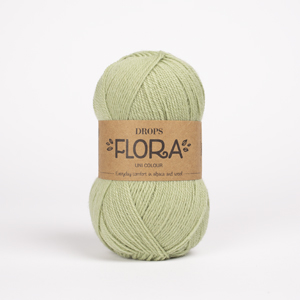
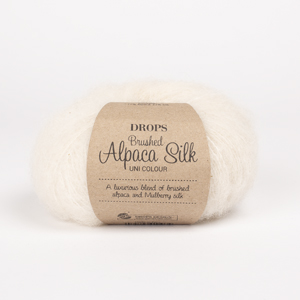
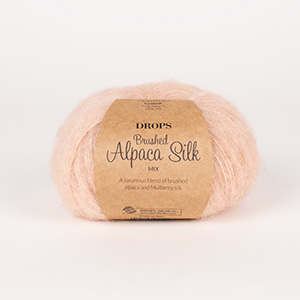
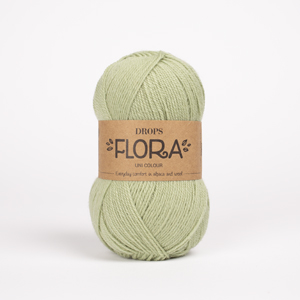
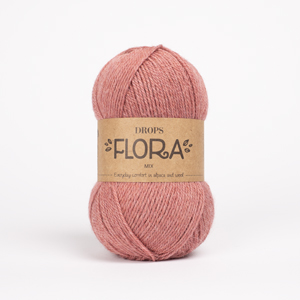
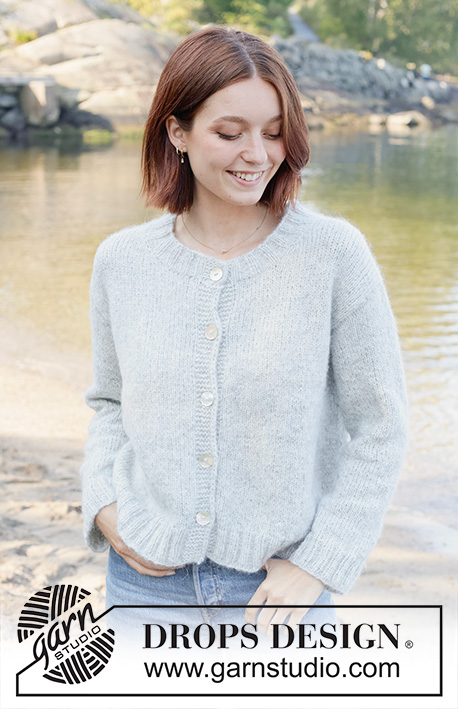
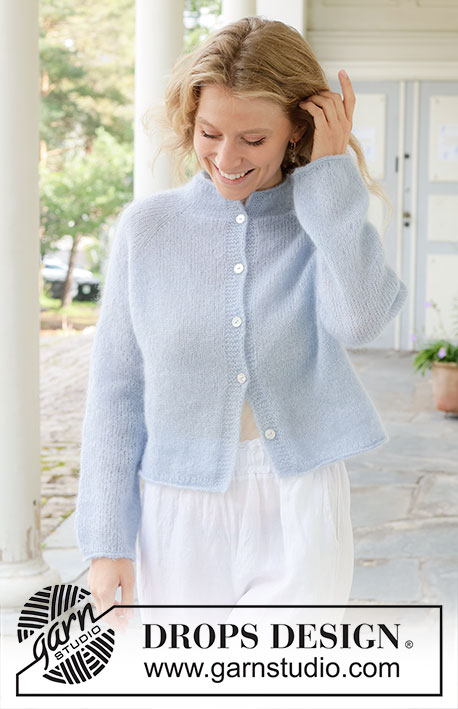
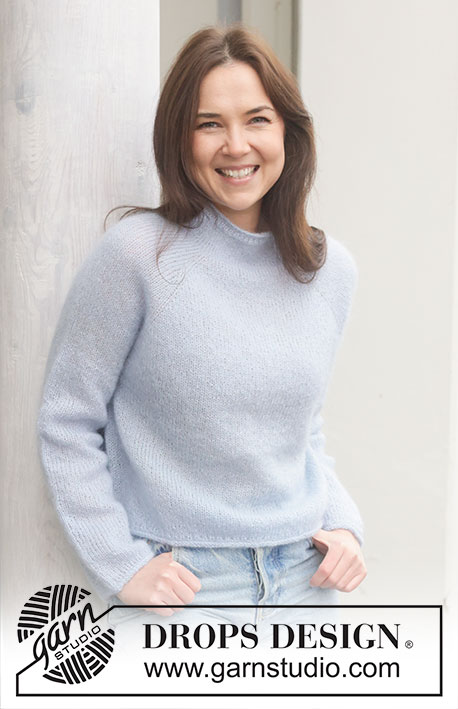
Knitted jacket in DROPS Brushed Alpaca Silk and DROPS Flora. The piece is worked top down with raglan, V-neck, rolled edges and I-cord. Sizes S - XXXL.
DROPS 258-14 |
|
|
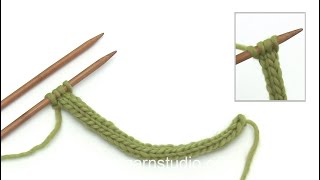
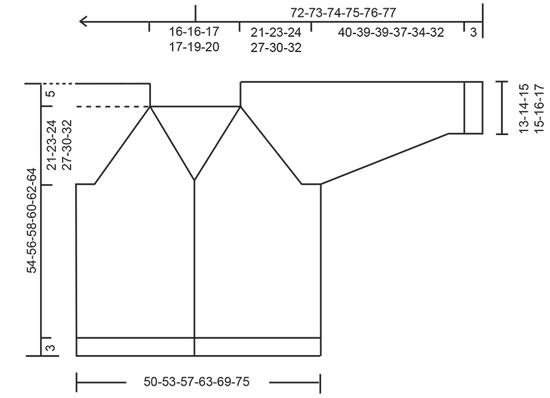
------------------------------------------------------- EXPLANATIONS FOR THE PATTERN: ------------------------------------------------------ RAGLAN: Increase 1 stitch by working 1 yarn over, which is worked twisted on the next row to avoid a hole. V-NECK: Increase 1 stitch by working 1 yarn over, which is worked twisted on the next row to avoid a hole. DECREASE TIP (mid-under sleeves): Decrease 1 stitch on each side of the marker-thread as follows: Work until there are 3 stitches left before the marker-thread, knit 2 together, knit 2 (marker-thread sits between these 2 stitches), slip 1 stitch knit-wise, knit 1 and pass the slipped stitch over the knitted stitch. ------------------------------------------------------- START THE PIECE HERE: ------------------------------------------------------- JACKET – SHORT OVERVIEW OF THE PIECE. The pattern uses both long and short needles; start with the length which fits the number of stitches and change when necessary. The bands are worked first, then stitches are cast on between them for the yoke, which is worked back and forth, top down and from mid front. When the yoke is finished, it is divided for body and the sleeves. The body is continued back and forth, while the sleeves wait. The sleeves are worked in the round, top down. Two ties are worked to finish (used to close the jacket). RIGHT BAND: Cast on 4 stitches with circular needle size 5.5 MM = US 9, 1 strand DROPS Brushed Alpaca Silk and 1 strand DROPS Flora (2 strands). RIGHT SIDE: Purl 2, slip 1 stitch purl-wise with strand in front, knit 1. WRONG SIDE: Slip 1 stitch purl-wise with strand in front, knit 3. Repeat these 2 rows until the band measures 19-19-20-20-20-21 cm = 7½"-7½"-8"-8"-8"-8¼", finishing after a row from the wrong side. Cut the strand and lay the piece to one side. LEFT BAND: Cast on 4 stitches with circular needle size 5.5 MM = US 9, 1 strand DROPS Brushed Alpaca Silk and 1 strand DROPS Flora (2 strands). RIGHT SIDE: Slip 1 stitch purl-wise with strand in front, knit 1, purl 2. WRONG SIDE: Knit 2, slip 1 stitch purl-wise with strand in front, knit 1. Repeat these 2 rows until the band measures 19-19-20-20-20-21 cm = 7½"-7½"-8"-8"-8"-8¼", finishing after a row from the wrong side. Now cast on stitches for the yoke between the bands as described below. YOKE: Work the left band as before, then cast on 60-60-62-62-64-66 stitches, work the right band as before (from the right side) = 68-68-70-70-72-74 stitches. Purl 1 row from the wrong side with 4 band stitches on each side. Insert 4 markers without working the stitches as follows: Count 5 stitches (= front piece), insert 1 marker in the next stitch, count 16 stitches (= sleeve), insert 1 marker in the next stitch, count 22-22-24-24-26-28 stitches (= back piece), insert 1 marker in the next stitch, count 16 stitches (= sleeve), insert 1 marker in the next stitch, there are 5 stitches left after the last marker (= front piece). Work stockinette stitch back and forth with 4 band-stitches as before on each side. AT THE SAME TIME increase for both RAGLAN and the V-NECK – read descriptions above. Read both sections below before continuing. Remember to maintain the knitting gauge. V-NECK: Start to increase for the V-neck on the first row from the right side, then every 4th row 10-10-11-11-12-13 times, increasing 1 stitch inside the bands on each side. RAGLAN: ROW 1 (right side): Increase on each side of each marker-stitch (8 increased stitches). ROW 2 (wrong side): Work stockinette stitch and bands as before. Work ROWS 1 and 2 a total of 3-3-6-7-4-4 times (6-6-12-14-8-8 worked rows). Then increase as follows: ROW 1 (right side): Increase on each side of each marker-stitch (8 increased stitches). ROW 2 (wrong side): Work stockinette stitch and bands as before. ROW 3 (right side): Increase only on the front and back pieces, i.e., before marker-stitches 1 and 3 and after marker-stitches 2 and 4 – do not increase on the sleeves (= 4 increased stitches). ROW 4 (wrong side): Work stockinette stitch and bands as before. Work ROWS 1 to 4 a total of 9-10-9-10-13-14 times (= 36-40-36-40-52-56 rows worked; you have increased a total of 9-10-9-10-13-14 times on the sleeves and 18-20-18-20-26-28 times on the front and back pieces). All increases for raglan and the V-neck are finished. You have increased a total of 12-13-15-17-17-18 times on the sleeves and 21-23-24-27-30-32 times on the front and back pieces. There are 220-232-248-268-284-300 stitches. The yoke measures approx. 21-23-24-27-30-32 cm = 8¼"-9"-9½"-10⅝"-11¾"-12½" from the cast-on edge mid-back. Now divide for the body and sleeves. DIVIDE FOR BODY AND SLEEVES: Work the 4 band stitches as before, then 33-35-37-40-44-47 stockinette stitches (= front piece), place the next 40-42-46-50-50-52 stitches on 1 thread for the sleeve, cast on 8-10-12-14-16-18 stitches (under sleeve), work 66-70-74-80-88-94 stockinette stitches (= back piece), place the next 40-42-46-50-50-52 stitches on 1 thread for the sleeve, cast on 8-10-12-14-16-18 stitches (under sleeve), work 33-35-37-40-44-47 stockinette stitches (= front piece) and the 4 band stitches as before. The body and sleeves are finished separately. BODY: = 156-168-180-196-216-232 stitches. Work stockinette stitch back and forth with 4 band-stitches as before on each side until the piece measures 46-48-50-52-54-56 cm = 18"-19"-19¾"-20½"-21¼"-22" mid-back. On the last row decrease 1 stitch approx. mid-back = 155-167-179-195-215-231 stitches. Now you work a rolled edge, starting from the right side as follows: Work the band as before, * knit 1, purl 1 * until there are 5 stitches left on the row, knit 1 and 4 band stitches as before. Then work from the wrong side as follows: Work the band as before, * purl 1, knit 1 * until there are 5 stitches left on the row, purl 1 and 4 band stitches as before. Work 4 rows of stockinette stitch. Bind off. The jacket measures approx. 49-51-53-55-57-59 cm = 19¼"-20"-21"-21⅝"-22½"-23¼" mid-back and 54-56-58-60-62-64 cm = 21¼"-22"-22¾"-23⅝"-24⅜"-25¼" from top of shoulder. SLEEVES: Place the 40-42-46-50-50-52 sleeve-stitches from one thread on circular needle size 5.5 MM = US 9 and knit up 1 stitch in each of the 8-10-12-14-16-18 stitches cast on under the sleeve = 48-52-58-64-66-70 stitches. Insert a marker-thread in the middle of the stitches under the sleeve. Start at the marker-thread and work stockinette stitch in the round. When the sleeve measures 3 cm = 1⅛", decrease 2 stitches under the sleeve – read DECREASE TIP. Decrease like this every 10-8-6-3½-3½-2½ cm = 4"-3⅛"-2⅜"-1¼"-1¼"-1" a total of 4-5-7-9-9-10 times = 40-42-44-46-48-50 stitches. Continue working until the sleeve measures 40-39-39-37-34-30 cm = 15¾"-15¼"-15¼"-14½"-13⅜"-11¾" from the division. There is 3 cm = 1⅛" left to finished length. Work 2 rounds of rib (knit 1, purl 1). Knit 4 rounds. Bind off. The sleeve measures approx. 43-42-42-40-37-35 cm = 17"-16½"-16½"-15¾"-14½"-13¾". ASSEMBLY: Sew the bands together mid-back and sew the bands to the neckline. TIES: Work a tube of 4 stitches, using double pointed needles size 5.5 MM = US 9. Cast on 4 stitches with 1 strand of each quality (2 strands). Knit 1 row, then work as follows: * Push all stitches to the right end of the needle without turning, tighten the strand and knit 1 row *, work from *-* until the tube measures 25 to 30 cm = 9¾" to 11¾". Cut the strands. Work 1 more tie in the same way. Sew 1 tie onto each side, approx. 2 cm = ¾" below the last increase for the V-neck. Tie a bow mid-front. |
|
 |
|
Have you finished this pattern?Tag your pictures with #dropspattern #delicatedancecardigan or submit them to the #dropsfan gallery. Do you need help with this pattern?You'll find 22 tutorial videos, a Comments/Questions area and more by visiting the pattern on garnstudio.com. © 1982-2026 DROPS Design A/S. We reserve all rights. This document, including all its sub-sections, has copyrights. Read more about what you can do with our patterns at the bottom of each pattern on our site. |
|






With over 40 years in knitting and crochet design, DROPS Design offers one of the most extensive collections of free patterns on the internet - translated to 17 languages. As of today we count 333 catalogs and 12532 patterns - 12522 of which are translated into English (US/in).
We work hard to bring you the best knitting and crochet have to offer, inspiration and advice as well as great quality yarns at incredible prices! Would you like to use our patterns for other than personal use? You can read what you are allowed to do in the Copyright text at the bottom of all our patterns. Happy crafting!
Post a comment to pattern DROPS 258-14
We would love to hear what you have to say about this pattern!
If you want to leave a question, please make sure you select the correct category in the form below, to speed up the answering process. Required fields are marked *.