
Popular categories
Looking for a yarn?










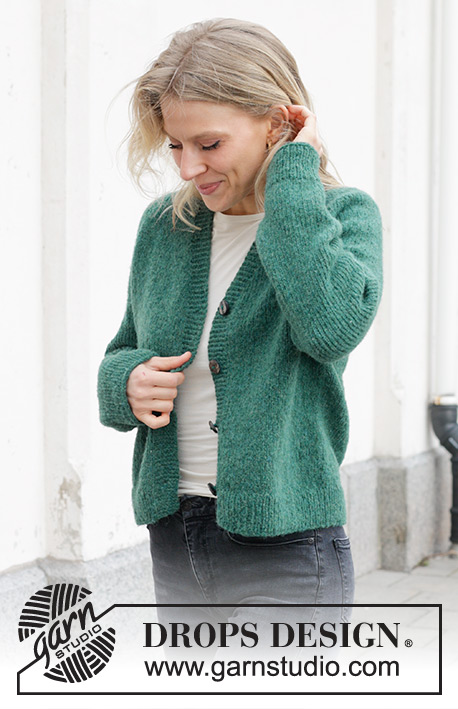
























Comments / Questions (42)
 Sacha wrote:
Ce n'est pas ma question mais merci d'avoir essayé. Je vais trouver par moi même.
02.10.2026 - 08:30
Sacha wrote:
Je ne parle pas d'un diagramme dans ma question. Pour le rang 8, je fais une augmentation avant et après le marqueur 1 et 2 mais arrivé au marqueur 3 je dois tricoter la maille d'augmentation du tour précédent. Du coup j'ai un décalage.
01.10.2026 - 12:25DROPS Design answered:
Bonjour Sacha, les augmentations se tricotent toujours de la même façon, soit avant et/ou après 2 mailles jersey avec le fil marqueur entre ces 2 mailles, ainsi, elles ne seront pas décalées. Quand vous commencez à tricoter en rond, tricotez jusqu'à ce qu'il reste 1 maille avant le fil marqueur, faites 1 jeté, tricotez 2 mailles endroit (avec le fil marqueur entre les 2) et faites 1 jeté = vous avez augmenté 2 mailles au fil marqueur, répétez aux 3 autres pour augmenter 8 mailles au total. Quand vous augmenterez alternativement 4 et 8 m, augmentez pour le devant/le dos avant le 1er fil marqueur (fin dos), après le 2ème + avant le 3ème fil marqueur (devant) et après le 4ème fil marqueur (début dos) de la même façon pour prolonger les 2 mailles des raglans. Bon tricot!
02.10.2026 - 07:08
Sacha wrote:
Bonjour, Je suis à la fin du tour 7. Je viens de faire les augmentations aux M3 et M4 (jetés non encore tricotés). Je suis au milieu du dos et vais repartir vers M1 puis M2, avec un jeté à chaque fois. En arrivant à M3, je dois tricoter torse le jeté du tour 7, donc sans faire de nouvelle augmentation. Je constate donc un décalage entre M1/M2 et M3/M4. Comment faut-il l’ajuster ?
30.09.2026 - 21:27
Sacha wrote:
Bonjour, Je suis à la fin du tour 7. Je viens de faire les augmentations aux M3 et M4 (jetés non encore tricotés). Je suis au milieu du dos et vais repartir vers M1 puis M2, avec un jeté à chaque fois. En arrivant à M3, je dois tricoter torse le jeté du tour 7, donc sans faire de nouvelle augmentation. Je constate donc un décalage entre M1/M2 et M3/M4. Comment faut-il l’ajuster ?
30.09.2026 - 21:26DROPS Design answered:
Bonjour Sacha, sauf erreur de ma part, il n'y a pas de diagramme dans ce modèle Green Hill Sweater, DROPS 244-7. Peut-être pourriez-vous poser votre question sur le modèle que vous tricotez? Ce sera ainsi plus facile de vérifier ensemble, merci pour votre compréhension.
01.10.2026 - 09:50
 Madeleine wrote:
I beskrivningen för halsringningen står det att man på varv 3 ska sticka 2m "mer än vid föregående vändning". Vilken vändning? Vändningen på varv 2? Innebär liksom varv 3 att jag stickar mer än runt hela kragen, att jag ska vända strax före den första markören, eller var ska vändningen ske? Jag fattar inte! Tacksam för hjälp.
06.05.2026 - 20:53DROPS Design answered:
Hej Madeleine, jo du starter midt bagpå, strikker fra retsiden og øger til raglan ved de 2 første mærketråde, når du har strikket 3 masker efter nr 2 mærketråd på højre forstykke, vender du arbejdet, strikker tilbage fra avigsian, til du har strikket 3 masker forbi alle 4 mærketråde, nu er du på venstre forstykke, vender arbejdet og fortsætter ifølge mönstret. Se teknikken her: Hur man stickar German Short Rows - med dubbelmaska runt på sticka Och den här Se teknikken her: Hur man stickar Raglan och förkortade varv
07.05.2026 - 08:45
Madeleine wrote:
I beskrivningen för halsringningen står det att man på varv 3 ska sticka 2m "mer än vid föregående vändning". Vilken vändning? Vändningen på varv 2? Innebär liksom varv 3 att jag stickar mer än runt hela kragen, att jag ska vända strax före den första markören, eller var ska vändningen ske? Jag fattar inte! Tacksam för hjälp.
06.05.2026 - 20:53
Herbelin wrote:
Bonjour, je ne comprends pas les explications de la partie "encolure" du modèle Green Hill sweater (244-7). Il y aurait une augmentation raglan sur le marqueur 1 et 2 aux rangs 1, 3,5, 7,(4fois) alors qu'il y a une augmentation sur les marqueurs 3 et 4 que aux rangs 3 et 5 (2fois). Merci de me préciser.
03.01.2026 - 16:15DROPS Design answered:
Bonjour Mme Herbelin, dans la partie encolure, vous tricotez des rangs raccourcis, en commençant au milieu dos, vous augmentez en même temps tous les rangs sur l'endroit; au 1er rang, vous augmentez 4 m, au 3ème et 5ème rang, vous augmentez 8 m et au 7ème rang, vous augmentez 4 m = vous avez ainsi augmenté 3 fois à tous les marqueurs. Bon tricot!
05.01.2026 - 10:48
 Karina wrote:
Hi! Instead of using short rows, can I start with the increasing for raglan after separation?
12.03.2025 - 18:29DROPS Design answered:
Dear Karina, sure you can, just note that you should then increase on every other round a total of 3 times (all sizes), then work as explained for YOKE. Happy knitting!
13.03.2025 - 15:30
 Grietje De Weerd wrote:
Waarom staat er in elk patroon: DENK OM DE STEKENVERHOUDING! Ik begrijp niet, waar ik dan op moet letten.
12.02.2025 - 15:14DROPS Design answered:
Dag Grietje,
Het is de bedoeling dat je tijdens het breien steeds in de gaten houdt of de stekenverhouding nog wel klopt. Bij ervaren breisters is dit vaak geen probleem, maar als je begint met breien, kan dit gaan de week wat strakker of losser worden, waardoor de verhoudingen niet meer kunnen kloppen. Vandaar steeds even nameten of het nog klopt.
15.02.2025 - 11:11
 Eva Rink wrote:
Jeg kan ikke få det til at passe at størrelse s, skal få de løngste ærmer og xxxL de korteste? Tror det er fejl på opskriften.
02.01.2025 - 12:57
|
|
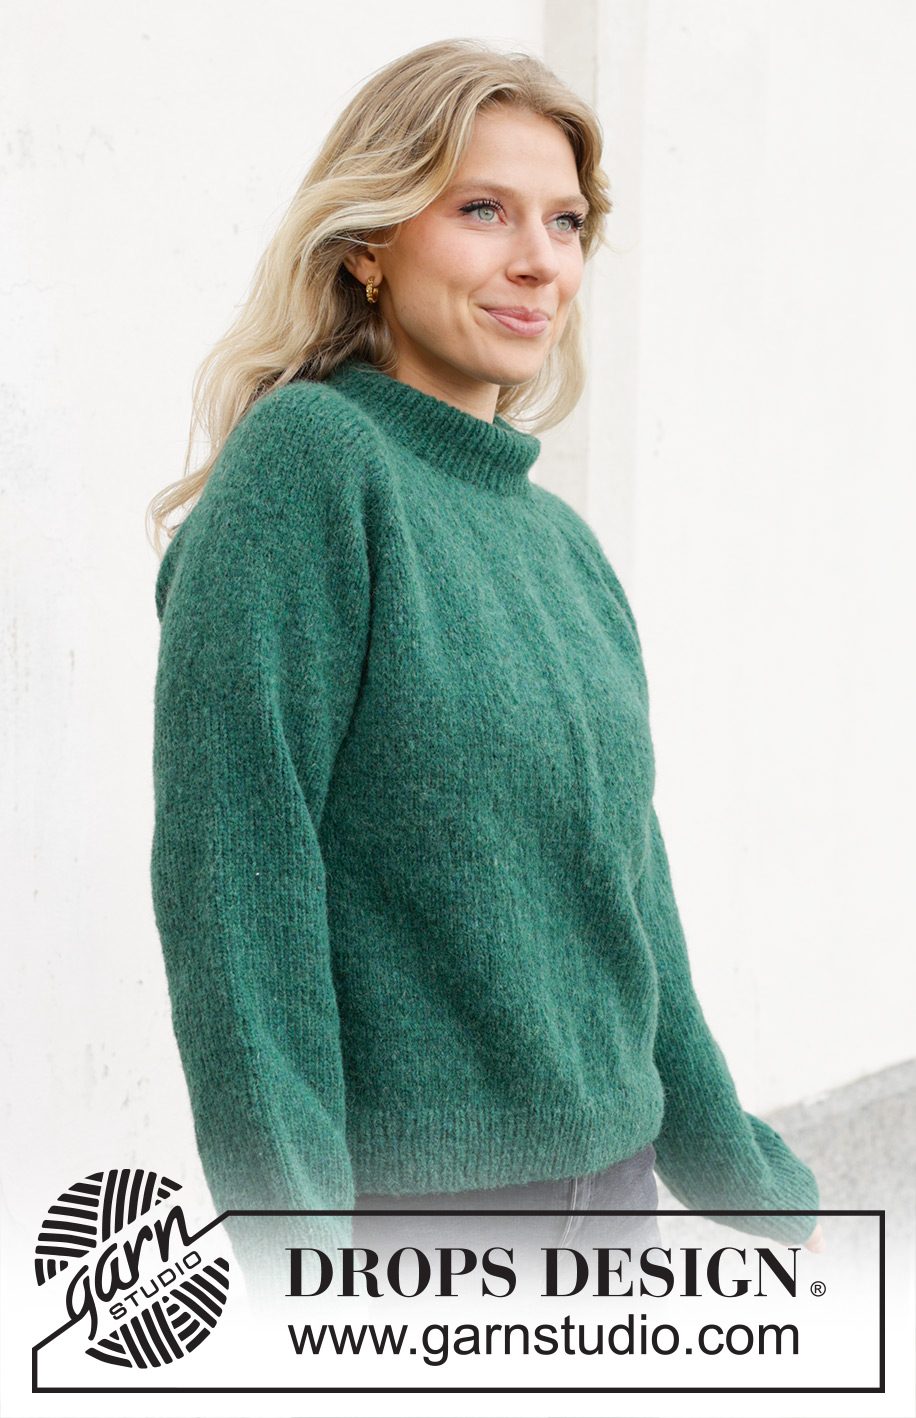
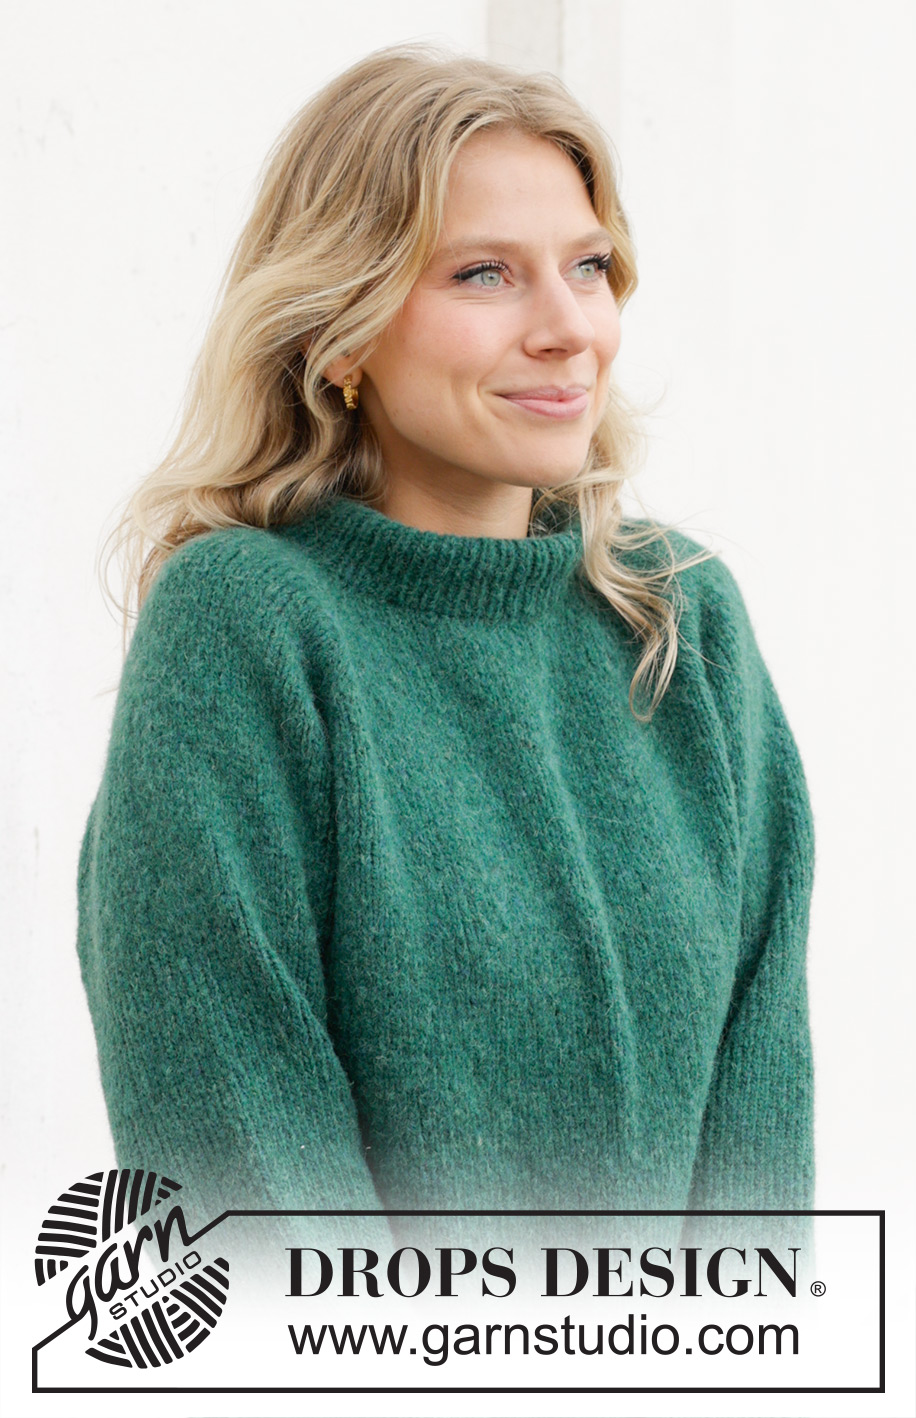
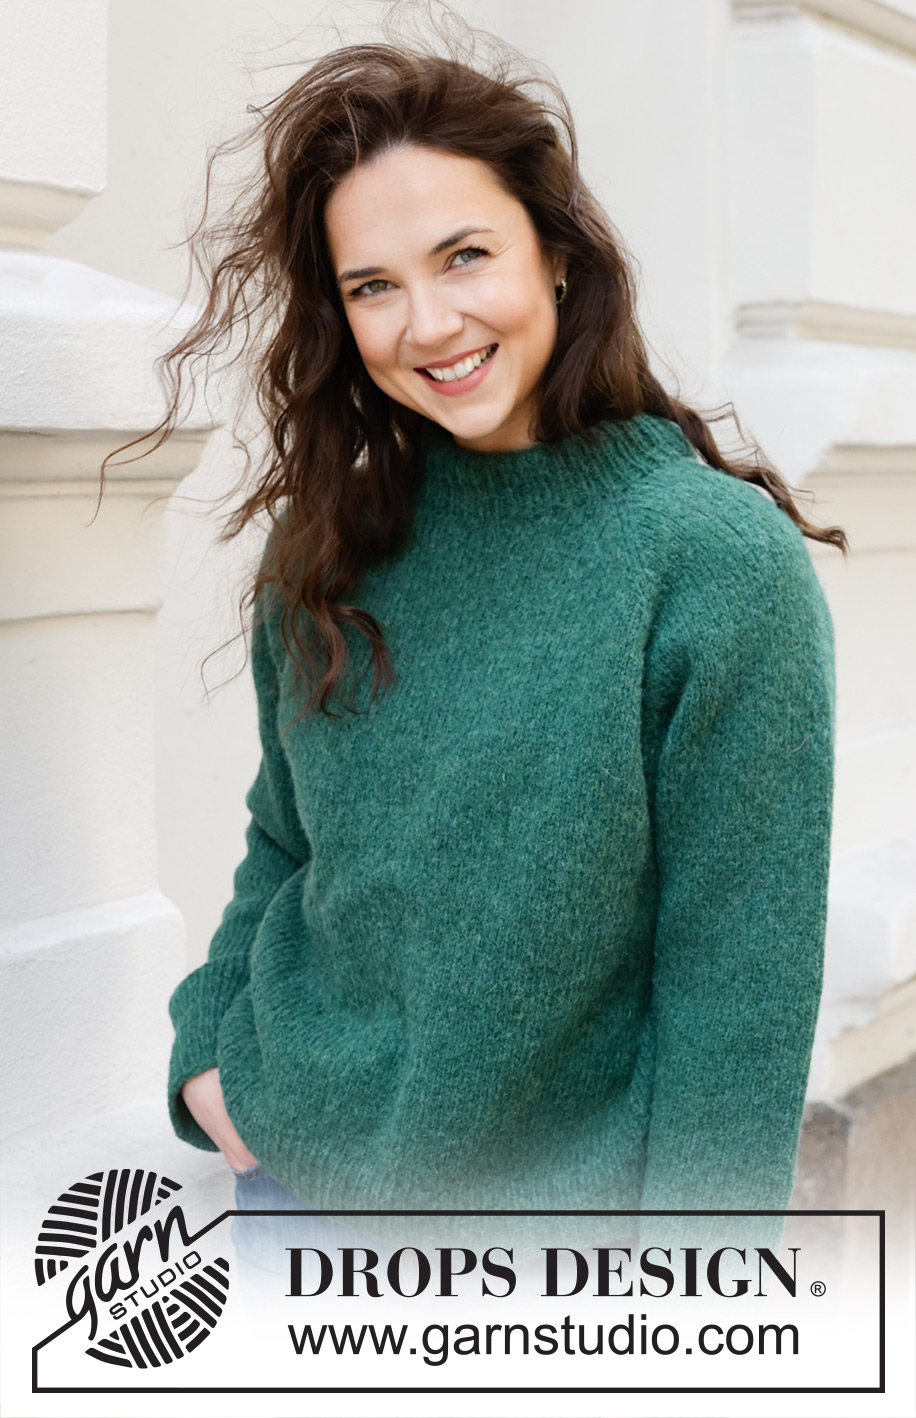
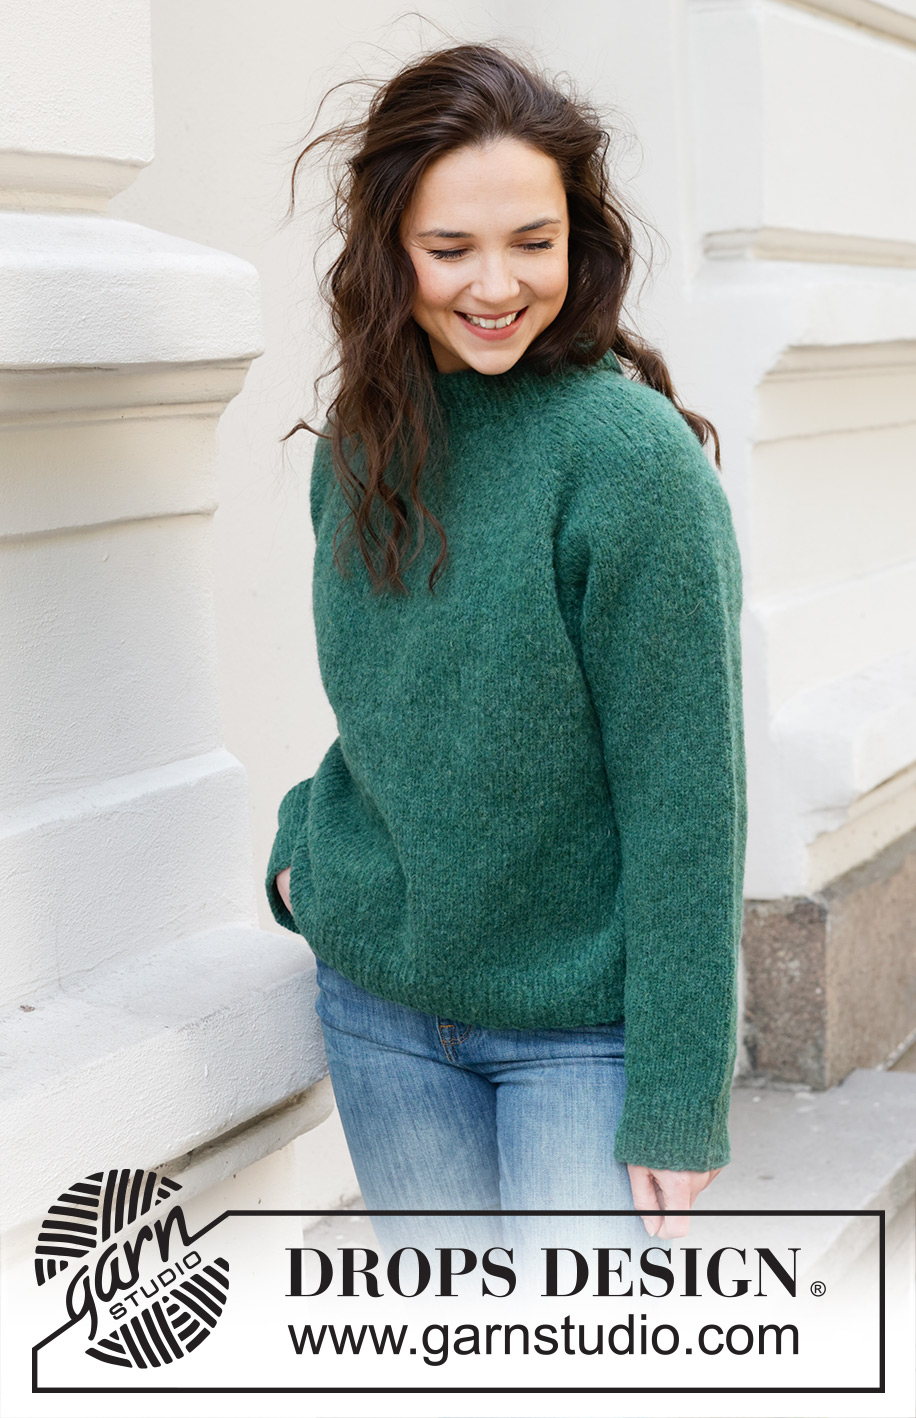
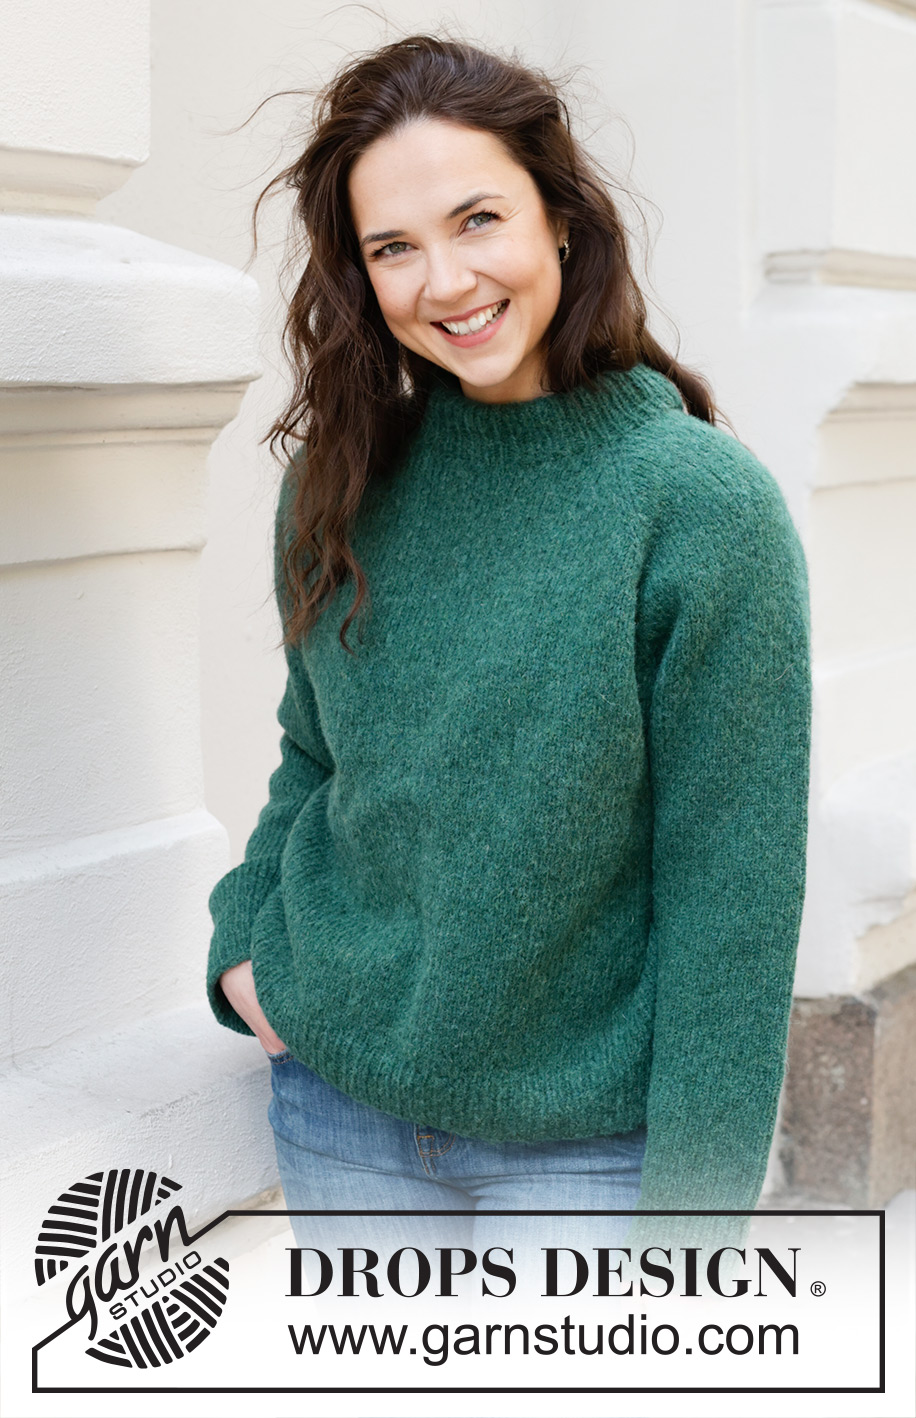
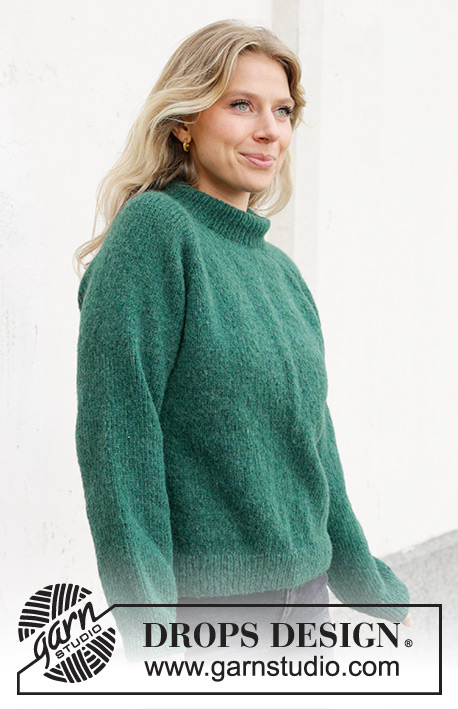
Green Hill Sweater#greenhillsweater |
|
 |
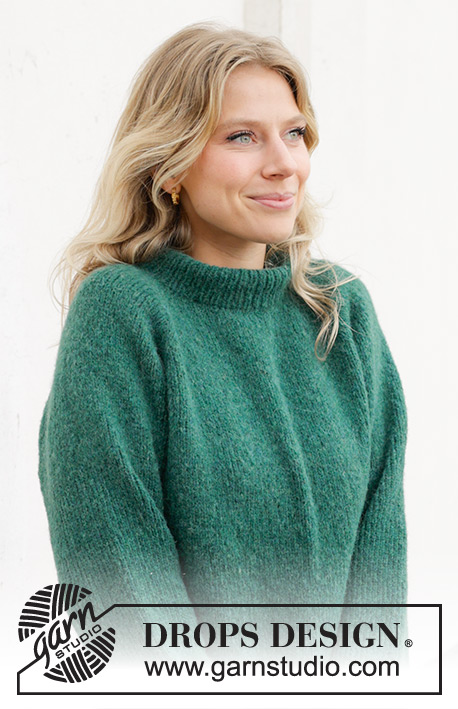 |
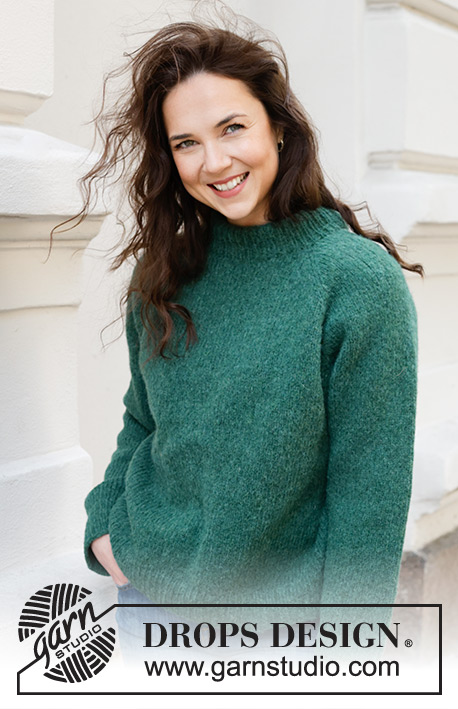
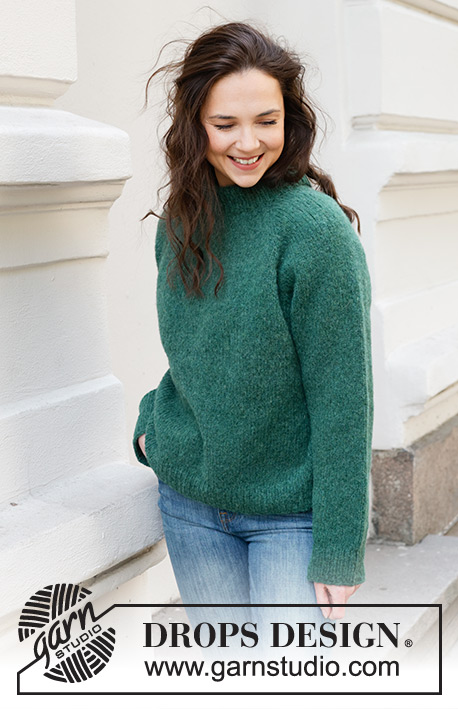
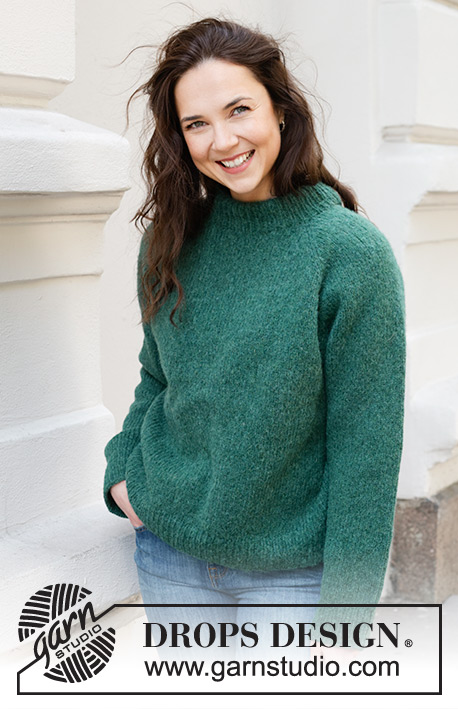
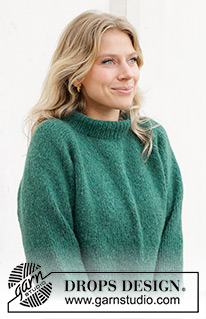
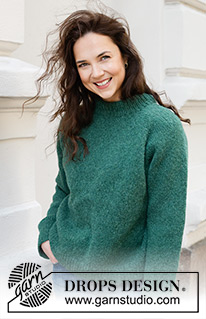
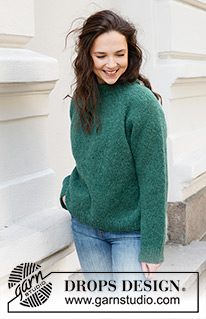
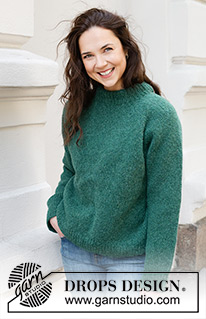
Knitted sweater in DROPS Air. The piece is worked top down with raglan and double neck. Sizes S - XXXL.
DROPS 244-7 |
|
|
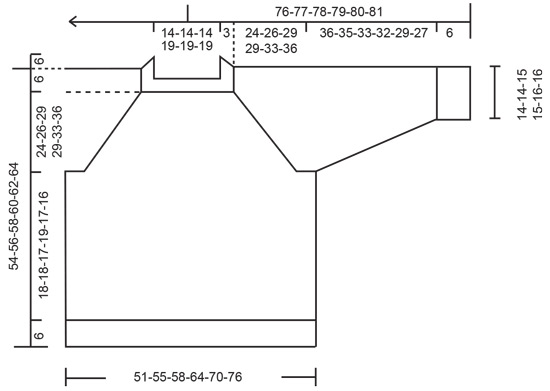
------------------------------------------------------- EXPLANATIONS FOR THE PATTERN: ------------------------------------------------------- RAGLAN: Increase 1 stitch before/after 2 stitches in each transition between the body and sleeves; the marker-thread sits between these 2 stitches. Increase 1 stitch by making 1 yarn over which is worked twisted on the next row/round to avoid a hole. The new stitches are then worked in stockinette stitch. DECREASE TIP (for sleeves): Start 3 stitches before the marker-thread, knit 2 together, knit 2 (marker-thread sits between these 2 stitches), slip 1 stitch knit-wise, knit 1 and pass the slipped stitch over the knitted stitch. ------------------------------------------------------- START THE PIECE HERE: ------------------------------------------------------- SWEATER – SHORT OVERVIEW OF THE PIECE: The neck and yoke are worked in the round with circular needle, from mid back and top down. The yoke is divided for the body and sleeves and the body is continued in the round with circular needle. The sleeves are worked in the round with short circular needle/double pointed needles. DOUBLE NECK: Cast on 88-88-88-104-104-104 stitches with DROPS Air, using short circular needles size 4 and 5 MM = US 8 held together. Remove the needle size 5 MM = US 8 keeping the stitches with needle size 4 MM = US 6 (this gives you an elastic cast-on edge). Knit 1 round, then work rib in the round (knit 1, purl 1) for 12 cm = 4¾". Fold the neck double to the inside and work 1 more round of rib, working every 2nd stitch together with its corresponding stitch on the cast-on edge. You now have a double neck. The yoke is measured from here. Insert 4 marker-threads (used when increasing for raglan), without working the stitches and inserting them between 2 stitches as follows: Count 12-12-12-16-16-16 stitches (half back piece), insert 1 marker-thread, count 20 stitches (sleeve), insert 1 marker-thread, count 24-24-24-32-32-32 stitches (front piece), insert 1 marker-thread, count 20 stitches (sleeve), insert 1 marker-thread, there are 12-12-12-16-16-16 stitches left on the round (half back piece). NECKLINE: Change to circular needle size 5 MM = US 8 and work short rows for the neckline, starting mid-back, as follows: ROW 1 (right side): Knit and increase for RAGLAN – read description above, on each side of the first 2 marker-threads (4 increased stitches), turn when you have worked 3 stitches past the 2nd marker-thread. ROW 2 (wrong side): Purl and turn when you have worked 3 stitches past the last marker-thread. ROW 3 (right side): Knit and increase for raglan on each side of all 4 marker-threads, (8 increased stitches) turn when you have worked 2 stitches past the previous turn. ROW 4 (wrong side): Purl and turn when you have worked 2 stitches past the previous turn. ROW 5 (right side): Knit and increase for raglan on each side of all 4 marker-threads, (8 increased stitches) turn when you have worked 2 stitches past the previous turn. ROW 6 (wrong side): Purl and turn when you have worked 2 stitches past the previous turn. ROW 7 (right side): Knit and increase for raglan on each side of the first 2 marker-threads (4 increased stitches), knit to mid-back. The short rows are finished and you have increased 3 times for raglan at each marker-thread = 112-112-112-128-128-128 stitches. YOKE: REMEMBER THE KNITTING GAUGE! Work stockinette stitch in the round from mid-back and increase for raglan every 2nd round 3 more times = 136-136-136-152-152-152 stitches. Continue to increase for raglan every 2nd round but every 2nd increase is only on the body, i.e., increase on the body every 2nd round and on the sleeves every 4th round, alternately 4 and 8 increased stitches. Increase like this 18-22-26-26-30-30 times on the body (9-11-13-13-15-15 times on the sleeves). SIZES S, M, and XXXL: Continue with stockinette stitch and increase for raglan but now only increase on the body every 2nd round (the sleeve increases are finished) 2-1-4 times. ALL SIZES: You have increased a total of 26-29-32-32-36-40 times on the body and 15-17-19-19-21-21 times on the sleeves (including the increases on the short rows). After the last increase there are 252-272-292-308-332-348 stitches. Continue with stockinette stitch until the yoke measures 24-26-29-29-33-36 cm = 9½"-10¼"-11⅜"-11⅜"-13"-14¼", measured mid-back after the neck. Divide for the body and sleeves as follows: Work the first 38-41-44-48-52-56 stitches (half back piece), place the next 50-54-58-58-62-62 stitches on a thread for the sleeve, cast on 10-10-10-12-14-16 stitches (in side under sleeve), work 76-82-88-96-104-112 stitches (front piece), place the next 50-54-58-58-62-62 stitches on a thread for the sleeve, cast on 10-10-10-12-14-16 stitches (in side under sleeve), work the last 38-41-44-48-52-56 stitches (half back piece). BODY: = 172-184-196-216-236-256 stitches. Work stockinette stitch in the round for a further 18-18-17-19-17-16 cm = 7"-7"-6¾"-7½"-6¾"-6¼". Knit 1 round and increase 36-40-44-48-52-56 stitches evenly spaced = 208-224-240-264-288-312 stitches. Change to circular needle size 4 MM = US 6. Work rib (knit 1, purl 1) for 6 cm = 2⅜". Bind off. The sweater measures approx. 54-56-58-60-62-64 cm = 21¼"-22"-22¾"-23⅝"-24⅜"-25¼" from the shoulder. SLEEVES: Place the 50-54-58-58-62-62 stitches from the thread on the one side of the piece on short circular needle/double pointed needles size 5 MM = US 8 and knit up 1 stitch in each of the 10-10-10-12-14-16 stitches cast on under the sleeve = 60-64-68-70-76-78 stitches. Insert a marker-thread in the middle of the new stitches under the sleeve. Work stockinette stitch in the round. When the sleeve measures 4 cm = 1½", decrease 2 stitches under the sleeve – read DECREASE TIP. Decrease like this every 5-3½-2½-2½-2-1½ cm = 2"-1¼"-1"-1"-¾"-½" a total of 6-8-9-10-11-11 times = 48-48-50-50-54-56 stitches. Continue working until the sleeve measures 36-35-33-32-29-27 cm = 14¼"-13¾"-13"-12½"-11⅜"-10⅝" from the division. Knit 1 round and increase 8-8-10-10-10-12 stitches evenly spaced = 56-56-60-60-64-68 stitches. Change to double pointed needles size 4 MM = US 6 and work rib (knit 1, purl 1) for 6 cm = 2⅜". Bind off. The sleeve measures approx. 42-41-39-38-35-33 cm = 16½"-16⅛"-15¼"-15"-13¾"-13" from the division. Work the other sleeve in the same way. |
|
 |
|
Have you finished this pattern?Tag your pictures with #dropspattern #greenhillsweater or submit them to the #dropsfan gallery. Do you need help with this pattern?You'll find 20 tutorial videos, a Comments/Questions area and more by visiting the pattern on garnstudio.com. © 1982-2026 DROPS Design A/S. We reserve all rights. This document, including all its sub-sections, has copyrights. Read more about what you can do with our patterns at the bottom of each pattern on our site. |
|






With over 40 years in knitting and crochet design, DROPS Design offers one of the most extensive collections of free patterns on the internet - translated to 17 languages. As of today we count 333 catalogs and 12525 patterns - 12515 of which are translated into English (US/in).
We work hard to bring you the best knitting and crochet have to offer, inspiration and advice as well as great quality yarns at incredible prices! Would you like to use our patterns for other than personal use? You can read what you are allowed to do in the Copyright text at the bottom of all our patterns. Happy crafting!
Post a comment to pattern DROPS 244-7
We would love to hear what you have to say about this pattern!
If you want to leave a question, please make sure you select the correct category in the form below, to speed up the answering process. Required fields are marked *.