
Popular categories
Looking for a yarn?



































Comments / Questions (42)
 Doris wrote:
Ich verstehe nicht was es bedeutet: 8 Maschen vor Ende der Reihe wenden, Faden anziehen und fertig stricken?
02.10.2026 - 22:24DROPS Design answered:
Liebe Doris, hier stricken Sie verkürzten Reihen für die Schulter, dh es wird jeweils immer weniger Maschen am Ende der Rückreihen bei der Rechten Schulter/Rückenteil oder am Ende der Hinreihen bei der linken Schulter/Rückenteil bis alle verkürzten Reihen fertig sind. Dann werden alle Maschen für die Schulter abgekettet. Viel Spaß beim Stricken!
05.10.2026 - 07:19
 Katie wrote:
I don't understand the short rows for the shoulder for right shoulder on rows 2 which is the wrong side you are telling me to turn how do I do this?
25.08.2026 - 19:40DROPS Design answered:
Dear Katie, when working the 2nd row on right shoulder you start the short rows, from the wrong side of piece, just work until 6 - 8 sts remain (see size), then turn, tighten yarn and work these stitches from the right side. Then turn and work until 3-4 sts more remain than previous short row, turn and work these stitches and continue like that. See here, in video how to work such short rows, but feel free to use any other technique if your rather. Happy knitting!
26.08.2026 - 08:00
Donna Pike wrote:
Is there a video showing how to knit i-cord?
16.08.2026 - 23:13DROPS Design answered:
Dear Mrs Pike, sure look at this video, note that you will here cast on 3 sts (not just 3 as in the video). Happy knitting!
17.08.2026 - 09:39
 Susan wrote:
Var är diagrammet med A1?
07.07.2026 - 19:09DROPS Design answered:
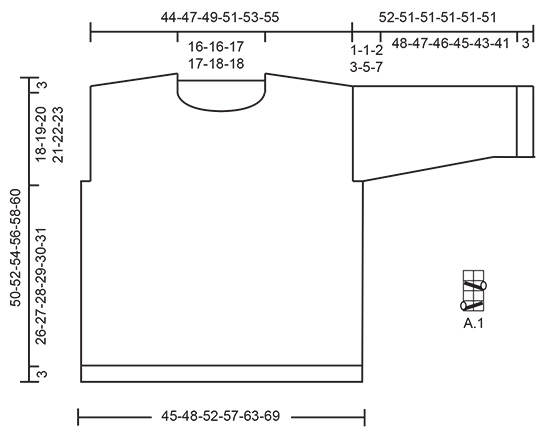
Hei Susan, A.1 er et lite diagram under ermet på målskissen. Hilsen Drops Team.
08.07.2026 - 06:53
Tanjs wrote:
Ist es richtig, dass die verkürzten Reihen in Richtung Armausschnitt gestrickt werden? Wenn das so ist kann ich ja gar nicht (wie in der Anleitung beschrieben) an den Armausschnitten eine Mache kraus rechts stricken, weil ich da gar nicht mehr drüber stricke. Das verwirrt mich etwas
03.07.2026 - 08:57DROPS Design answered:
Liebe Tanjs, bei den verkürzten Reihen wird man mehr Reihen am Halsausschnitt als am Armausschnitt stricken (siehe auch Maßskizze), so ist die gesamte Länge länger am Hals als am Schulter/Halsauschnitt. Die Randmasche stricken Sie immer noch krausrechts (beim Hals). Viel Spaß beim Stricken!
03.07.2026 - 16:52
Refaela Rachmani wrote:
Hallo was mir nicht klar ist ....meine machenprobe entspricht genau der hier genannten ,sowie auch die nadelstaerke. Bei einem Anschlag der hier genannten Zahl der Maschen entpricht aber das Ergebniss nicht den CM -Massen der Skizze (124M geteilt durch 21 = 60 cm) danke fuer eine Erklaerung
16.06.2026 - 12:32DROPS Design answered:
Liebe Frau Rachmani, man braucht mehr Maschen für Bündchen mit kleineren Nadeln als fürs Glattrechts mit grösseren Nadeln, deshalb wird man 124 M für das Bündchen anschlagen und dannach auf 100 M abnehmen, so sind diese 100 M ca 48 cm breit. Viel Spaß beim Stricken!
17.06.2026 - 08:09
 Maria Chiara wrote:
La risposta è del tutto insifficiente e non spiega nulla
01.11.2025 - 10:55
Maria Chiara wrote:
Le diminuzioni per gli scalfi per le taglie piccole sono di 2 maglie: non capisco come sono sufficienti solo 2 maglie per il giro scalfo grazie
28.10.2025 - 14:04DROPS Design answered:
Buonasera Maria Chiara, al momento non sono riportate correzioni per il modello. Buon lavoro!
31.10.2025 - 18:21
 Marilyn wrote:
Looking for a Cricket sweater pattern. Do you have one? Thank you!
04.07.2025 - 20:05DROPS Design answered:
Dear Marilyn, we don't have the specific pattern you indicated but you can search for our sweaters (for men or women) with V-neck to find a similar pattern and adjust it yourself. Happy knitting!
06.07.2025 - 23:02
Delia Köhler wrote:
In der Beschreibung wird das Diagramm a1 nicht angezeigt
11.06.2025 - 15:02DROPS Design answered:
Liebe Frau Köhler, das Diagram A.1 finden Sie bei der Maßskizze, unter den Ärmel, es wird über 2 Maschen und 4 Reihen gestrickt. Viel Spaß beim Stricken!
11.06.2025 - 16:05
|
||||||||||||||||
Time to Unwind#timetounwindsweater |
||||||||||||||||
 |
 |
|||||||||||||||
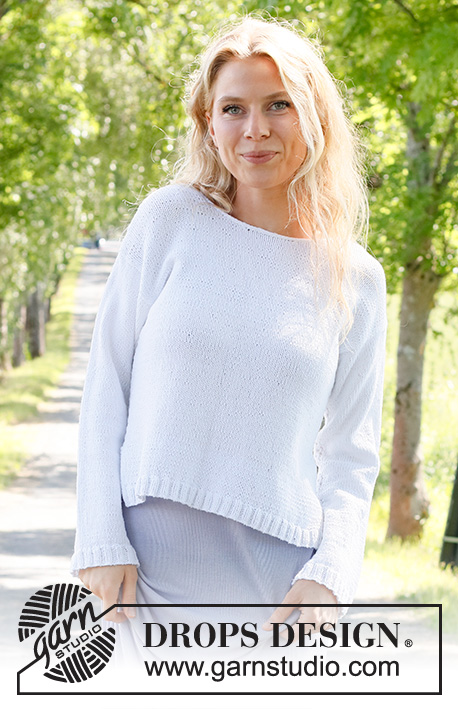
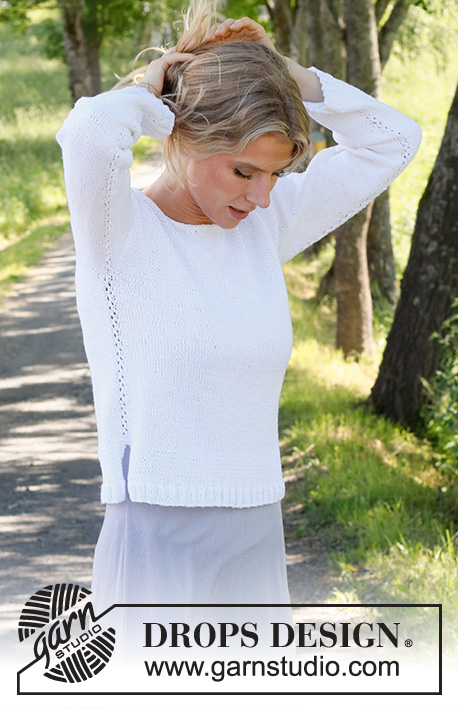
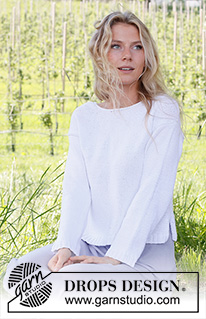
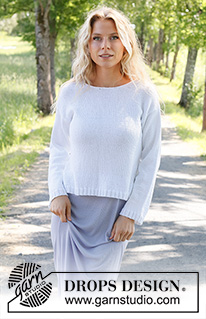
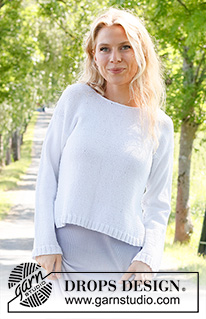
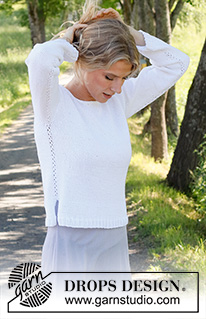
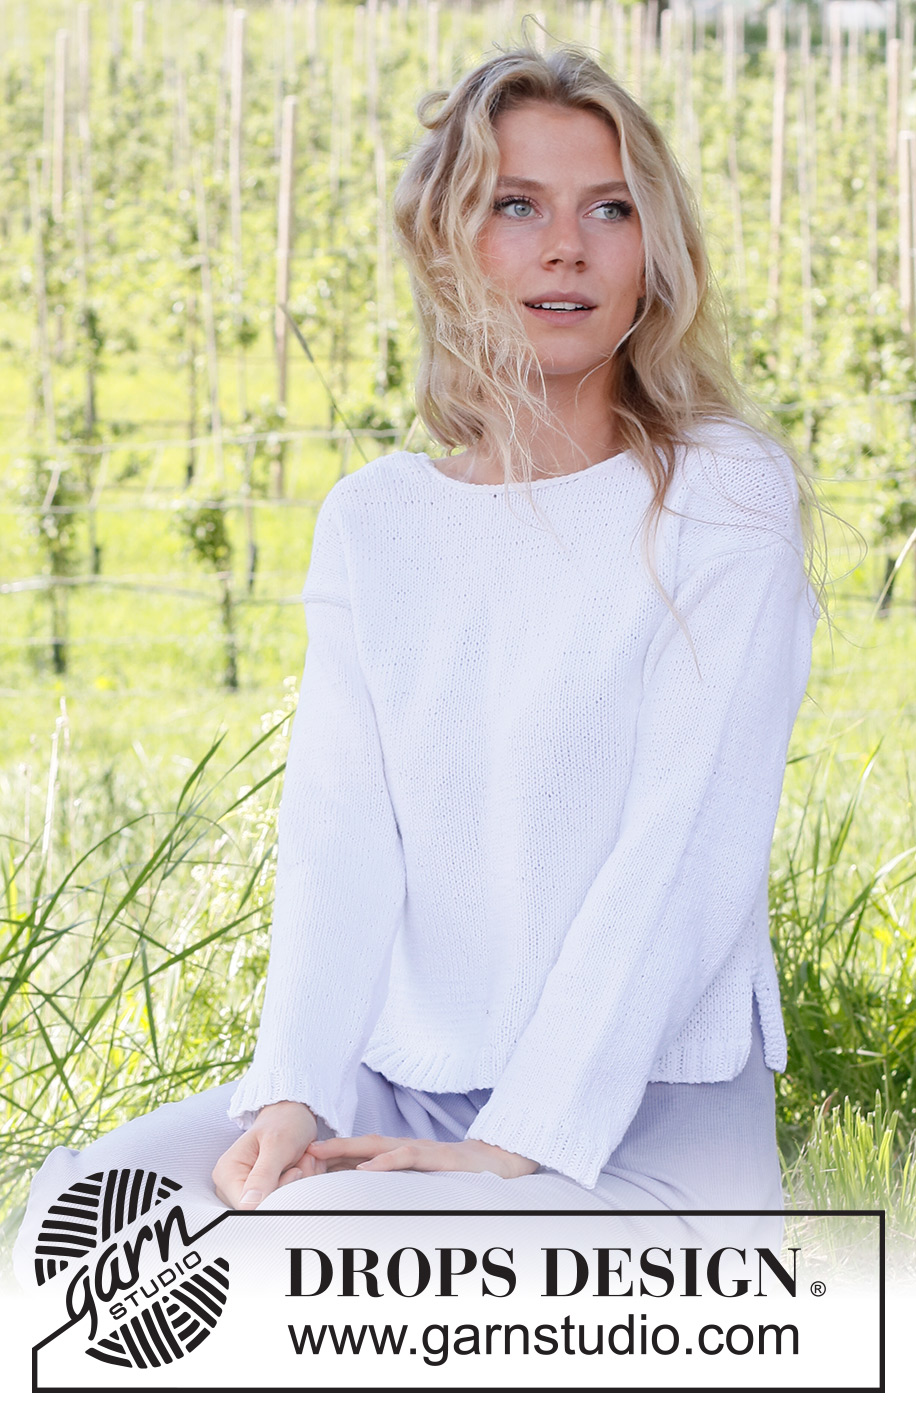
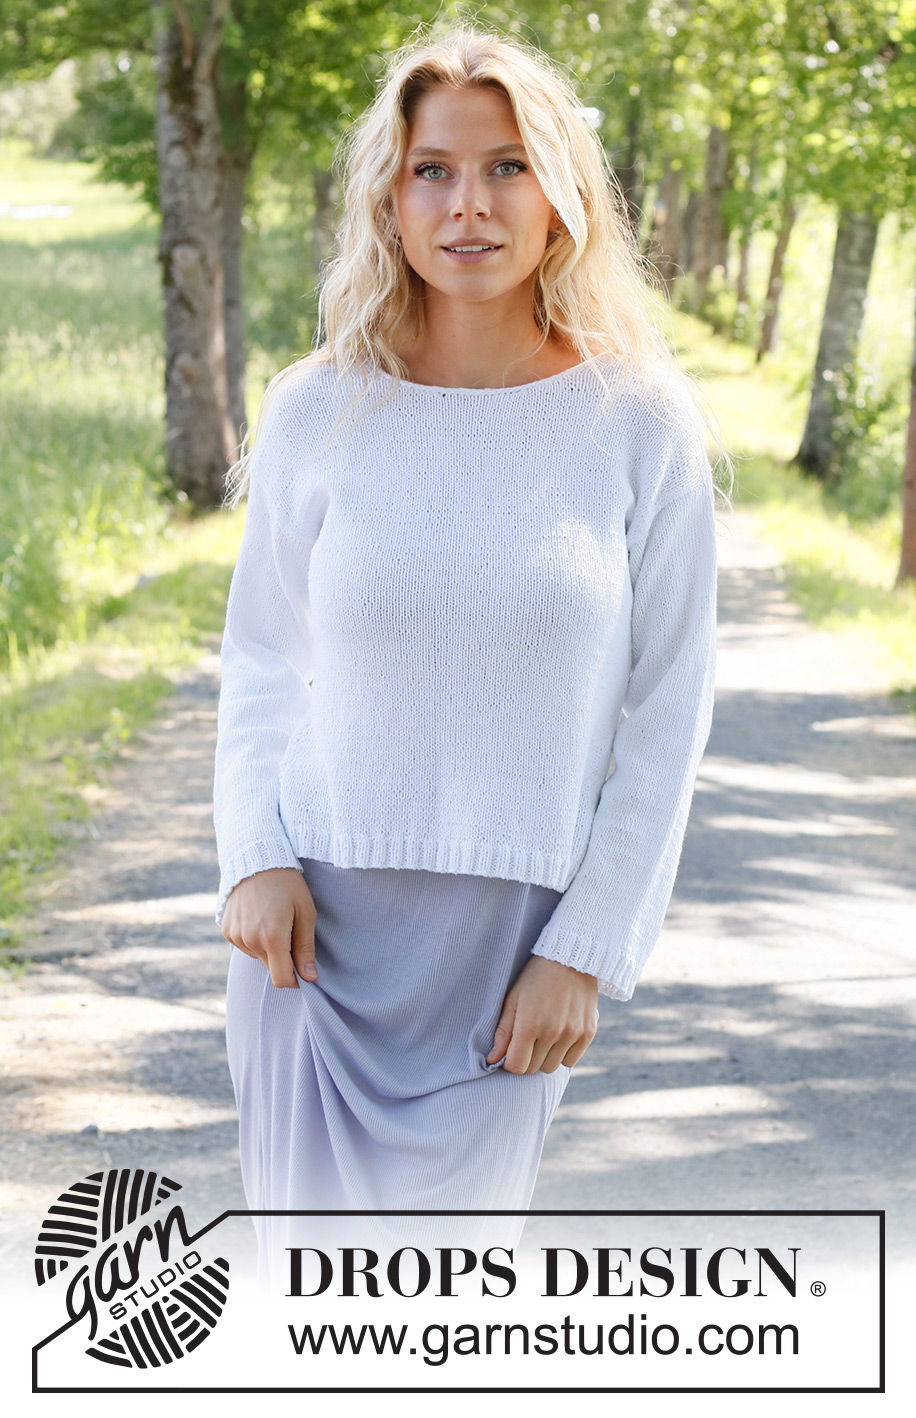
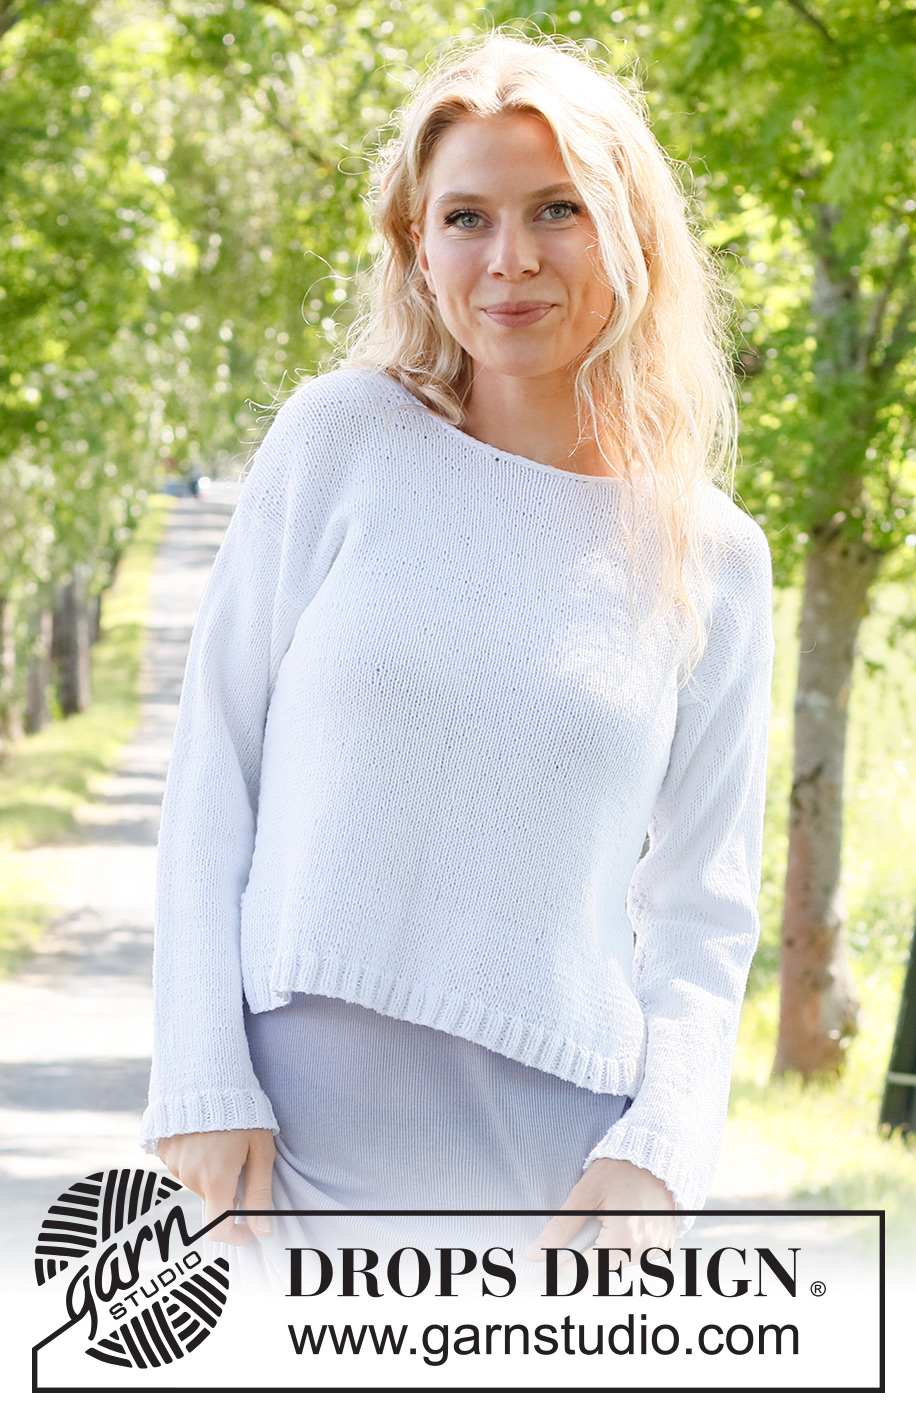
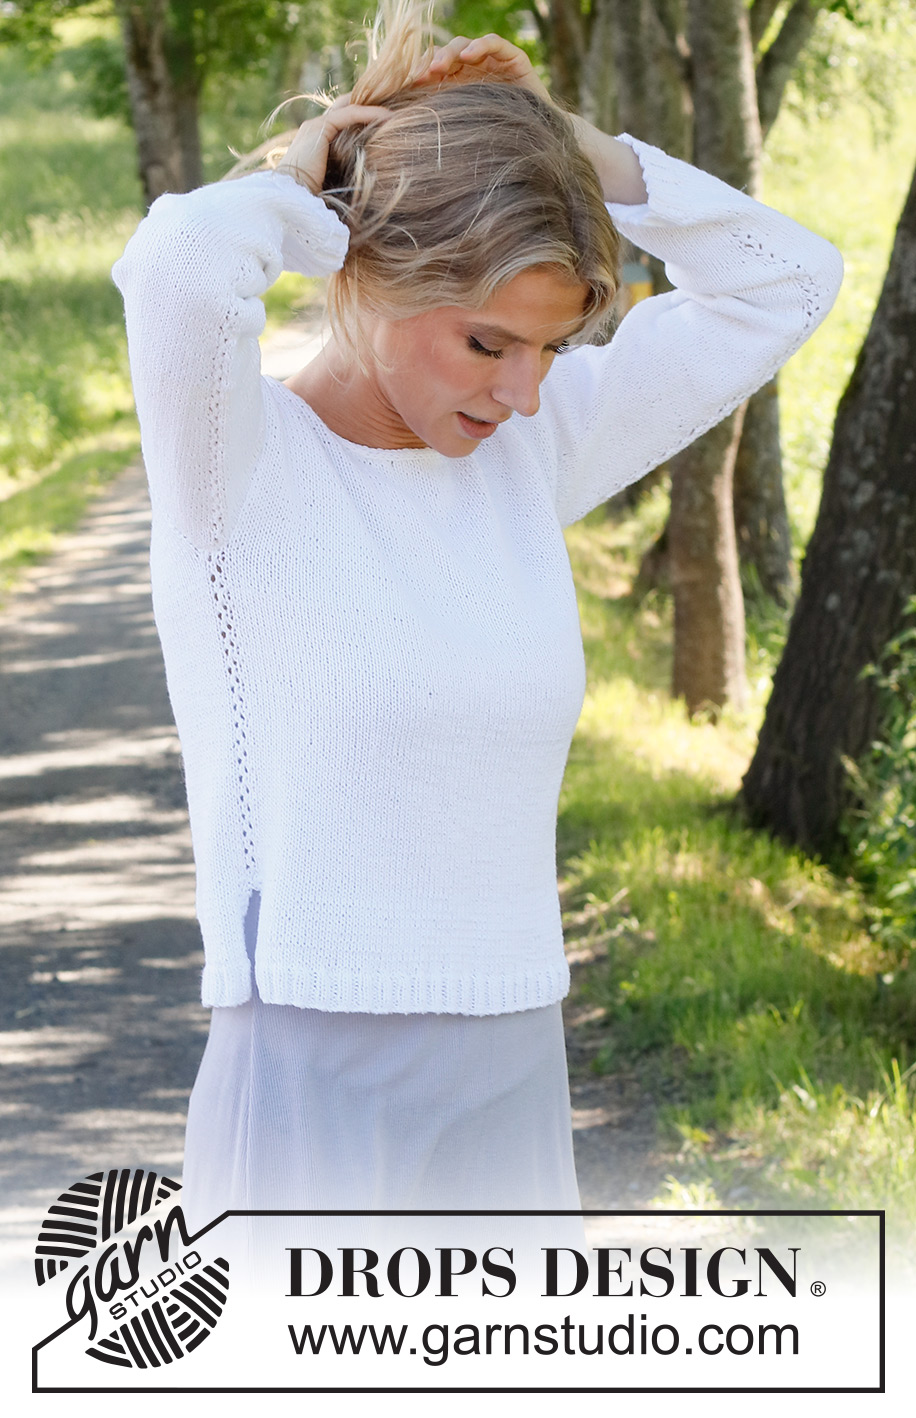
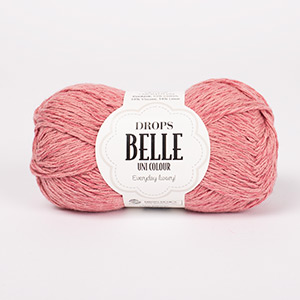
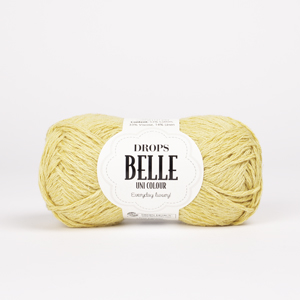
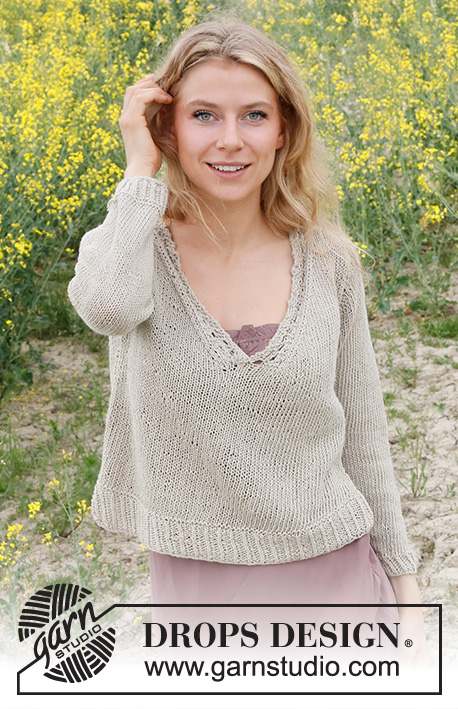
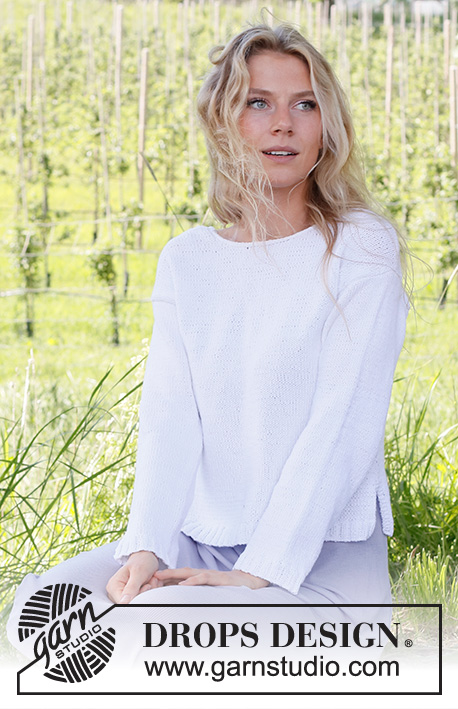
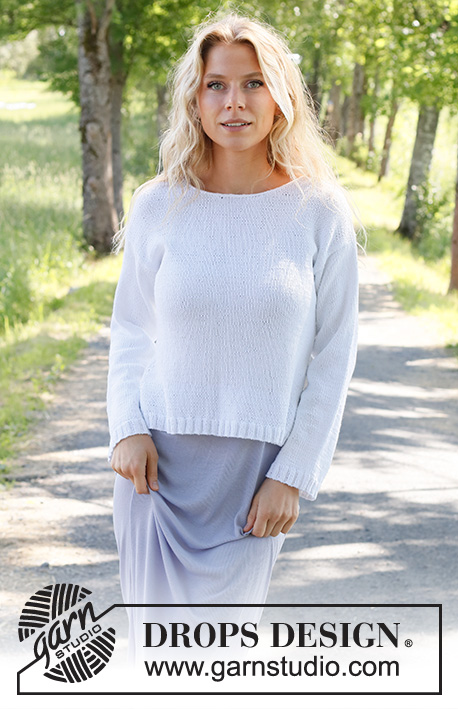
Knitted sweater in DROPS Belle. Piece is knitted bottom up with lace pattern. Size: S - XXXL
DROPS 231-37 |
||||||||||||||||
|
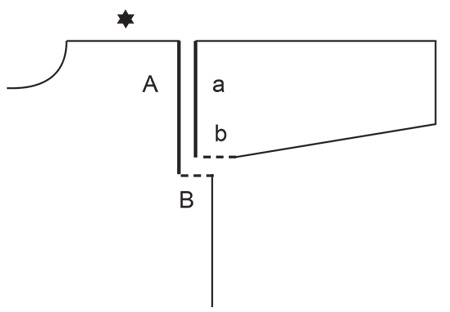
---------------------------------------------------------- EXPLANATION FOR THE PATTERN: ---------------------------------------------------------- GARTER STITCH (back and forth): Knit all rows. 1 ridge vertically = knit 2 rows. PATTERN: See diagram A.1. Diagrams show all rows in pattern seen from the right side. DECREASE TIP (evenly): To calculate how to decrease evenly, use number of stitches on needle (e.g. 106 stitches) and divide stitches by number of decreases to be done (e.g. 18) = 5,8. In this example decrease by knitting approx. every 5th and 6th stitch together. INCREASE TIP (applies to under sleeves): Work until 2 stitches remain before A.1 thread, make 1 yarn over, knit 2, A.1, knit 2, make 1 yarn over (= 2 stitches increased). On next round knit yarns over twisted to avoid holes. Then work the new stitches in stockinette stitch. ---------------------------------------------------------- START THE PIECE HERE: ---------------------------------------------------------- SWEATER - SHORT OVERVIEW OF THE PIECE: Work back piece and front piece first back and forth on circular needle separately until vent is done. Then work body in the round on circular needle up to armholes. Then work front piece and back piece back and forth separately. Work sleeves in the round on double pointed needles/circular needle up to sleeve, then work the rest of sleeve back and forth. Finish with a edge with i-cord. BACK PIECE: Cast on 112-124-136-148-164-180 stitches on circular needle size 3 MM = US 2.5 with DROPS Belle. Purl 1 row from wrong side. Then work rib as follows: Work 3 stitches in GARTER STITCH - read explanation above, work rib (knit 2/purl 2) until 5 stitches remain on needle, knit 2, work 3 stitches in garter stitch. Continue rib back and forth like this until piece measures 3 cm = 1⅛". Work next row from right side as follows: Work 3 stitches in garter stitch, knit the next 106-118-130-142-158-174 stitches and decrease at the same time 18-24-26-28-32-36 stitches evenly – read DECREASE TIP, work 3 stitches in garter stitch = 94-100-110-120-132-144 stitches. Switch to circular needle size 4 MM = US 6. Purl 1 row with 3 stitches in garter stitch in each side. Now work in stockinette stitch with 3 stitches in garter stitch in each side until piece measures 8 cm = 3⅛", adjust so that next row is worked from right side. REMEMBER THE KNITTING GAUGE! Cut the yarn. Put piece aside. FRONT PIECE: Work the same way as on back piece but do not cut the yarn. BODY: Now insert front piece and back piece on to same circular needle size = 188-200-220-240-264-288 stitches. Work in stockinette stitch in the round and continue with GARTER STITCH - read explanation above (= 6 stitches in garter stitch in each side). When 2 ridges have been worked over the 6 stitches, work pattern as follows: Knit 1 stitch. Insert a marker thread here (after this stitch). This is now the beginning of round. Knit over the first 92-98-108-118-130-142, A.1 over the next 2 stitches (= over the middle 2 stitches over the 6 stitches in garter stitch), knit over the next 92-98-108-118-130-142 stitches, work A.1 over the last 2 stitches (= over the middle 2 stitches of the 6 stitches in garter stitch). Continue in the round like this until piece measures 29-30-31-32-33-34 cm = 11⅜"-11¾"-12¼"-12½"-13"-13⅜" from cast-on edge. Now bind off stitches for armholes in each side as follows: Begin 0-0-3-5-9-13 stitches before beginning of round, bind off the next 2-2-8-12-20-28 stitches for armhole, work until 0-0-3-5-9-13 stitches remain before next A.1, bind off the next 2-2-8-12-20-28 stitches for armhole, work the rest of round = 92-98-102-108-112-116 stitches both for front piece and back piece. BACK PIECE: = 92-98-102-108-112-116 stitches. Work back and forth in stockinette stitch and with 1 edge stitch in garter stitch in each side. When piece measures 46-48-50-52-54-56 cm = 18"-19"-19¾"-20½"-21¼"-22", slip the middle 38-38-40-40-42-42 stitches on a thread for neck, and finish each shoulder separately. Then on next row from the neck, bind off 1 stitch = 26-29-30-33-34-36 stitches for shoulder. Continue back and forth with stockinette stitch and 1 edge stitch in garter stitch in each side, at the same time on next row from right side work short rows on shoulders as follows: Right shoulder: ROW 1 (= right side): Work over all stitches. ROW 2 (= wrong side): Turn, work until 6-6-7-7-8-8 stitches remain on needle. ROW 3: Turn, tighten yarn and work back. ROW 4: Work until 3-3-3-4-4-4 stitches more remain than on previous time. ROW 5: Turn, tighten yarn and work back. ROW 6: Work until 3-3-3-4-4-4 stitches more remain than on previous time. ROW 7: Turn, tighten yarn and work back. ROW 8: Work until 3-3-3-4-4-4 stitches more remain than on previous time. ROW 9: Turn, tighten yarn and work back. When short rows are done, bind off all stitches by purling from wrong side. Sweater measures approx. 50-52-54-56-58-60 cm = 19¾"-20½"-21¼"-22"-22¾"-23⅝" from shoulder and down. Left shoulder: ROW 1 (= right side): Work until 6-6-7-7-8-8 stitches remain on needle. ROW 2: Turn, tighten yarn and work back. ROW 3: Work until 3-3-3-4-4-4 stitches more remain than on previous time. ROW 4: Turn, tighten yarn and work back. ROW 5: Work until 3-3-3-4-4-4 stitches more remain than on previous time. ROW 6: Turn, tighten yarn and work back. ROW 7: Work until 3-3-3-4-4-4 stitches more remain than on previous time. ROW 8: Turn, tighten yarn and work back. When short rows are done, bind off all stitches by knitting from right side. Sweater measures approx. 50-52-54-56-58-60 cm = 19¾"-20½"-21¼"-22"-22¾"-23⅝" from shoulder and down. FRONT PIECE: Work as on back piece. When piece measures 43-45-46-48-49-51 cm = 17"-17¾"-18"-19"-19¼"-20", slip the middle 22-22-24-24-26-26 stitches on a thread for neck, and finish each shoulder separately. Then bind off stitches on every row from neck as follows: Bind off 2 stitches 3 times and 1 stitch 3 times = 26-29-30-33-34-36 stitches for shoulder. Continue back and forth with stockinette stitch and 1 edge stitch in garter stitch towards the armhole, at the same time when piece measures 47-49-51-53-55-57 cm = 18½"-19¼"-20"-21"-21⅝"-22½", work short rows on shoulders the same way as on back piece: I.e. work right shoulder as left shoulder on back piece, and left shoulder as right shoulder on back piece. When short rows are done, bind off. Sweater measures approx. 50-52-54-56-58-60 cm = 19¾"-20½"-21¼"-22"-22¾"-23⅝" from shoulder and down. SLEEVES: Cast on 64-68-72-72-76-76 stitches on double pointed needles size 3 MM = US 2.5 with Belle. Knit 1 round. Then work rib (= knit 2/purl 2) in the round for 3 cm = 1⅛". Knit 1 round while decreasing 12-14-16-14-16-14 stitches evenly - remember DECREASE TIP = 52-54-56-58-60-62 stitches. Switch to double pointed needles size 4 MM = US 6. Work pattern as follows: A.1 over the first 2 stitches, knit the remaining stitches on round. When piece measures 8-8-8-8-6-7 cm = 3⅛"-3⅛"-3⅛"-3⅛"-2⅜"-2¾", increase 1 stitch on each side of A.1 - read INCREASE TIP. Increase like this approx. every 3½-3-3-2½-2½-2 cm = 1¼"-1⅛"-1⅛"-1"-1"-¾" 12-13-14-15-16-17 times in total = 76-80-84-88-92-96 stitches. When sleeve measures 51-50-49-48-46-44 cm = 20"-19¾"-19¼"-19"-18"-17¼", work sleeve cap back and forth on circular needle until finished measurements. Continue to work in stockinette stitch from the middle of A.1 until sleeve measures approx. 52-51-51-51-51-51 cm = 20½"-20"-20"-20"-20"-20". Bind off. Work the other sleeve the same way. ASSEMBLY: Sew shoulder seams inside bind-off edge. Sew sleeve cap to armhole. Then sew vent at the top of sleeve to bottom of armhole - see chart. NECK EDGE: Begin from right side at one shoulder seam and pick up approx. 86 to 98 stitches (including stitches from thread) around the neck with circular needle size 3 mm = US c, cast on 3 stitches at the end of needle. Move the 3 stitches on to left needle so that the last stitch cast on on needle becomes the outermost stitch on left needle. Now work an i-cord in these stitches from right side, as follows: Knit 2, knit next stitch twisted together with the first/next stitch picked up around the neck edge. Move the 3 stitches from right needle back on to left needle (in the order they have). Continue like this along the entire neck edge on back piece until there are no stitches left to work. Bind off the remaining stitches. Sew the last 3 stitches together with the 3 stitches cast on at the beginning of neck edge. Fasten off. |
||||||||||||||||
Diagram explanations |
||||||||||||||||
|
||||||||||||||||
 |
||||||||||||||||
 |
||||||||||||||||
Have you finished this pattern?Tag your pictures with #dropspattern #timetounwindsweater or submit them to the #dropsfan gallery. Do you need help with this pattern?You'll find 24 tutorial videos, a Comments/Questions area and more by visiting the pattern on garnstudio.com. © 1982-2026 DROPS Design A/S. We reserve all rights. This document, including all its sub-sections, has copyrights. Read more about what you can do with our patterns at the bottom of each pattern on our site. |
||||||||||||||||






With over 40 years in knitting and crochet design, DROPS Design offers one of the most extensive collections of free patterns on the internet - translated to 17 languages. As of today we count 333 catalogs and 12525 patterns - 12515 of which are translated into English (US/in).
We work hard to bring you the best knitting and crochet have to offer, inspiration and advice as well as great quality yarns at incredible prices! Would you like to use our patterns for other than personal use? You can read what you are allowed to do in the Copyright text at the bottom of all our patterns. Happy crafting!
Post a comment to pattern DROPS 231-37
We would love to hear what you have to say about this pattern!
If you want to leave a question, please make sure you select the correct category in the form below, to speed up the answering process. Required fields are marked *.