
Popular categories
Looking for a yarn?


















Comments / Questions (3)
 Lena wrote:
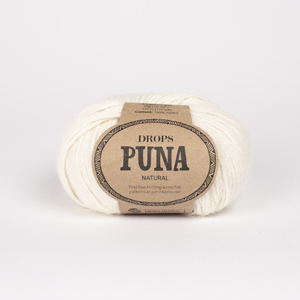
Oklart. Ska man sticka denna tröja med enbart Puna eller ska kid silk vara med?
20.10.2026 - 15:34DROPS Design answered:
Hej Lena, vi har strikket med 1 tråd DROPS Puma og 1 tråd DROPS Kid-Silk :)
21.10.2026 - 06:51
 Anna wrote:
Thank you!! So after the 7 the row I can add German short rows... untill the middle of the sleeve stitches or? or it's not needed because the construction itself will raise more the back part? Thank you!!!.
14.10.2026 - 15:47DROPS Design answered:
Dear Anna, for any individual assistance adapting the pattern to your own wishes, please feel free to contact your Yarn store - even per mail or telephone, as we are not able to adjust every pattern to every single request. Thanks for your comprehension. Happy knitting!
15.10.2026 - 16:43
Anna wrote:
Hallo!!! How it would be please to add German short rows right after the casting on ..after the purl row...? Before any increases... Maybe 6 times turning..maye last turning after the sleeve stitches....thank you!!
13.10.2026 - 23:55DROPS Design answered:
Dear Anna, in this pattern you don't cast on all stitches for the round as you will cast on the stitches for neck on front piece on each side while you increase for saddle shoulders. You will work in the round only after the 7th row has been worked, ie after all sts for neck have been increased, then you continue in the round and continue increasing for saddle shoulders as before. Happy knitting!
14.10.2026 - 07:33
|
|
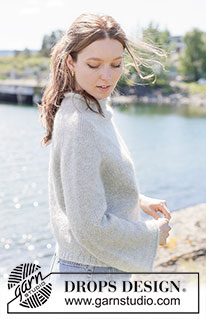
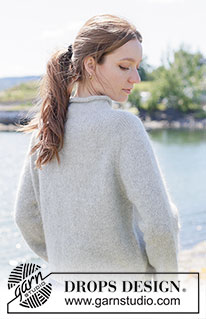
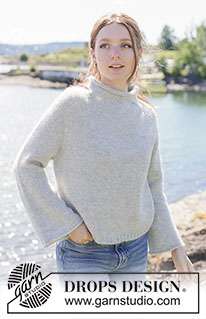
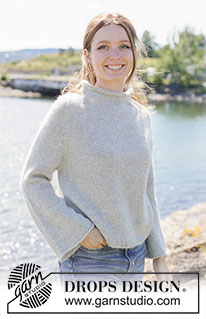
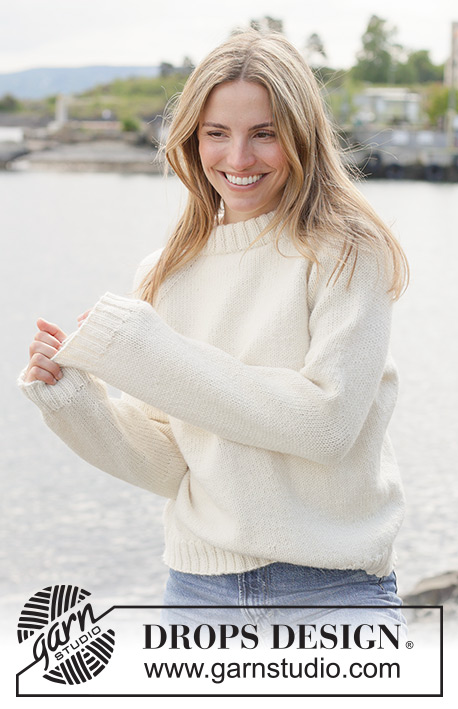
Memory of Wind Sweater#memoryofwindsweater |
|
 |
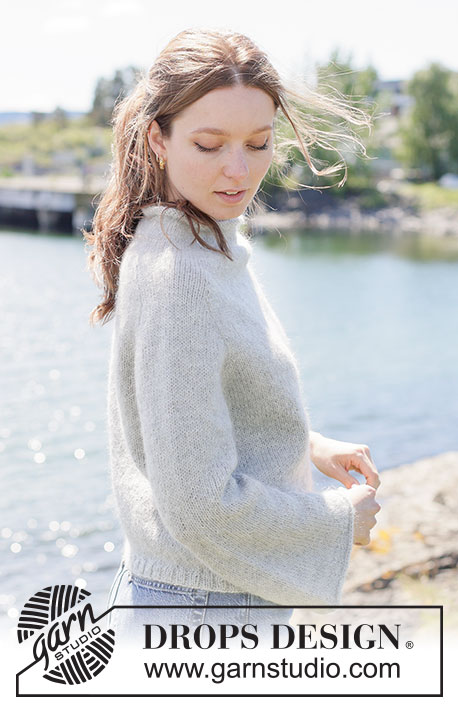 |
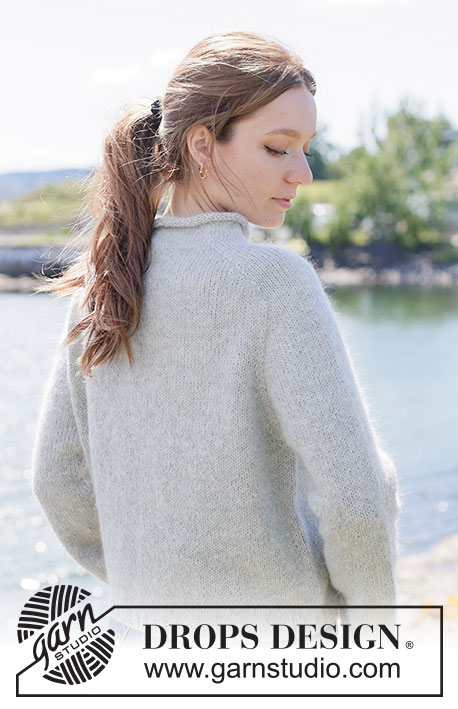
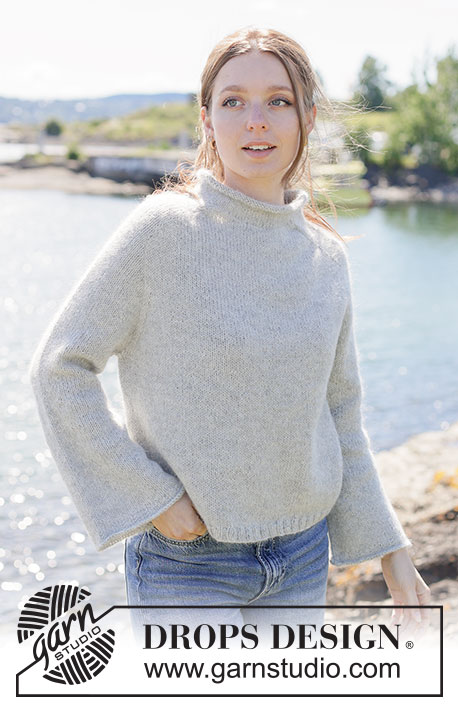
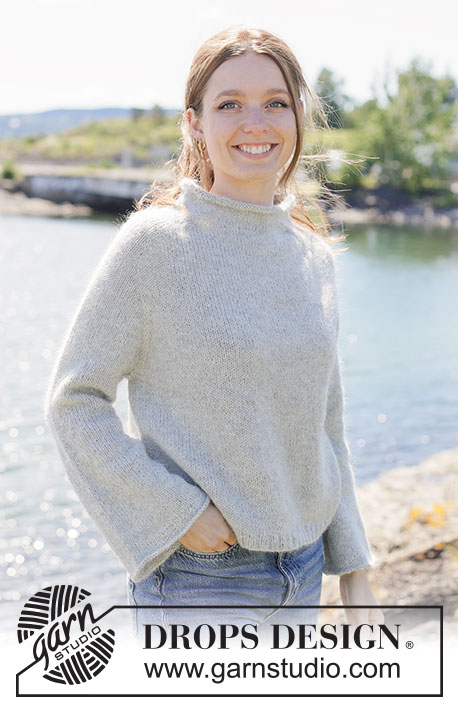
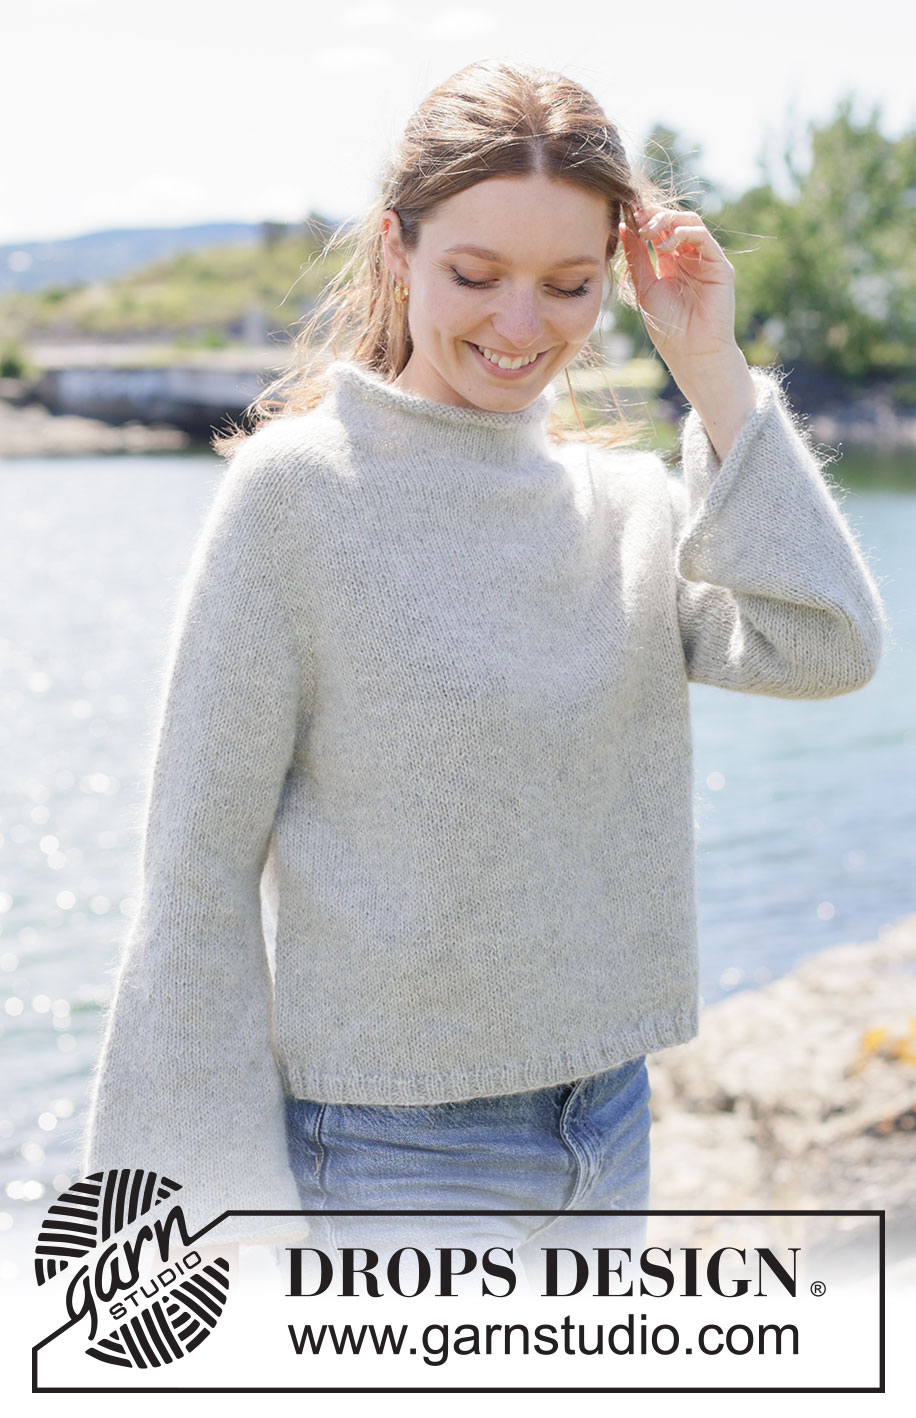
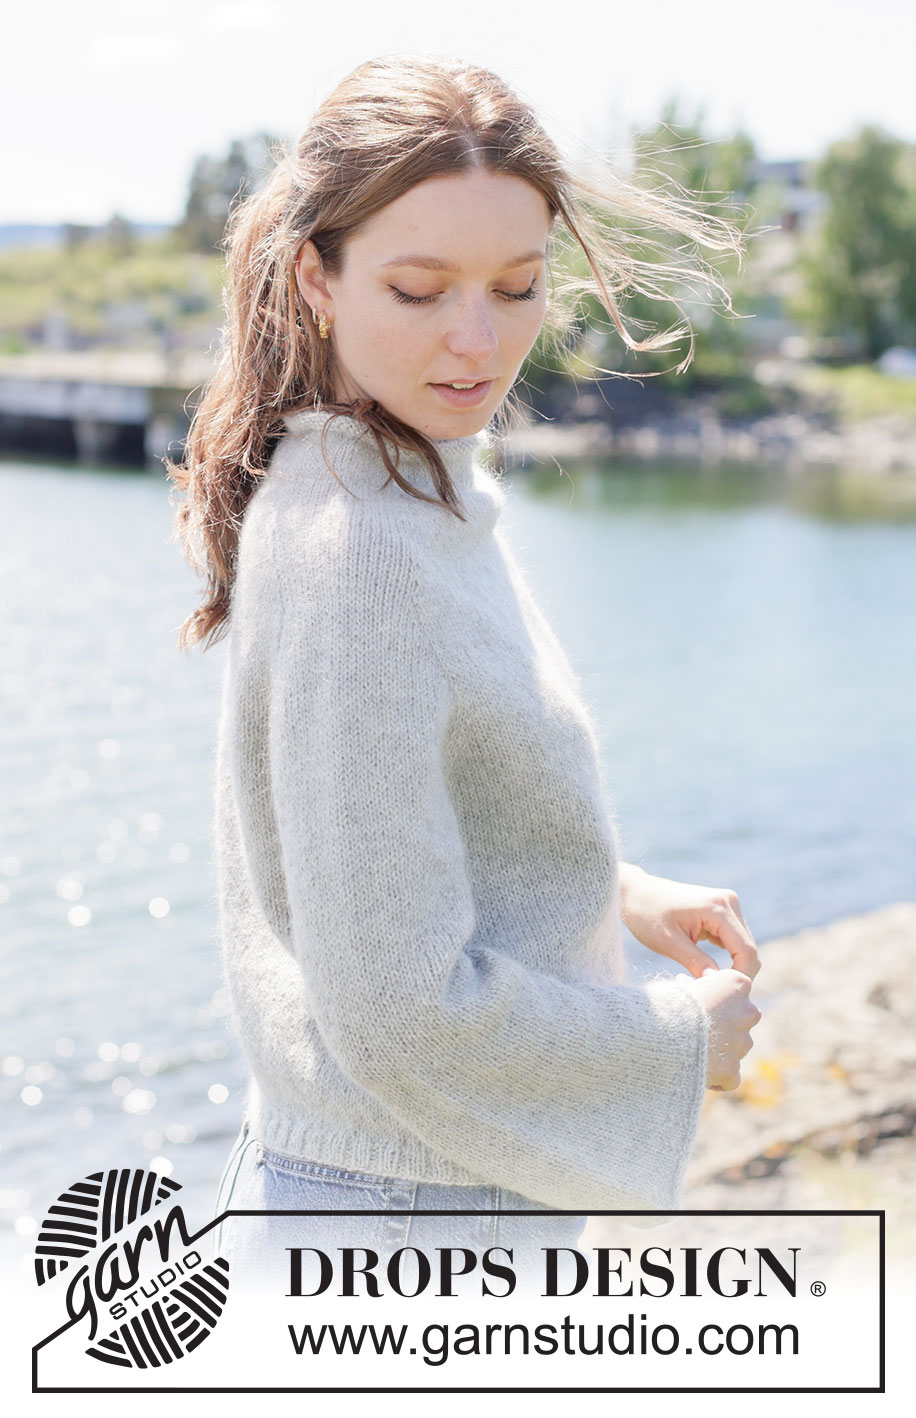
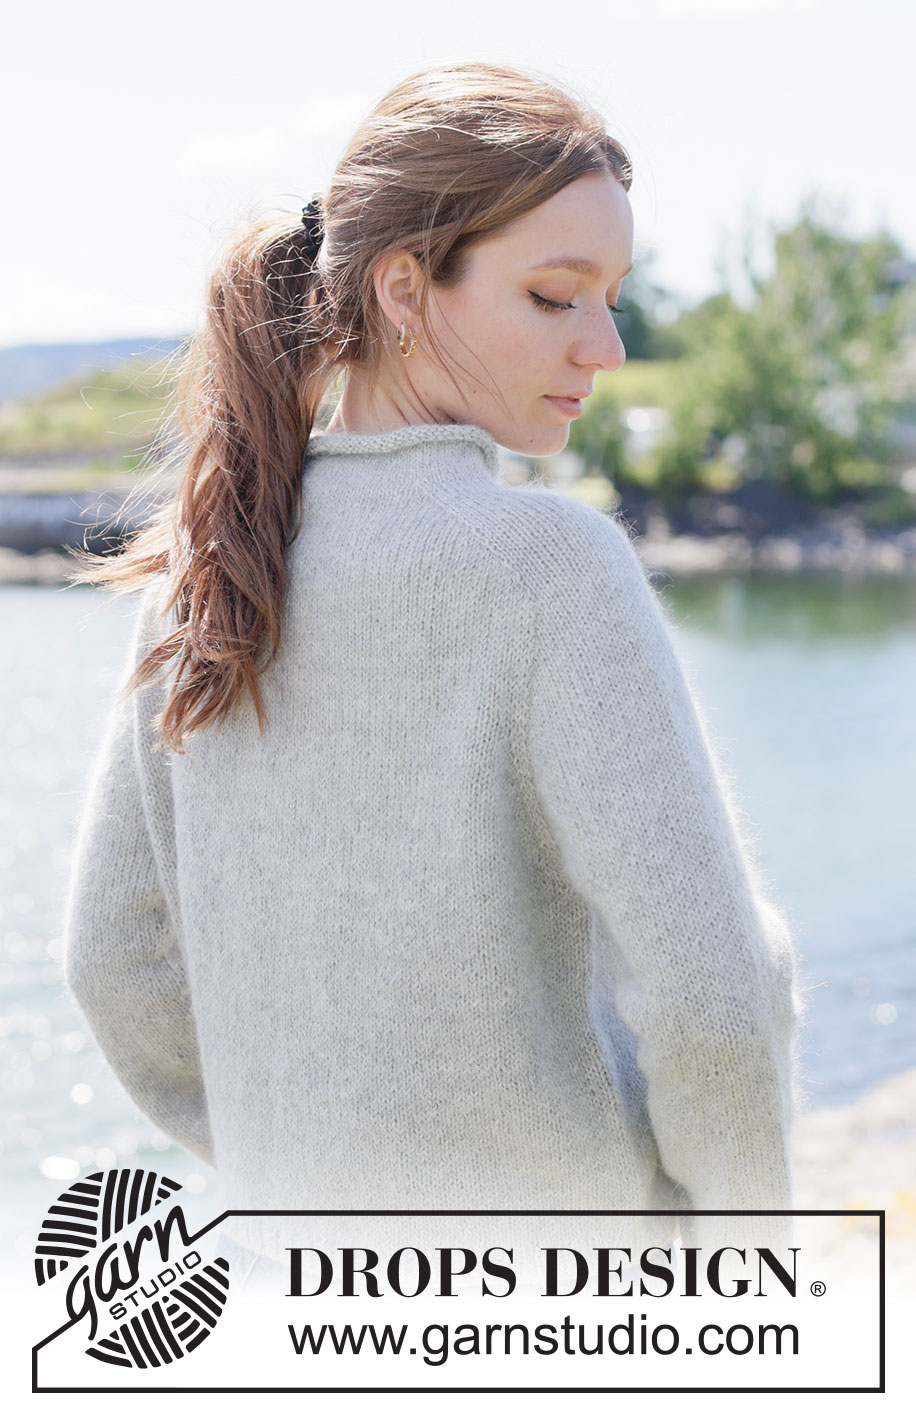
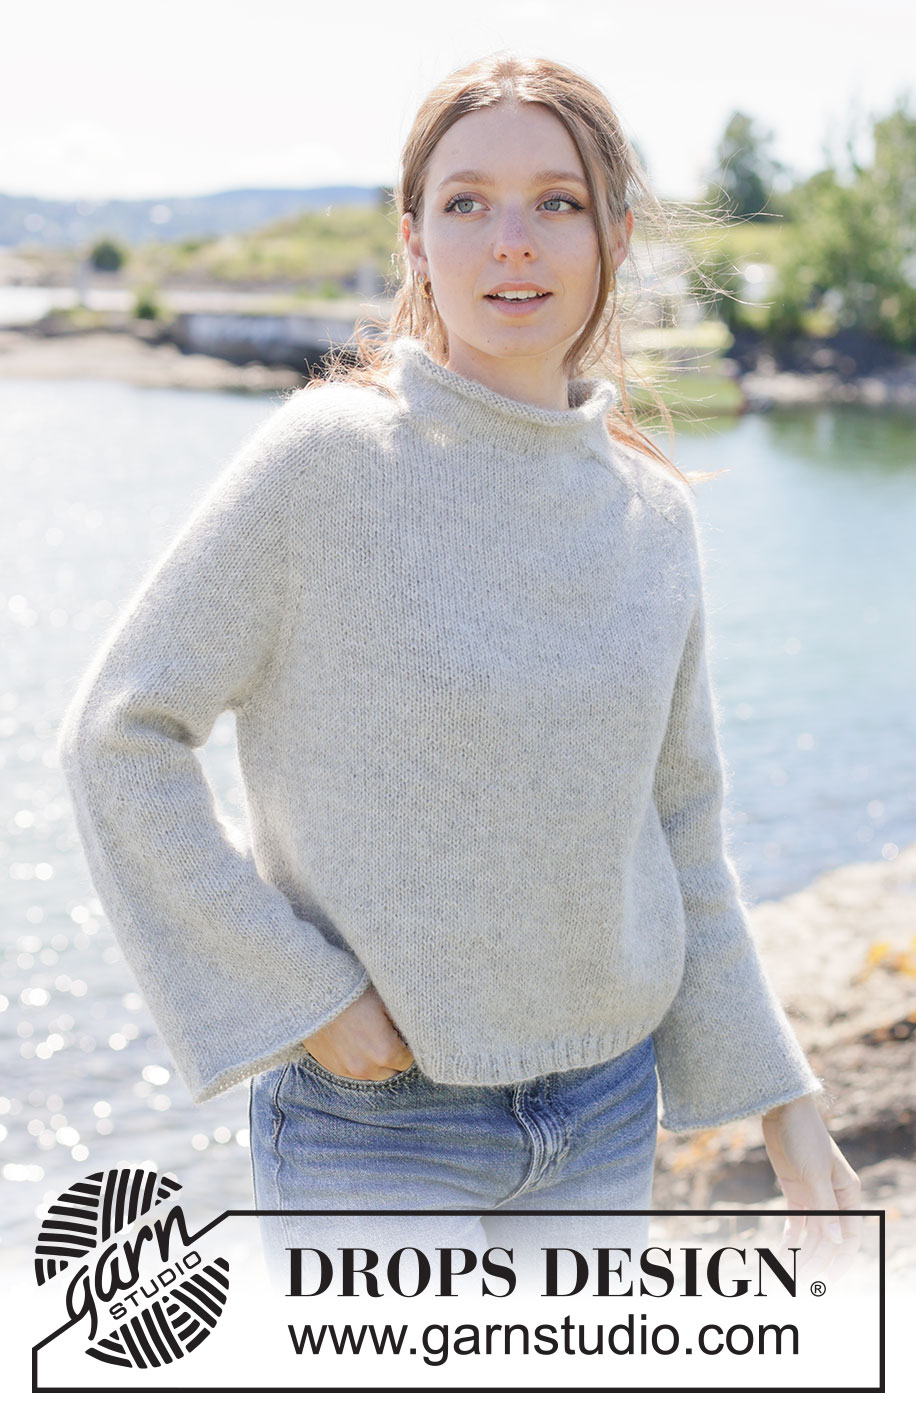
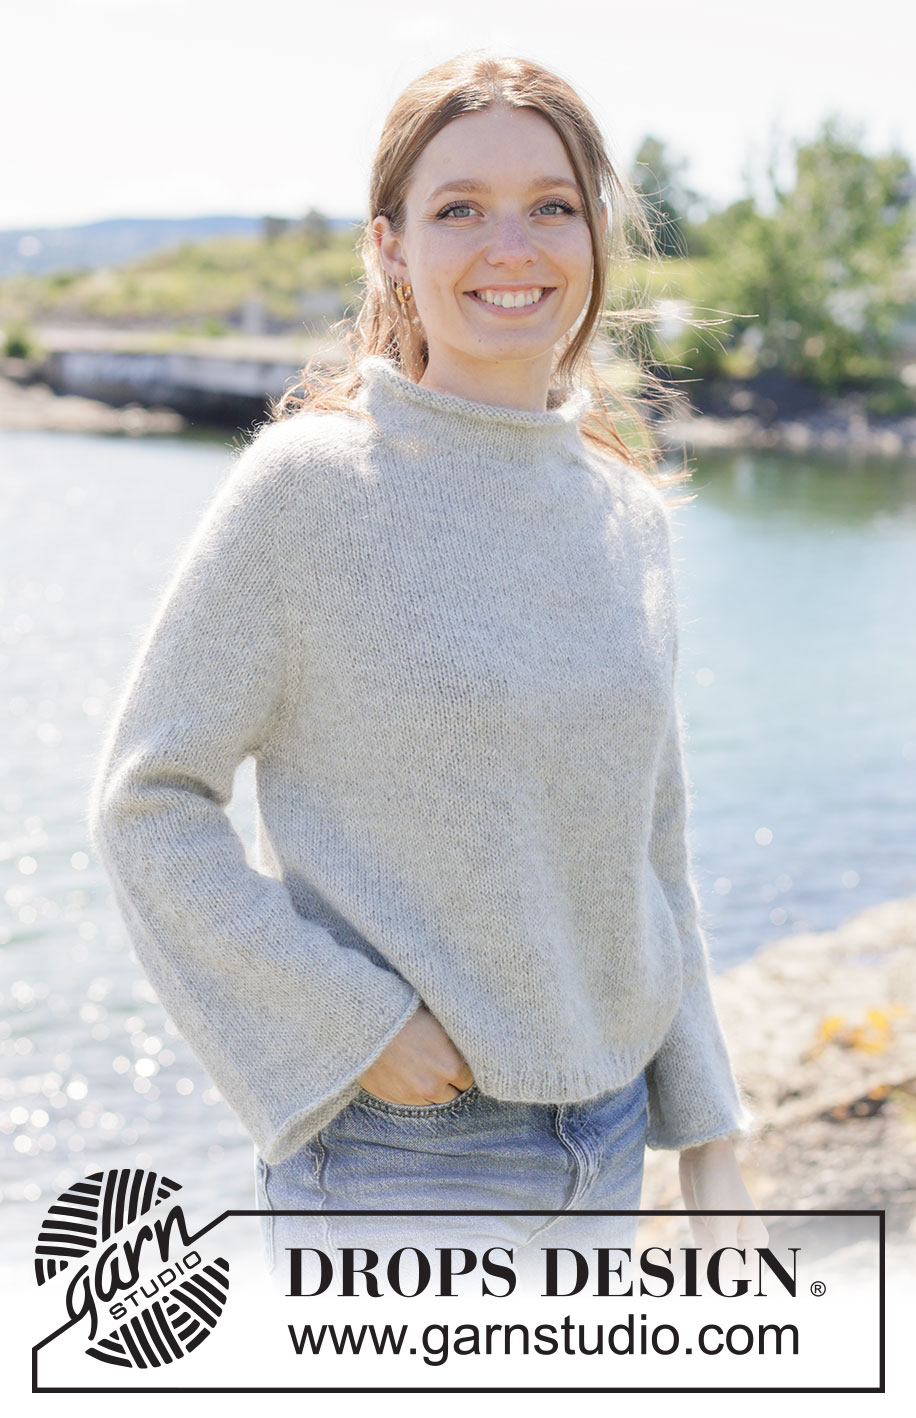
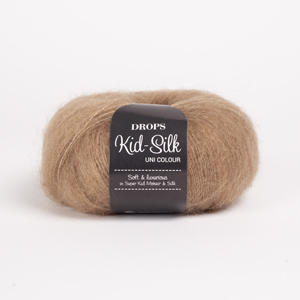
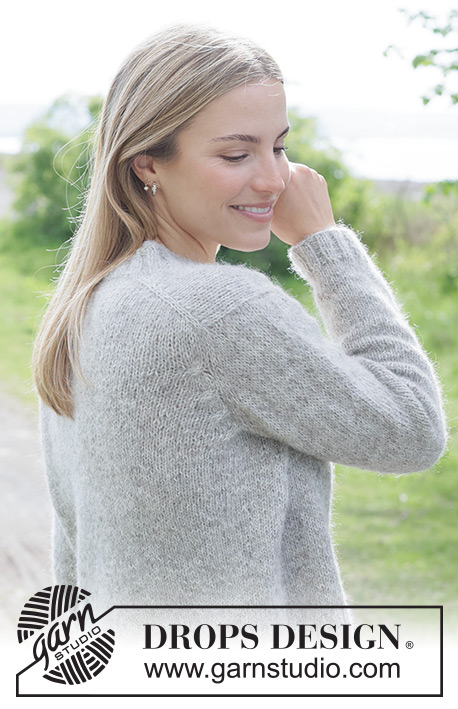
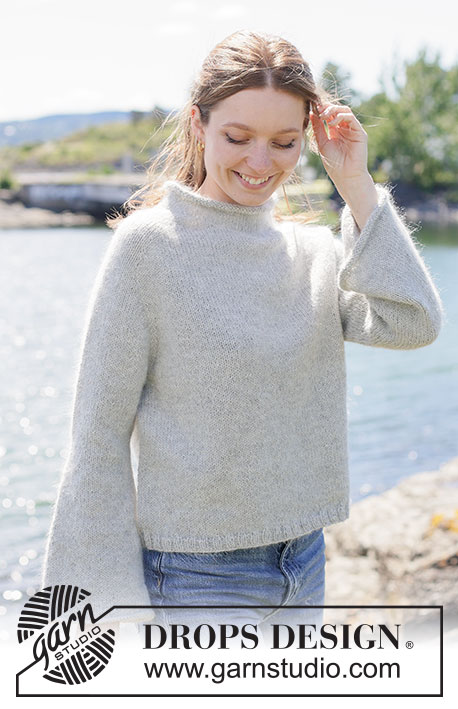
Knitted sweater in DROPS Puna and DROPS Kid-Silk or DROPS Saga and DROPS Kid-Silk. The piece is worked top down in stockinette stitch with saddle shoulders and rolled neck. Sizes XS – XXXL.
DROPS 271-39 |
|
|
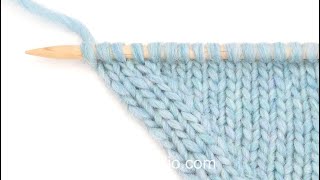
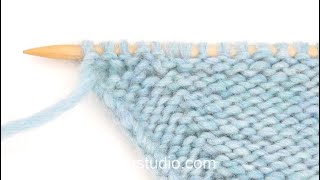
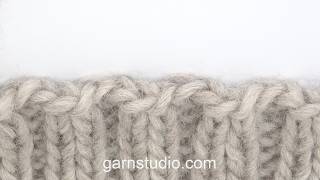
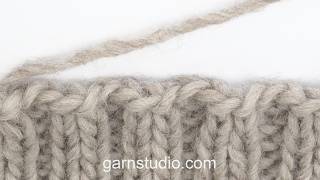
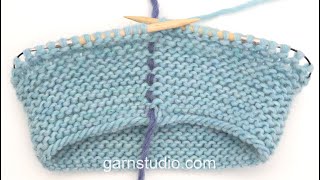
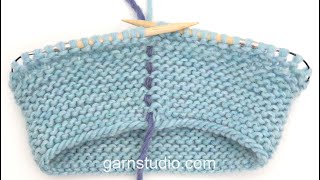
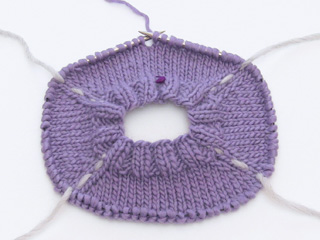
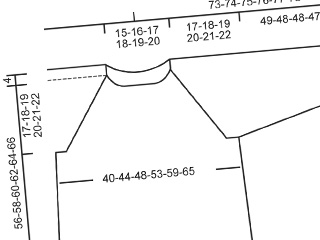
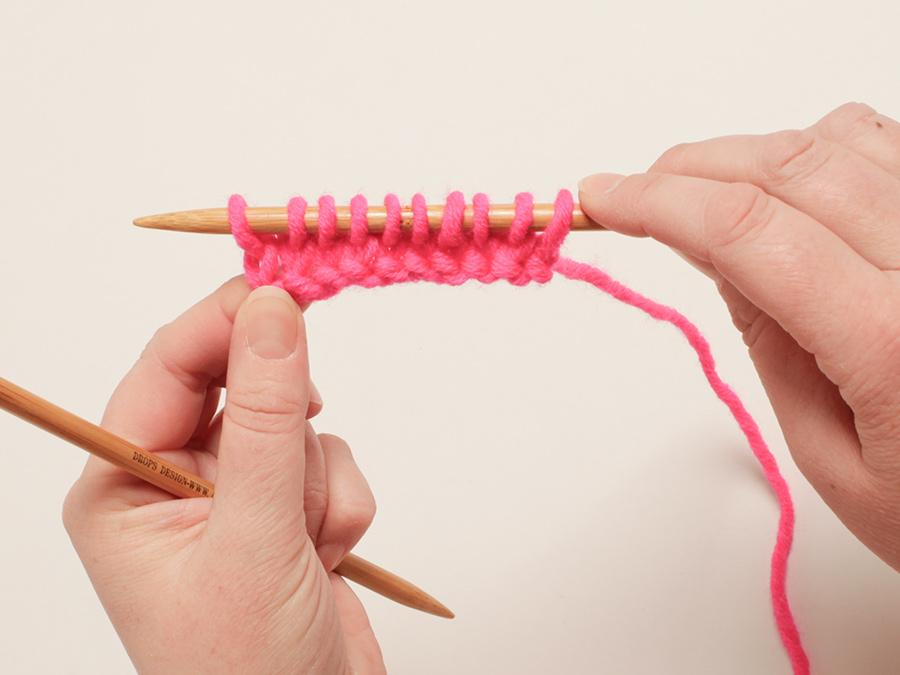
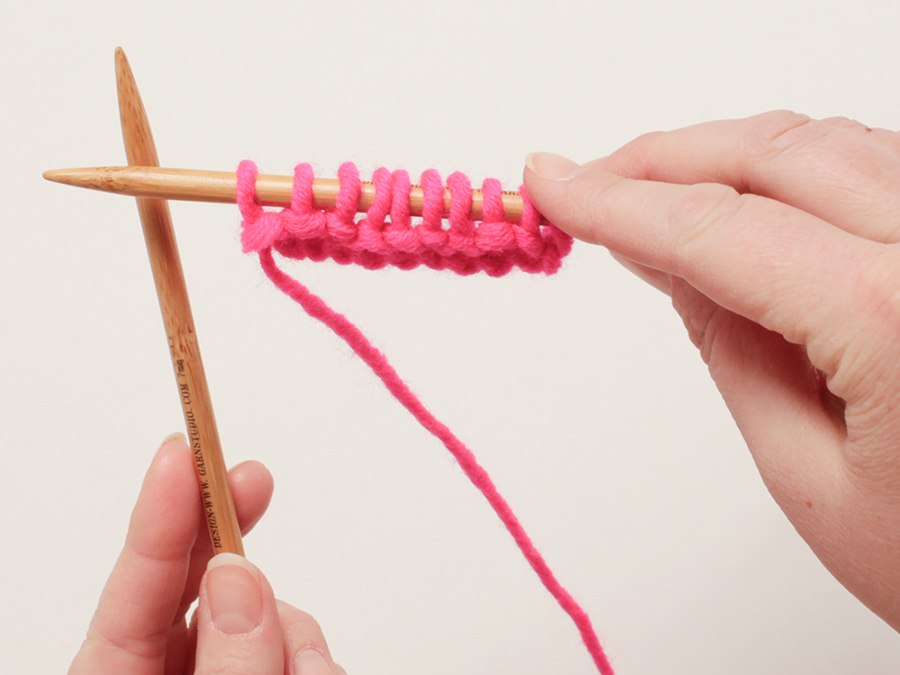
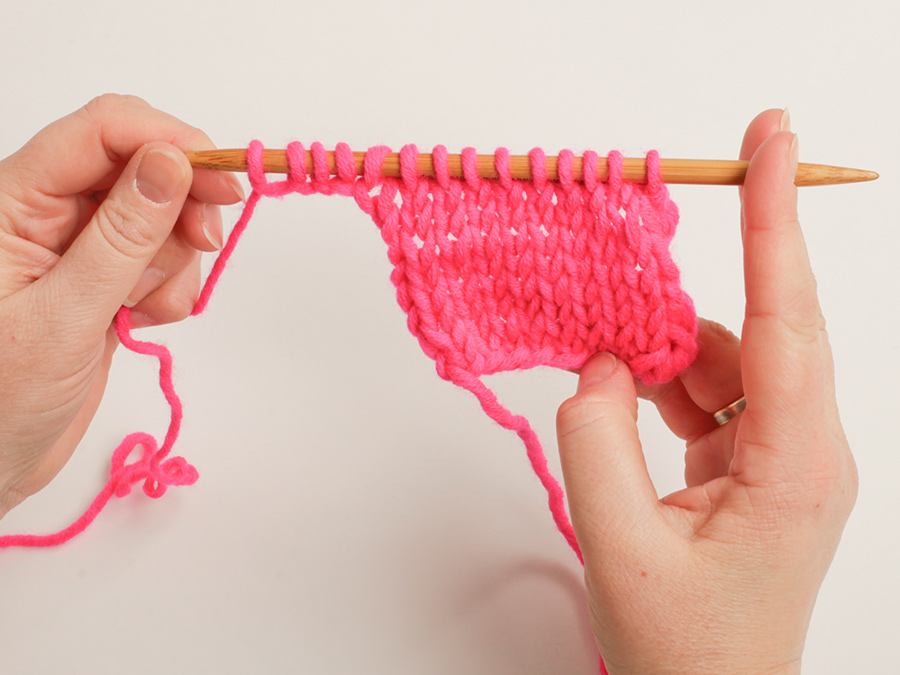
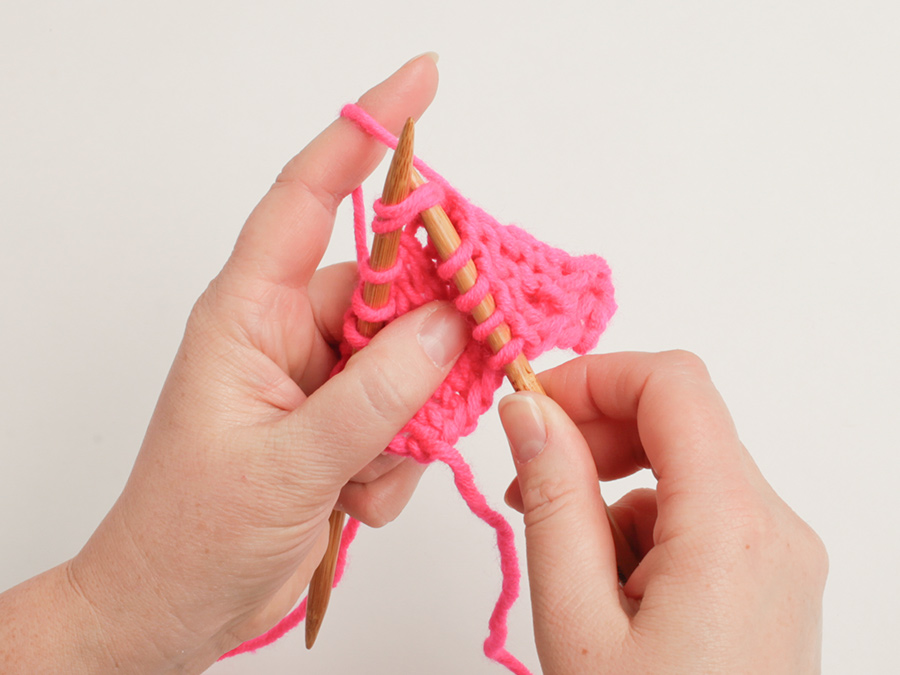
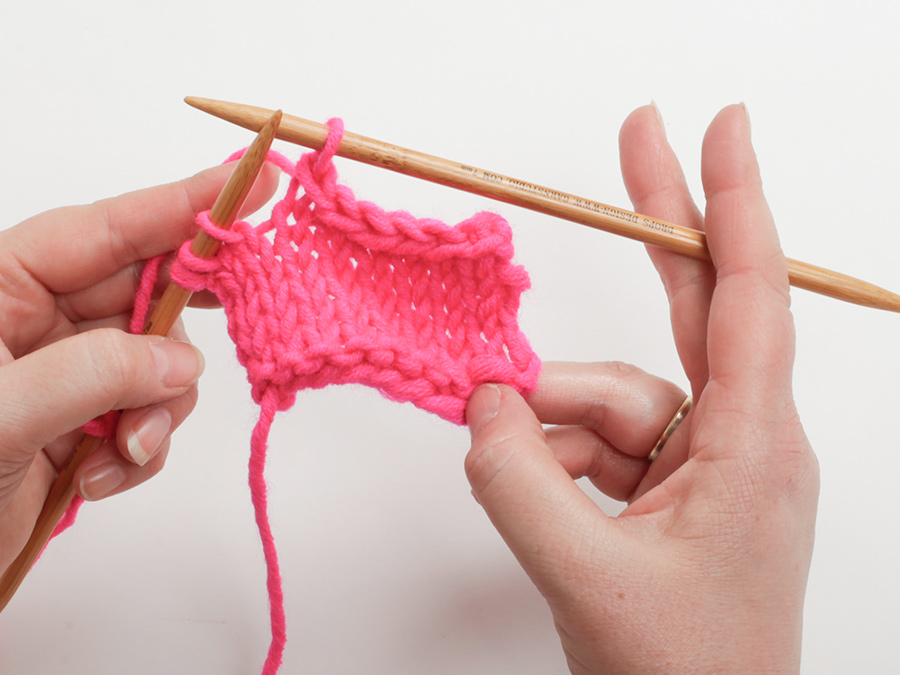
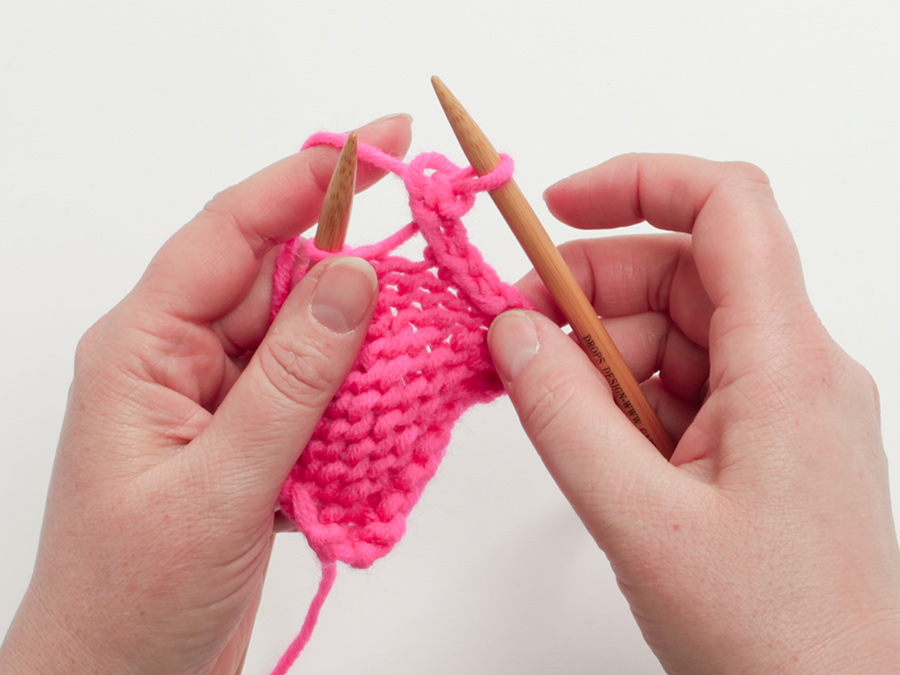
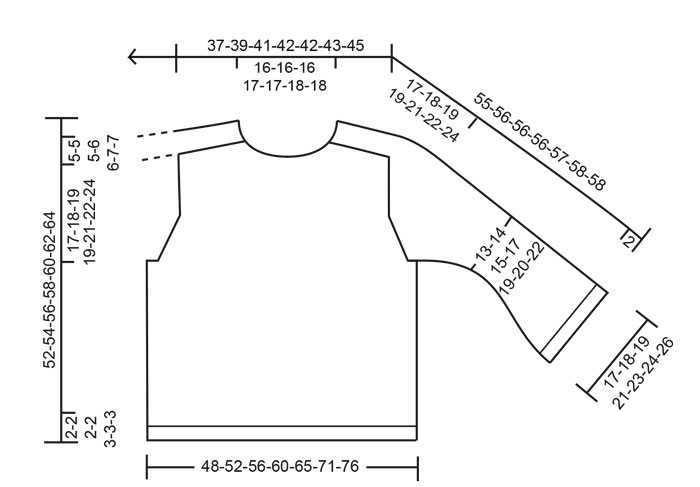
------------------------------------------------------- EXPLANATIONS FOR THE PATTERN: ------------------------------------------------------- INCREASE TIP-1 (from right side): INCREASE 1 STITCH TOWARDS THE RIGHT BEFORE MARKER: Use the left needle to pick up the strand between 2 stitches from the row below, pick up the strand from the back and knit through the stitch-loop that lies on the front of the needle. INCREASE 1 STITCH TOWARDS LEFT AFTER MARKER: Use the left needle to pick up the strand between 2 stitches from the row below, pick up the strand from the front and knit through the stitch-loop that lies on the back of the needle. INCREASE TIP-2 (from wrong side): INCREASE 1 STITCH TOWARDS LEFT BEFORE MARKER: Use the left needle to pick up the strand between 2 stitches from the row below, pick up the strand from the front and purl through the stitch-loop that lies on the back of the needle. INCREASE 1 STITCH TOWARDS THE RIGHT AFTER MARKER: Use the left needle to pick up the strand between 2 stitches from the row below, pick up the strand from the back and purl through the stitch-loop that lies on the front of the needle. INCREASE TIP-3: When increasing evenly on the first round of rib, it is important to increase in the stitches that will subsequently be purled, so the knitted stitches continue neatly from the stockinette stitch. SLEEVE TIP: When knitting up stitches under the sleeve, you can be left with a small hole in the transition between the stitches on the body and sleeve. This hole can be closed by picking up the strand between 2 stitches and working this strand twisted together with the first stitch between body and sleeve. DECREASE TIP: Decrease 1 stitch on each side of the marker-thread as follows: Work until there are 3 stitches left before the marker-thread, knit 2 together, knit 2 (marker-thread sits between these 2 stitches), slip 1 stitch knit-wise, knit 1 and pass the slipped stitch over the knitted stitch (2 stitches decreased). GARTER STITCH: Alternately knit 1 round and purl 1 round. 1 ridge vertically = 2 rounds. ------------------------------------------------------- START THE PIECE HERE: ------------------------------------------------------- SWEATER – SHORT OVERVIEW OF THE PIECE: The pattern uses both long and short needles; start with the length which fits the number of stitches and change when necessary. The piece is worked top down. The yoke is started back and forth, shaping the neckline, then continued in the round with circular needle, from the right back shoulder. When the yoke is finished, it is divided for the body and sleeves and the body continued in the round, while the sleeves wait. The sleeves are worked top down, in the round. Stitches are knitted up around the neckline and the neck is worked to finish. If there is a «0» in your chosen size, skip the information and go straight to the next instruction. NECKLINE: Cast on 70-70-74-80-84-90-90 stitches with circular needle size 4 MM = US 6 and 1 strand DROPS Puna or 1 strand DROPS Saga together with 1 strand DROPS Kid-Silk (2 strands). Purl 1 row from the wrong side. Insert 4 markers, without working the stitches and inserting each marker between 2 stitches. You begin increasing for the saddle shoulders by these markers, then increase for the sleeves and finally for the yoke. Count 2 stitches (= left-hand side of front neckline), insert marker-1 before the next stitch, count 18-18-20-22-24-26-26 stitches (= shoulder-stitches), insert marker-2 before the next stitch, count 30-30-30-32-32-34-34 stitches (= back piece), insert marker-3 before the next stitch, count 18-18-20-22-24-26-26 stitches (= shoulder-stitches), insert marker-4 before the next stitch, there are 2 stitches left (= right-hand side of front neckline). Work stockinette stitch back and forth. AT THE SAME TIME increase for the saddle shoulders and the neckline each side. The number of shoulder-stitches remains the same but increases on the front and back pieces. Work as follows: ROW 1 (right side) – read INCREASE TIP-1: * Knit to the first/next marker, increase 1 stitch towards the right, move the marker onto the right needle, knit 18-18-20-22-24-26-26 (= shoulder-stitches), move the marker onto the right needle, increase 1 stitch towards the left *, work from *-* 1 more time, knit to end of row, cast on 2 stitches for the neckline = 76-76-80-86-90-96-96 stitches. ROW 2 (wrong side) – read INCREASE TIP-2: * Purl to the first/next marker, increase 1 stitch towards the left, move the marker onto the right needle, purl 18-18-20-22-24-26-26 (= shoulder-stitches), move the marker onto the right needle, increase 1 stitch towards the right *, work from *-* 1 more time, purl to end of row, cast on 2 stitches for the neckline = 82-82-86-92-96-102-102 stitches. ROW 3 (right side): Knit without increasing, cast on 2 stitches for the neckline at the end of the row = 84-84-88-94-98-104-104 stitches. ROW 4 (wrong side): * Purl to the first/next marker, increase 1 stitch towards the left, move the marker onto the right needle, purl 18-18-20-22-24-26-26 (= shoulder-stitches), move the marker onto the right needle, increase 1 stitch towards the right *, work from *-* 1 more time, purl to end of row, cast on 2 stitches for the neckline = 90-90-94-100-104-110-110 stitches. ROW 5 (right side): * Knit to the first/next marker, increase 1 stitch towards the right, move the marker onto the right needle, knit 18-18-20-22-24-26-26 (= shoulder-stitches), move the marker onto the right needle, increase 1 stitch towards the left *, work from *-* 1 more time, knit to end of row, cast on 3 stitches for the neckline = 97-97-101-107-111-117-117 stitches. ROW 6 (wrong side): Purl without increasing, cast on 3 stitches for the neckline at the end of the row = 100-100-104-110-114-120-120 stitches. ROW 7 (right side): * Knit to the first/next marker, increase 1 stitch towards the right, move the marker onto the right needle, knit 18-18-20-22-24-26-26 (= shoulder-stitches), move the marker onto the right needle, increase 1 stitch towards the left *, work from *-* 1 more time, knit to end of row, cast on 12-12-12-14-14-16-16 stitches for the neckline = 116-116-120-128-132-140-140 stitches. The neckline is finished and you have increased 5 times on each side of the shoulder stitches for the saddle shoulders = 18-18-20-22-24-26-26 shoulder-stitches on each side and 40-40-40-42-42-44-44 stitches on the front and back pieces. Cut the strand. The piece is now continued in the round from the right back shoulder; move the stitches on the left needle onto the right needle as far as marker-3 (= right back shoulder). NOTE: Do not work these stitches, just move them. Continue increasing as follows. Remember to maintain the knitting gauge. INCREASE FOR SADDLE SHOULDERS: ROUND 1: * Knit 18-18-20-22-24-26-26 (= shoulder-stitches), move the marker onto the right needle, increase 1 stitch towards the left, knit to next marker, increase 1 stitch towards the right, move the marker onto the right needle*, work from *-* 1 more time (4 increased stitches). ROUND 2: Knit without increasing. ROUND 3: * Knit 18-18-20-22-24-26-26 (= shoulder-stitches), move the marker onto the right needle, increase 1 stitch towards the left, knit to next marker, increase 1 stitch towards the right, move the marker onto the right needle*, work from *-* 1 more time (= 4 increased stitches). Work ROUNDS 1 to 3 a total of 7-8-9-9-9-9-10 times (21-24-27-27-27-27-30 rounds worked), then work ROUND 1 one more time (29-32-35-35-35-35-38 rows/rounds worked from the cast-on edge). A total of 20-22-24-24-24-24-26 increases in height for the saddle shoulders = 176-184-196-204-208-216-224 stitches divided as follows: 18-18-20-22-24-26-26 stitches on each shoulder and 70-74-78-80-80-82-86 stitches on the front and back pieces. The piece measures approx. 12-13-14-14-14-14-15 cm = 4¾"-5⅛"-5½"-5½"-5½"-5½"-6" from the cast-on edge mid-back. Insert 1 marker in the middle of the 18-18-20-22-24-26-26 shoulder-stitches on one side; the armhole is measured from here. Now increase as follows. SLEEVE INCREASES: Now increase only on the sleeves, the number of stitches on the front and back pieces remains the same. Work stockinette stitch in the round, increasing 4 stitches every 2nd round – remember INCREASE TIP-1, as follows: ROUND 1: Move marker onto the right needle, increase 1 stitch towards the left, knit to the next marker, increase 1 stitch towards the right, move the marker onto the right needle, knit to the next marker, move the marker onto the right needle, increase 1 stitch towards the left, knit to the next marker, increase 1 stitch towards the right, move the marker onto the right needle, knit to the end of the round. ROUND 2: Knit without increasing. Work ROUNDS 1 and 2 a total of 10-11-10-10-8-5-5 times (20-22-20-20-16-10-10 rounds worked) = 216-228-236-244-240-236-244 stitches divided as follows: 38-40-40-42-40-36-36 stitches on each sleeve and 70-74-78-80-80-82-86 stitches on the front and back pieces. Now increase as follows. YOKE INCREASES: Continue stockinette stitch and increase 8 stitches every 2nd round as follows: ROUND 1: * Move the marker onto the right needle, increase 1 stitch towards the left, knit to the next marker, increase 1 stitch towards the right, move the marker onto the right needle, knit 2, increase 1 stitch towards the left, knit until there are 2 stitches left before the next marker, increase 1 stitch towards the right, knit 2 *, work from *-* 1 more time (8 increased stitches). ROUND 2: Knit without increasing. Work ROUNDS 1 and 2 a total of 5-7-6-12-16-16-15 times (10-14-12-24-32-32-30 rounds worked) = 256-284-284-340-368-364-364 stitches divided as follows: 48-54-52-66-72-68-66 stitches on each sleeve and 80-88-90-104-112-114-116 stitches on the front and back pieces. Now increase as follows: ROUND 1: * Knit to the first/next marker, increase 1 stitch towards the right, move the marker onto the right needle, knit 2, increase 1 stitch towards the left, knit until there are 2 stitches left before the next marker, increase 1 stitch towards the right, knit 2, move the marker onto the right needle, increase 1 stitch towards the left *, work from *-* 1 more time (8 increased stitches). ROUNDS 2-4: Knit without increasing. Work ROUNDS 1 to 4 a total of 3-2-4-1-1-3-5 times (12-8-16-4-4-12-20 rounds worked) = 280-300-316-348-376-388-404 stitches divided as follows: 54-58-60-68-74-74-76 stitches on each sleeve and 86-92-98-106-114-120-126 stitches on the front and back pieces. Continue stockinette stitch without further increases until the piece measures 17-18-19-19-21-22-24 cm = 6¾"-7"-7½"-7½"-8¼"-8¾"-9½" measured from the marker and down the armhole. The yoke measures approx. 22-23-24-25-27-29-31 cm = 8¾"-9"-9½"-9¾"-10⅝"-11⅜"-12¼" from closest to the neck. Now divide for the body and sleeves. DIVIDE FOR BODY AND SLEEVES Place the first 54-58-60-68-74-74-76 stitches on a stitch holder for the sleeve (i.e., the stitches between markers 3 and 4), cast on 6-6-8-8-10-14-18 stitches (mid-under the sleeve), knit 86-92-98-106-114-120-126 (front piece), place the next 54-58-60-68-74-74-76 stitches on a stitch holder for the sleeve, cast on 6-6-8-8-10-14-18 stitches (mid-under the sleeve), knit the last 86-92-98-106-114-120-126 stitches (= back piece). The body and sleeves are finished separately. BODY: = 184-196-212-228-248-268-288 stitches. Insert 1 marker in the middle of the 6-6-8-8-10-14-18 cast-on stitches under one sleeve. Knit to the marker; the round begins here. Work stockinette stitch in the round until the piece measures 50-52-54-56-58-60-62 cm = 19¾"-20½"-21¼"-22"-22¾"-23⅝"-24⅜" from the cast-on edge mid-back. Change to circular needle size 3 MM = US 2.5. Work rib (knit 2 and purl 2). AT THE SAME TIME increase 28-32-36-36-40-44-48 stitches evenly on the first round – read INCREASE TIP-3 = 212-228-248-264-288-312-336 stitches. When the rib measures 2-2-2-2-3-3-3 cm = ¾"-¾"-¾"-¾"-1⅛"-1⅛"-1⅛", bind off with rib. The sweater measures approx. 52-54-56-58-60-62-64 cm = 20½"-21¼"-22"-22¾"-23⅝"-24⅜"-25¼" from the cast-on edge mid-back. SLEEVES: Place the 54-58-60-68-74-74-76 sleeve-stitches from one stitch holder onto circular needle size 4 MM = US 6 and knit up 1 stitch in each of the 6-6-8-8-10-14-18 cast-on stitches under the sleeve – read SLEEVE TIP = 60-64-68-76-84-88-94 stitches. Insert a marker-thread in the middle of the 6-6-8-8-10-14-18 new stitches under the sleeve. The round starts by the marker-thread. Work stockinette stitch in the round. AT THE SAME TIME, after 1 round, decrease mid-under the sleeve – read DECREASE TIP as follows: Decrease 2 stitches every 2nd round 2-2-2-2-3-3-3 times, then 2 stitches every 2 cm = ¾" 3-3-3-4-4-4-4 times = 50-54-58-64-72-76-82 stitches. Continue working until the sleeve measures 16-16-15-15-14-14-14 cm = 6¼"-6¼"-6"-6"-5½"-5½"-5½" from the division. Stitches are now increased to give a wider sleeve as follows: * On the next round increase 4 stitches evenly spaced, knit for 5-5-5-5-4-4-4 cm = 2"-2"-2"-2"-1½"-1½"-1½" *, work from *-* a total of 4 times = 66-70-74-80-88-92-98 stitches. Continue working until the sleeve measures 36-36-35-35-34-34-32 cm = 14¼"-14¼"-13¾"-13¾"-13⅜"-13⅜"-12½" from the division. Change to double pointed needles size 3 MM = US 2.5. Work rib (knit 3 and 1 GARTER STITCH – read explanation above), AT THE SAME TIME increase 2-2-2-0-0-0-2 stitches evenly on the first round = 68-72-76-80-88-92-100 stitches. When the rib measures 2-2-2-2-3-3-3 cm = ¾"-¾"-¾"-¾"-1⅛"-1⅛"-1⅛", knit 1 round, then use needle size 4 MM = US 6 and bind off slightly loosely with knit. The sleeve measures approx. 38-38-37-37-36-36-34 cm = 15"-15"-14½"-14½"-14¼"-14¼"-13⅜" from the division. NECK: Use circular needle size 3 MM = US 2.5. Start from the right side on the right back shoulder and knit up 84 to 100 stitches inside 1 stitch around the neckline; the stitch count should be divisible by 4. Work stockinette stitch in the round for 3-3-3-3½-3½-4-4 cm = 1⅛"-1⅛"-1⅛"-1¼"-1¼"-1½"-1½". Work 1 round of rib (knit 3 and purl 1), then knit 3 rounds (= rolled-edge). Use circular needle size 4 MM = US 6 and bind off slightly loosely with knit. |
|
 |
|
Have you finished this pattern?Tag your pictures with #dropspattern #memoryofwindsweater or submit them to the #dropsfan gallery. Do you need help with this pattern?You'll find 30 tutorial videos, a Comments/Questions area and more by visiting the pattern on garnstudio.com. © 1982-2026 DROPS Design A/S. We reserve all rights. This document, including all its sub-sections, has copyrights. Read more about what you can do with our patterns at the bottom of each pattern on our site. |
|

With over 40 years in knitting and crochet design, DROPS Design offers one of the most extensive collections of free patterns on the internet - translated to 17 languages. As of today we count 333 catalogs and 12548 patterns - 12537 of which are translated into English (US/in).
We work hard to bring you the best knitting and crochet have to offer, inspiration and advice as well as great quality yarns at incredible prices! Would you like to use our patterns for other than personal use? You can read what you are allowed to do in the Copyright text at the bottom of all our patterns. Happy crafting!
Post a comment to pattern DROPS 271-39
We would love to hear what you have to say about this pattern!
If you want to leave a question, please make sure you select the correct category in the form below, to speed up the answering process. Required fields are marked *.