
Popular categories
Looking for a yarn?


Comments / Questions (9)
![]() Brigitte wrote:
Brigitte wrote:
Liebes Drops Team, ich möchte die Jacke gerne in den abgebildeten Farben stricken, leider werden in der Anleitung andere Farben angegeben. Könnte ich bitte die Farbennummern von der Abbildung bekommen? Danke und viele Grüße
29.04.2026 - 17:41
![]() Heike wrote:
Heike wrote:
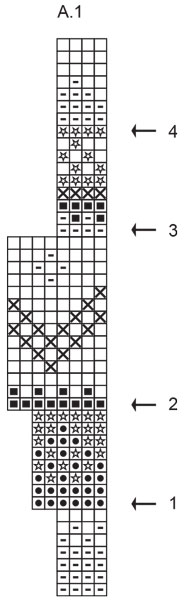
Hallo, werden am Diagramm nur die Hinreihen dargestellt?Wenn ja,wie werden die Rückreihen gearbeitet?lg
01.02.2024 - 10:58DROPS Design answered:
Liebe Heike, alle Reihen sind im Diagram gezeichnet, so liest man das Diagram von unten nach oben und rechts nach links bei den Hin-Reihen und links nach rechts bei den Rückreihen. Viel Spaß beim stricken!
01.02.2024 - 15:45
![]() Karin Larsson wrote:
Karin Larsson wrote:
Har gjort denna modell , väldigt snyggt på framsidan men är alldeles för stor på baksidan med öket, sista två ökningar i öket skulle nog inte ha gjorts på baksidan eller i alla fall mycket mindre. eller vi får ha bröst på ryggen också...haha... blev väldigt besviken..var mycket jobb och dyrt...och vet nu inte riktig vad jag ska göra åt det....
04.01.2023 - 16:27
![]() Mary Moore wrote:
Mary Moore wrote:
The edge stitches - are these always worked in brown please? Or do you use the colour/one of the colours being used in the pattern on the yoke? (or the grey/green if you are working the body?) Thanks!
06.06.2022 - 01:51DROPS Design answered:
Dear Mary, you need to work the edge stitches with the same colour as the first/ last stitch in the chart. So it will change depending on the row you are working. Happy knitting!
06.06.2022 - 13:41
![]() Julie wrote:
Julie wrote:
Yoke: Leading up to A.1 chart, number of sts is odd (147 for size XXL). Stitches in pattern repeats are even (4, 6, and 8). How can that work? Does the repeating pattern start immediately after the edge (garter) stitch? (Even so, the number is still odd, with one st at each side.) Help, please!
31.05.2022 - 23:47DROPS Design answered:
Hi Julie, You have 1 edge stitch, then work A.1 until there are 2 stitches left on the row, work the first stitch in A.1 and 1 edge stitch. This gives you a symmetry to the pattern (working the 1st stitch in A.1 at the end of the row) and means A.1 fits the stitch count (144 /4 = 36). Happy knitting!
01.06.2022 - 06:50
![]() Daniela Conti wrote:
Daniela Conti wrote:
Oh ja - das würde mich extrem reizen, dieses wunderbare Stück zu stricken 😍
11.10.2021 - 11:52
![]() Mariella wrote:
Mariella wrote:
Waiting for the charts
30.09.2021 - 08:37
![]() Lisa wrote:
Lisa wrote:
Warte schon ganz ungeduldig auf die Anleitung❤🧡💛
15.09.2021 - 18:08
![]() Inessa Bickmeyer wrote:
Inessa Bickmeyer wrote:
Ya!! ich will das!
10.08.2021 - 00:24
|
|||||||||||||||||||
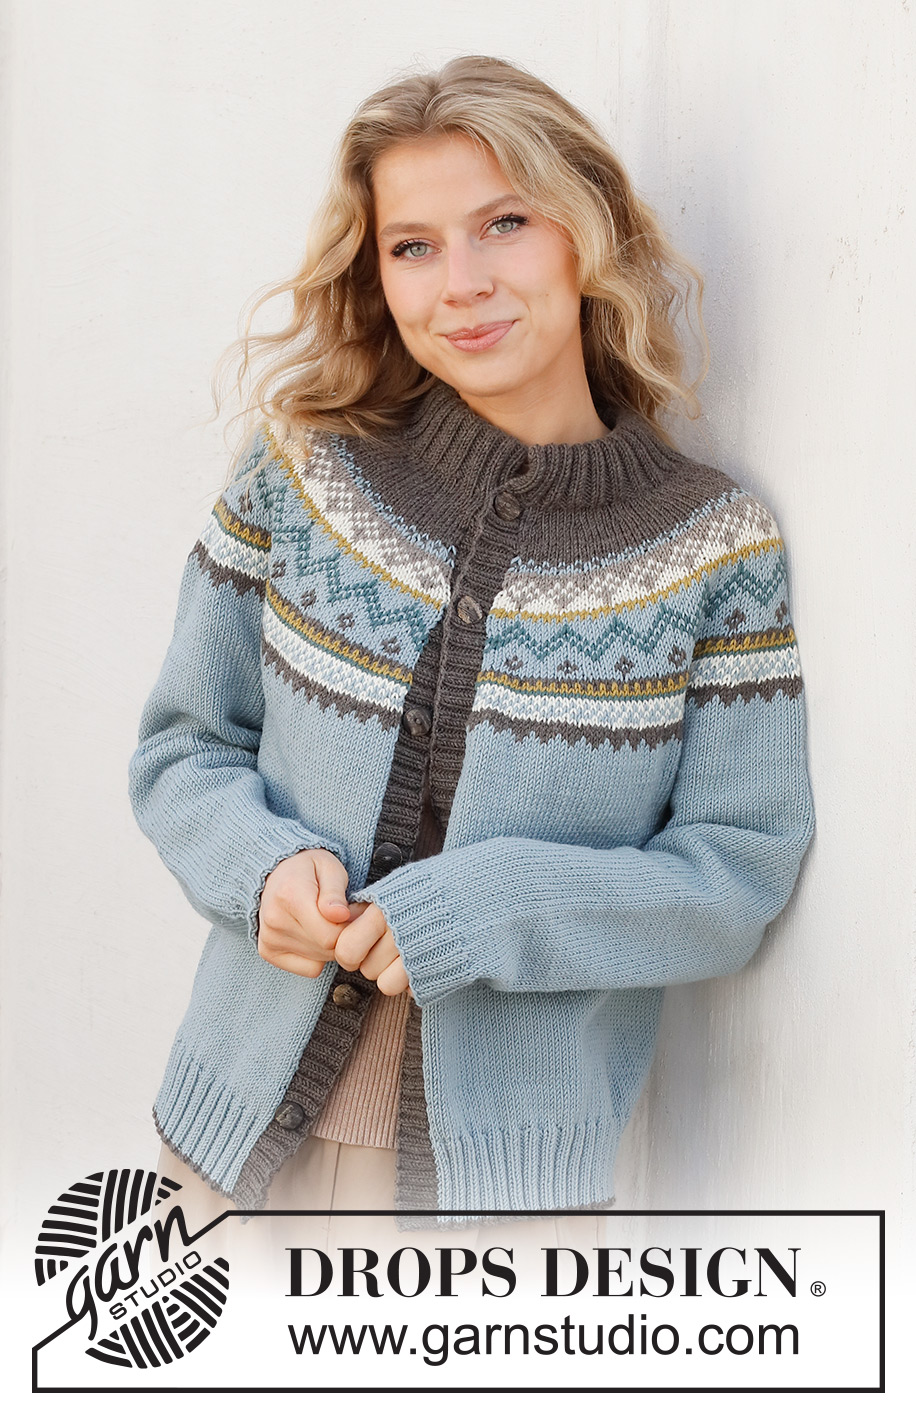
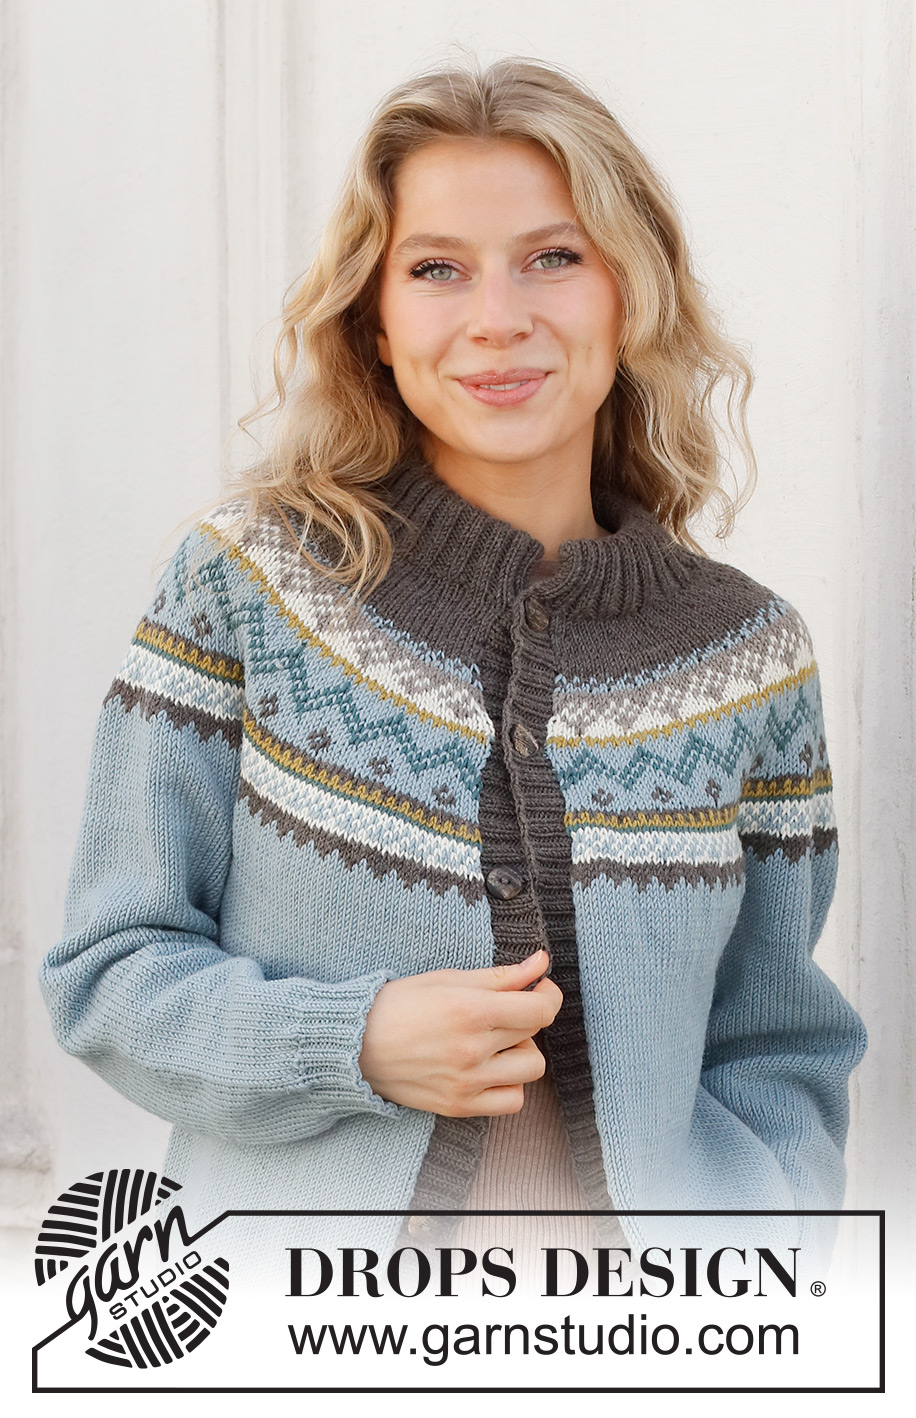
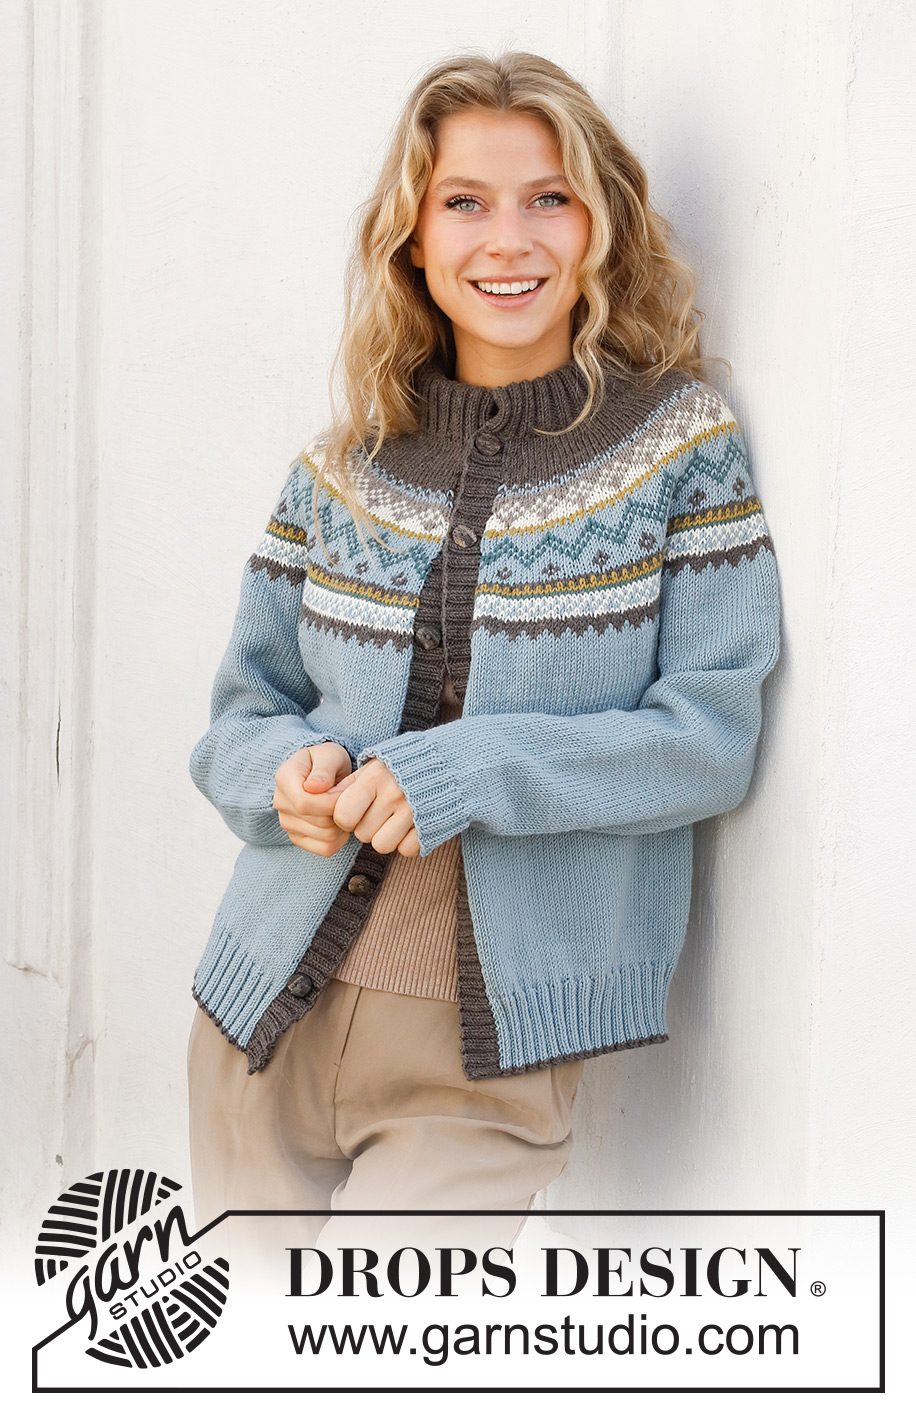
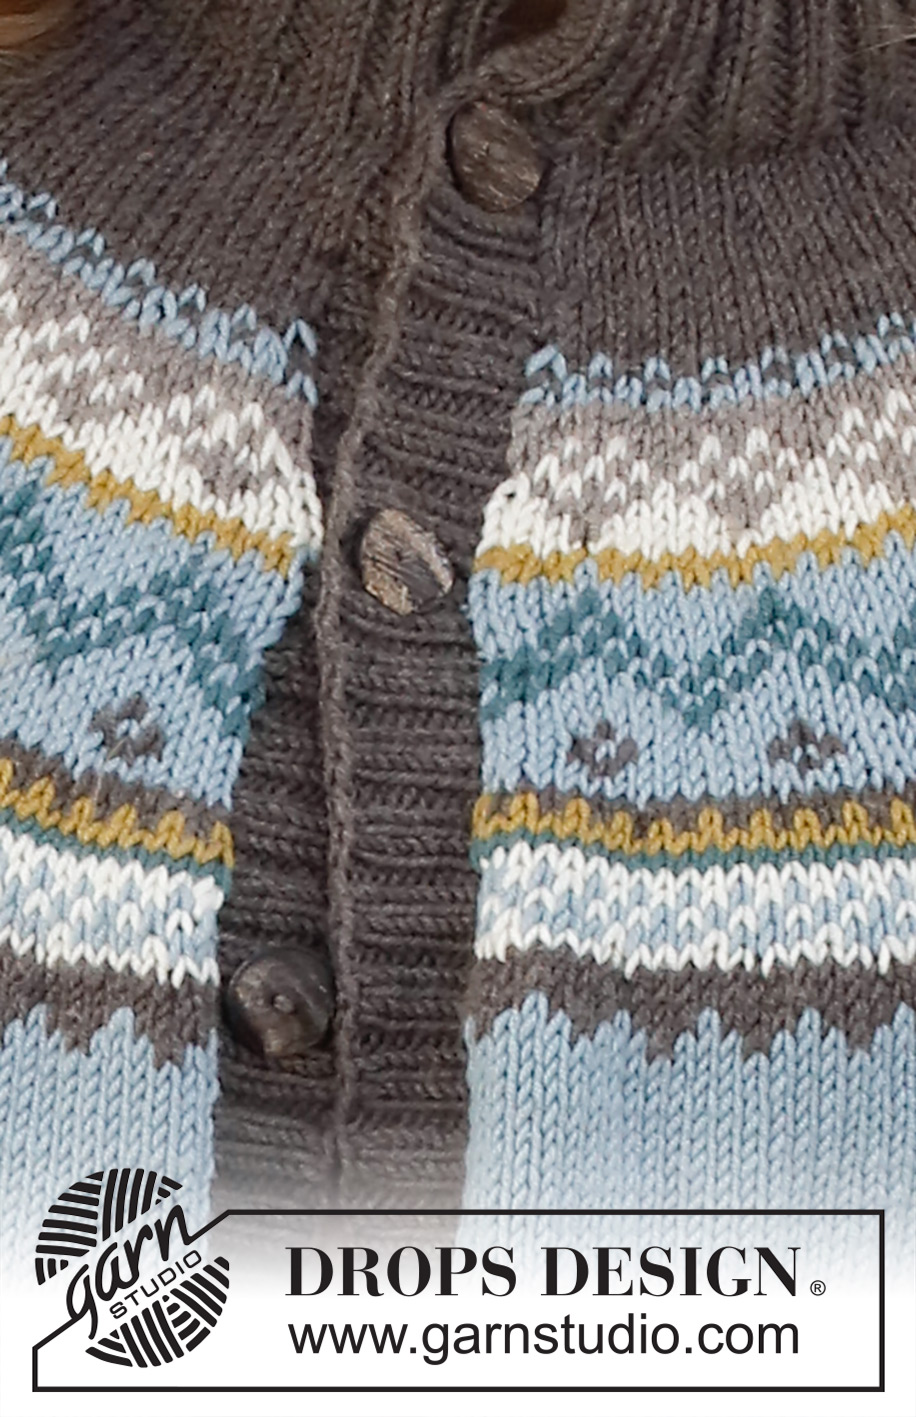
Edge of the Woods#edgeofthewoodsjacket |
|||||||||||||||||||
 |
 |
||||||||||||||||||
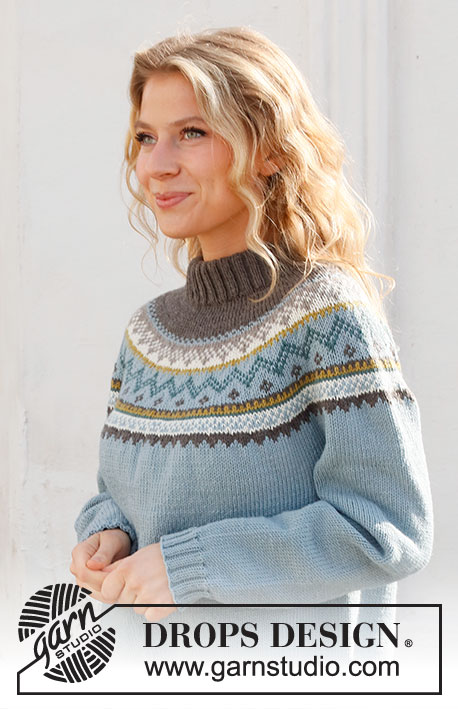
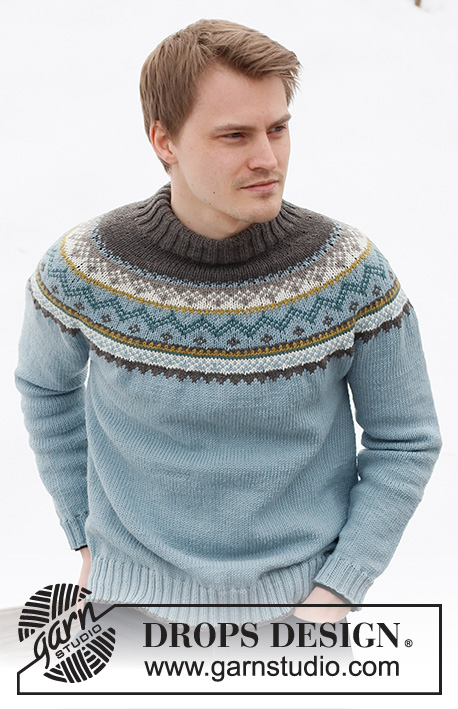
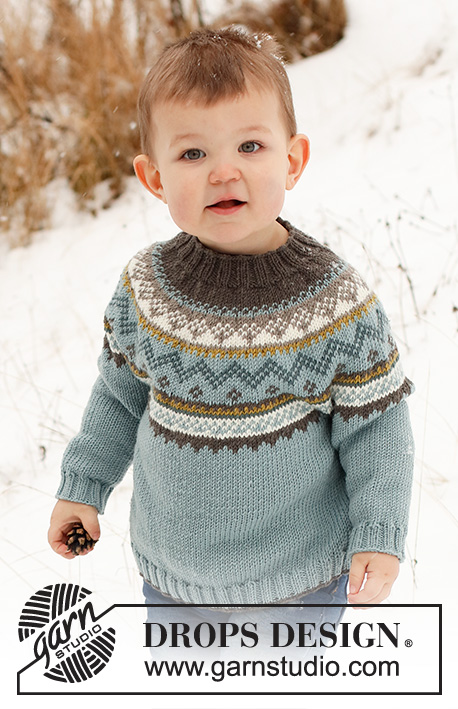
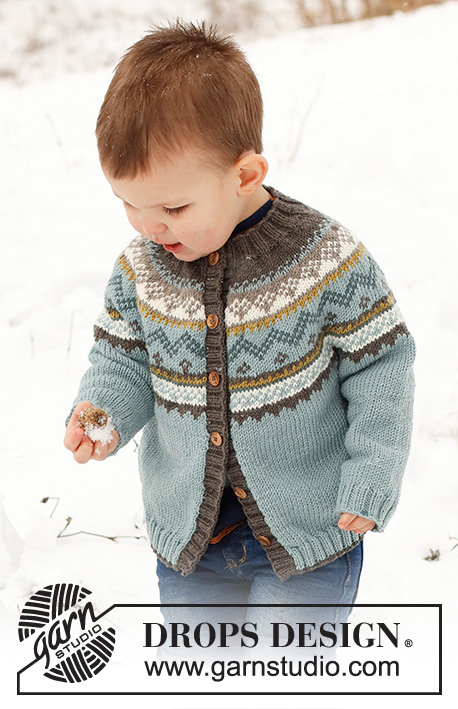
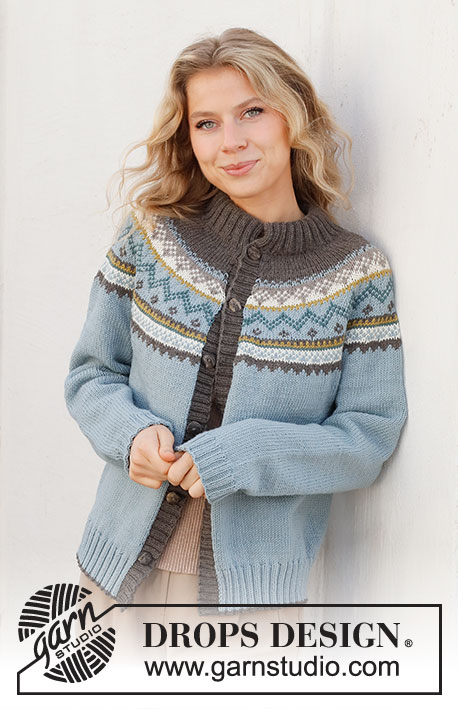
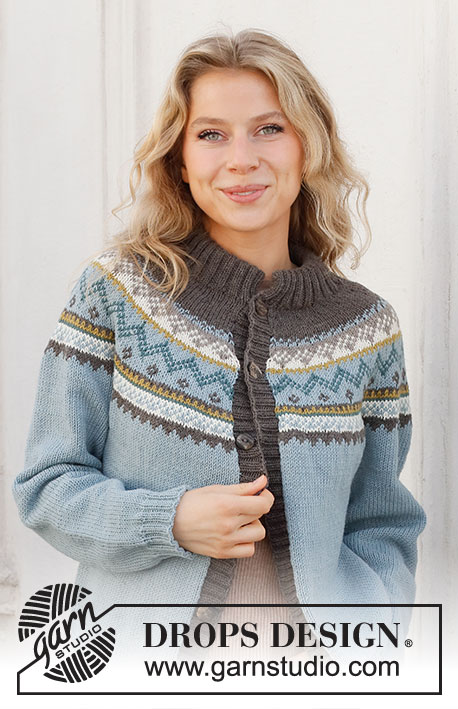
Knitted jacket in DROPS Merino Extra Fine. Piece is knitted top down with double neck edge, round yoke and Nordic pattern. Size: S - XXXL
DROPS 227-51 |
|||||||||||||||||||
|
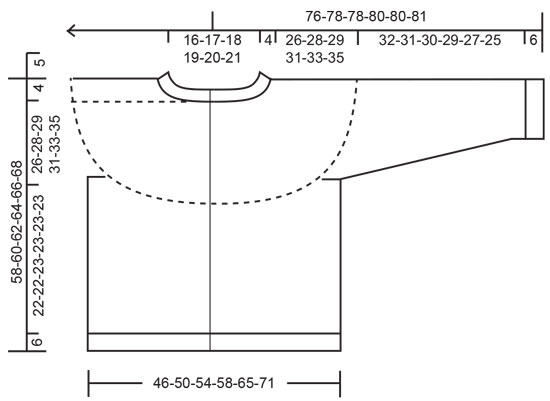
---------------------------------------------------------- EXPLANATION FOR THE PATTERN: ---------------------------------------------------------- GARTER STITCH (back and forth): Knit all rows. 1 ridge vertically = knit 2 rows. INCREASE/DECREASE TIP (evenly): To calculate how to increase/decrease evenly, use the total number of stitches on row (e.g. 122 stitches) and divide stitches by number of increases/decreases to be done (e.g. 20) = 6.1. In this example increase by making 1 yarn over after approx. every 6th stitch. On next row work yarn overs twisted to avoid holes. To decrease in this example knit approx. every 5th and 6th stitch together. PATTERN: See diagram A.1. Work the entire pattern in stockinette stitch. KNITTING TIP: To avoid the garment losing elasticity when working pattern, it is important not to tighten the strands on back side of piece. Switch to a higher needle number when working pattern if the pattern is somewhat tight. DECREASE TIP (applies to sleeves): Decrease 1 stitch on each side of marker thread as follows: Work until 3 stitches remain before marker thread and knit 2 together, knit 2 (marker thread is between these 2 stitches), slip 1 stitch knitwise, knit 1, pass slipped stitch over stitch worked. BIND-OFF TIP: To avoid a tight bind-off edge when binding off, you may use a larger needle. If this still is too tight make 1 yarn over after approx. every 4th stitch while binding off (bind off yarn overs as stitches). ---------------------------------------------------------- START THE PIECE HERE: ---------------------------------------------------------- JACKET - SHORT OVERVIEW OF THE PIECE: Work double neck edge and yoke back and forth on circular needle from mid front, work top down. Now divide yoke for body and sleeves. Work body back and forth on circular needle top down. Work sleeves in the round on double pointed needles/short circular needle, top down. NECK EDGE: Cast on 132-136-140-144-148-152 stitches (including 5 band stitches in each side towards mid front) on circular needle size 3 MM = US 2.5 with color brown in DROPS Merino Extra Fine. Purl 1 row (= wrong side). Work next row as follows from right side: 1 edge stitch in GARTER STITCH – read explanation above - * knit 2, purl 2 *, work from *-* until 3 stitches remain, knit 2, and finish with 1 edge stitch in garter stitch. Continue rib like this for 11 cm = 4⅜". The neck edge is later folded double and assembled so that the neck edge is approx. 5 cm = 2". When rib has been worked, work next row as follows from right side: Bind off the first 5 stitches (fasten band here later), knit the next 122-126-130-134-138-142 stitches, AT THE SAME TIME decrease 20 stitches evenly - read INCREASE/DECREASE TIP, then work rib as before over the next 4 stitches and finish with 1 edge stitch in garter stitch. Switch to circular needle size 4 MM = US 6. Turn piece, bind off the first 5 stitches, purl until 1 stitch remains on row (purl yarn overs twisted), and finish with 1 edge stitch in garter stitch = 102-106-110-114-118-122 stitches on needle. Insert 1 marker after edge stitch at beginning of row mid front, measure yoke from this marker! YOKE: Work in stockinette stitch with 1 edge stitch in garter stitch in each side for 2 cm = ¾" with color brown. Knit 1 row from right side while increasing 21-21-25-25-29-33 stitches evenly- remember INCREASE/DECREASE TIP = 123-127-135-139-147-155 stitches. Purl 1 row from wrong side (continue edge stitches in garter stitch). Read KNITTING TIP and then work next row as follows from right side: 1 edge stitch in garter stitch, work A.1 until 2 stitches remain on row (= 30-31-33-34-36-38 repetitions of 4 stitches), work first stitch in A.1 (so that pattern begins and ends the same in each side towards mid front), and finish with 1 edge stitch in garter stitch. Continue pattern like this. Work edge stitches in same color as first/last stitch in pattern. REMEMBER THE KNITTING GAUGE! AT THE SAME TIME on every row marked with arrow in A.1, increase stitches evenly as explained below - remember INCREASE/DECREASE TIP: Arrow-1: Increase 42-50-54-62-66-70 stitches evenly = 165-177-189-201-213-225 stitches (there is now room for 27-29-31-33-35-37 repetitions A.1 of 6 stitches). Arrow-2: Increase 46-50-46-58-62-74 stitches evenly = 211-227-235-259-275-299 stitches (there is now room for 26-28-29-32-34-37 repetitions A.1 of 8 stitches). Arrow-3: Increase 52-48-52-64-68-72 stitches evenly = 263-275-287-323-343-371 stitches (there is now room for 65-68-71-80-85-92 repetitions A.1 of 4 stitches). Arrow-4: Increase 48-56-68-72-76-80 stitches evenly = 311-331-355-395-419-451 stitches (there is now room for 77-82-88-98-104-112 repetitions A.1 of 4 stitches). Finish A.1, then work with light greyish green until piece measures approx. 26-28-29-31-33-35 cm = 10¼"-11"-11⅜"-12¼"-13"-13¾" from marker at the neck. On next row from wrong side divide yoke for body and sleeves, i.e. work next row as follows: Work 46-50-53-58-64-70 stitches as before (= front piece), slip the next 63-66-72-82-82-86 stitches on 1 thread for sleeve, cast on 6-6-8-8-10-10 new stitches on row (= in the side under sleeve), work 93-99-105-115-127-139 stitches as before (= back piece), slip the next 63-66-72-82-82-86 stitches on 1 thread for sleeve, cast on 6-6-8-8-10-10 new stitches on row (= in the side under sleeve) and work the 46-50-53-58-64-70 stitches as before (= front piece). Finish body and sleeves separately. NOW MEASURE PIECE FROM HERE! BODY: = 197-211-227-247-275-299 stitches. Continue with color light greyish green, work in stockinette stitch with 1 edge stitch in garter stitch in each side. Work until piece measures 22-22-23-23-23-23 cm = 8¾"-8¾"-9"-9"-9"-9". 6 cm = 2⅜" remain until finished measurements. Try the jacket and work to desired length. To avoid the rib from contracting increase stitches evenly as explained below. Knit 1 row from right side and increase AT THE SAME TIME 39-45-45-49-57-61 stitches evenly = 236-256-272-296-332-360 stitches. Switch to circular needle size 3 MM = US 2.5. Work first row as follows from wrong side: 1 edge stitch in garter stitch, * purl 2, knit 2 *, repeat from *-* until 3 stitches remain on needle, purl 2 , and finish with 1 edge stitch in garter stitch. Continue rib like this for 6 cm = 2⅜", then work 1 row rib with color brown. Bind off stitches with color brown, with knit over knit and purl over purl - read BIND-OFF TIP! Jacket measures approx. 58-60-62-64-66-68 cm = 22¾"-23⅝"-24⅜"-25¼"-26"-26¾" from shoulder. SLEEVES: Slip the 63-66-72-82-82-86 stitches from thread in one side of piece on double pointed needles or a short circular needle size 4 MM = US 6 and pick in addition up 1 stitch in each of the 6-6-8-8-10-10 new stitches cast on under sleeve = 69-72-80-90-92-96 stitches. Insert 1 marker thread mid under sleeve (in the middle of the new stitches cast on). Move the marker thread upwards when working; it should be used for decrease under sleeve. Work in stockinette stitch with color light greyish green. When sleeve measures 3 cm = 1⅛" from division in all sizes, decrease 2 stitches mid under sleeve - read DECREASE TIP. Decrease like this every 3½-3-2-1½-1-1 cm = 1¼"-1⅛"-¾"-½"-⅜"-⅜" 9-10-13-17-18-19 times in total = 51-52-54-56-56-58 stitches. Work until sleeve measures approx. 32-31-30-29-27-25 cm = 12½"-12¼"-11¾"-11⅜"-10⅝"-9¾" from division (shorter measurements in the larger sizes because of wider neck and longer yoke). 6 cm = 2⅜" remain until finished measurements. Try the jacket and work to desired length. Knit 1 round while increasing 9-8-10-8-8-10 stitches evenly = 60-60-64-64-64-68 stitches. Switch to double pointed needles size 3 MM = US 2.5. Work rib in the round = knit 2/purl 2 for 6 cm = 2⅜". Bind off with knit over knit and purl over purl - remember BIND-OFF TIP. Sleeve measures approx. 38-37-36-35-33-32 cm = 15"-14½"-14¼"-13¾"-13"-12½" from division. Work the other sleeve the same way. LEFT BAND: Pick up from right side along front piece inside 1 edge stitch in garter stitch approx. 152-156-160-164-168-172 stitches on circular needle size 3 MM = US 2.5 with brown (number of stitches should be divisible by 4). Work first row as follows from wrong side: 1 edge stitch in garter stitch, * purl 2, knit 2 *, repeat from *-* until 3 stitches remain on needle, purl 2 and finish with 1 edge stitch in garter stitch. Continue rib like this for 2½ to 3 cm = 1" to 1⅛" - adjust so that band is the same width as the 5 stitches bind off on neck edge. Bind off stitches with knit over knit and purl over purl. RIGHT BAND: Work the same way as left band but after approx. 1 to 1½ cm = ⅜" to ½", decrease evenly for 6-6-6-7-7-7 buttonholes. Bottom buttonhole should be approx. 8 cm = 3⅛" from bottom edge, top buttonhole should be directly below neck edge. It look better to decrease in a purl section (seen from right side) by making 1 yarn over and then purling 2 stitches together. ASSEMBLY: Sew bands to neck edge inside 1 edge stitch with seam in towards wrong side of garment. Fold rib at the top of neck double in towards wrong side of garment. Fasten rib to get a double neck edge but to avoid a tight neck edge that sticks out it is important to keep the seam elastic. Sew opening towards mid front together with neat little stitches. Sew the buttons on to the left band. |
|||||||||||||||||||
Diagram explanations |
|||||||||||||||||||
|
|||||||||||||||||||
 |
|||||||||||||||||||
 |
|||||||||||||||||||
Have you finished this pattern?Tag your pictures with #dropspattern #edgeofthewoodsjacket or submit them to the #dropsfan gallery. Do you need help with this pattern?You'll find 35 tutorial videos, a Comments/Questions area and more by visiting the pattern on garnstudio.com. © 1982-2026 DROPS Design A/S. We reserve all rights. This document, including all its sub-sections, has copyrights. Read more about what you can do with our patterns at the bottom of each pattern on our site. |
|||||||||||||||||||


With over 40 years in knitting and crochet design, DROPS Design offers one of the most extensive collections of free patterns on the internet - translated to 17 languages. As of today we count 324 catalogs and 12290 patterns - 12280 of which are translated into English (US/in).
We work hard to bring you the best knitting and crochet have to offer, inspiration and advice as well as great quality yarns at incredible prices! Would you like to use our patterns for other than personal use? You can read what you are allowed to do in the Copyright text at the bottom of all our patterns. Happy crafting!
Post a comment to pattern DROPS 227-51
We would love to hear what you have to say about this pattern!
If you want to leave a question, please make sure you select the correct category in the form below, to speed up the answering process. Required fields are marked *.