
Looking for a yarn?


Comments / Questions (22)
![]() Susanne wrote:
Susanne wrote:
Hallo, Ich würde gerne das Alaska-Garn durch Big Merino ersetzen, da ich die Hose vermutlich oft tragen werde. (Sie ist so schön) Könnt ihr das empfehlen oder sollte ich besser beim original Garn bleiben. Es geht mir nur um die Pflegemöglichkeit und die Weichheit. Vielen Dank
24.09.2024 - 14:07DROPS Design answered:
Liebe Susanne, beachten Sie das von der Farbkarte Big Merino: DROPS Big Merino zeichnet sich darüber hinaus durch Weichheit, Volumen und ein gleichmäßiges Maschenbild aus, daher ist es auch ideal für Strukturmuster wie z.B. Zöpfe geeignet. Wegen der speziellen Struktur des Garns ist es besonders wichtig, die Maschenprobe genau einzuhalten - wählen Sie im Zweifelsfall lieber eine festere Maschenprobe als eine lockere. Ihr DROPS Händler kann Ihnen auch gerne die beste passende Wolle empfehlen. Viel Spaß beim Stricken!
26.09.2024 - 08:47
![]() Fabiola wrote:
Fabiola wrote:
Hola, no entiendo el aumento antes y después del marcapuntos, se debe hacer una lazada o se debe tejer el mismo punto antes y después del marca puntos?
17.09.2024 - 23:47DROPS Design answered:
Hola Fabiola, en las EXPLICACIONES PARA REALIZAR LA LABOR, en TIP PARA LOS AUMENTOS, te explican cómo tienes que aumentar en cada caso. Aumentas con 1 hebra, pero luego esta hebra se trabaja diferente en cada caso. Si solo aumentas antes del marcapuntos, trabaja como se indica en ANTES DEL MARCAPUNTOS/ PUNTO CON EL MARCAPUNTOS. Si solo aumentas después del marcapuntos sigue las instrucciones bajo DESPUÉS DEL MARCAPUNTOS/ PUNTO CON EL MARCAPUNTOS. Si aumentas a ambos lados, sigue ambas instrucciones. Recuerda que el punto con marcapuntos no tiene el aumento, se aumenta antes o después de este punto, no en él.
22.09.2024 - 23:52
![]() Þórey Rúnarsdóttir wrote:
Þórey Rúnarsdóttir wrote:
Sæl, Mér sýnist að það þurfi að laga smá, annar hlutinn hér eigi að vera “á EFTIR” í kaflanum BUXUR: Þegar stykkið mælist 3 cm mælt eftir stroff mitt að framan, aukið út um 1 lykkju á UNDAN hverju prjónamerki – sjá ÚTAUKNING (= 6 lykkjur fleiri). Þegar stykkið mælist 6 cm mælt eftir stroffi mitt að framan, aukið út um 1 lykkju á UNDAN hverju prjónamerki – munið eftir ÚTAUKNING (= 6 lykkjur fleiri).
24.03.2024 - 18:30DROPS Design answered:
Blessuð Þórey. Takk fyrir ábendinguna. Þetta hefur verið leiðrétt.
26.03.2024 - 09:40
![]() Aloittelija wrote:
Aloittelija wrote:
Onko näitä housuja mahdollisya tehdä XS kokoisena? Kuinka paljon aloitukseen olisi hyvä kokeilla silmukoita? Esim. 110? Vai muuttuuko housun malli jos tekee vielä pienemmällä silmukka määrällä?
15.01.2024 - 11:24DROPS Design answered:
Hei, voit kokeilla. Luo tällöin aluksi silmukkamäärä joka on neljällä jaollinen, esim. 108 tai 112 silmukkaa.
16.01.2024 - 18:14
![]() MM wrote:
MM wrote:
Hi, I want to substitute drops Alaska to group A yarn, the instructions says “A+A”. Does it mean that I put two strands of group A yarn together and knit?
03.12.2023 - 16:57DROPS Design answered:
Dear MM, yes, you work with 2 strands of a group A yarn together. You can check the following lesson for more information: https://www.garnstudio.com/lesson.php?id=14&cid=19. Happy knitting!
03.12.2023 - 19:00
![]() Payton wrote:
Payton wrote:
With the increasing both before and after the stitch markers, before splitting for the legs, how would that work without creating a hole? If there are 2 yo's next to each other, it would create a space below that wouldn't minimize completely with twisting of the stitches. Thanks!
24.07.2023 - 08:54DROPS Design answered:
Dear Payton, it's normal that there may be a small hole; you can fix this afterwards by making a few small stitches with a yarn needle. Happy knitting!
26.07.2023 - 15:36
![]() Nina Schlichtkrull wrote:
Nina Schlichtkrull wrote:
Hi :-) Is there a recipe for the top shown in the picture? Thank you. Best regards Karina
10.07.2023 - 14:54DROPS Design answered:
Dear Nina, no, we don't have a pattern for the top. Happy knitting!
10.07.2023 - 17:36
![]() Ingrid Verberck wrote:
Ingrid Verberck wrote:
Betreft patroon DROPS 237-15. Maat L. Vanaf broek 22 cm moet je iedere naald meerderen en dit 6x. Dus 6 toeren. Vervolgens meet de broek dan 31cm.??? Zit hier een fout in? Mvg. Ingrid verberck
12.02.2023 - 16:01
![]() Victoria wrote:
Victoria wrote:
Sorry for the off top: I would really like to knit summer trousers with your patterns, unfortunately there are not so many of them. I don't think these trousers will look nice in Drops loves you 8, am I right?
07.02.2023 - 18:52DROPS Design answered:
Dear Victoria, we do have some similar patterns worked in cotton yarns - see here, they might look nice with cotton. Just request help from your DROPS store (even per mail or telephone) to find the best matching yarn. Happy knitting!
08.02.2023 - 10:48
![]() Liina Kaev wrote:
Liina Kaev wrote:
Tere! Suuruse M mõõdud ei ole, minu arvestamist mööda, matemaatiliselt võimalikud. Kui kasvatusi alustada eest mõõtes 6cm peale soonikut ja kasvatada 6x iga 3cm järel, siis on töö pikkus peale kasvatusi 21cm…juhendis aga, on ette nähtud 20cm juures silmusemärkijad eemaldada ja kasvatada 4s vaid ees ja taga…!?? Tänud juba ette kaasa mõtlemast! Kõike imelist! Liina✨
24.01.2023 - 13:36
|
|
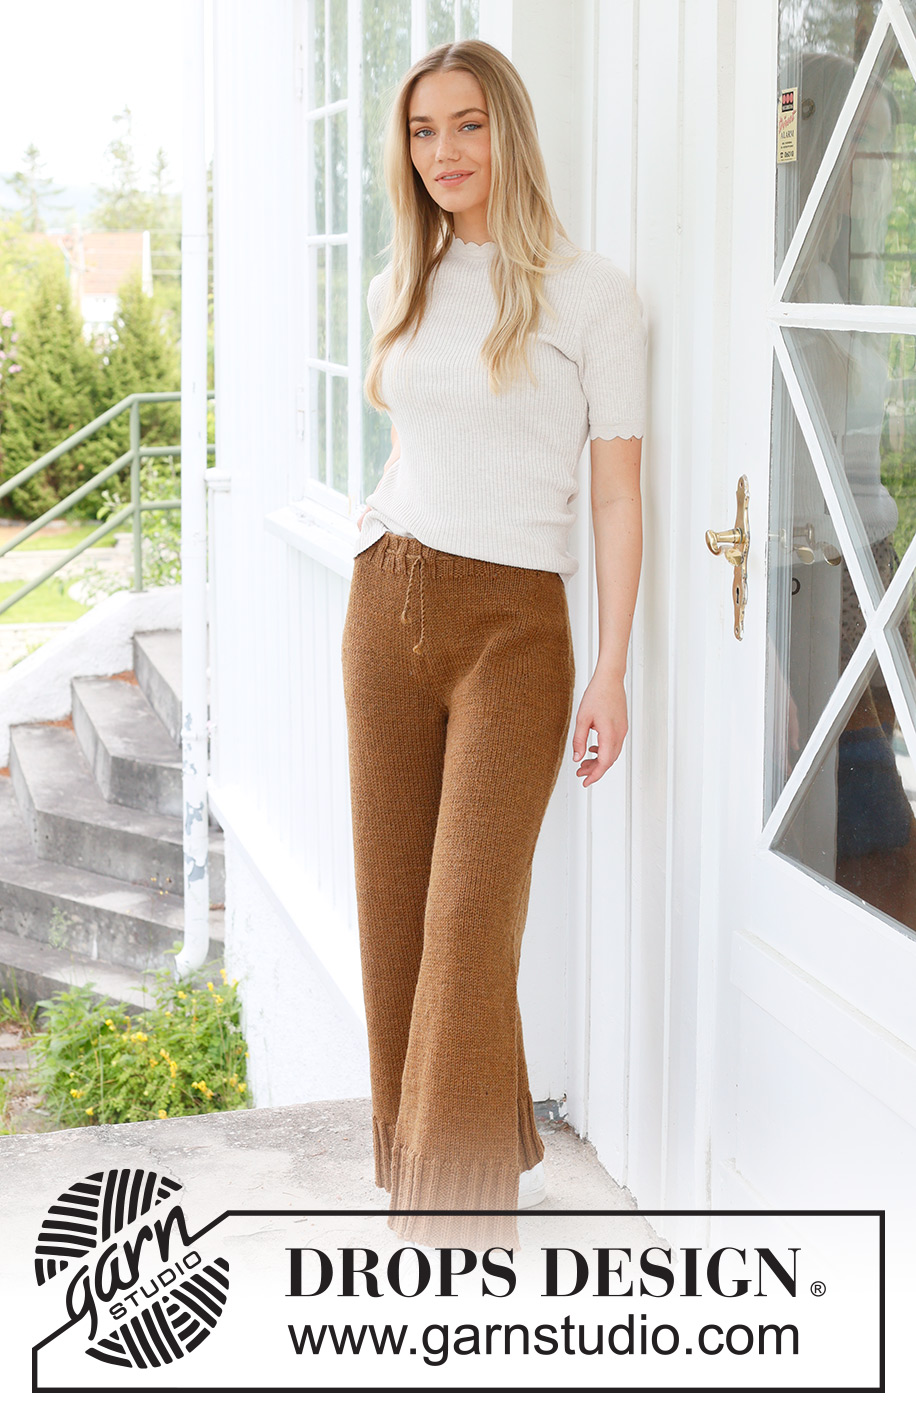
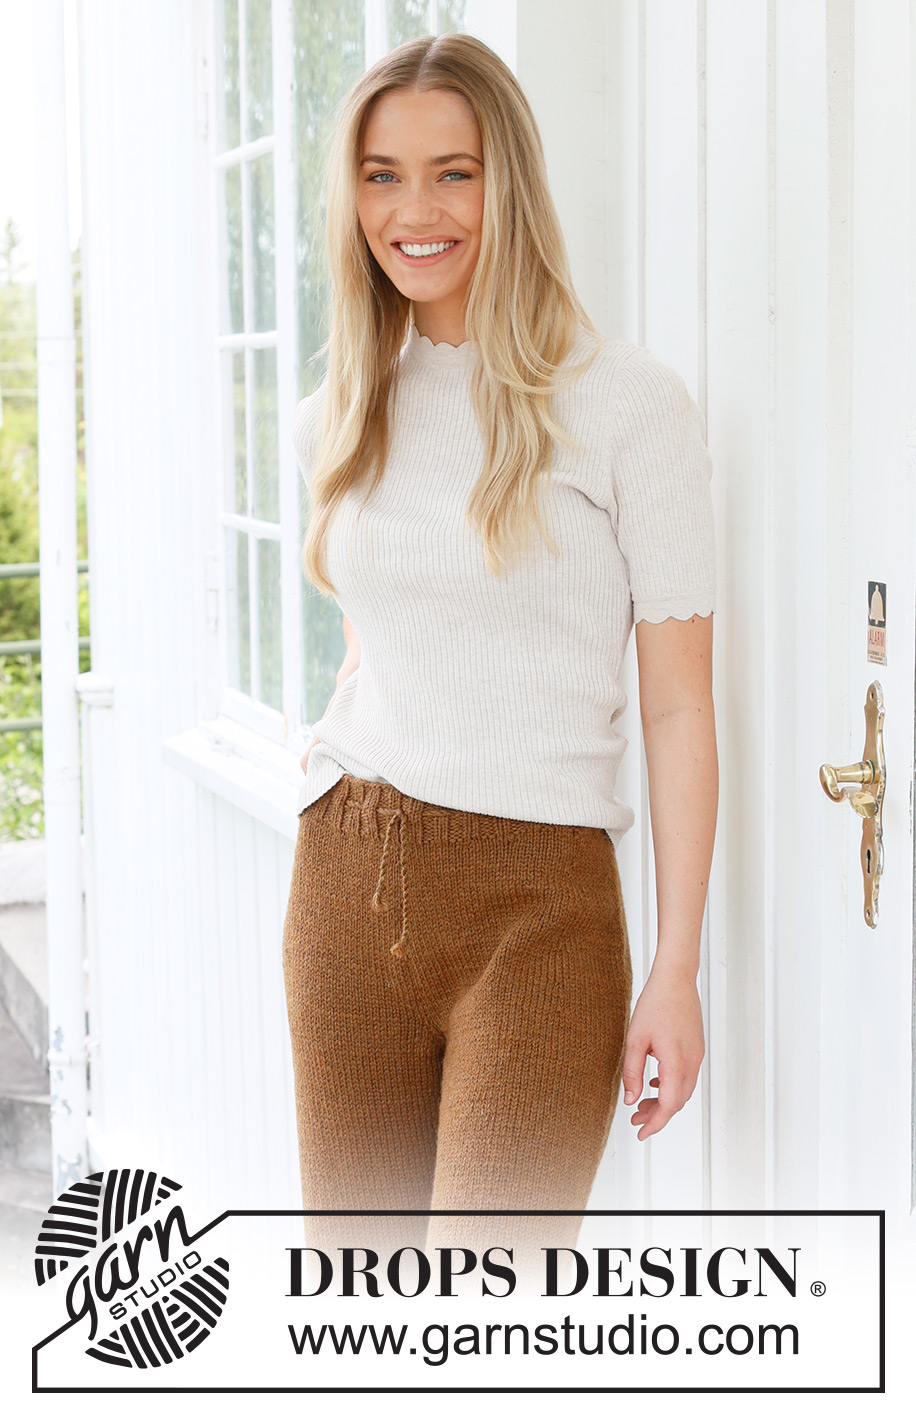
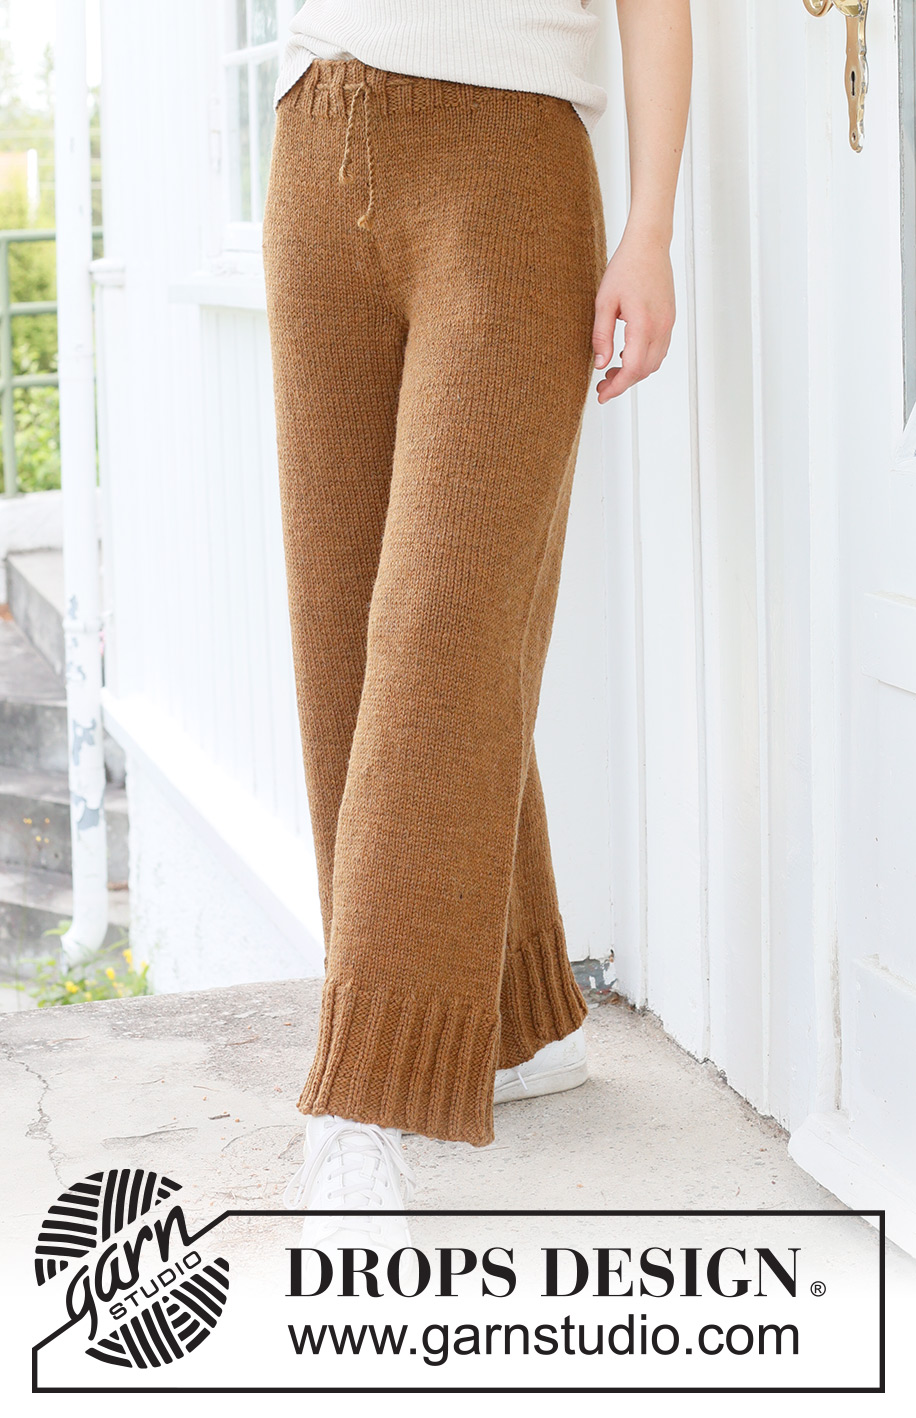
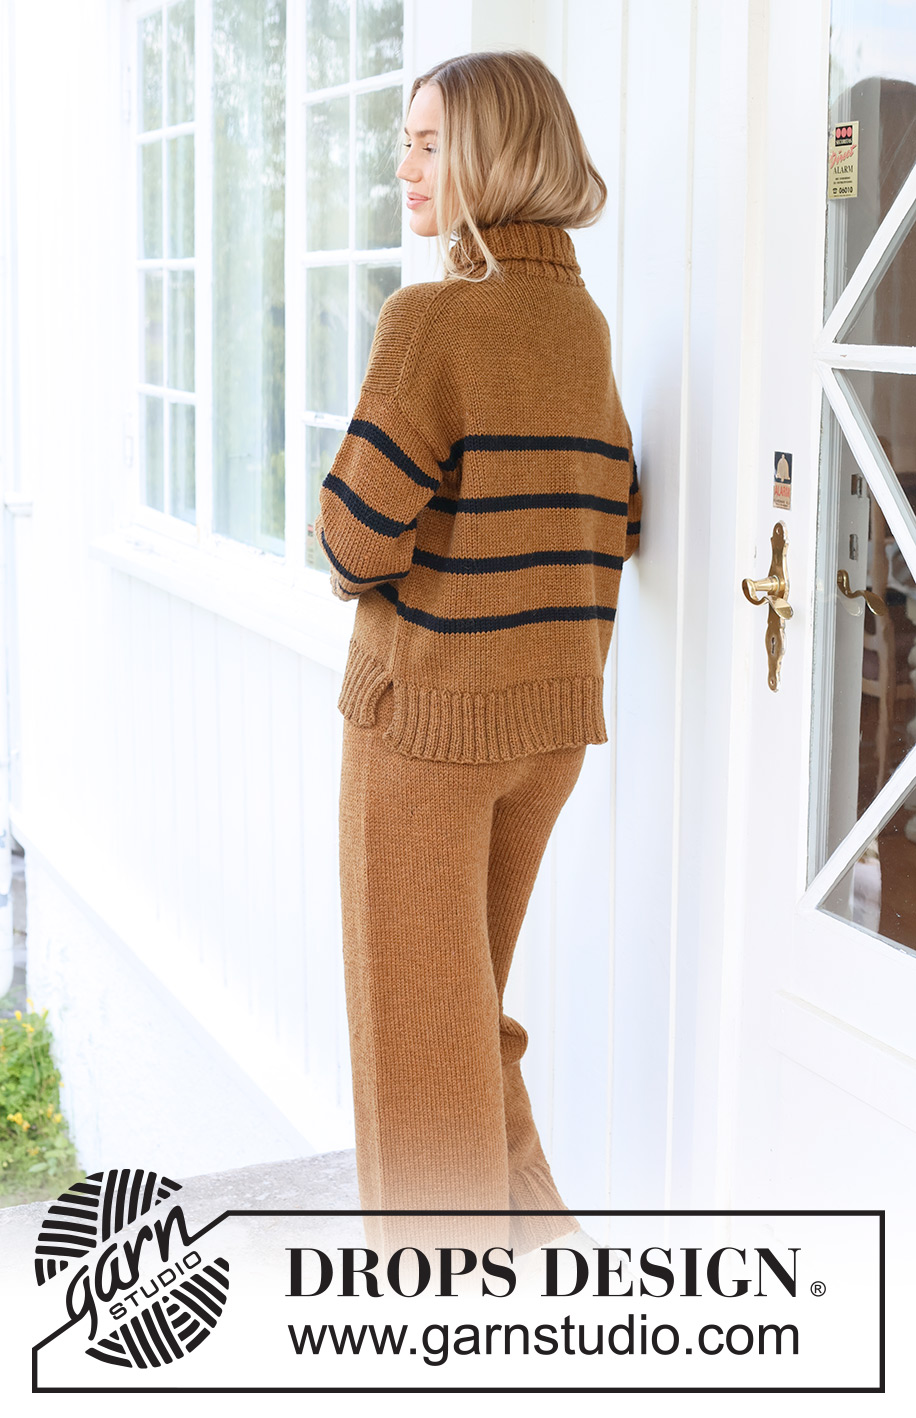
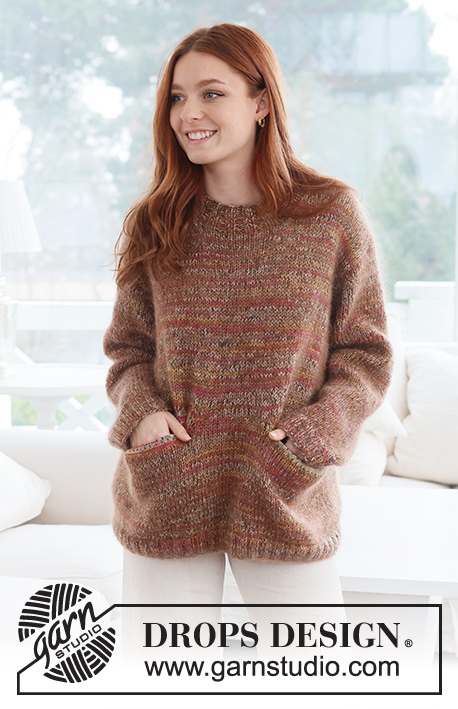
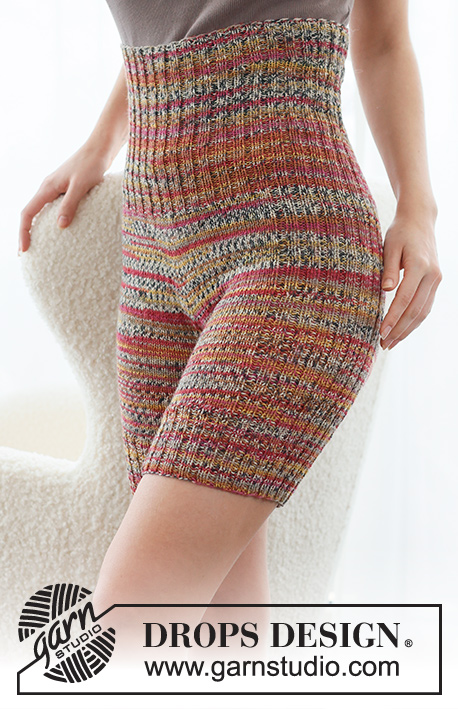
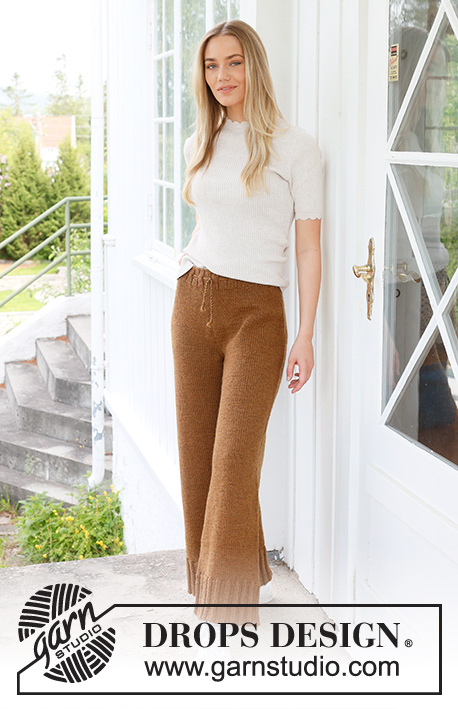
Comfy Caramel Trousers#comfycarameltrousers |
|
 |
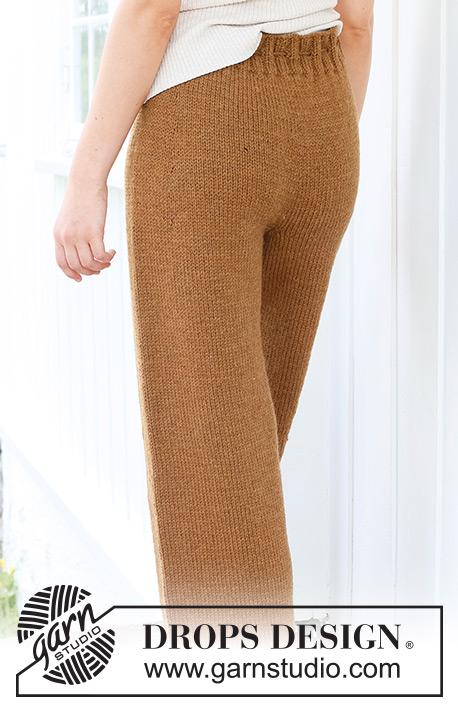 |
Knitted trousers in DROPS Alaska. The piece is worked top down in stockinette stitch. Sizes S - XXXL.
DROPS 237-15 |
|
|
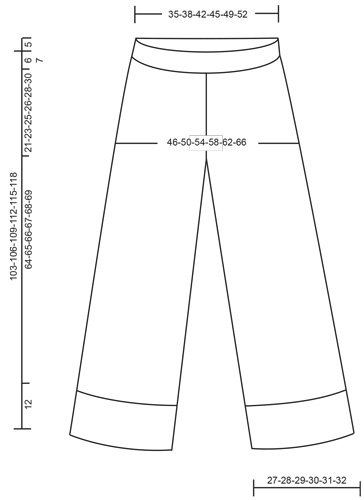
------------------------------------------------------- EXPLANATIONS FOR THE PATTERN: ------------------------------------------------------- INCREASE TIP: Increase by making 1 yarn over before/after marker/marker-stitch as described in the text. On the next round work yarn overs as follows: BEFORE MARKER/MARKER-STITCH: Slip the yarn over onto the right needle as if to knit, place it back on the left needle twisted, knit the front of the yarn over (it twists to the right). No hole. AFTER MARKER/MARKER-STITCH: Knit the back of the yarn over (it twists to the left). No hole. Work the increased stitches in stockinette stitch. DECREASE TIP (for legs): Work until there are 6 stitches left before the marker, knit 2 together, knit 8 (marker sits in the middle of these 8 stitches), slip 1 stitch as if to knit, knit 1 and pass the slipped stitch over the knitted stitch. MEASURING TIP: Due to the weight of the yarn, all measurements are taken when holding the piece up, or it will be too long when worn. ------------------------------------------------------- START THE PIECE HERE: ------------------------------------------------------- TROUSERS – SHORT OVERVIEW OF THE PIECE: The piece is worked in the round on circular needle, from mid-back and top down. An elevation is worked mid-back, so the piece is higher at the back. Continue working in the round before dividing for the legs, which are then continued in the round separately. A twisted cord for the waist is worked to finish. RIBBED EDGE: Cast on 120-128-144-152-168-176 stitches with circular needle size 4 MM = US 6 and DROPS Alaska. Knit 1 round then work rib in the round as follows: Knit 1, * purl 2, knit 2 *, work from *-* until there are 3 stitches left, purl 2 and knit 1. When the rib measures 3 cm = 1⅛", work a row of holes as follows: Knit 1, * 1 yarn over, purl 2 together, knit 2 *, work from *-* until there are 3 stitches left, 1 yarn over, purl 2 together and knit 1. Continue the rib (knit 2, purl 2) until the piece measures 6-6-6-7-7-7 cm = 2⅜"-2⅜"-2⅜"-2¾"-2¾"-2¾" from the cast-on edge. Knit 1 round and increase 6-6-4-10-6-6 stitches evenly spaced = 126-134-148-162-174-182 stitches. TROUSERS: Change to circular needle size 5 MM = US 8. Insert 1 marker at the beginning of the round = mid-back. Work an elevation as follows: Start at the marker from the right side, knit 7-8-9-10-11-12, turn, tighten the strand, purl 14-16-18-20-22-24, turn, tighten the strand, knit 21-24-27-30-33-36, turn, tighten the strand, purl 28-32-36-40-44-48. Continue back and forth, working 7-8-9-10-11-12 more stitches at the end of each row on each side, until you have worked 84-96-108-120-132-144 stitches (the middle 42-38-40-42-42-38 stitches mid-front are not worked). When the elevation is finished, knit to mid-back. The trousers are 5 cm = 2" higher at the back than at the front. Insert 6 markers, which will be used when increasing, as follows. Marker 1 at the beginning of the round, count 23-24-27-30-32-33 stitches, insert marker 2 before the next stitch, count 17-19-20-21-23-25 stitches, insert marker 3 before the next stitch, count 23-24-27-30-32-33 stitches, insert marker 4 before the next stitch, (mid-front), count 23-24-27-30-32-33 stitches, insert marker 5 before the next stitch, count 17-19-20-21-23-25 stitches, insert marker 6 before the next stitch, there are 23-24-27-30-32-33 stitches left after the last marker. Work in the round, in stockinette stitch. REMEMBER THE KNITTING GAUGE! When the piece measures 3 cm = 1⅛" after the rib mid-front, increase 1 stitch BEFORE each marker – read INCREASE TIP (= 6 stitches increased). When the piece measures 6 cm = 2⅜" after the rib mid-front, increase 1 stitch AFTER each marker – remember INCREASE TIP (= 6 stitches increased). Increase like this, alternately before and after each marker, every 3 cm = 1⅛" a total of 5-6-6-6-6-7 times = 156-170-184-198-210-224 stitches. When the piece measures 18-20-22-22-24-26 cm = 7"-8"-8¾"-8¾"-9½"-10¼" after the rib mid-front, remove all markers. Insert 1 marker in the first stitch at the beginning of the round and 1 marker in the 79th-86th-93rd-100th-106th-113th stitch (mid-back and mid-front). On the next round increase both BEFORE and AFTER each marker-stitch – remember INCREASE TIP (= 4 stitches increased). Increase like this EVERY round a total of 6-6-6-8-8-8 times = 180-194-208-230-242-256 stitches. After the last increase the piece measures approx. 27-29-31-33-35-37 cm = 10⅝"-11⅜"-12¼"-13"-13¾"-14½" from the cast-on edge mid-front. Now divide at both markers and finish each leg separately. Place the first 90-97-104-115-121-128 stitches on short circular needle size 5 MM = US 8 and leave the other stitches on the original needle. Cut the strand. The legs are measured from here. LEGS: = 90-97-104-115-121-128 stitches. Cast on 3-3-4-4-5-5 stitches at the beginning of the row, work stockinette stitch and cast on 3-3-4-4-5-5 stitches at the end of the row = 96-103-112-123-131-138 stitches. Join the piece and insert 1 marker at the join (inside leg). Work stockinette stitch in the round for 3-3-3-2-2-2 cm = 1⅛"-1⅛"-1⅛"-¾"-¾"-¾". Now decrease 2 stitches on each side of the marker – read DECREASE TIP. Decrease like this every 3-3-3-2-1½-1½ cm = 1⅛"-1⅛"-1⅛"-¾"-½"-½" a total of 2-4-7-10-13-15 times = 92-95-98-103-105-108 stitches. Work until the leg measures 64-65-66-67-68-69 cm = 25¼"-25½"-26"-26⅜"-26¾"-27⅛", measured inside the leg – read MEASURING TIP. Try the trousers on and work to desired length before the ribbing. Knit 1 round and increase 28-31-34-35-39-42 stitches evenly spaced = 120-126-132-138-144-150 stitches. Change to short circular needle size 4 MM = US 6 and work rib (knit 2, purl 4) for 12 cm = 4¾". Bind off a little loosely. The leg measures approx. 76-77-78-79-80-81 cm = 29½"-30⅜"-30¾"-31"-31½"-32". Work the other leg in the same way. ASSEMBLY: Sew the opening between the legs (sew together the 6-6-8-8-10-10 cast-on stitches on each leg). TWISTED CORD: Cut 3 strands Alaska, 4-4-4½-4½-5-5 metres in length, twist them together until they begin to resist, fold them double and they will continue to twist. Tie a knot in each end. Start mid-front of the trousers and thread the cord through the row of holes on the ribbed edge. |
|
|
|
Have you finished this pattern?Tag your pictures with #dropspattern #comfycarameltrousers or submit them to the #dropsfan gallery. Do you need help with this pattern?You'll find 27 tutorial videos, a Comments/Questions area and more by visiting the pattern on garnstudio.com. © 1982-2025 DROPS Design A/S. We reserve all rights. This document, including all its sub-sections, has copyrights. Read more about what you can do with our patterns at the bottom of each pattern on our site. |
|


With over 40 years in knitting and crochet design, DROPS Design offers one of the most extensive collections of free patterns on the internet - translated to 17 languages. As of today we count 314 catalogs and 11822 patterns - 11812 of which are translated into English (US/in).
We work hard to bring you the best knitting and crochet have to offer, inspiration and advice as well as great quality yarns at incredible prices! Would you like to use our patterns for other than personal use? You can read what you are allowed to do in the Copyright text at the bottom of all our patterns. Happy crafting!
Post a comment to pattern DROPS 237-15
We would love to hear what you have to say about this pattern!
If you want to leave a question, please make sure you select the correct category in the form below, to speed up the answering process. Required fields are marked *.