
Popular categories
Looking for a yarn?


Comments / Questions (28)
![]() Margit Pehrsson wrote:
Margit Pehrsson wrote:
Re the diagonal shoulder on the back piece: On the neck side it seems to me you will end up with a 90 degree angle between the centre stitches placed on a thread and the diagonal shoulder. How do you then create a nicely curved neckline?
13.06.2024 - 17:34DROPS Design answered:
Dear Mrs Pehrsson, that's right, towards neck you will have a 90 degree angle between shoulder and neck; to create the slanted shoulder you will slip on a thread the witches from shoulder at the beginning of row from the side (armhole) towards neck (and cast off the first 5 edge sts). Happy knitting!
14.06.2024 - 07:28
![]() Ingrid Roune wrote:
Ingrid Roune wrote:
Symbols = ta av 1 maska från stickan, sticka 2 maskor rätt, lyft den lösa maskan över maskorna som blev stickade - Svårt att förstå hur man handhar lösa maskan. Har ni ingen video på det. Varför skall man pilla med fingrarna och sätta krok i lösa maskan så att den inte försvinner. lyft maskan , sticka 2 och dra den lyfta maskan över eller skall den fästas på något annat vis?
23.04.2024 - 18:24DROPS Design answered:
Hej Ingrid. I denna video serdu hur du gör med den lösa maskan. I videon stickar de bara 1 maska som de sedan drar den lösa maskan över, du ska ju sticka 2 räta maskor och dra den över båda. Mvh DROPS Design
24.04.2024 - 10:58
![]() Margit Pehrsson wrote:
Margit Pehrsson wrote:
How much yarn do I need to buy to knit size L but make the garment 6 cm longer?
21.04.2024 - 19:20DROPS Design answered:
Dear Margit, you would need to calculate the pattern yourself, using the yardage of the yarns and the complete measurements of the pattern. Just in case, you could buy 1 more ball of each than stated for size L. Happy knitting!
22.04.2024 - 00:25
![]() Patricia Zachrau Hornum wrote:
Patricia Zachrau Hornum wrote:
Jeg forstår ikke helt i starten af opskriften hvad menes der med 2 maske retstrik?
30.03.2024 - 22:15DROPS Design answered:
Hei Patricia . Øverst i oppskriften står det: RETSTRIK (strikkes frem og tilbage): Strik ret på hver pind. Om det er de 2 første maskene som skal strikkes retstrik, skal disse 2 maskene strikkes rett både fra retten og fra vrangen. mvh DROPS Design
02.04.2024 - 08:53
![]() Amélie wrote:
Amélie wrote:
Il y a une petite erreur dans l'explication: Au dos, suite aux côtes du début, on nous dit de passer à l'aiguille 5,5 alors que le modèle se tricote avec du 4,5 mm! Merci!
23.03.2024 - 18:49
![]() Diane wrote:
Diane wrote:
Achterpand …… ga verder met rondbreinaald 5,5, Klopt dit wel of moet het 4,5 zijn?
23.03.2024 - 15:16DROPS Design answered:
Dag Diane,
Dit moet inderdaad 4.5 zijn; ik heb het aangepast.
24.03.2024 - 19:55
![]() Luize wrote:
Luize wrote:
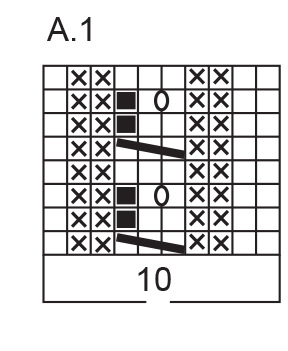
In the A1 diagram the first row of the model on the right side I knit 3 together, one slip and two together and then pass the slipped one, like decreasing 3, but on the wrong side I do not have 3 stitches as they were one… but the diagram shows three to knit… I do not understand how to knit it on the wrong side… Thank you for helping me
18.03.2024 - 22:00DROPS Design answered:
Dear Luize, on the first row of A.1 (RS) work the K3 as follows: slip 1 stitch, knit 2, pass slipped stitch over knitted stitch (= 2 sts remain), on next row (WS), purl 2, on 3rd row (RS), K1, YO, K1 = there are 3 sts again. On next row (WS), purl these 3 sts. Happy knitting!
19.03.2024 - 11:14
![]() Marieka wrote:
Marieka wrote:
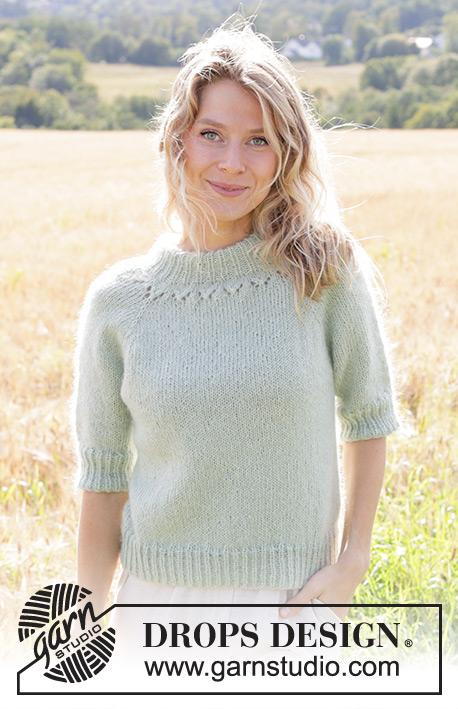
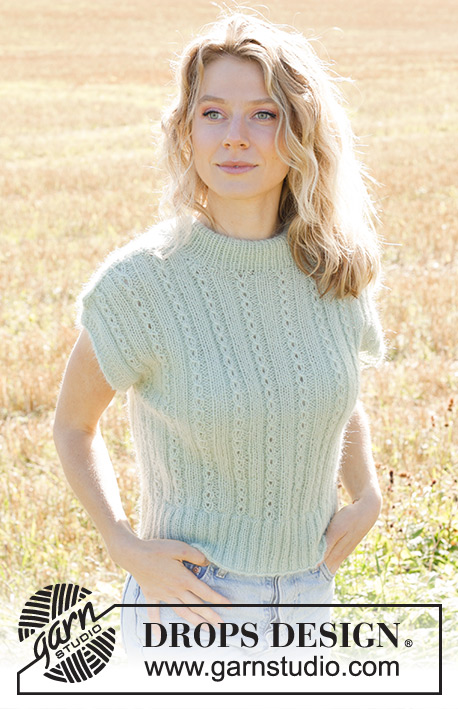
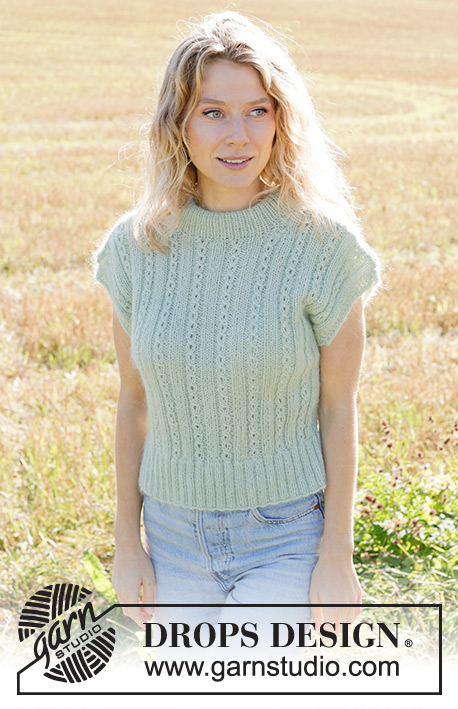
Peppermint morning
19.01.2024 - 15:35
![]() Melanie wrote:
Melanie wrote:
Whispering Willow Lace Tee, Lace Cascade, Elegant Vineyard.
19.01.2024 - 09:26
![]() Laura wrote:
Laura wrote:
Hope
19.01.2024 - 09:09
|
||||||||||||||||
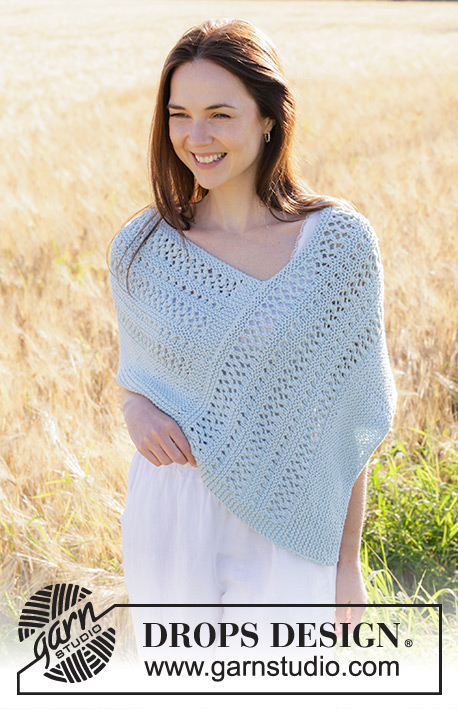
September Rains#septemberrainsvest |
||||||||||||||||
 |
 |
|||||||||||||||
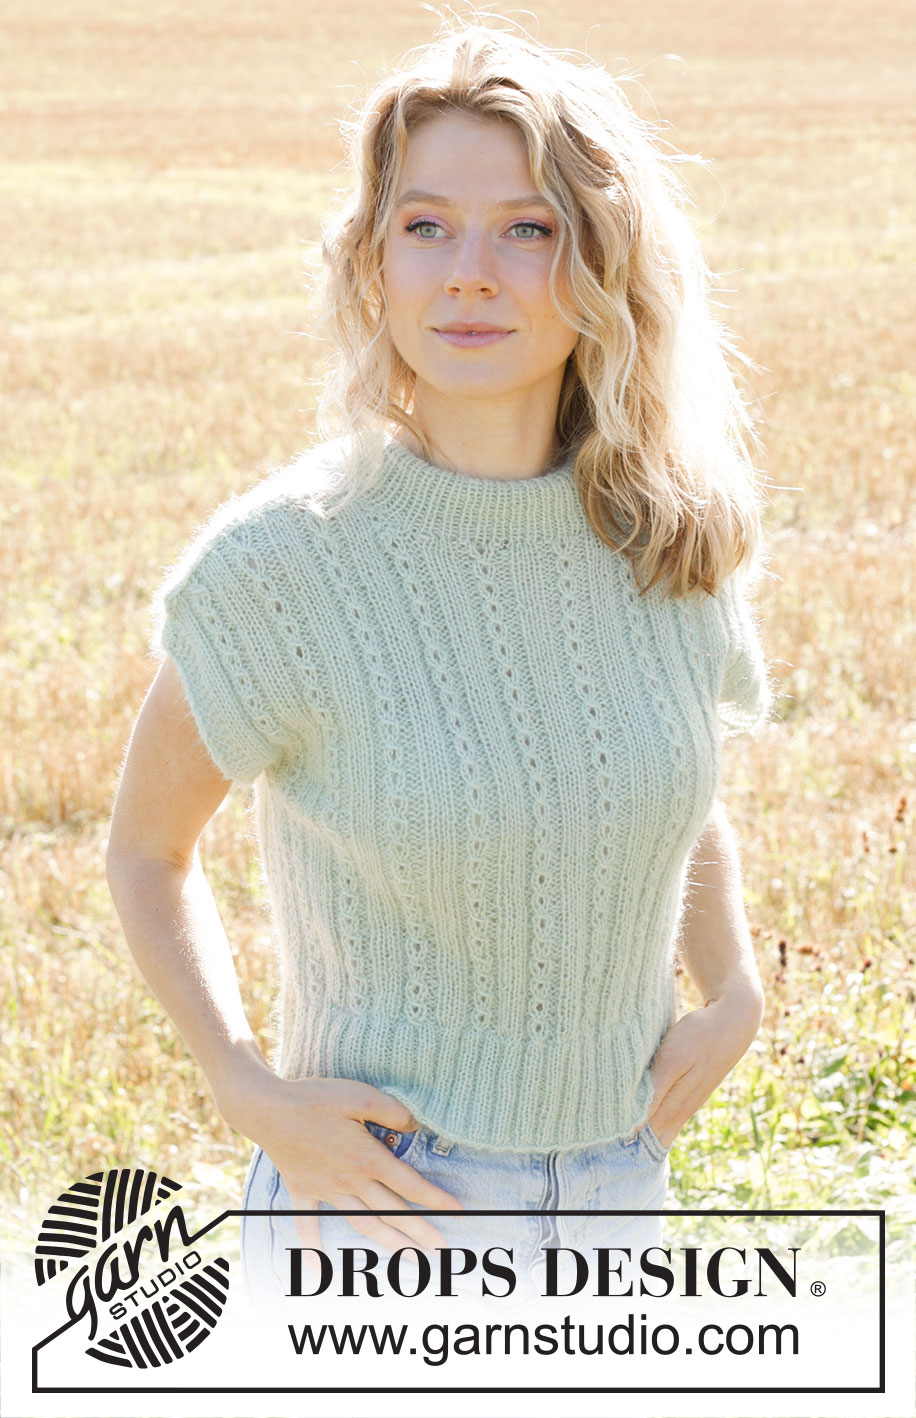
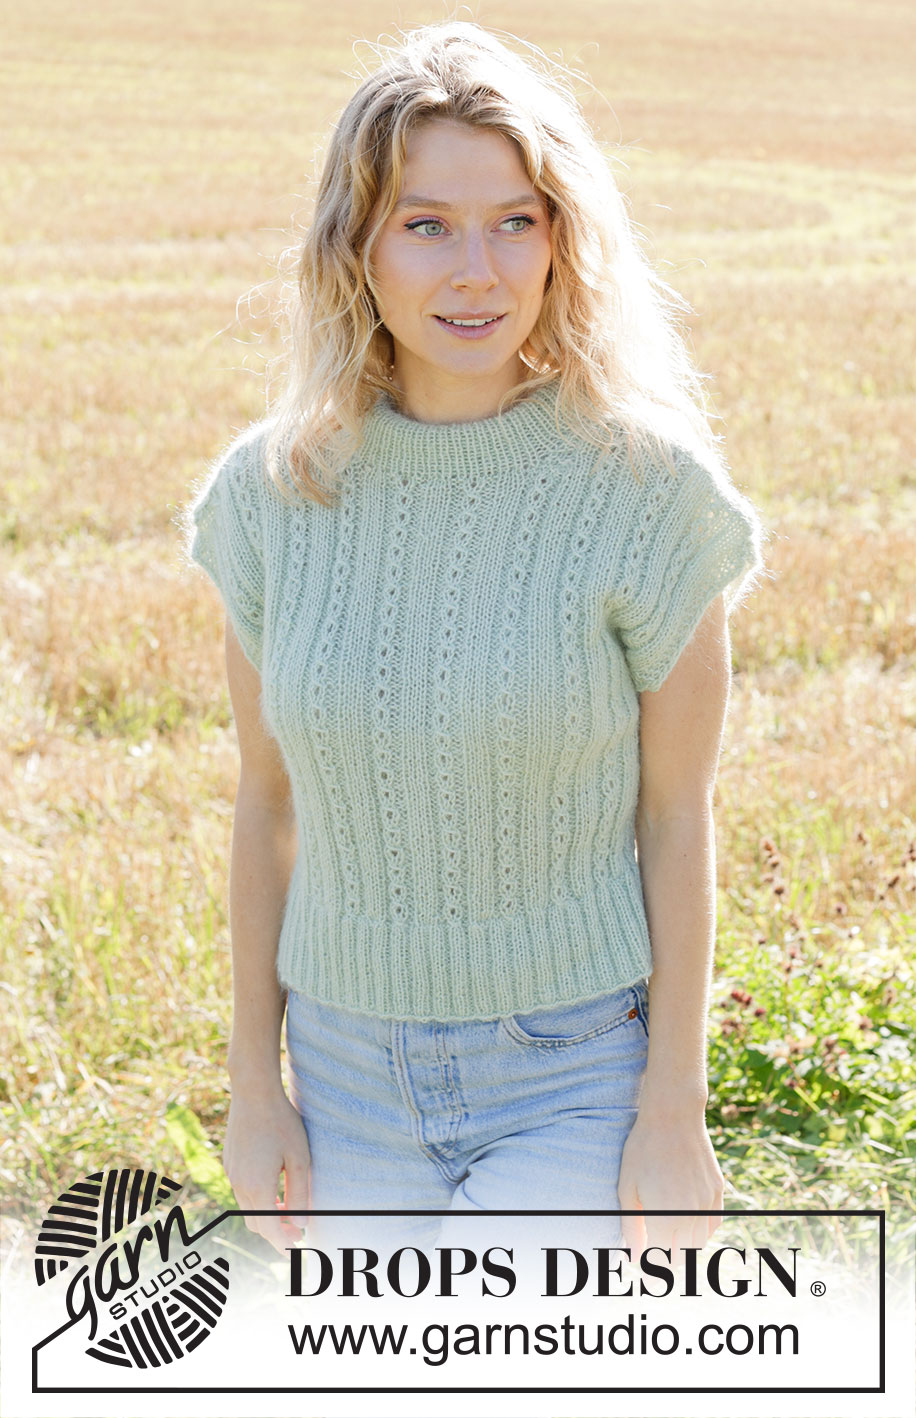
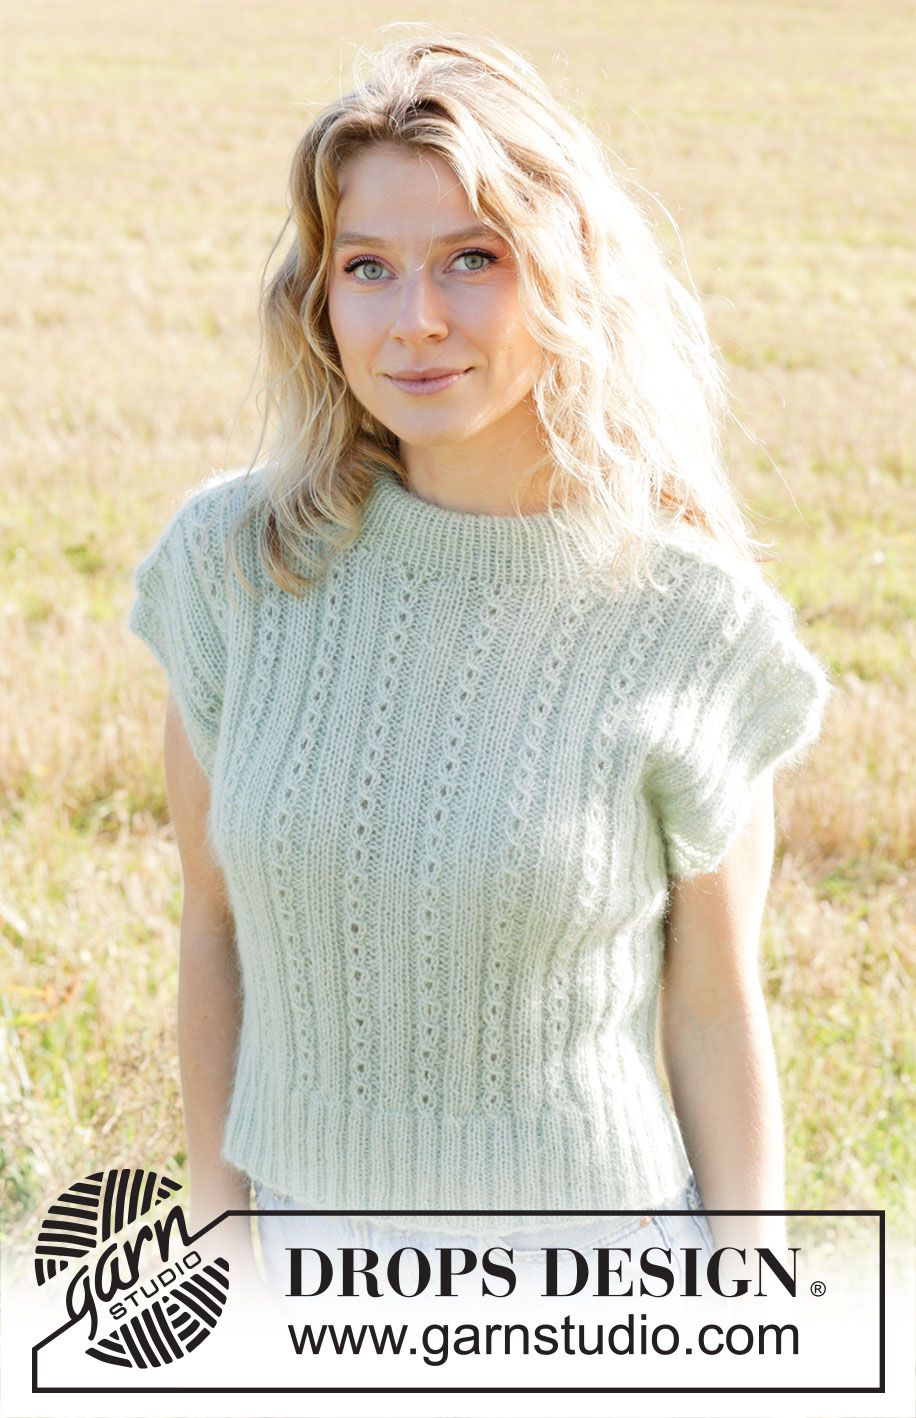
Knitted vest in DROPS Alpaca and DROPS Kid-Silk. The piece is worked bottom up with cables, split in sides and diagonal shoulders. Sizes XS - XXL.
DROPS 249-3 |
||||||||||||||||
|
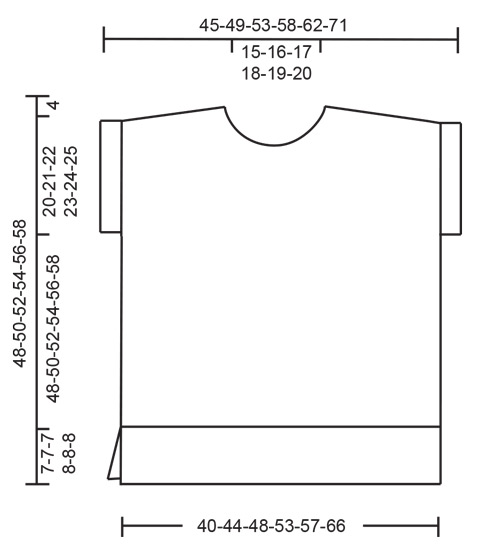
------------------------------------------------------- EXPLANATIONS FOR THE PATTERN: ------------------------------------------------------- GARTER STITCH (worked back and forth): Knit all rows, from both the right and wrong side. 1 ridge in height = knit 2 rows. PATTERN: See diagram A.1. The diagram shows all rows in the pattern, seen from the right side. ------------------------------------------------------- START THE PIECE HERE: ------------------------------------------------------- VEST – SHORT OVERVIEW OF THE PIECE: The pattern uses both long and short needles; start with the length which fits the number of stitches and change when necessary. The front and back pieces are worked separately, back and forth and bottom up. The piece is sewn together, stitches knitted up for the neck which is folded double to finish. BACK PIECE: Cast on 102-114-126-134-146-166 stitches with circular needle size 3.5 MM = US 4, 1 strand DROPS Alpaca and 1 strand DROPS Kid-Silk. Purl 1 row from the wrong side. Work rib starting from the right side as follows: 2 GARTER STITCHES – read description above, rib (knit 2, purl 2) until there are 4 stitches left, knit 2 and 2 garter stitches. Continue this rib for 7-7-7-8-8-8 cm = 2¾"-2¾"-2¾"-3⅛"-3⅛"-3⅛". Change to circular needle size 4.5 MM = US 7. Purl 1 row from the wrong side (edge stitches continued in garter stitch) and decrease 9-11-13-11-13-13 stitches evenly spaced = 93-103-113-123-133-153 stitches. Work pattern from the right side as follows: 1 garter stitch, work A.1 9-10-11-12-13-15 times in width, work the first stitch in A.1 so the pattern is symmetrical and 1 garter stitch. Continue this pattern. REMEMBER THE KNITTING GAUGE! When the piece measures 23-24-25-26-27-28 cm = 9"-9½"-9¾"-10¼"-10⅝"-11", cast on 5 stitches for the armholes at the end of the next 2 rows = 103-113-123-133-143-163 stitches. The new stitches are worked in garter stitch to finished length. When the piece measures 44-46-48-50-52-54 cm = 17¼"-18"-19"-19¾"-20½"-21¼", place the middle 35-37-39-41-43-45 stitches on a thread for the neckline (34-38-42-46-50-59 stitches on each shoulder). Finish each shoulder separately. DIAGONAL SHOULDER: Bind off the first 5 stitches, on the next row from the armhole (sleeve edge). Work short rows across the shoulder to give a better fit, starting on the next row from the armhole as follows: Continue A.1, placing the outermost stitches by the armhole on a thread for the shoulder as follows (to avoid cutting the strand, work the stitches before placing them on the thread). Place 8-9-10-11-12-14 stitches on the thread 3 times, then the last 5-6-7-8-9-12 stitches. All stitches are either bind off or on the thread. Place the 29-33-37-41-45-54 stitches on the thread back on circular needle size 4.5 MM = US 7. Work 1 row of stockinette stitch but, to avoid holes where you turned, pick up the strand between 2 stitches and work it together with the next stitch on the left needle. Bind off loosely. The piece measures approx. 48-50-52-54-56-58 cm = 19"-19¾"-20½"-21¼"-22"-22¾" from the cast-on edge to the top of the shoulder. Work the other shoulder in the same way. FRONT PIECE: Cast on and work in the same way as the back piece, until the front piece measures 42-44-46-46-48-50 cm = 16½"-17¼"-18"-18"-19"-19¾" = 103-113-123-133-143-163 stitches. Place the middle 27-29-31-33-35-37 stitches on a thread for the neckline and finish each shoulder separately. OVERVIEW OF NEXT SECTION: You now decrease for the neckline and place stitches on a thread for the diagonal shoulder. Read NECKLINE and DIAGONAL SHOULDER before continuing. NECKLINE: Decrease 1 stitch for the neckline on each row from the right side 4 times. When decreasing in A.1 continue working with knit over knit and purl over purl, any stitches which do not fit into a cable are now purled. DIAGONAL SHOULDER: Bind off the first 5 stitches on the next row from the armhole (sleeve edge). Work short rows across the shoulder to give a better fit, starting on the next row from the armhole as follows: Continue A.1, placing the outermost stitches by the armhole on a thread for the shoulder as follows (to avoid cutting the strand, work the stitches before placing them on the thread). Place 8-9-10-11-12-14 stitches on the thread 3 times, then the last 5-6-7-8-9-12 stitches. All stitches are either bind off or on the thread. Place the 29-33-37-41-45-54 stitches on the thread back on circular needle size 4.5 MM = US 7. Work 1 row of stockinette stitch but, to avoid holes where you turned, pick up the strand between 2 stitches and work it together with the next stitch on the left needle. Bind off loosely. The piece measures approx. 48-50-52-54-56-58 cm = 19"-19¾"-20½"-21¼"-22"-22¾" from the cast-on edge to the top of the shoulder. Work the other shoulder in the same way. ASSEMBLY: Sew the shoulder seams. Sew the side seams downwards as far as the rib, leaving a split in sides. DOUBLE NECK: Start from the right side on one shoulder. Knit up 80 to 104 stitches around the neckline (including the stitches on the threads), using short circular needle size 3.5 MM = US 4. The stitch count should be divisible by 2. Work rib in the round (knit 1, purl 1) for 8 cm = 3⅛". Bind off a little loosely. Fold the neck double to the inside and fasten with a couple of stitches. |
||||||||||||||||
Diagram explanations |
||||||||||||||||
|
||||||||||||||||
 |
||||||||||||||||
 |
||||||||||||||||
Have you finished this pattern?Tag your pictures with #dropspattern #septemberrainsvest or submit them to the #dropsfan gallery. Do you need help with this pattern?You'll find 28 tutorial videos, a Comments/Questions area and more by visiting the pattern on garnstudio.com. © 1982-2026 DROPS Design A/S. We reserve all rights. This document, including all its sub-sections, has copyrights. Read more about what you can do with our patterns at the bottom of each pattern on our site. |
||||||||||||||||


With over 40 years in knitting and crochet design, DROPS Design offers one of the most extensive collections of free patterns on the internet - translated to 17 languages. As of today we count 324 catalogs and 12290 patterns - 12280 of which are translated into English (US/in).
We work hard to bring you the best knitting and crochet have to offer, inspiration and advice as well as great quality yarns at incredible prices! Would you like to use our patterns for other than personal use? You can read what you are allowed to do in the Copyright text at the bottom of all our patterns. Happy crafting!
Post a comment to pattern DROPS 249-3
We would love to hear what you have to say about this pattern!
If you want to leave a question, please make sure you select the correct category in the form below, to speed up the answering process. Required fields are marked *.