Comments / Questions (3)
![]() ColetteDundas wrote:
ColetteDundas wrote:
Hi how many rows do I do the I cord for? Is it every row until neck measures 9cm? Thankyou
17.04.2025 - 16:30DROPS Design answered:
Dear Colette, the bands with i-cord are worked on every row, until the lower edge of the jacket. You will continue having 7 band stitches as you continue working the jacket so you will continue with the i-cord. Happy knitting!
20.04.2025 - 19:52
![]() Femke Burnet wrote:
Femke Burnet wrote:
Hi, there is a mistake in the diagram explanation. The double decrease symbol is explained as a single decrease.
04.03.2024 - 19:01DROPS Design answered:
Fixed, thanks for noticing!
05.03.2024 - 09:40
![]() Nadia Murat wrote:
Nadia Murat wrote:
Je tricote le modèle 250-36.nC’est un gilet avec des boutons. Le diagramme des explications est le même que le diagramme du pull 250-35. Pourtant dans le gilet il y a des allers et retours. Les retours n’existent pas dans le diagramme. Comment corriger cette erreur? Lorsqu’on tricote le pull en rond avec le point jersey, tous les rangs sont tricotés à l’endroit. Mais pour tricoter le gilet, on ne tricote pas en rond.
01.03.2024 - 12:15DROPS Design answered:
Bonjour Mme Murat, les diagrammes montrent tous les rangs, ceux sur l'endroit aussi bien que ceux sur l'envers, autrement dit, vous allez lire les rangs sur l'endroit de droite à gauche et les rangs sur l'envers de gauche à droite; pour le pull, on lit tous les rangs de droite à gauche car on est toujours sur l'endroit. Bon tricot!
01.03.2024 - 14:37
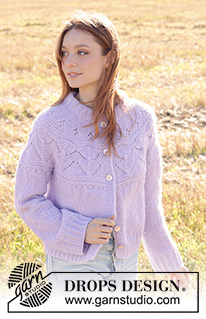
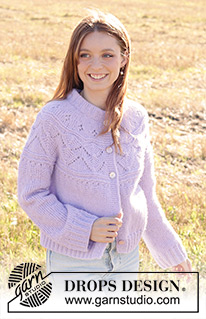
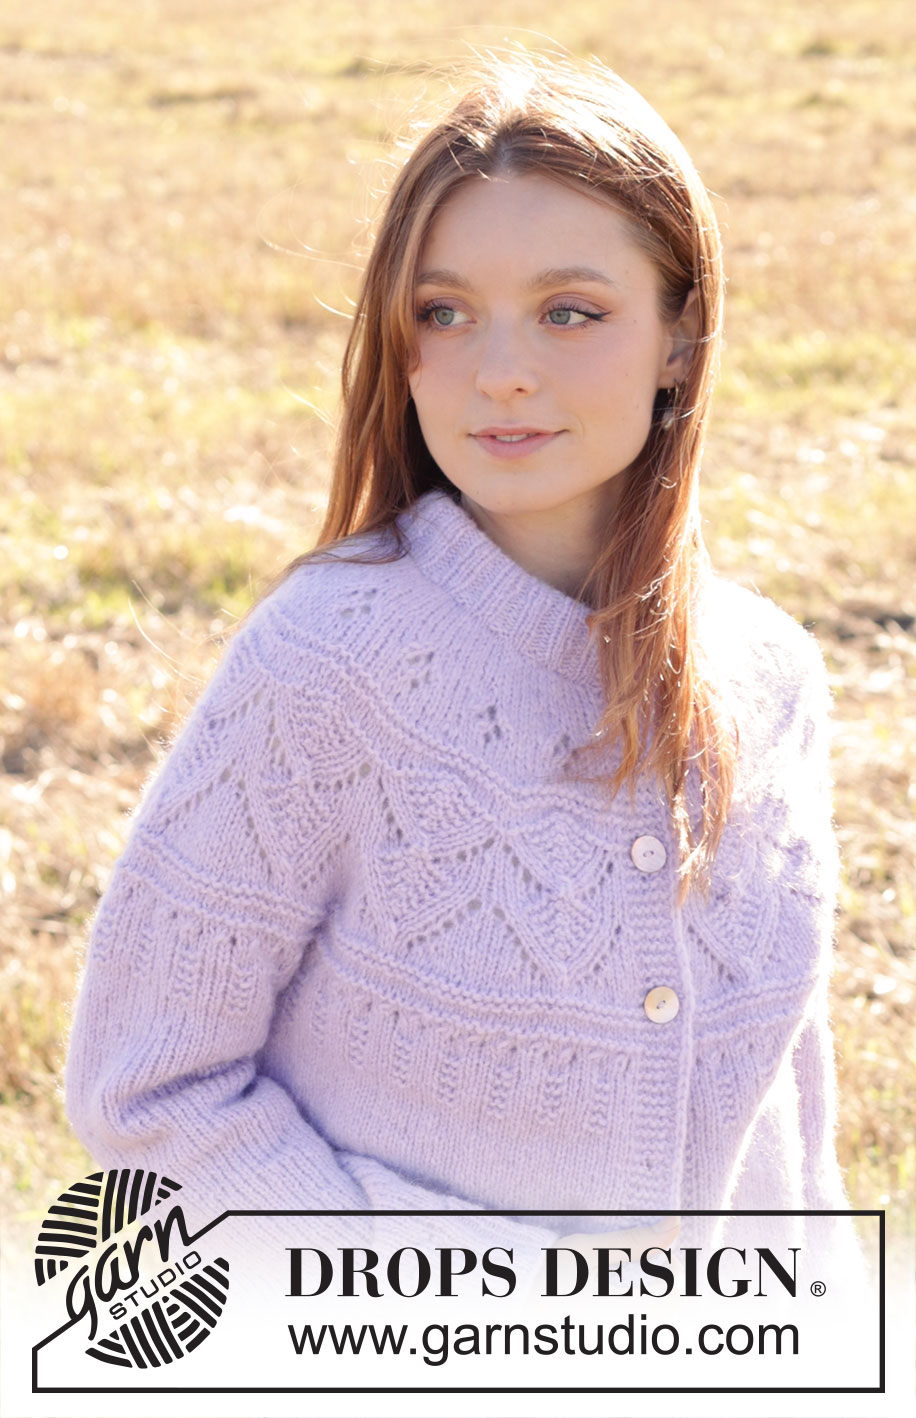
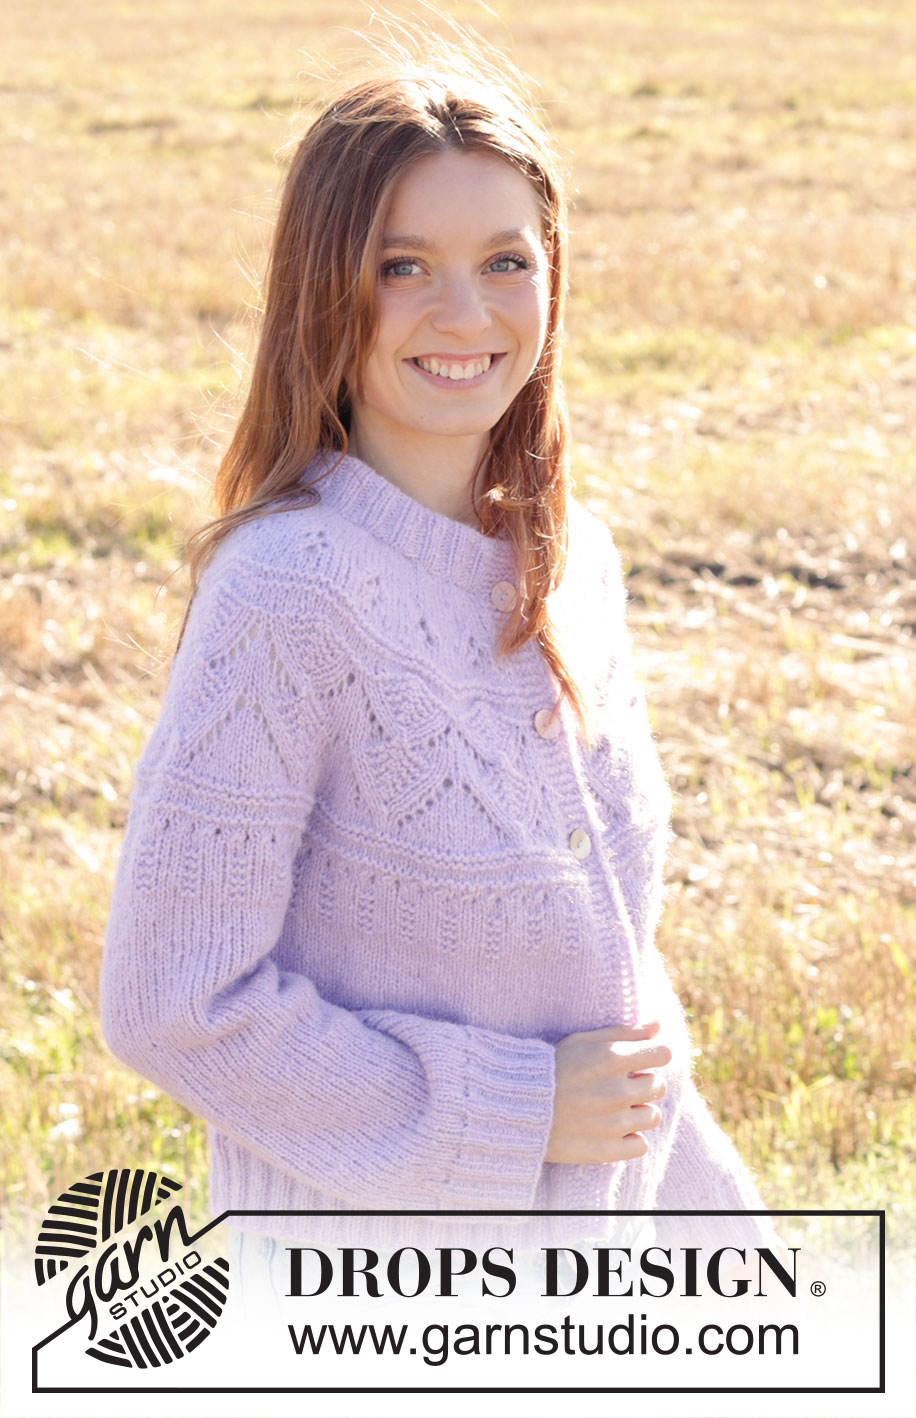
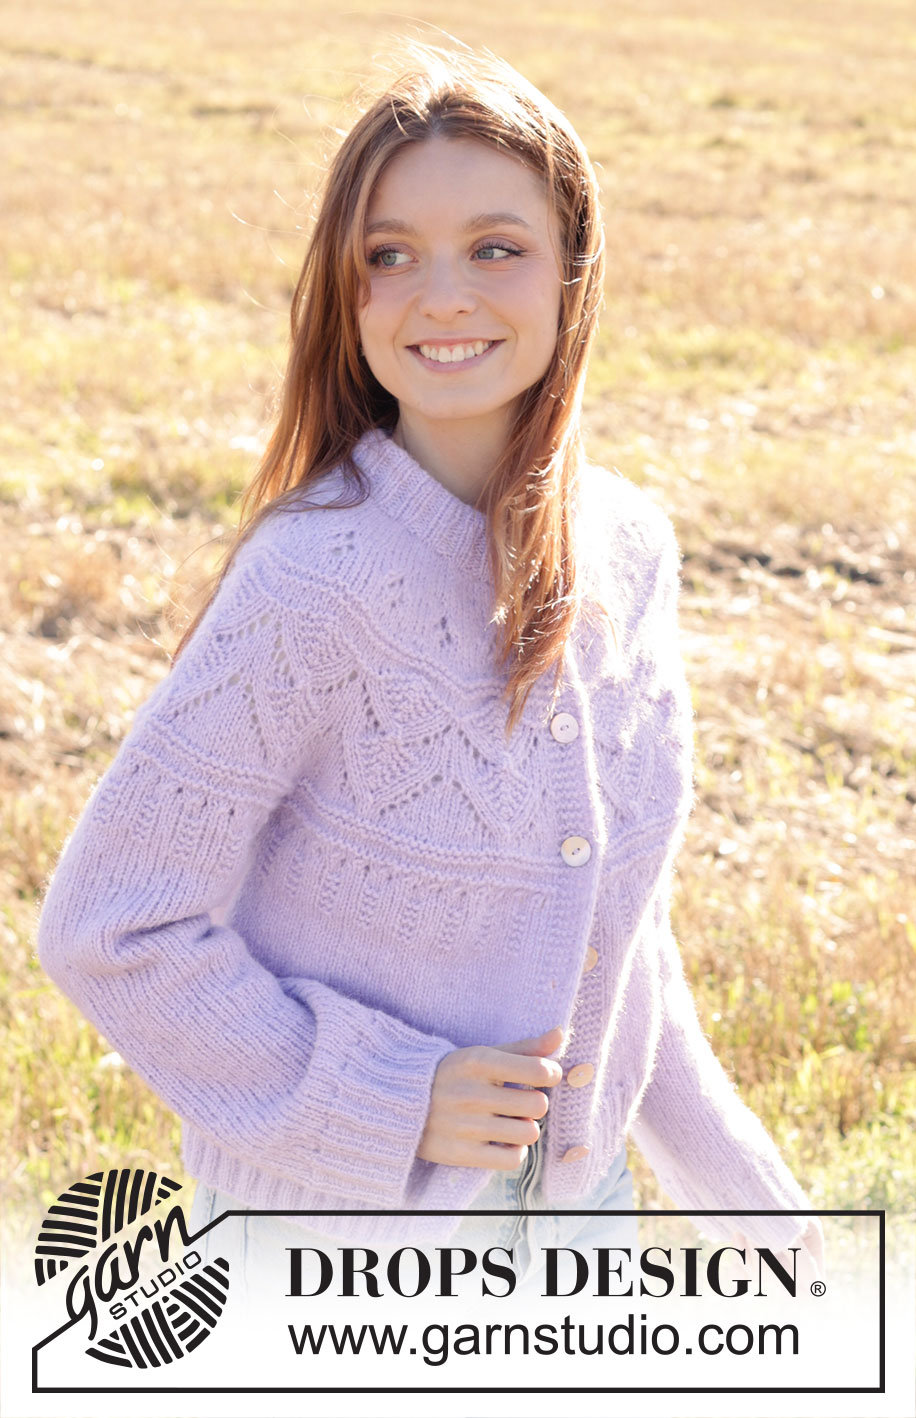
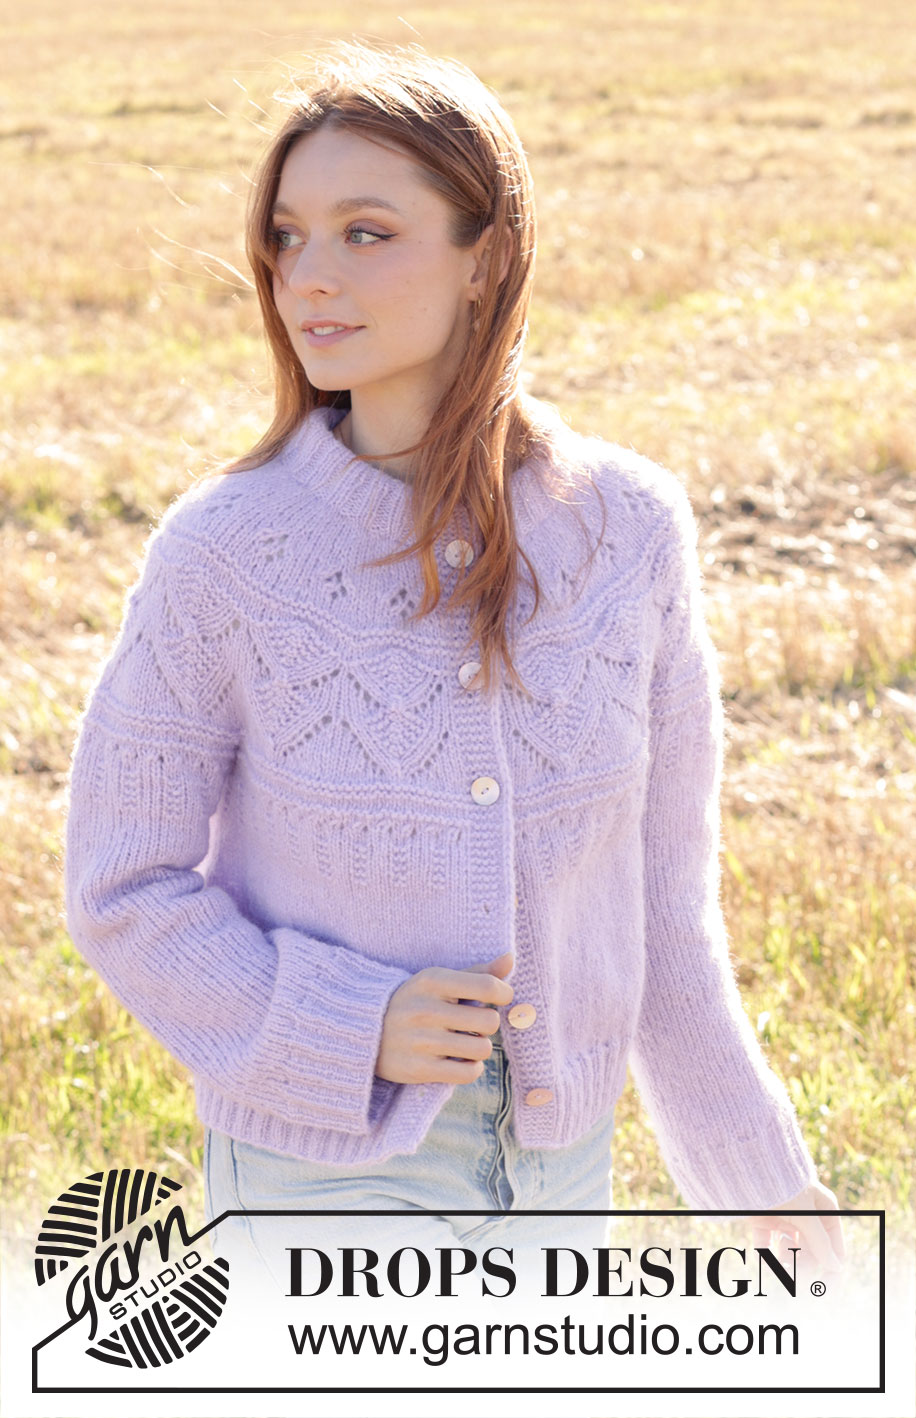
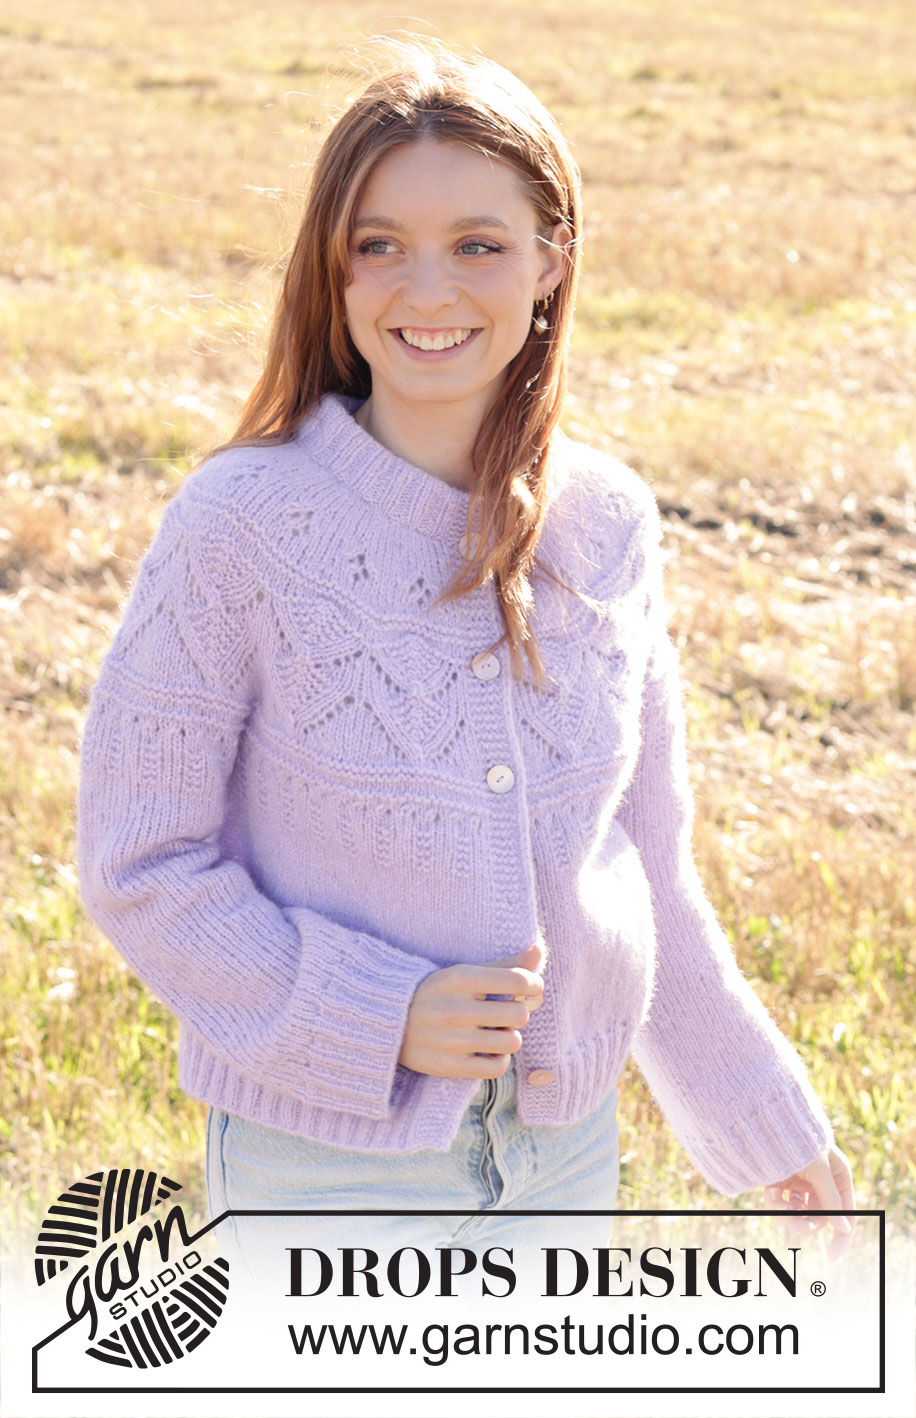
Lavender Harvest Cardigan#lavenderharvestcardigan |
||||||||||||||||||||||||||||
 |
 |
|||||||||||||||||||||||||||
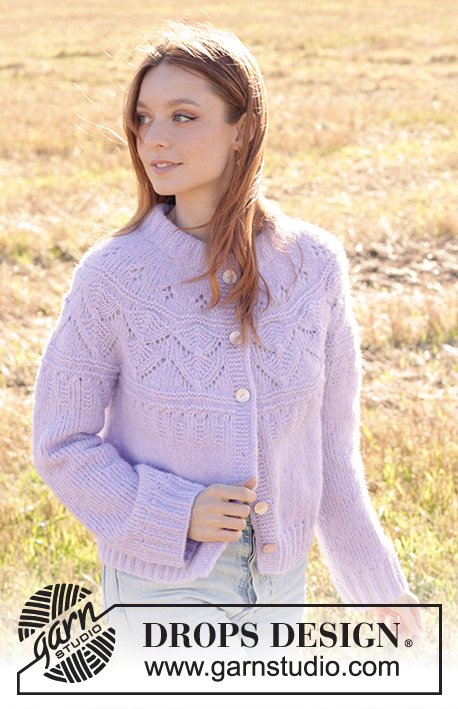
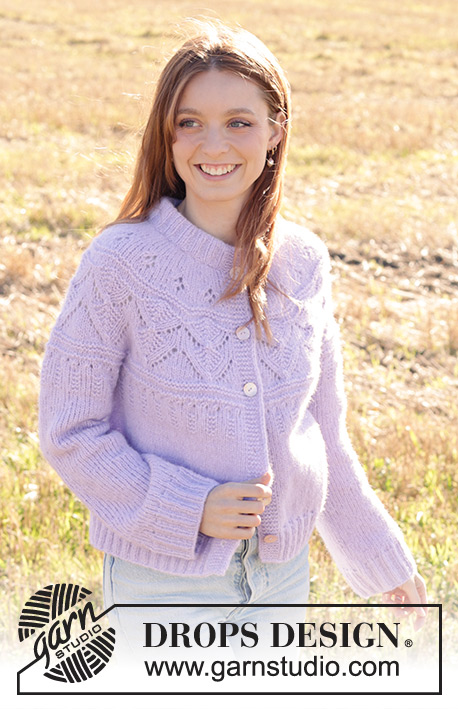
Knitted jacket in DROPS Air. The piece is worked top down with double neck, round yoke, lace-pattern and I-cord. Sizes S - XXXL.
DROPS 250-36 |
||||||||||||||||||||||||||||
|
------------------------------------------------------- EXPLANATIONS FOR THE PATTERN: ------------------------------------------------------- GARTER STITCH (worked back and forth): Knit all rows. 1 ridge in height = knit 2 rows. BANDS WITH I-CORD: START OF ROW: Work the band as follows: Slip 1 stitch purl-wise, with yarn in front, knit 1, work 5 garter stitches. END OF ROW: Work the band as follows: Work until there are 7 stitches left on the row, work 5 garter stitches, slip 1 stitch purl-wise with yarn in front, knit 1. Work in the same way from both the right and wrong side. PATTERN: See diagrams A.1 and A.2. Choose diagram for your size (applies to A.1). The diagrams show all rows in the pattern from the right side. INCREASE TIP (for round yoke): Do not increase over the 10 outermost stitches on each side. To work out how to increase evenly, count the total number of stitches on the needle (eg.,104 stitches), minus the 10 stitches on each side which are not increased over and divide the remaining stitches by the number of increases to be made (e.g., 18) = 4.7 In this example, increase by making 1 yarn over after alternately each 4th and 5th stitch (approx.). On the next row work the yarn overs twisted to avoid holes. DECREASE TIP (for sleeves): Start 3 stitches before the marker-thread, knit 2 together, knit 2 (marker-thread sits between these 2 stitches), slip 1 stitch knit-wise, knit 1 and pass the slipped stitch over the knitted stitch. BUTTONHOLES: Work buttonholes on the right band (when the garment is worn). Work from the right side when there are 5 stitches left on the row as follows: Make 1 yarn over, knit 2 together, knit 1, slip 1 stitch purl-wise with the strand in front, knit 1. On the next row (wrong side), knit the yarn over to leave a hole. The first buttonhole is worked on the first row from the right side after the neck. The other 5-5-6-6-6-6 buttonholes are then worked with approx. 8½-9-8-8-8½-8½ cm = 3¼"-3½"-3⅛"-3⅛"-3¼"-3¼" between each one. The bottom buttonhole is worked in the transition between the stockinette stitch and rib. ------------------------------------------------------- START THE PIECE HERE: ------------------------------------------------------- JACKET – SHORT OVERVIEW OF THE PIECE. The pattern uses both long and short circular needles; start with the length which fits the number of stitches and change when necessary. The neck and yoke are worked back and forth with circular needle, from mid front and top down. The yoke is divided for body and sleeves and the body continued back and forth with circular needle, while the sleeves wait. The sleeves are worked in the round, top down. The neck is folded double to the inside and sewn down to finish. NECK: Cast on 92-96-100-108-108-116 stitches with circular needle size 5 MM = US 8 and DROPS Air. Change to circular needle size 3.5 MM = US 4 (casting on with a larger needle size makes the cast-on edge elastic). Purl 1 row from the wrong side. Work as follows from the right side: 1 GARTER STITCH – read description above, * knit 2, purl 2 *, work from*-* until there are 3 stitches left, knit 2 and 1 garter stitch. Continue this rib back and forth for 4 cm = 1½". Now cast on 6 stitches at the end of the next 2 rows = 104-108-112-120-120-128 stitches. Continue the rib as before, but the outermost 7 stitches on each side are worked according to BANDS WITH I-CORD – read description above. Work until the neck measures 9 cm = 3½" – finishing with a row from the wrong side. The neck is folded double and sewn down to finish. Insert 1 marker inside one band. The yoke is measured from this marker. YOKE: Change to circular needle size 5 MM = US 8. Knit 1 row from the right side and increase 18-20-23-27-27-27 stitches evenly spaced – read INCREASE TIP, remember the BUTTONHOLES on the right band – read description above (bands worked as before) = 122-128-135-147-147-155 stitches. Continue with stockinette stitch and 7 band stitches on each side as before. REMEMBER THE KNITTING GAUGE! When the yoke measures 2-3-5-5-4-6 cm = ¾"-1⅛"-2"-2"-1½"-2⅜" from the marker, increase 21-23-24-28-36-36 stitches evenly spaced – remember INCREASE TIP = 143-151-159-175-183-191 stitches. Continue with stockinette stitch and 7 band stitches on each side until the yoke measures 3-4-6-6-5-7 cm = 1⅛"-1½"-2⅜"-2⅜"-2"-2¾" from the marker. Now work PATTERN – read description above, with the first row from the right side: 7 band stitches as before, work A.1 16-17-18-20-21-22 times in width, work the first stitch in A.1, so the pattern is symmetrical on each side, then 7 band stitches as before. Continue this pattern. AT THE SAME TIME on each row marked with an arrow in A.1, increase stitches as follows – remember INCREASE TIP (do not increase over the 10 outermost stitches on each side). Arrow-1: Increase 24-24-24-32-32-32 stitches evenly spaced = 167-175-183-207-215-223 stitches. Arrow-2: Increase 24-24-24-24-32-32 stitches evenly spaced = 191-199-207-231-247-255 stitches. Arrow-3: Increase 20-26-32-36-34-40 stitches evenly spaced = 211-225-239-267-281-295 stitches. Arrow-4: On this round there are 267-285-303-339-357-375 stitches, decrease 9-4-3-8-12-9 stitches evenly spaced (by purling 2 together; do not decrease over the bands) = 258-281-300-331-345-366 stitches. When A.1 is finished, the yoke measures approx. 20-21-23-23-25-27 cm = 8"-8¼"-9"-9"-9¾"-10⅝" from the marker. Now divide for the body and sleeves on the next row from the right side: Work 7 band stitches as before, work the first row in A.2 over the next 38-42-44-48-51-56 stitches (front piece), place the next 46-50-54-62-62-64 stitches on 1 thread for the sleeve, cast on 8-8-10-10-12-14 stitches (in side under sleeve), work the first row in A.2 over the next 76-83-90-97-105-112 stitches (back piece), place the next 46-50-54-62-62-64 stitches on 1 thread for the sleeve, cast on 8-8-10-10-12-14 stitches (in side under sleeve), work the first row in A.2 over the next 38-42-44-48-51-56 stitches and 7 band stitches as before (front piece). The body and sleeves are finished separately. The piece is now measured from here. BODY: = 182-197-212-227-245-266 stitches. Start from the wrong side and work as follows (row 2 in A.2): 7 band stitches as before, work A.2 until there are 7 stitches left, 7 band stitches as before. Continue this pattern. On the row marked with arrow-5 in A.2 increase 0-0-0-0-2-1 stitches evenly spaced = 182-197-212-227-247-267 stitches. Continue as follows: 7 band stitches as before, work A.2 until there are 10 stitches left, work the first 3 stitches in A.2, so the pattern is symmetrical on each side, 7 band stitches as before. When A.2 is finished, continue with stockinette stitch and 7 band stitches as before on each side until the body measures 23-24-24-25-25-25 cm = 9"-9½"-9½"-9¾"-9¾"-9¾" from the division. Knit 1 row from the right side and increase 30-35-36-41-45-45 stitches evenly spaced (do not increase over the bands) = 212-232-248-268-292-312 stitches. Change to circular needle size 3.5 MM = US 4. Work rib from the wrong side as follows: 7 band stitches as before, * purl 2, knit 2 *, work from *-* until there are 9 stitches left, purl 2 and 7 band stitches as before. Continue this rib back and forth for 6 cm = 2⅜". Bind off. The jacket measures approx. 54-56-58-60-62-64 cm = 21¼"-22"-22¾"-23⅝"-24⅜"-25¼" from the shoulder. SLEEVES: Place the 46-50-54-62-62-64 stitches from the thread on the one side of the piece on short circular needle/double pointed needles size 5 MM = US 8 and knit up 1 stitch in each of the 8-8-10-10-12-14 stitches cast on under the sleeve = 54-58-64-72-74-78 stitches. Insert a marker-thread in the middle of the 8-8-10-10-12-14 stitches under the sleeve and place 1 marker mid-top of sleeve (between 2 stitches). Work now pattern and at the same time decrease mid under sleeve, read both sections before working. PATTERN: Start round at the marker mid under sleeve and work A.2 in the round (start with 1st round in diagram). When you are about to work round 15 in A.2, count out from mid-top of sleeve to determine where to start the pattern under the sleeve – the marker should match the arrow in A.2. When A.2 is finished, continue with stockinette stitch. DECREASES: When the sleeve measures 4-4-3-2-2-2 cm = 1½"-1½"-1⅛"-¾"-¾"-¾" from the division, decrease 2 stitches mid-under the sleeve – read DECREASE TIP. Decrease like this every 4-4-2-1½-1½-1½ cm = 1½"-1½"-¾"-½"-½"-½" a total of 3-4-7-10-10-11 times = 48-50-50-52-54-56 stitches. Work until the sleeve measures 39-39-37-38-37-35 cm = 15¼"-15¼"-14½"-15"-14½"-13¾" from the division. There is 6 cm = 2⅜" left. Try the jacket on and work to desired length before the rib. Knit 1 round and increase 8-10-10-8-10-8 stitches evenly spaced = 56-60-60-60-64-64 stitches. Change to double pointed needles size 3.5 MM = US 4. Work rib (knit 2, purl 2) for 6 cm = 2⅜". Bind off. The sleeve measures approx. 45-45-43-44-43-41 cm = 17¾"-17¾"-17"-17¼"-17"-16⅛" from the division. ASSEMBLY: Fold the neck double to the inside and sew down. To avoid the neck being tight and rolling outwards, it is important that the seam is elastic. Sew the openings mid-front on the bands with small stitches. Sew the buttons onto the left band. |
||||||||||||||||||||||||||||
Diagram explanations |
||||||||||||||||||||||||||||
|
||||||||||||||||||||||||||||
 |
||||||||||||||||||||||||||||
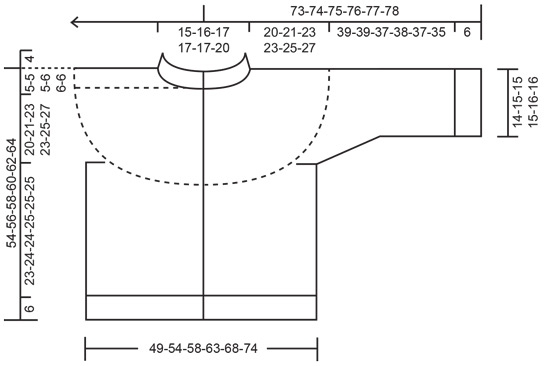 |
||||||||||||||||||||||||||||
Have you finished this pattern?Tag your pictures with #dropspattern #lavenderharvestcardigan or submit them to the #dropsfan gallery. Do you need help with this pattern?You'll find 30 tutorial videos, a Comments/Questions area and more by visiting the pattern on garnstudio.com. © 1982-2026 DROPS Design A/S. We reserve all rights. This document, including all its sub-sections, has copyrights. Read more about what you can do with our patterns at the bottom of each pattern on our site. |
||||||||||||||||||||||||||||






Post a comment to pattern DROPS 250-36
We would love to hear what you have to say about this pattern!
If you want to leave a question, please make sure you select the correct category in the form below, to speed up the answering process. Required fields are marked *.