
Popular categories
Looking for a yarn?



























Comments / Questions (25)
 Sky wrote:
Hi, is there another way for us to make the sleeves, its quite difficult to make it with the current pattern without a gaping hole at the corner of the garter stitch
19.09.2026 - 04:25DROPS Design answered:
Dear Sky, don't worry about any possible holes under the arms; you can later make a small seam to close the hole. These gaps are formed due to a loose knitting gauge or because the thread wasn't tight enough when changing between garter stitch and stocking stitch. That's why it can be difficult to work and difficult to get small gaps; which you can solve by making very small seams at the end. Happy knitting!
21.09.2026 - 00:13
 Baly wrote:
Besoin d’info. Quand toutes les diminutions pour le raglan et l’encolure sont faites . Il reste environ 70-120 m Sa inclu les mailles du dos
16.07.2026 - 23:02DROPS Design answered:
Bonjour Mme Baly, tout à fait, quand toutes les diminutions du raglan sont faites (8 m à chaque rang sur l'endroit) + quand on a mis les mailles de l'encolure en attente et que l'on a rabattu les mailles indiqué pour l'encolure, il doit rester entre 70 et 120 mailles, votre nombre de mailles restant va dépendre de votre tension en hauteur et du nombre de fois que vous aurez rabattu 1 m de chaque côté pour l'encolure jusqu'à la hauteur indiquée. Quand vous tricotez le col, vous reprenez les mailles en attente, relever des mailles le long des mailles rabattues pour un total de 120-180 mailles; on diminue ensuite 10 à 20 m (cf. taille) et on tricote les mailles restantes au point mousse pour le col. Bon tricot!
10.08.2026 - 10:09
Baly wrote:
Au rang suivant sur l'endroit diminuer pour le raglan à chacune des 4 transitions entre le dos/les devants et les manches (soit 8 m en moins par rang de diminutions) - LIRE DIMINUTIONS et ASTUCE ! Répéter ces diminutions 22-24-26-26-27-29 fois au total tous les rangs Si je comprend bien. À chaque manche nous diminution 2 m de chaque côté et au départ j’ai 72 m et que je fait 26 x2 =52 moins 72 il vas reste à la fin 20 mailles es ce que j’ai bien compris merci
16.07.2026 - 20:15DROPS Design answered:
Bonjour Mme Baly, on va diminuer 8 mailles pour le raglan à chaque rang de diminution: 1 m pour chaque devant, 2 m pour le dos et 2 m pour les manches, vous commencez 2 m avant la m avec le marqueur, et tricotez 2 m ens à l'end (= on diminue 1 m du devant droit en début de rang), 1 m end (celle avec le marqueur), et glissez 1 m à l'endroit, tricotez 1 m end et passez la m glissée par-dessus la m tricotée (on diminue 1 m de la manche droite); on répète aux marqueurs suivants: on diminue 1 m de la manche droite et 1 m du dos, puis 1 m du dos et 1 m de la manche gauche et enfin 1 m de la manche gauche et 1 m du devant. En même temps, à 25 cm de hauteur totale, vous formez l'encolure (16 mailles en attente + on rabat 2 x 3 m + 1 m jusqu'à 36/38 cm de hauteur totale, cf. taille). Bon tricot!
10.08.2026 - 10:04
 Birgit wrote:
I mönstret står följande: Upprepa minskn på varje v från rätsidan totalt 22-24-26-26-27-29 ggr. SAMTIDIGT när arb mäter 23-24-25-25-26-27 cm sätts de yttersta 14-16-16-20-22-24 m i början på de 2 nästa v på en tråd till hals efter att de är stickade osv. Samtidigt ska man minska för halsringningen, men måtten 32 cm samt 28 cm stämmer inte, då jag efter 14 minskningar för raglan har dessa mått. Tacksam för förtydligande.
13.07.2026 - 22:28DROPS Design answered:
Hej Birgit, strikker du i DROPS Merino Extra Fine og har du 22m x 30 varv på 10x10 cm, det behøver du for at målene skal stemme i højden :)
03.08.2026 - 14:53
Elaine Miller wrote:
According to the pattern we have to do the decrease for the raglan on right side 22 times (for the small size). We completed 12 times and began the neck bind offs with holders. Then we started the 1 st bind offs at neck edges and realized we would run out of stitches on the neck sides before we could finish all 22 raglan decreases. We have been careful about following the instructions. Is it possible there are less than 22 decrease rows for the raglan or are you counting it differently?
13.02.2024 - 03:02DROPS Design answered:
Dear Mrs Miller, in size S you won't have any stitches left after all decreases for raglan and neck are done, then just pick up 120 sts along whole neck to work neck edge. Happy knitting!
13.02.2024 - 08:49
 Eva Gaspar wrote:
Hi, could the neckline be worked in moss stitch, too? with the same number of st and needle? Thank you :)
07.02.2024 - 08:51DROPS Design answered:
Dear Mrs Gaspar, you can probably work the neckline in moss stitch, the number of stitches and needle size would remain the same. Adjust the length to the desired one. Happy knitting!
08.02.2024 - 08:06
 Silvia wrote:
Quando si iniziano le diminuzione nel raglan bisogna continuare a m legaccio le 2 m prima delle nuove maglie? Una delle due farà parte della diminuzione e quindi mi chiedo se bisogna aggiungerle quando si fanno le diminuzioni. Grazie
29.03.2020 - 23:40DROPS Design answered:
Buongiorno Silvia. Dal ferro precedente a quello in cui si inizia a diminuire per il raglan, le maglie ai lati delle maglie aumentate vengono lavorate a maglia rasata. Buon lavoro!
30.03.2020 - 12:49
 Yen wrote:
Hi, Would you be able to give me some explanation regarding the formation of the sleeves ? I'm at the "yoke" and I am having a really bad time trying to cast on 50 new stitches over the 8 stitches of the armhole .... it seems to be way too tight and I can't maneuver the needle ! please help me, I'm going crazy here ! Do I need to cast on a different set of needle or something ?
01.07.2017 - 13:37DROPS Design answered:
Dear Yen, the extra 50 stitch you are casting on, forms the sleeve. It is only thight and not the easiest to handle the needles in the first couple of rows, then it gradually gets easier. It might help, if you use a longer circular needle, and pull the cable out a little bit, just before and after the sleeve stitches (much like with the magic loop method). I hope this helps. Happy Knitting!
03.07.2017 - 00:54
 Zabeth wrote:
Voilà, je viens de le finir. J'ai mis quelques photos sur mon blog zazaetczaiguilles.eklablog.com si cela peut aider les autres tricoteuses! Il y a juste un petit hic, je pense que la boutonnière est réalisée trop tôt, du coup elle se retrouve un peu loin du haut de la bordure d'encolure.
27.02.2017 - 16:41
Zabeth wrote:
Oui, merci, c'est ce que j'avais fait de toute façon. Après avoir mis les 14 m en attente de l'encolure, puis faire les 2x3 diminutions, puis rabattre 1 m au début à ch. rg, cela veut dire qu'il n'y aura plus de m pour le raglan de ch. côté!
14.02.2017 - 15:52DROPS Design answered:
Bonjour Zabeth, tout à fait, comme il est indiqué, je cite: "(rabattre après les diminutions du raglan des devants de chaque côté), c'est-à-dire que vous continuez ces diminutions pour l'encolure même si elles empiètent sur le raglan. Bon tricot!
14.02.2017 - 16:59
|
|
It's June#itsjunecardigan |
|
 |
 |
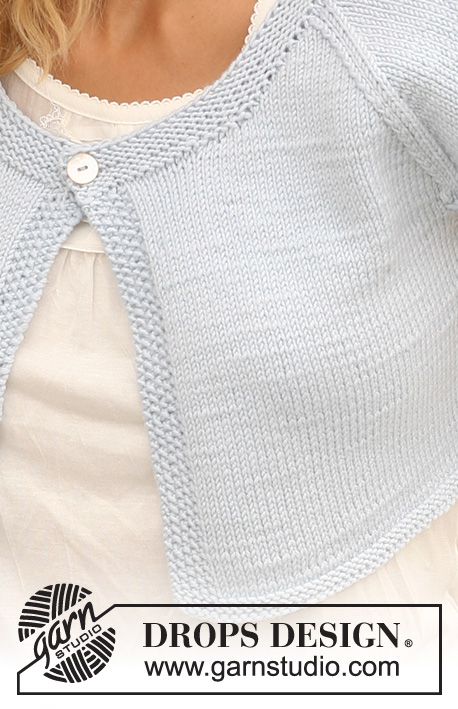
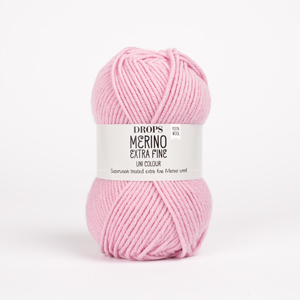
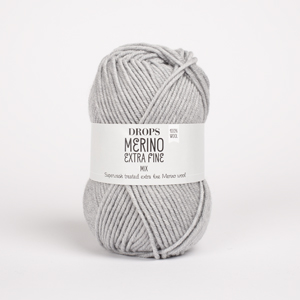
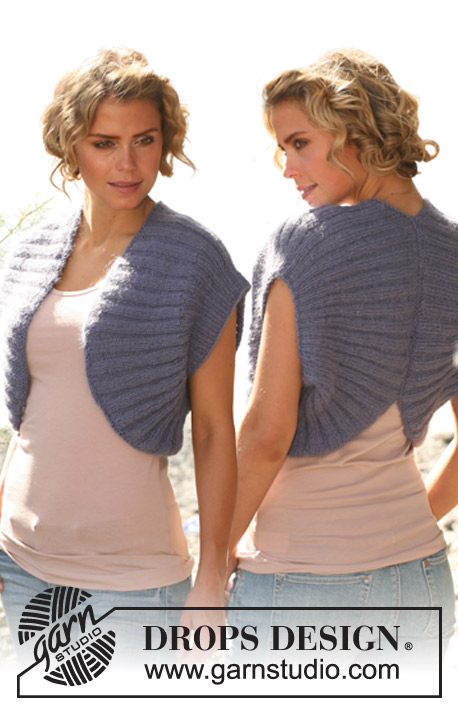
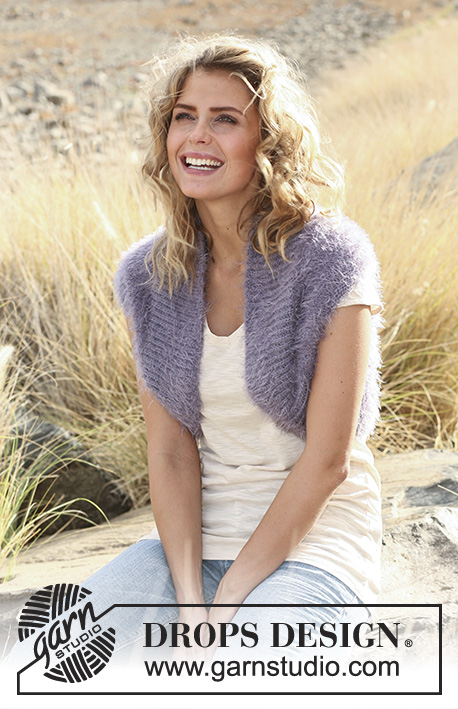
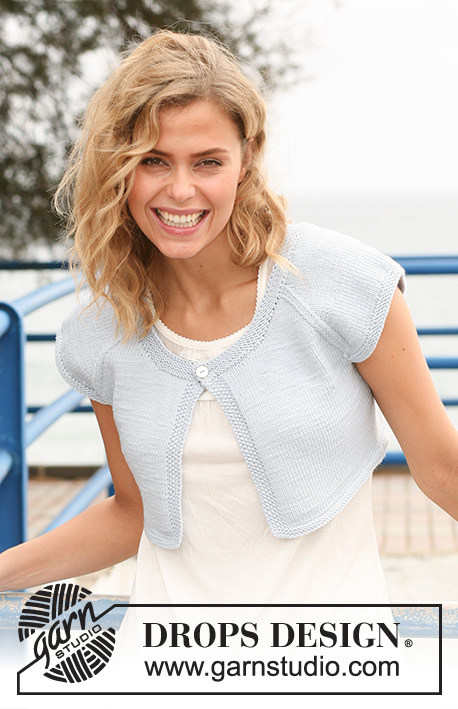
Knitted DROPS short sweater with raglan sleeves in "Merino Extra Fine". Size: S - XXXL.
DROPS 128-34 |
|
|
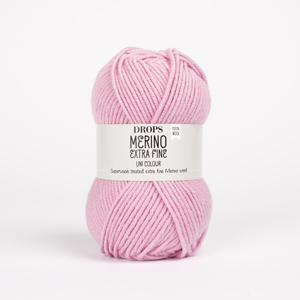
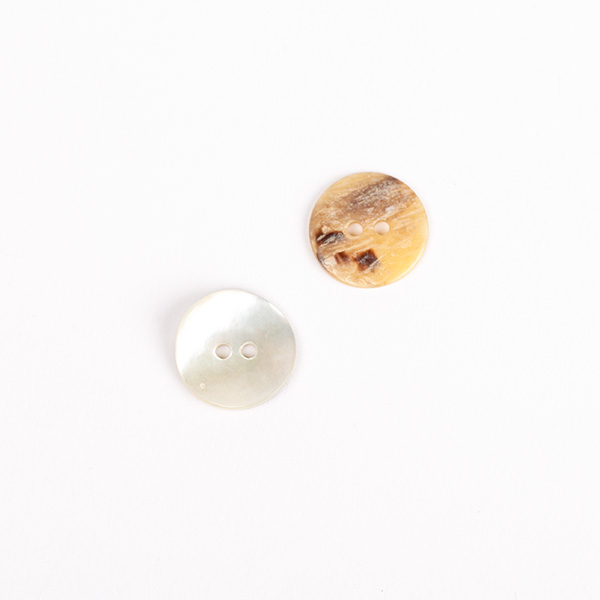
GARTER ST (back and forth on needle): K all rows. SEED ST: 1st row: * K1, P1 *, repeat from *-*. 2nd row: K over P and P over K. Repeat 2nd row. INCREASE TIP: Inc from RS by knitting 2 sts into 1 st. BUTTON HOLE: bind off for button hole on right front band. 1 button hole = K 3rd and 4th st from mid front tog, make 1 YO. DECREASE TIP (applies to raglan): Dec as follows from RS: Beg 2 sts before st with marker: K 2 tog, K 1 (marker is in this st), slip 1 st as if to K, K1, psso. KNITTING TIP: If knitting gauge is incorrect in height and the knitting is too tight, the raglan sleeve will be too short and the armholes too small. This can be adjusted by working 1 extra row without dec evenly spaced between dec. -------------------------------------------------------- JACKET: Worked back and forth on circular needle from mid front. Cast on 168-188-204-224-252-280 sts (includes 5 band sts in each side) on circular needle size 3 mm / US 2or3. Work 4 rows in GARTER ST - see explanation above! Change to circular needle size 3.5 mm /US 4. Continue working next row from RS as follows: Work SEED ST - see explanation above - over the first 5 sts, stockinette st until 5 sts remain, finish with 5 sts in seed st. The 5 sts in seed st each side = bands. Work bands in seed st until finished measurements. Continue with stockinette st over the remaining sts. REMEMBER THE GAUGE! When piece measures 4 cm / 1½", insert 2 markers in the piece after 42-47-51-56-63-70 sts from each side (back piece = 84-94-102-112-126-140 sts). On next row from RS inc 1 st on each side of marker in each side - READ INCREASE TIP! Repeat inc every 2-2-2-2-3-3 cm / ¾"-¾"-¾"-¾"-1⅛"-1⅛" a total of 4 times = 184-204-220-240-268-296 sts. When piece measures 13-14-14-15-17-17 cm / 5⅛"-5½"-5½"-6"-6¾"-6¾", work in garter st over 12 sts in each side with beg from RS (= 6 sts on each side of marker in each side), work the remaining sts as before. When 6 rows in garter st have been worked over the 12 sts in each side, bind off the middle 8 sts for armholes on next row from WS (bind off with K from WS) = 168-188-204-224-252-280 sts. The piece measures approx. 14-15-15-16-18-18 cm / 5½"-6"-6"-6¼"-7"-7". YOKE: Work 1st row from RS as follows: Work over right front piece as before (continue the 2 sts in each side of armhole in garter st), cast on 50-54-58-62-66-70 new sts over armhole, work in stockinette st over back piece, cast on 50-54-58-62-66-70 new sts over the other armhole, work over left front piece as before = 268-296-320-348-384-420 sts. READ ALL OF THE FOLLOWING SECTION BEFORE CONTINUING! Work next row from WS as follows: 5 band sts in seed sts, stockinette st as before over left front piece, garter st over the new sts + 2 sts in garter st each side of the new sts as before, stockinette st over back piece, garter st over the new sts + 2 sts in garter st each side of the new sts as before, stockinette st until 5 sts remain, finish with 5 band sts in seed st. Continue like this. When a total 6 rows in garter st over the new sts for sleeve have been worked, K 1 row from RS as before while AT THE SAME TIME inc 14-14-14-12-12-12 sts evenly over the new sts - READ INCREASE TIP! (= 64-68-72-74-78-82 sts on each sleeve. Insert a marker in first and last st of the new sts for sleeve so that there are 62-66-70-72-76-80 sts between markers on each sleeve (= 4 markers)) = 296-324-348-372-408-444 sts. P 1 row from WS with 5 band sts in seed st towards mid front in each side as before (the 2 sts in garter st in each of the new sts are worked in stockinette st from here). On next row from RS dec for raglan in each of the 4 transitions between body and sleeves (i.e. 8 dec per dec-row) - READ DECREASE TIP AND KNITTING TIP! Repeat dec every row from RS a total of 22-24-26-26-27-29 times. AT THE SAME TIME when piece measures 23-24-25-25-26-27 cm / 9"-9½"-9¾"-9¾"-10¼"-10⅝", slip the outermost 14-16-16-20-22-24 sts at beg of the next 2 rows on a stitch holder for neck after they have been worked. Continue to bind off for neckline at beg of every row in each side as follows: 3 sts 2 times. Continue to bind off 1 st at beg of every row until piece measures 32-34-36-38-40-42 cm / 12½"-13⅜"-14¼"-15"-15¾"-16½" from shoulder down (bind off past the raglan dec on front piece in each side). Then piece measures approx. 28-30-32-33-35-37 cm / 11"-11¾"-12½"-13"-13¾"-14½" measured from mid back of neck and down. After all dec for raglan and neck, approx. 70-120 sts remain on needle. NECKLINE: Knit up approx. 120-132-136-156-168-180 sts from RS on circular needle size 3 mm / US 2or3 (including sts on stitch holders). K 1 row from WS. K next row from RS while AT THE SAME TIME dec 10-12-14-16-18-20 sts evenly and binding off for 1 BUTTON HOLE on same row - see explanation above. Continue in garter st. Bind off when a total of 5 ridges (10 rows in garter st) have been worked vertically. Sew button on to neckline at top of left front band. |
|
 |
|
Have you finished this pattern?Tag your pictures with #dropspattern #itsjunecardigan or submit them to the #dropsfan gallery. Do you need help with this pattern?You'll find 12 tutorial videos, a Comments/Questions area and more by visiting the pattern on garnstudio.com. © 1982-2026 DROPS Design A/S. We reserve all rights. This document, including all its sub-sections, has copyrights. Read more about what you can do with our patterns at the bottom of each pattern on our site. |
|






With over 40 years in knitting and crochet design, DROPS Design offers one of the most extensive collections of free patterns on the internet - translated to 17 languages. As of today we count 333 catalogs and 12532 patterns - 12522 of which are translated into English (US/in).
We work hard to bring you the best knitting and crochet have to offer, inspiration and advice as well as great quality yarns at incredible prices! Would you like to use our patterns for other than personal use? You can read what you are allowed to do in the Copyright text at the bottom of all our patterns. Happy crafting!
Post a comment to pattern DROPS 128-34
We would love to hear what you have to say about this pattern!
If you want to leave a question, please make sure you select the correct category in the form below, to speed up the answering process. Required fields are marked *.