
Popular categories
Looking for a yarn?


Comments / Questions (2)
![]() Janneke wrote:
Janneke wrote:
Wat wordt, in patroon z962, onder de uitleg van de mouw, bedoelt met ‘brei A3 over A2? Alvast bedankt!
23.08.2022 - 08:18DROPS Design answered:
Dag Janneke,
Over de steken waar je eerst A.2 breide, brei je nu A.3, zodat A.3 boven A.2 komt.
23.08.2022 - 19:11
![]() Helle Eriksen wrote:
Helle Eriksen wrote:
På hvilke pinde er den anbefalede strikkefasthed lavet? Der står ikke en pindestørrelse som udgangspunkt. Skal jeg regne med, at det er pinde nr. 5, som jo er den størrelse, der anbefales til det meste af blusen?
24.05.2022 - 07:49DROPS Design answered:
Hej Helle, ja det stemmer, vi strikker alt det glatstrikkede på pind nr 5. God fornøjelse!
25.05.2022 - 13:27
|
||||||||||||||||||||||
Pearlescent Cardigan#pearlescentcardigan |
||||||||||||||||||||||
 |
 |
|||||||||||||||||||||
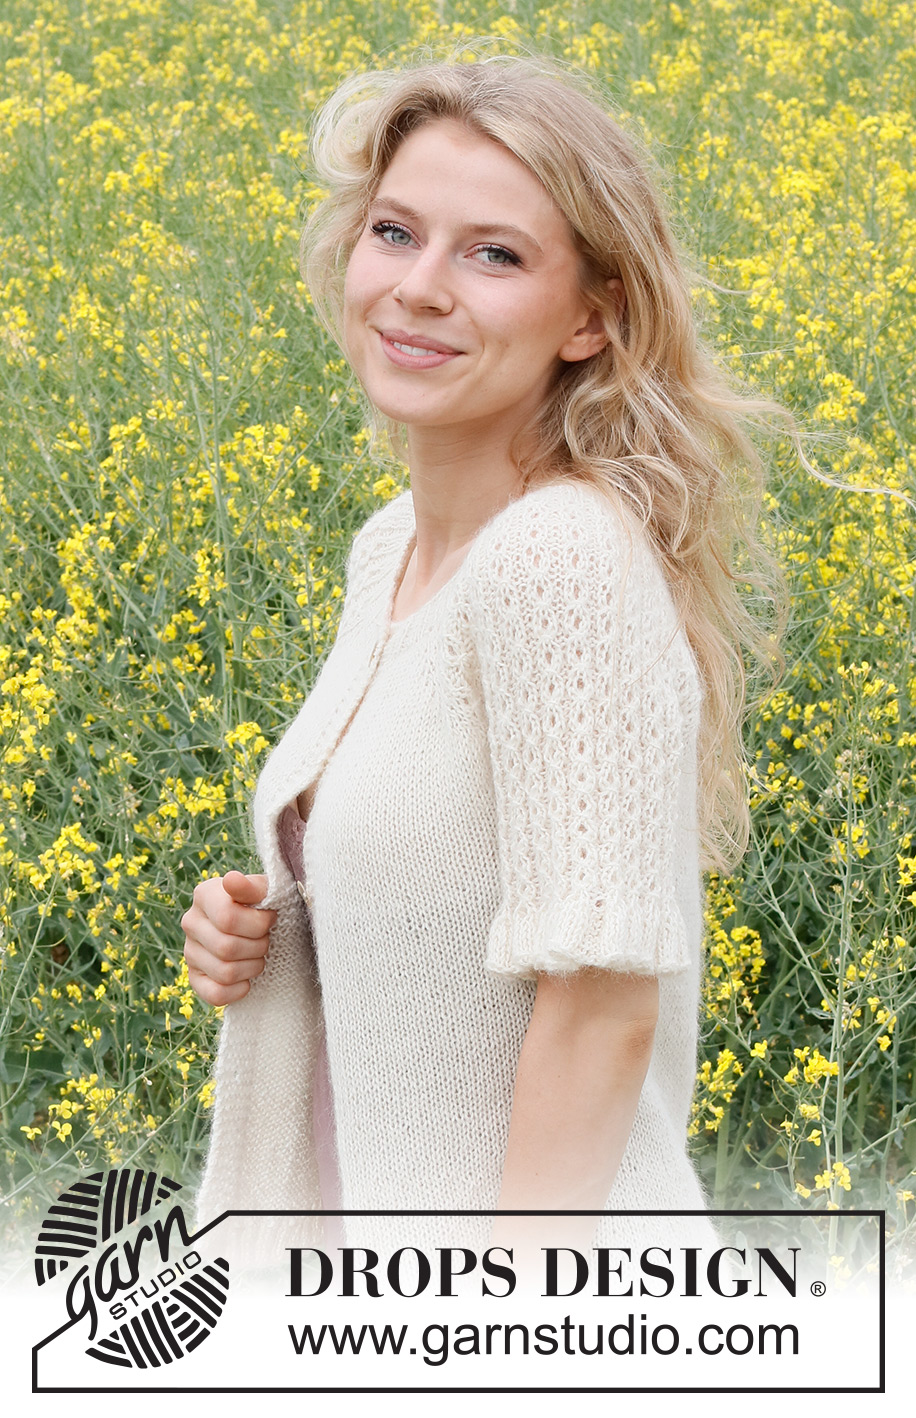
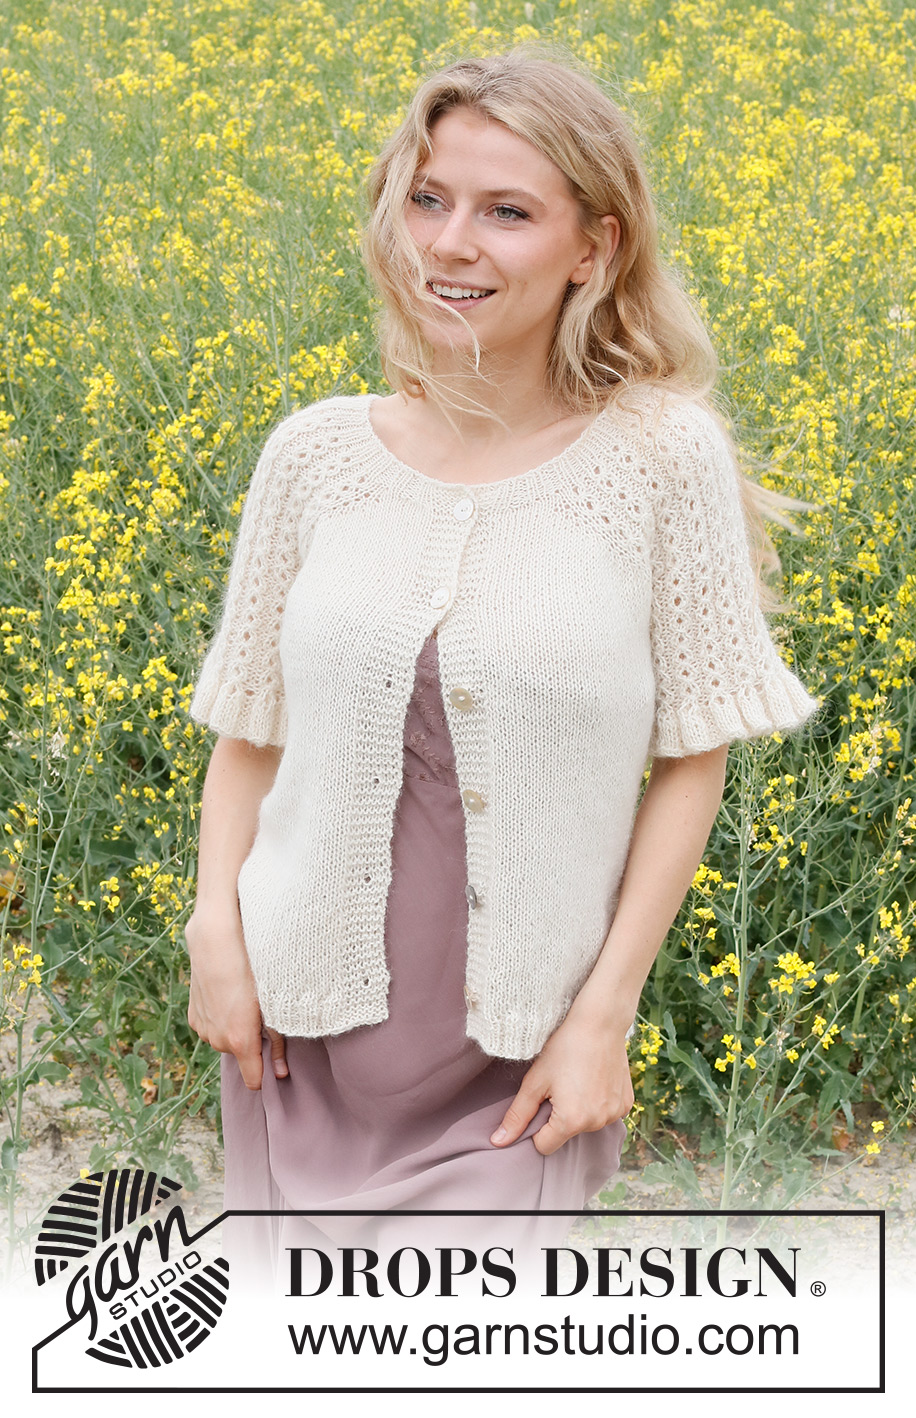
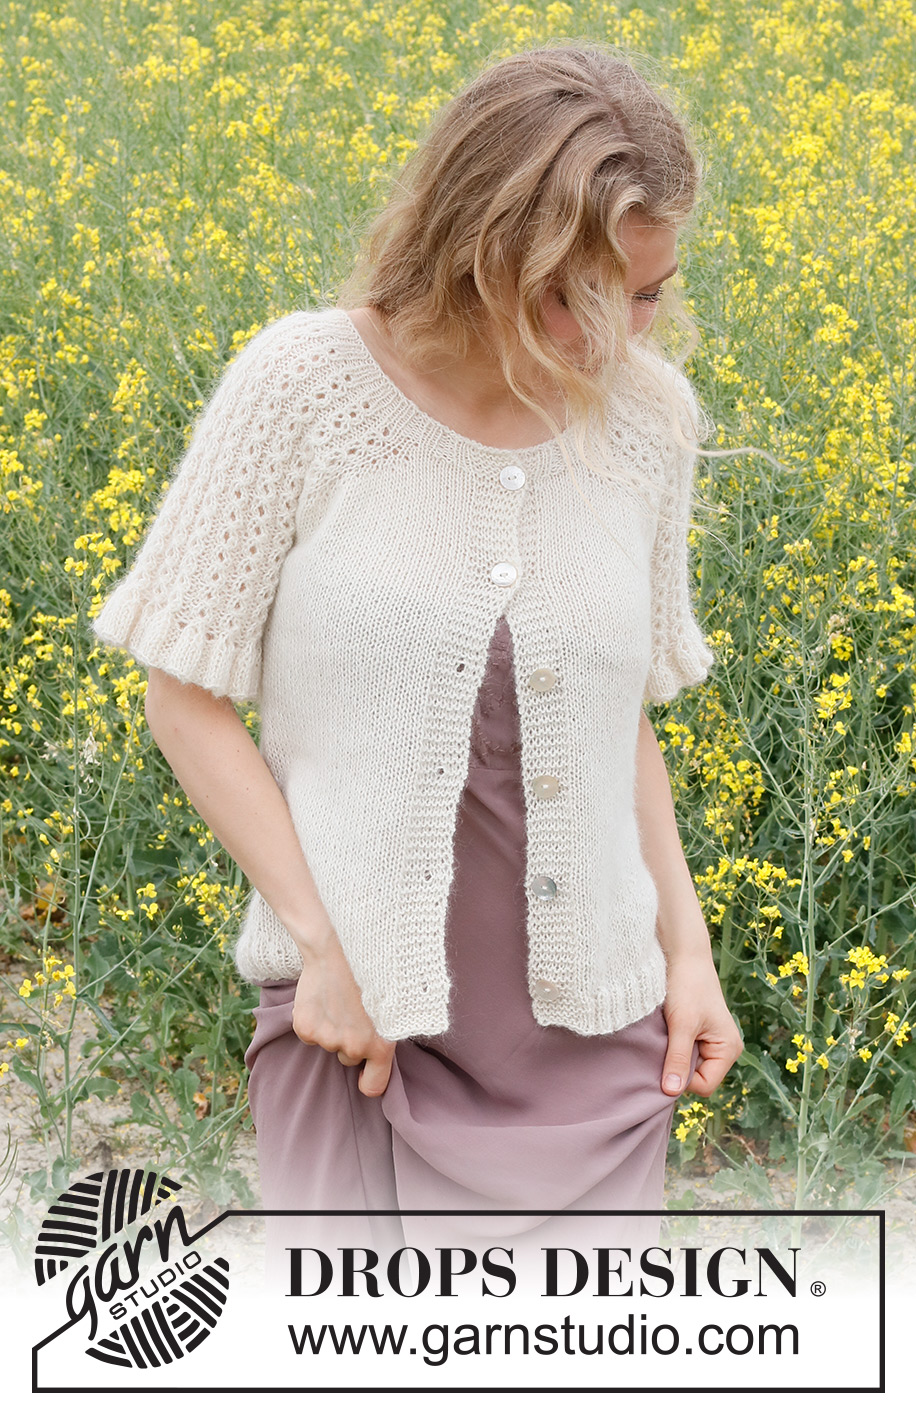
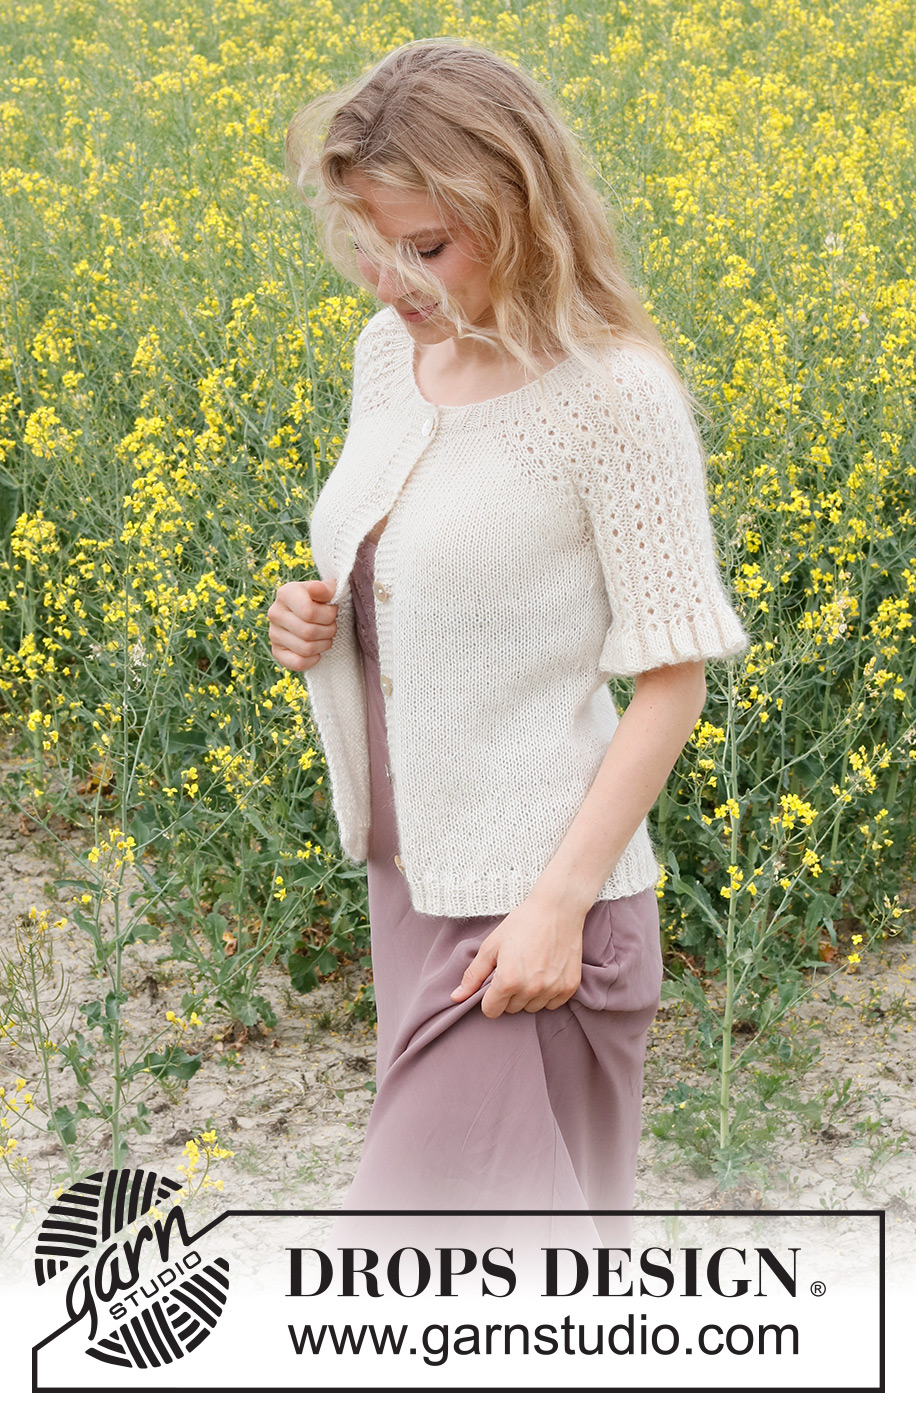
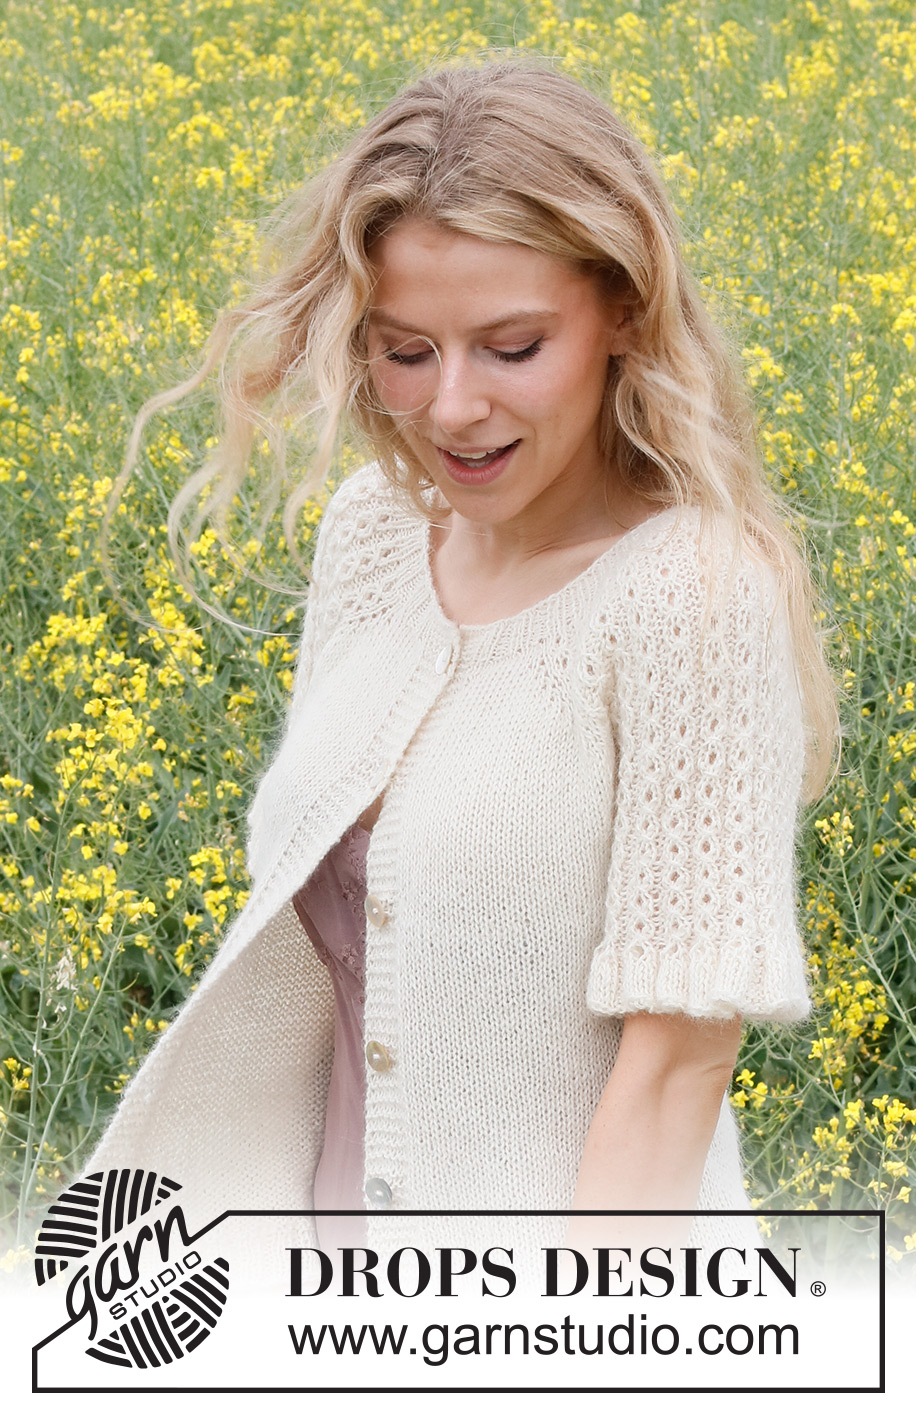
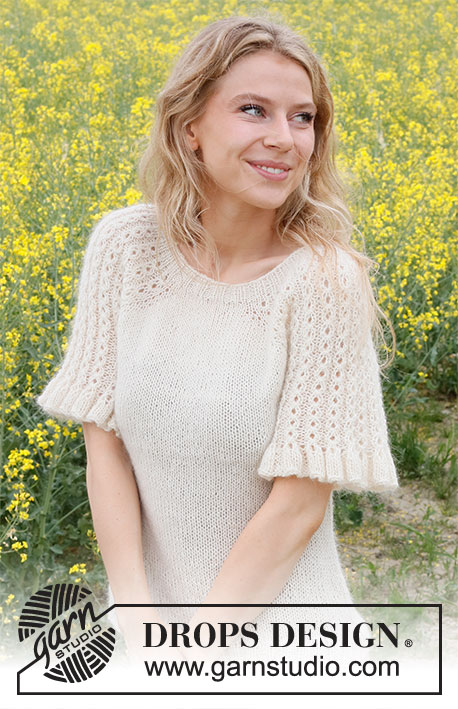
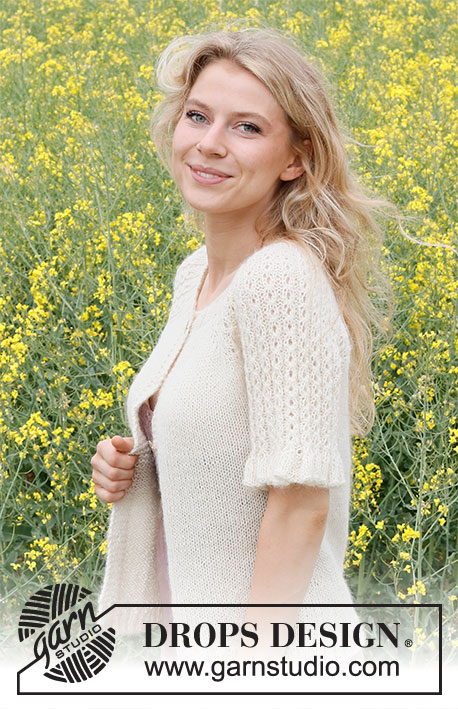
Knitted jacket in DROPS Alpaca and DROPS Kid-Silk. The piece is worked top down, with cables and flounces on the sleeves. Sizes S - XXXL.
DROPS 230-26 |
||||||||||||||||||||||
|
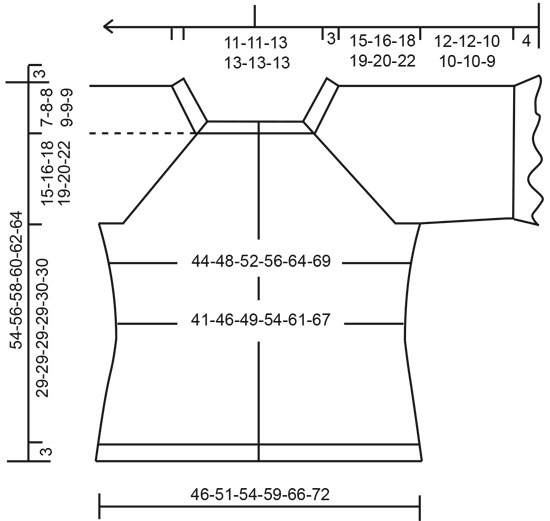
------------------------------------------------------- EXPLANATIONS FOR THE PATTERN: ------------------------------------------------------- RIDGE/GARTER STITCH (worked back and forth): Knit all rows. 1 ridge = knit 2 rows. PATTERN: See diagrams A.1 to A.3. The diagrams show all rows in the pattern from the right side. RAGLAN: All increases are worked from the right side, and on the front and back pieces only (not on the sleeves). First increase 2 stitches towards each raglan on the front and back pieces (= 8 stitches increased on the row), then increase 1 stitch towards each raglan on the front and back pieces (= 4 stitches increased on the row). Increase 2 stitches before markers 1 and 3 as follows: Work until there are 2 stitches left before the marker, make 1 yarn over, knit 1, 1 yarn over, knit 1, marker sits here. Increase 2 stitches after markers 2 and 4 as follows: Knit 1, 1 yarn over, knit 1, 1 yarn over. Increase 1 stitch before markers 1 and 3 as follows: Work until there is 1 stitch left before the marker, 1 yarn over, knit 1, marker sits here. Increase 1 stitch after markers 2 and 4 as follows: Knit 1, 1 yarn over. On the next row purl the yarn overs twisted to avoid holes. Then work the new stitches in stockinette stitch. DECREASE TIP: Decrease 1 stitch on each side of the marker thread as follows: Work until there are 3 stitches left before the marker thread, knit 2 together, knit 2 (the marker thread sits between these 2 stitches), slip 1 stitch as if to knit, knit 1 and pass the slipped stitch over the knitted stitch (= 2 stitches decreased). Repeat at the second marker thread (= 4 stitches decreased on the row). INCREASE TIP-1 (sides of body): All increases are worked from the right side! Work until there are 2 stitches left before the marker thread, 1 yarn over, knit 4 (marker thread sits between these 4 stitches), 1 yarn over. On the next row purl the yarn overs twisted to avoid holes. Then work the new stitches in stockinette stitch. INCREASE TIP-2 (evenly spaced): To work out how to increase evenly, count the number of stitches to be increased over (e.g. 148 stitches) and divide by the number of increases to be made (e.g. 28) = 5.2. In this example, increase by making 1 yarn over after approx. each 5th stitch. On the next row work the yarn overs twisted to avoid holes. BUTTONHOLES: Work buttonholes on the right band (when the garment is worn). Work from the right side when there are 4 stitches left on the row as follows: Make 1 yarn over, knit 2 together and knit 2. On the next row (wrong side), knit the yarn over to leave a hole. The first buttonhole is worked when the rib on the neck measures 3 cm = 1⅛". Then work the other 5-5-5-5-6-6 buttonholes with approx. 8½-9-9½-9½-8-8½ cm = 3¼"-3½"-3⅝"-3⅝"-3⅛"-3¼" between each one. BINDING-OFF TIP: To avoid the bind-off edge being tight you can bind off with a larger size needle. If the edge is still tight, make 1 yarn over after approx. each 4th stitch at the same time as binding off; the yarn overs are bind off as normal stitches. ------------------------------------------------------- START THE PIECE HERE: ------------------------------------------------------- JACKET – SHORT OVERVIEW OF THE PIECE. The neck and yoke are worked back and forth with circular needle, from mid front and top down. The yoke is divided for body and sleeves and the body continued back and forth with circular needle. The sleeves are worked in the round with double pointed needles/short circular needle, top down. NECK: Cast on 112-118-130-136-142-142 stitches (including 7 band stitches on each side) with circular needle size 3.5 MM = US 4 and 1 strand of each quality (= 2 strands). Purl 1 row from the wrong side. Then work the next row as follows: 7 band stitches in GARTER STITCH – read description above, (knit 2, purl 2) over the next 8-8-12-12-12-12 stitches, insert marker 1 here, work A.1 over the next 30-33-33-36-39-39 stitches, work the first 2 stitches in A.1, insert marker 2 here, (purl 2, knit 2) over the next 16-16-20-20-20-20 stitches, purl 2, insert marker 3 here, work A.1 over the next 30-33-33-36-39-39 stitches, work the first 2 stitches in A.1, insert marker 4 here, (purl 2, knit 2) over the next 8-8-12-12-12-12 stitches, 7 band stitches in garter stitch. Continue this rib back and forth, repeating the first 2 rows in A.1 for 3 cm = 1⅛". Remember the BUTTONHOLE on the right band – read description above. Change to circular needle size 4 MM = US 6. Work the next row from the right side as follows: 7 band stitches in garter stitch, work stockinette stitch as far as marker 1 and adjust the number of stitches here to 9-9-11-11-11-11 stitches (i.e. increase 1 stitch in S and M and decrease 1 stitch in L, XL, XXL and XXXL), work row 3 in A.1 as far as marker 2 (= 10-11-11-12-13-13 stitches increased), work stockinette stitch as far as marker 3, work row 3 in A.1 as far as marker 4 (= 10-11-11-12-13-13 stitches increased), work stockinette stitch until there are 7 stitches left and adjust the number of stitches here to 9-9-11-11-11-11 stitches (i.e. increase 1 stitch in S and M and decrease 1 stitch in L, XL, XXL and XXXL), 7 band stitches in garter stitch. There are now 134-142-150-158-166-166 stitches. Work 1 row back from the wrong side with the last row in A.1 and stockinette stitch over the other stitches. Insert a marker inside one band. The piece is now measured from here. YOKE: Change to circular needle size 5 MM = US 8. Now work pattern at the same time as you increase to raglan. Read PATTERN and RAGLAN before continuing. PATTERN: Work 7 band stitches in garter stitch, stockinette stitch as far as marker 1, A.2 over the next 40-44-44-48-52-52 stitches (= 10-11-11-12-13-13 repeats), work the first 2 stitches in A.2, marker 2 sits here, work stockinette stitch as far as marker 3, A.2 over the next 40-44-44-48-52-52 stitches (= 10-11-11-12-13-13 repeats), work the first 2 stitches in A.2, marker 4 sits here, work stockinette stitch until there are 7 stitches left, 7 band stitches in garter stitch. REMEMBER THE KNITTING GAUGE! RAGLAN: At the same time on the first row from the right side, begin to increase to RAGLAN – read description above. Increase 2 stitches every 2nd row 8-11-12-14-15-20 times, then increase 1 stitch every 2nd row 7-5-4-4-8-3 times = 23-27-28-32-38-43 stitches increased on each side of the front pieces and back piece. When all the increases to raglan are finished there are 226-250-262-286-318-338 stitches. Continue working until the piece measures approx. 15-16-18-19-20-22 cm = 6"-6¼"-7"-7½"-8"-8¾" from the marker on the band – adjust so you finish after row 3 in A.2. Now divide the yoke for the body and sleeves: Work the first 39-43-46-50-56-61 stitches (= front piece), place the next 42-46-46-50-54-54 stitches on 1 thread for the sleeve, cast on 10 stitches (= in side under the sleeve), work the next 64-72-78-86-98-108 stitches (= back piece), place the next 42-46-46-50-54-54 stitches on 1 thread for the sleeve, cast on 10 stitches (= in side under the sleeve), work the last 39-43-46-50-56-61 stitches (= front piece). The body and sleeves are finished separately. THE PIECE IS NOW MEASURED FROM HERE. BODY: = 162-178-190-206-230-250 stitches. Insert 1 marker thread in the middle of the new stitches cast on under each sleeve (= 5 new stitches on each side of the thread). Allow the threads to follow your work onwards; they are used when decreasing/increasing in the sides. Work stockinette stitch back and forth, with 7 band stitches in garter stitch on each side for 4 cm = 1½". Now decrease 1 stitch on each side of both marker threads – read DECREASE TIP. Decrease like this every 3 cm = 1⅛" a total of 2 times = 154-170-182-198-222-242 stitches. When the piece measures 12 cm = 4¾" from the division, increase 1 stitch on each side of both marker threads – read INCREASE TIP-1. Increase like this every 3 cm = 1⅛" a total of 4 times = 170-186-198-214-238-258 stitches. Continue working until the piece measures 29-29-29-29-30-30 cm = 11⅜"-11⅜"-11⅜"-11⅜"-11¾"-11¾" from the division. There is approx. 3 cm = 1⅛" left; try the jacket on and work to desired length. To avoid the following rib being tight, increase 34-34-38-42-46-50 stitches evenly spaced – read INCREASE TIP-2 = 204-220-236-256-284-308 stitches. Change to circular needle size 4 MM = US 6. Work rib as follows: 7 band stitches in garter stitch, (knit 2, purl 2) until there are 9 stitches left, knit 2 and 7 band stitches in garter stitch. Continue this rib for 3 cm = 1⅛". Bind off with knit over knit and purl over purl – read BINDING-OFF TIP. The jacket measures approx.54-56-58-60-62-64 cm = 21¼"-22"-22¾"-23⅝"-24⅜"-25¼" from the shoulder down. SLEEVES: Place the 42-46-46-50-54-54 stitches from the thread on the one side of the piece on double pointed needles/short circular needle size 5 MM = US 8 and knit up 1 stitch in each of the 10 stitches cast on under the sleeve = 52-56-56-60-64-64 stitches. Work A.2 in the round – adjust so the pattern matches the yoke. When the sleeve measures 12-12-10-10-10-9 cm = 4¾"-4¾"-4"-4"-4"-3½" – adjust to finish after a complete repeat in height, work a flounce-edge. There is approx. 4 cm = 1½" left; try the jacket on and work to desired length.. Work A.3 over A.2. When all the increases in A.3 are finished, there are 117-126-126-135-144-144 stitches. When A.3 is finished, bind off with knit over knit and purl over purl – remember BINDING-OFF TIP. The sleeve measures approx. 16-16-14-14-14-13 cm = 6¼"-6¼"-5½"-5½"-5½"-5⅛". Work the other sleeve in the same way. ASSEMBLY: Sew the buttons onto the left band. |
||||||||||||||||||||||
Diagram explanations |
||||||||||||||||||||||
|
||||||||||||||||||||||
 |
||||||||||||||||||||||
 |
||||||||||||||||||||||
Have you finished this pattern?Tag your pictures with #dropspattern #pearlescentcardigan or submit them to the #dropsfan gallery. Do you need help with this pattern?You'll find 30 tutorial videos, a Comments/Questions area and more by visiting the pattern on garnstudio.com. © 1982-2026 DROPS Design A/S. We reserve all rights. This document, including all its sub-sections, has copyrights. Read more about what you can do with our patterns at the bottom of each pattern on our site. |
||||||||||||||||||||||


With over 40 years in knitting and crochet design, DROPS Design offers one of the most extensive collections of free patterns on the internet - translated to 17 languages. As of today we count 325 catalogs and 12298 patterns - 12288 of which are translated into English (US/in).
We work hard to bring you the best knitting and crochet have to offer, inspiration and advice as well as great quality yarns at incredible prices! Would you like to use our patterns for other than personal use? You can read what you are allowed to do in the Copyright text at the bottom of all our patterns. Happy crafting!
Post a comment to pattern DROPS 230-26
We would love to hear what you have to say about this pattern!
If you want to leave a question, please make sure you select the correct category in the form below, to speed up the answering process. Required fields are marked *.