Comments / Questions (17)
![]() Liisa wrote:
Liisa wrote:
Hei! Monellako silmukalla työ kannattaa aloittaa, jos jättää korkean kauluksen tekemättä ja aloittaa suoraan pääntiestä?
11.01.2022 - 23:19DROPS Design answered:
Hei, aloittaisin luomalla 76-76-76-88-88-88 silmukkaa (katso oman koosi luku). Neulo ainakin muutama kerros esim. ainaoikeaa ennen kuin aloitat mallineuleen.
20.01.2022 - 17:35
![]() Nono wrote:
Nono wrote:
Bonjour, Une fois mes 180 mailles je peine à retomber sur les diagrammes précédents. La faute aux 5 mailles montées sous les bras qui décalent tout? Vous dites de tricoter en jersey les mailles qui ne peuvent s'inclure dans les diagrammes mais cela veut dire qu'il y aura tout une bande de jersey sur les cotés du pull?Dans l'attente de votre réponse pour continuer mon ouvrage.merci
11.01.2022 - 19:42DROPS Design answered:
Bonjour Nono, vous devez tomber juste, les augmentations sont calculées de telle sorte que le motif tombera juste sous les manches: les 2 dernières mailles du dos/devant se tricotent avec la 1ère des 5 mailles, puis 1 jeté,1 m end, 1 m env, 1 m end, 1 jeté, et la dernière de ces 5 mailles se tricote avec les 2 premières mailles du devant/dos, ainsi, le motif continue sans s'arrêter. Bon tricot!
12.01.2022 - 07:15
![]() Marie wrote:
Marie wrote:
Je fais la taille M, quand j'ai mes 180 mailles sur l'aiguille et que je veux continuer sans augmenter, je prends quel diagramme?
11.12.2021 - 22:19DROPS Design answered:
Bonjour Marie, vous continuez votre point fantaisie comme avant, en alternant les double-diminutions + les 2 jetés et la maille envers, exactement comme vous avez fait auparavant. Tricotez en jersey si besoin les mailles que vous ne pouvez pas tricoter dans le point fantaisie. Bon tricot!
13.12.2021 - 09:23
![]() Christl wrote:
Christl wrote:
Fehler Diagramm : A1 Reihe 9: 1 umschlag, 2 rechts zusammen stricken, 1 umschlag In der Skizze fehlt der 2te umschlag, auch bei diagramm A2, A3a, A3c Ansonsten geht das Muster und die maschenanzahl zum unterteilen von Rumpfteil und ärmel nicht auf :-)
24.11.2021 - 11:35DROPS Design answered:
Liebe Christl, herzlichen Dank für Ihre Rückmeldung, so wurden auch A.1 und A.2 korrigiert, versuchen Sie die Seite zu aktualisieren, oder den Cache zu leeren, und normaleweise sollte dann die beide Diagramme korrekt aussehen. Viel Spaß beim stricken!
24.11.2021 - 15:49
![]() Christl wrote:
Christl wrote:
Hallo liebes drops team. Das diagramm A1 und A2 ist leider immer noch falsch. Jeweils in Reihe 9 fehlt ein umschlag. Lg
19.11.2021 - 22:54DROPS Design answered:
Liebe Christl, bei A.2 werden 6 M abegnommen und 8 Umschläge = 2 Zunahmen - bei A.1 werden 10-12 M abgenommen und 12-14 Umschläge, dann hat man 2 Zunahmen bei der 9. Runde in beide Diagramme (und alle Größen). Oder misverstehe Ich etwas?
22.11.2021 - 09:06
![]() Lisa wrote:
Lisa wrote:
Orchid
04.08.2021 - 00:14
![]() Elisa wrote:
Elisa wrote:
Victorian beauty
03.08.2021 - 21:43
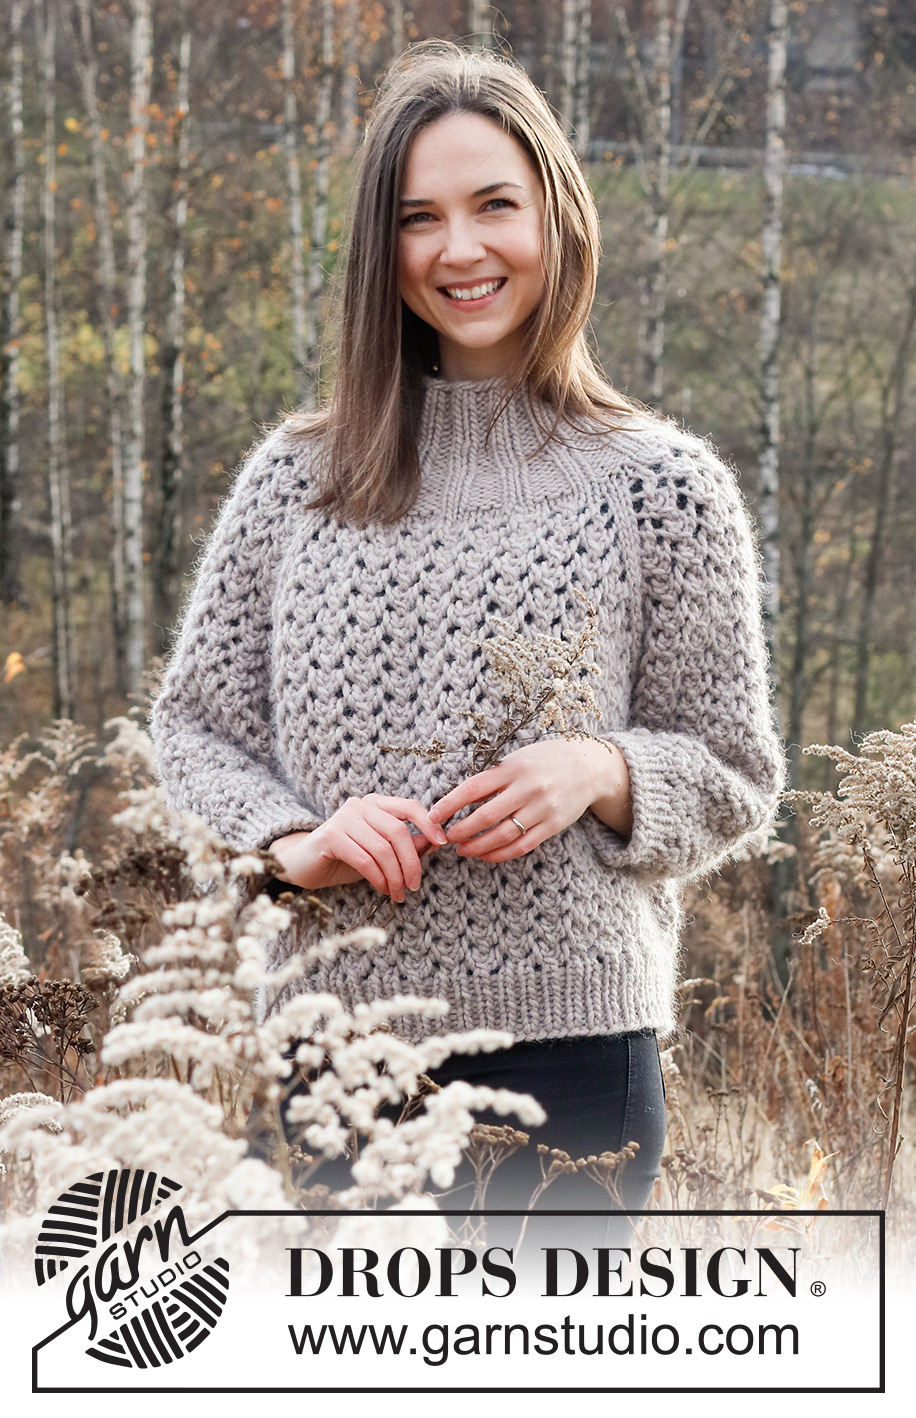
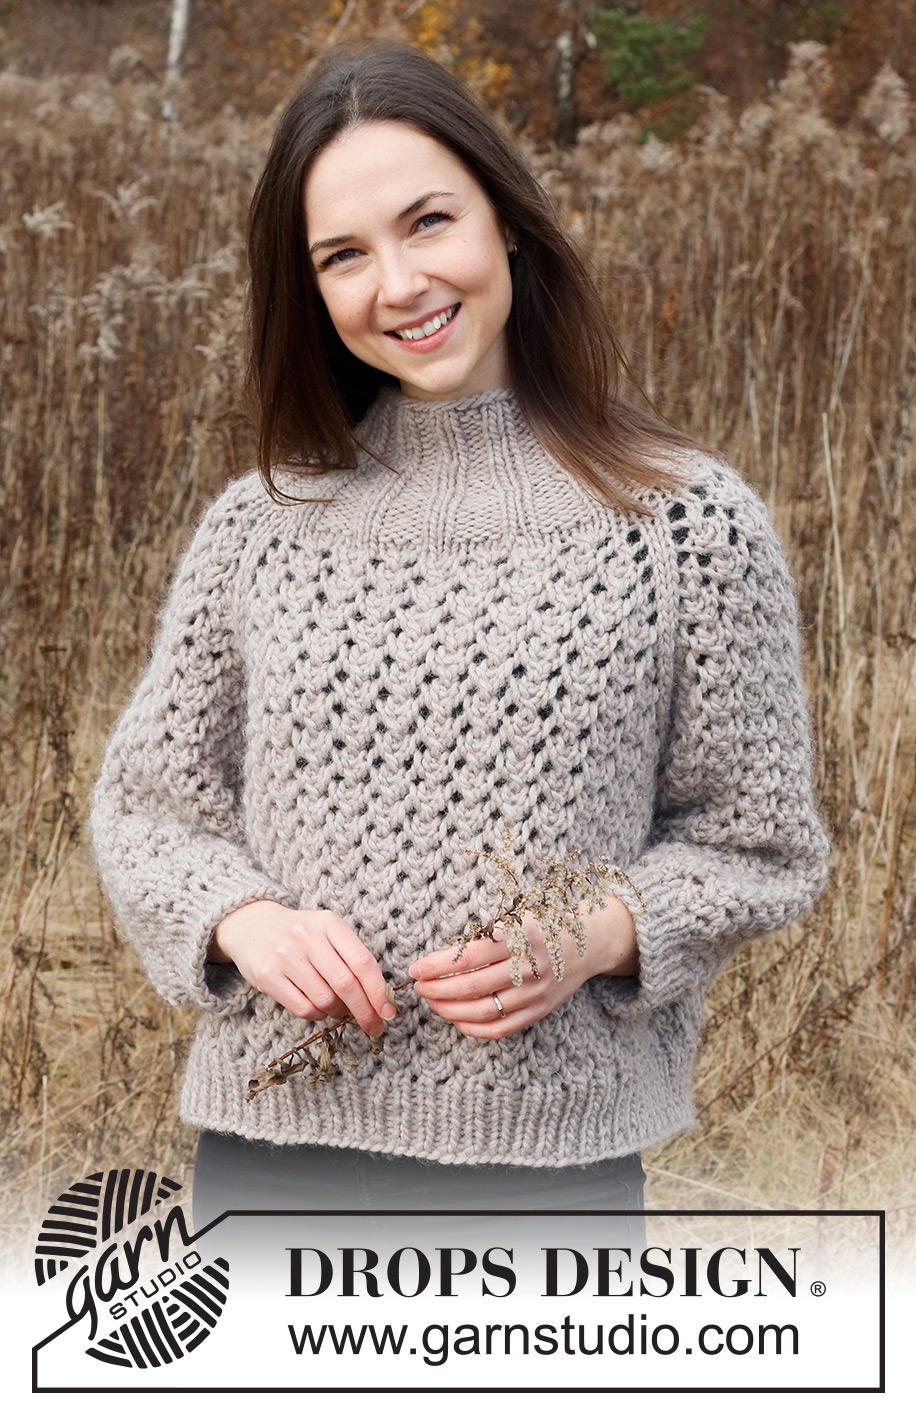
Rocky Shores Sweater#rockyshoressweater |
|||||||||||||||||||
 |
 |
||||||||||||||||||
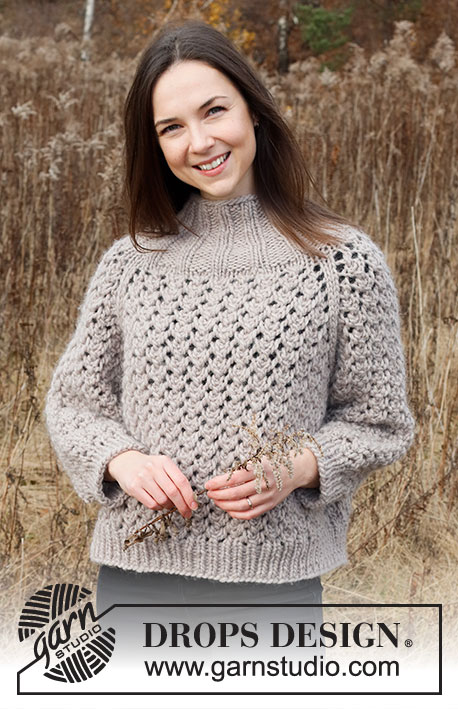
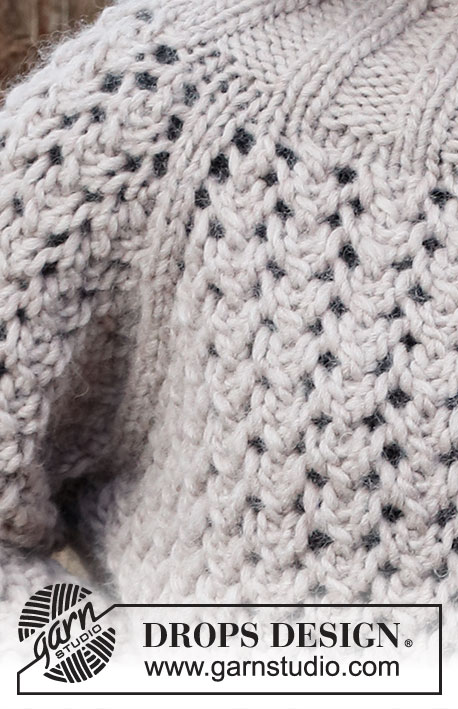
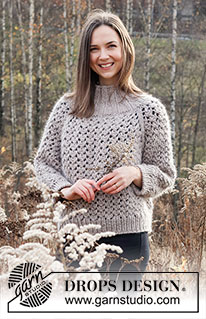
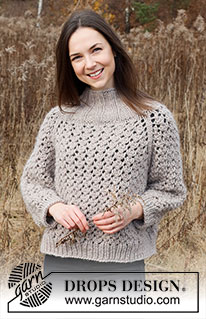
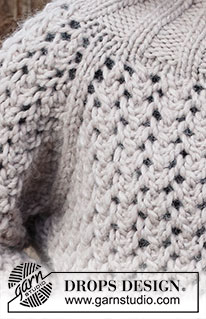
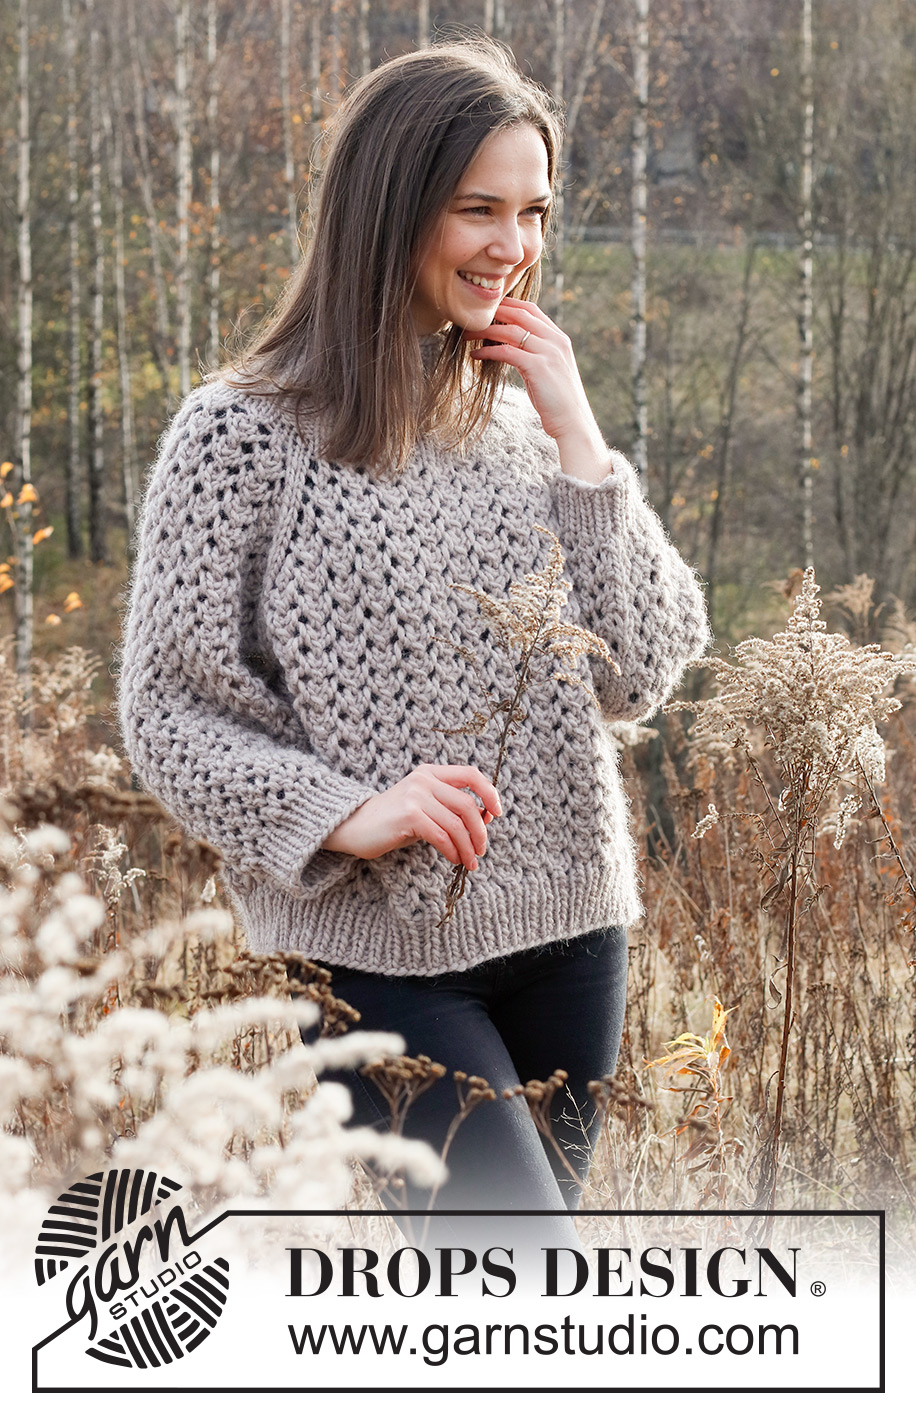
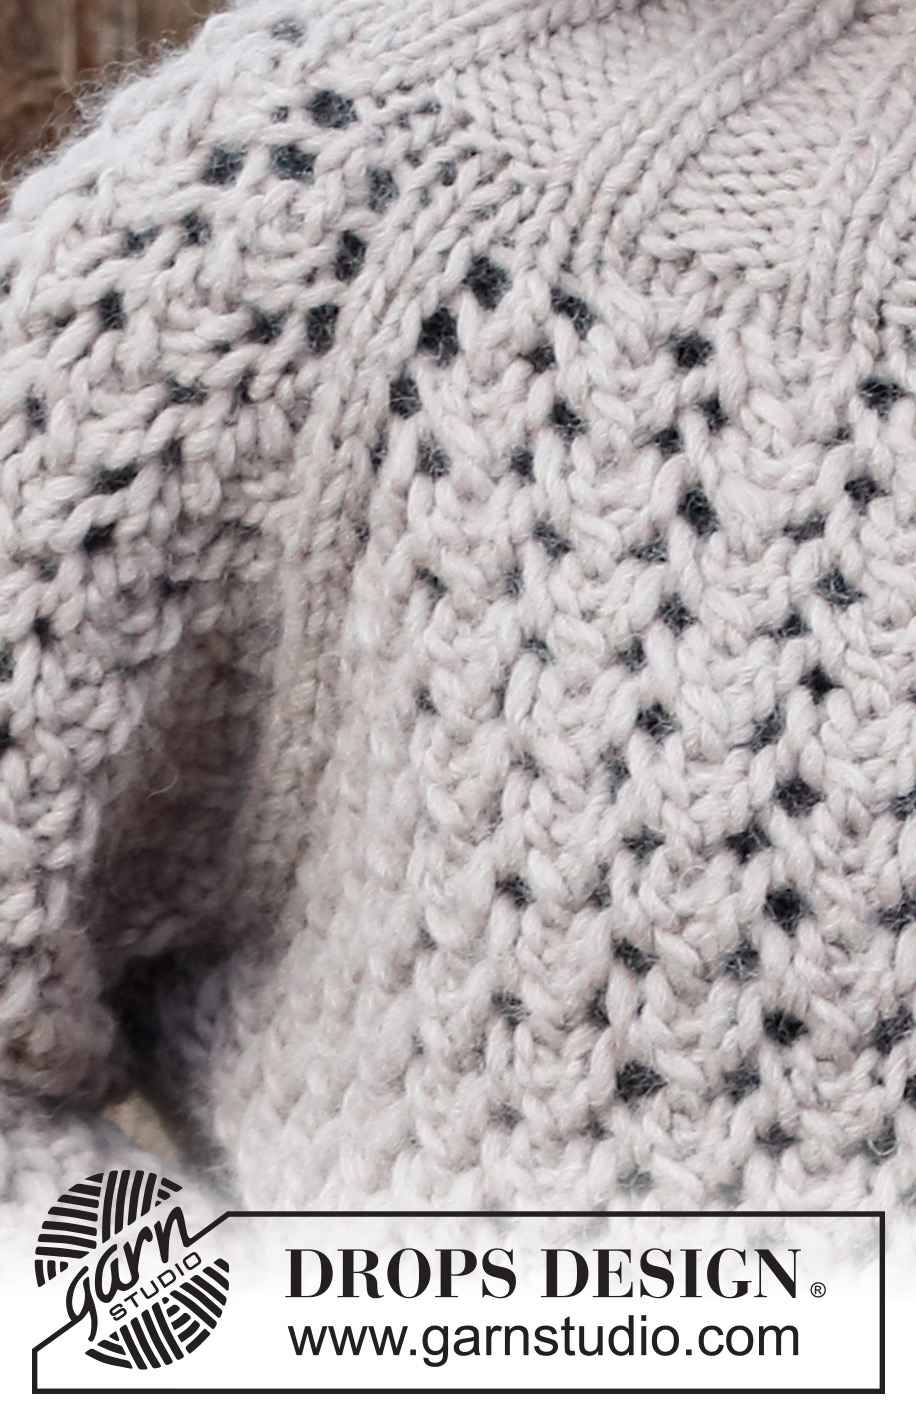
Knitted sweater in DROPS Snow or DROPS Wish. The piece is worked top down with raglan and lace pattern. Sizes S - XXXL.
DROPS 226-29 |
|||||||||||||||||||
|
------------------------------------------------------- EXPLANATIONS FOR THE PATTERN: ------------------------------------------------------- PATTERN: See diagrams A.1 to A.3. Choose diagram appropriate to your size in diagram A.1 INCREASE TIP (evenly spaced): To work out how to increase evenly, count the total number of stitches on the needle (e.g. 108 stitches) and divide by the number of increases to be made (e.g. 8) = 13.5. In this example, increase by making 1 yarn over after alternately each 13th and 14th stitch. On the next round work the yarn overs twisted to avoid holes. DECREASE TIP (for sleeves): Decrease 1 stitch on either side of the marker-stitch as follows: Work until there are 3 stitches left before the marker-stitch, knit 2 together, knit 3 (marker-stitch is the middle stitch), slip 1 stitch as if to knit, knit 1 and pass the slipped stitch over the knitted stitch (2 stitches decreased). BINDING-OFF TIP: To avoid the bind-off edge being tight you can bind off with a larger size needle. If the edge is still tight, make 1 yarn over after approx. each 8th stitch at the same time as binding off; the yarn overs are bind off as normal stitches. ------------------------------------------------------- START THE PIECE HERE: ------------------------------------------------------- SWEATER – SHORT OVERVIEW OF THE PIECE. The neck and yoke and body are worked in the round with circular needle, top down. The beginning of the round is in the transition between the left shoulder and the back piece. The sleeves are worked in the round with double pointed needles/short circular needle, top down. NECK: Cast on 60-60-60-68-68-68 stitches with circular needle size 7 MM = US 10.75 and DROPS Snow or DROPS Wish. Knit 1 round. Then work rib in the round (knit 2, purl 2) for 8 cm = 3⅛". Now increase 1 stitch in each purled section by making 1 yarn over at the end of each purled section; on the next round work the yarn overs twisted to avoid holes = 75-75-75-85-85-85 stitches. Continue the new rib (knit 2, purl 3) for 4 cm = 1½". The rib is now 12 cm = 4¾". Change to circular needle size 8 MM = US 11 and knit 1 round where you increase 1-1-1-3-3-3 stitches evenly spaced = 76-76-76-88-88-88 stitches. Knit 2 rounds. Insert 1 marker in the middle of the round (= mid-front). THE PIECE IS NOW MEASURED FROM HERE! YOKE: The first round is worked as follows: A.1 (= 23-23-23-29-29-29 stitches on the back piece), work 2 stitches in stockinette stitch (= raglan-line), A.2 (= 11 stitches on the sleeve), work 2 stitches in stockinette stitch (= raglan-line), A.1 (= 23-23-23-29-29-29 stitches on the front piece), work 2 stitches in stockinette stitch (= raglan-line), A.2 (= sleeve), work 2 stitches in stockinette stitch (= raglan-line). You have increased 8 stitches; these increases are drawn into A.1 and A.2. When A.1 and A.2 have been completed in height, continue as follows: BACK AND FRONT PIECES: Work A.3A over the first 5-5-5-5-5-5 stitches, A.3B over the next 24-24-24-30-30-30 stitches (= 4-4-4-5-5-5 repeats of 6 stitches), finish with A.3C over the last 6-6-6-6-6-6 stitches. SLEEVES: Work A.3A over the first 5-5-5-5-5-5 stitches, A.3B over the next 12-12-12-12-12-12 stitches (= 2 repeats of 6 stitches), finish with A.3C over the last 6-6-6-6-6-6 stitches. Each time A.3 is worked 1 time in height, there is room for 2 more repeats of A.3B between A.3A and A.3C. Continue with A.3 until you have increased a total of 13-13-16-16-19-22 times. There are 180-180-204-216-240-264 stitches. REMEMBER THE KNITTING GAUGE! Continue working without further increases (continue pattern as shown in A.3B) until the piece measures 18-20-21-23-25-27 cm = 7"-8"-8¼"-9"-9¾"-10⅝" from the marker on the neck. Now divide the piece for the body and sleeves and finish each piece separately. Work the next round as follows: Work 49-49-55-61-67-73 stitches as before (= back piece), place the next 41-41-47-47-53-59 stitches on 1 thread for the sleeve, cast on 5 new stitches (= in side under sleeve), work 49-49-55-61-67-73 stitches as before (= front piece), place the next 41-41-47-47-53-59 stitches on 1 thread for the sleeve, cast on 5 new stitches (= in side under sleeve). THE PIECE IS NOW MEASURED FROM HERE! BODY: = 108-108-120-132-144-156 stitches. Continue the pattern as before. When the piece measures 24-24-25-25-25-25 cm = 9½"-9½"-9¾"-9¾"-9¾"-9¾" knit 1 round where you increase 8 stitches evenly spaced – remember INCREASE TIP = 116-116-128-140-152-164 stitches. Change to circular needle size 7 MM = US 10.75 and work rib (knit 1, purl 1) for 6 cm = 2⅜". Loosely bind off with knit over knit and purl over purl – read BINDING-OFF TIP. The sweater measures 52-54-56-58-60-62 cm = 20½"-21¼"-22"-22¾"-23⅝"-24⅜" from the shoulder down. SLEEVES: Place the 41-41-47-47-53-59 stitches from the thread on the one side of the piece on double pointed needles/short circular needle size 8 MM = US 11 and knit up 1 stitch in each of the 5 stitches cast on under the sleeve = 46-46-52-52-58-64 stitches. Insert a marker in the middle of the 5 stitches under the sleeve and start the round here. Continue the pattern in the round, but without further increases – make sure the pattern matches the stitches on the yoke – NOTE! The stitches which do not fit into the pattern under the sleeve are worked in stockinette stitch. When the sleeve measures 4 cm = 1½", decrease 1 stitch on each side of the marker-stitch – read DECREASE TIP. Decrease like this every 5½-5½-4½-4-3-2½ cm = 2⅛"-2⅛"-1⅝"-1½"-1⅛"-1" a total of 6-6-7-7-8-10 times = 34-34-38-38-42-44 stitches. Continue working until the sleeve measures 37-36-36-33-32-31 cm = 14½"-14¼"-14¼"-13"-12½"-12¼" from the division (or to desired length; there is approx. 6 cm = 2⅜" left to finished length). Change to double pointed needles size 7 MM = US 10.75 and work rib (knit 1, purl 1) for 6 cm = 2⅜". Loosely bind off with knit over knit and purl over purl. The sleeve measures approx. 43-42-42-39-38-37 cm = 17"-16½"-16½"-15¼"-15"-14½" from the division. Work the other sleeve in the same way. |
|||||||||||||||||||
Diagram explanations |
|||||||||||||||||||
|
|||||||||||||||||||
 |
|||||||||||||||||||
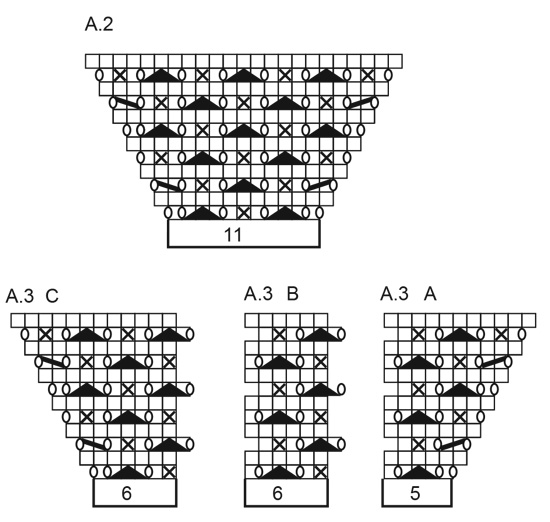 |
|||||||||||||||||||
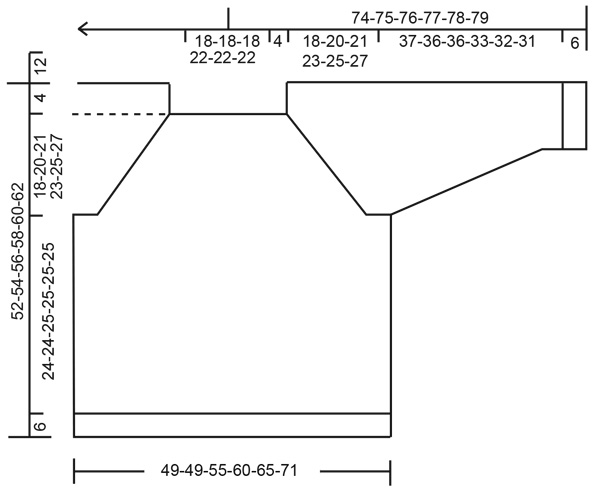 |
|||||||||||||||||||
Have you finished this pattern?Tag your pictures with #dropspattern #rockyshoressweater or submit them to the #dropsfan gallery. Do you need help with this pattern?You'll find 27 tutorial videos, a Comments/Questions area and more by visiting the pattern on garnstudio.com. © 1982-2025 DROPS Design A/S. We reserve all rights. This document, including all its sub-sections, has copyrights. Read more about what you can do with our patterns at the bottom of each pattern on our site. |
|||||||||||||||||||







Post a comment to pattern DROPS 226-29
We would love to hear what you have to say about this pattern!
If you want to leave a question, please make sure you select the correct category in the form below, to speed up the answering process. Required fields are marked *.