
Popular categories
Looking for a yarn?


Comments / Questions (129)
![]() Susan Nichols wrote:
Susan Nichols wrote:
Could you send me a video of “knit-twisted” and “purl-twisted”.
12.11.2025 - 01:34DROPS Design answered:
Hi Susan, Here is a video of how to knit twisted: https://www.garnstudio.com/video.php?id=1852&lang=us Purl twisted is the same method (purl through the back of the stitch) as knit twisted. Regards, Drops Team.
12.11.2025 - 06:43
![]() Gabriela wrote:
Gabriela wrote:
Perdón no me quedó claro lo de disminuir después del elástico, o entendí mal? Gracias
07.11.2025 - 16:03
![]() Anna-Greta Larsson wrote:
Anna-Greta Larsson wrote:
Vill byta garn till Baby Merino. Hur mycket blir garnåtgången för stl M och stl L i Baby Merino? Vilka nummer på stickor skall jag använda 3 eller 4?
07.11.2025 - 12:34DROPS Design answered:
Hei Anna-Greta. Denne vesten er skrevet for et garn som er tykkere enn Baby Merino, så oppskriften vil ikke passe til Baby Merino. Men ta en titt på våre vester som er strikket i garngruppe A, så kan du bruke Baby Merino. mvh DROPS Design
17.11.2025 - 20:51
![]() Gabriela wrote:
Gabriela wrote:
Bellísimo!!! No me queda claro lo de disminuir después del elástico. Gracias
05.11.2025 - 23:46
![]() Carmen wrote:
Carmen wrote:
Thank you so much for the video on the neckline. One more question: do I pick up one stitch for every row around the neckline? Or do I need to increase the number of stitches using the same ratio as for the bottom ribbing? Thank you 🌸
23.10.2025 - 00:52DROPS Design answered:
Hi Carmen, To get an even rib around the neckline it is best to continue the ratio you have used picking up stitches along mid-front. Regards, Drops Team.
23.10.2025 - 08:10
![]() Carmen wrote:
Carmen wrote:
As a new knitter, I'm so grateful for this free pattern. So far, the instructions are clear and easy to follow. I'm wondering if you have a video showing how to pick up stitches along the neckline. Thanks so much! 🌸🏵️🌸
17.10.2025 - 04:21DROPS Design answered:
Hi Carmen, Here is a link to our video showing you how to knit up stitches along the neckline: https://www.garnstudio.com/video.php?id=1787&lang=en Regards, Drops Team.
17.10.2025 - 06:39
![]() Françoise Roy wrote:
Françoise Roy wrote:
Bonjour, Je voudrais faire ce modèle dans une autre couleur. Comment changer à la commande ? Merci pour votre réponse.
16.10.2025 - 15:12DROPS Design answered:
Bonjour Mme Roy, il vous suffit simplement de choisir la couleur souhaitée avant de valider votre commande. Votre magasin saura vous aider et vous conseiller, même par mail ou téléphone si besoin. Bon tricot!
16.10.2025 - 17:34
![]() Sumita wrote:
Sumita wrote:
I don’t use circular needles. Can this instruction be used for flat needle knitting
11.10.2025 - 00:16DROPS Design answered:
Dear Sumita, here you can check how to adapt this pattern to straight needles. Since this piece is worked back and forth you can adapt it easily to straight needles. However, you can't work the neck edge with straight needles, since it's worked in the round; you can use double pointed needles instead. Happy knitting!
12.10.2025 - 20:43
![]() Anna Maria wrote:
Anna Maria wrote:
Salve! Un consiglio per favore: È possibile sostituire il filato puna con Sky oppure soft tweed per il modello Visita Vienna? Grazie infinite
24.09.2025 - 08:30DROPS Design answered:
Buonasera Anna Maria, Sky e Soft Tweed appartengono allo stesso gruppo filati di Puna, quindi può seguire le stesse spiegazioni, controllando che il suo campione corrisponda a quello indicato. Buon lavoro!
11.10.2025 - 19:05
![]() Guðrún wrote:
Guðrún wrote:
Hvar finn ég uppskriftina?
02.09.2025 - 16:51DROPS Design answered:
Blessuð Guðrún. Efst á síðunni okkar er mynd af stækkunargleri, þar getur þú sett inn númerið á uppskriftinni 227-9. Gangi þér vel.
06.09.2025 - 11:37
|
|||||||
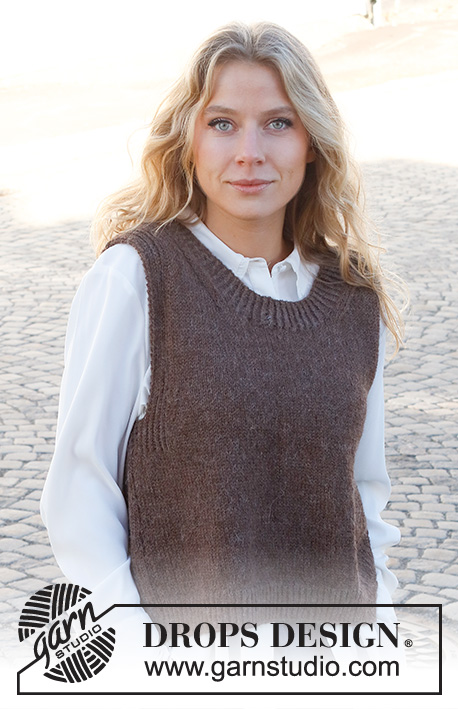
Visit Vienna#visitviennaslipover |
|||||||
 |
 |
||||||
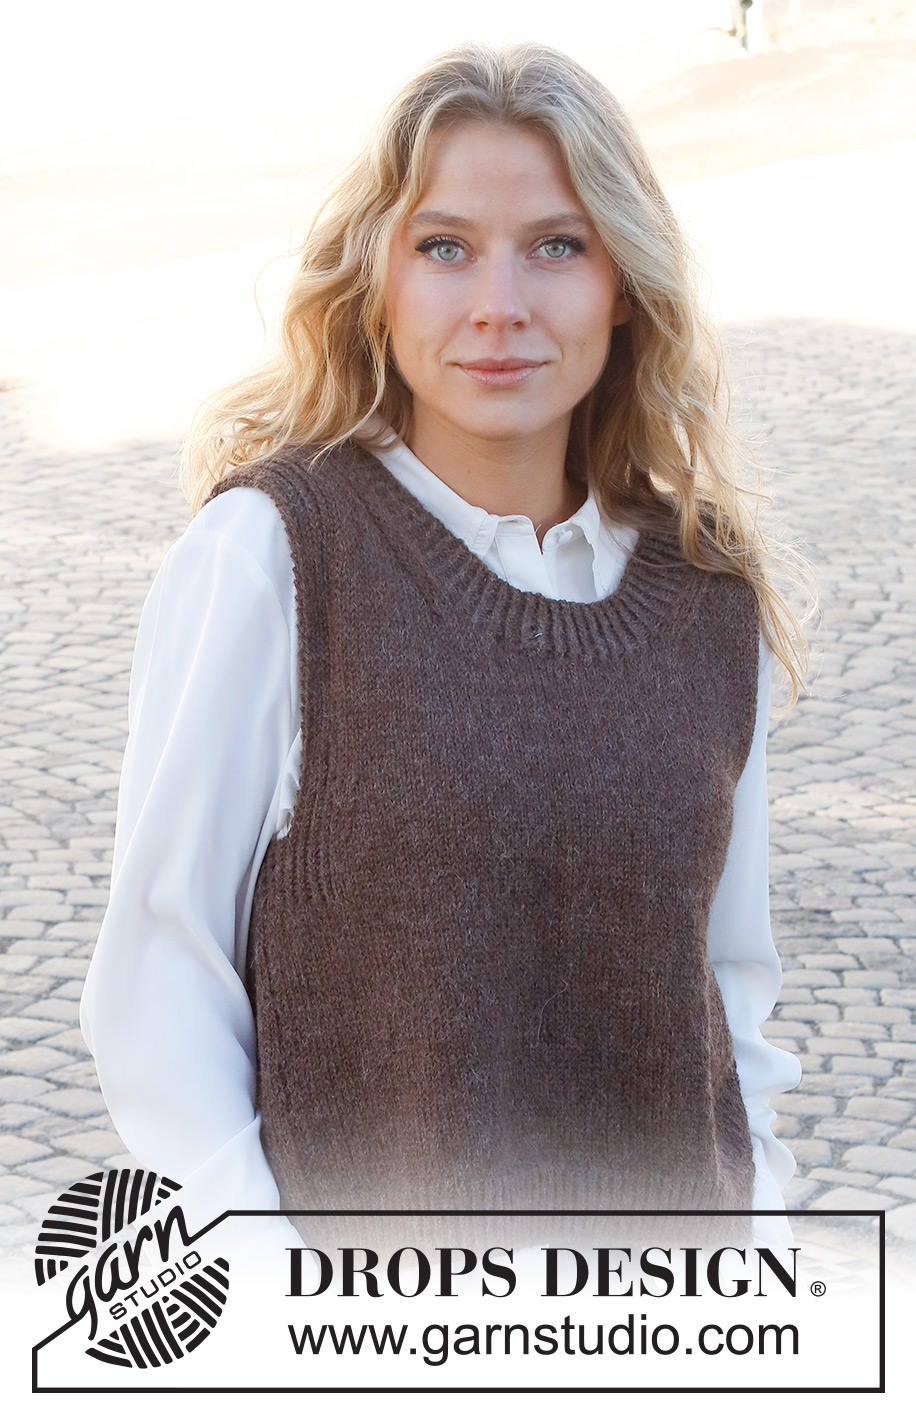
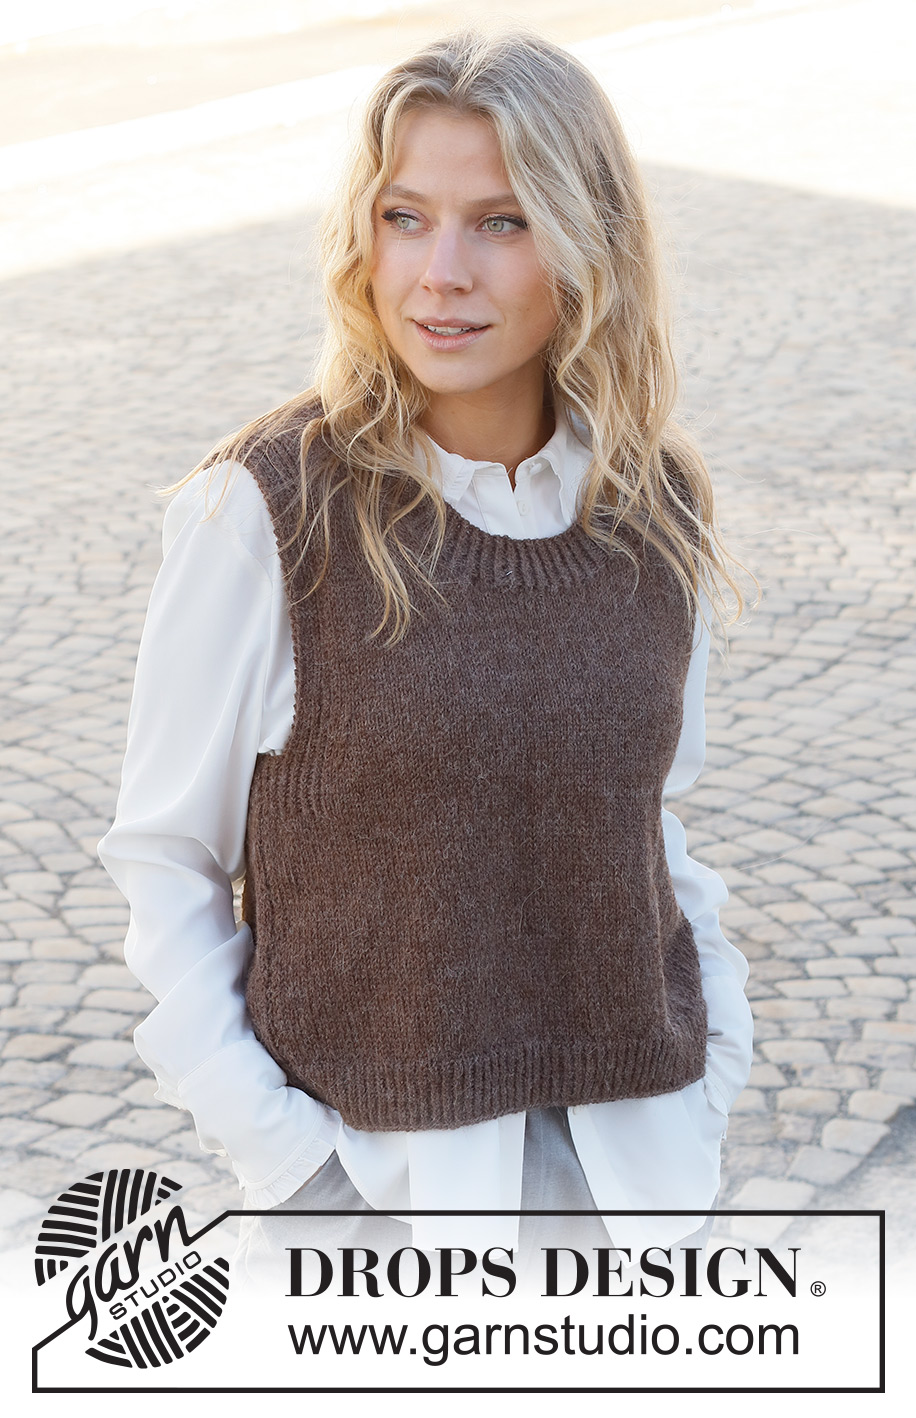
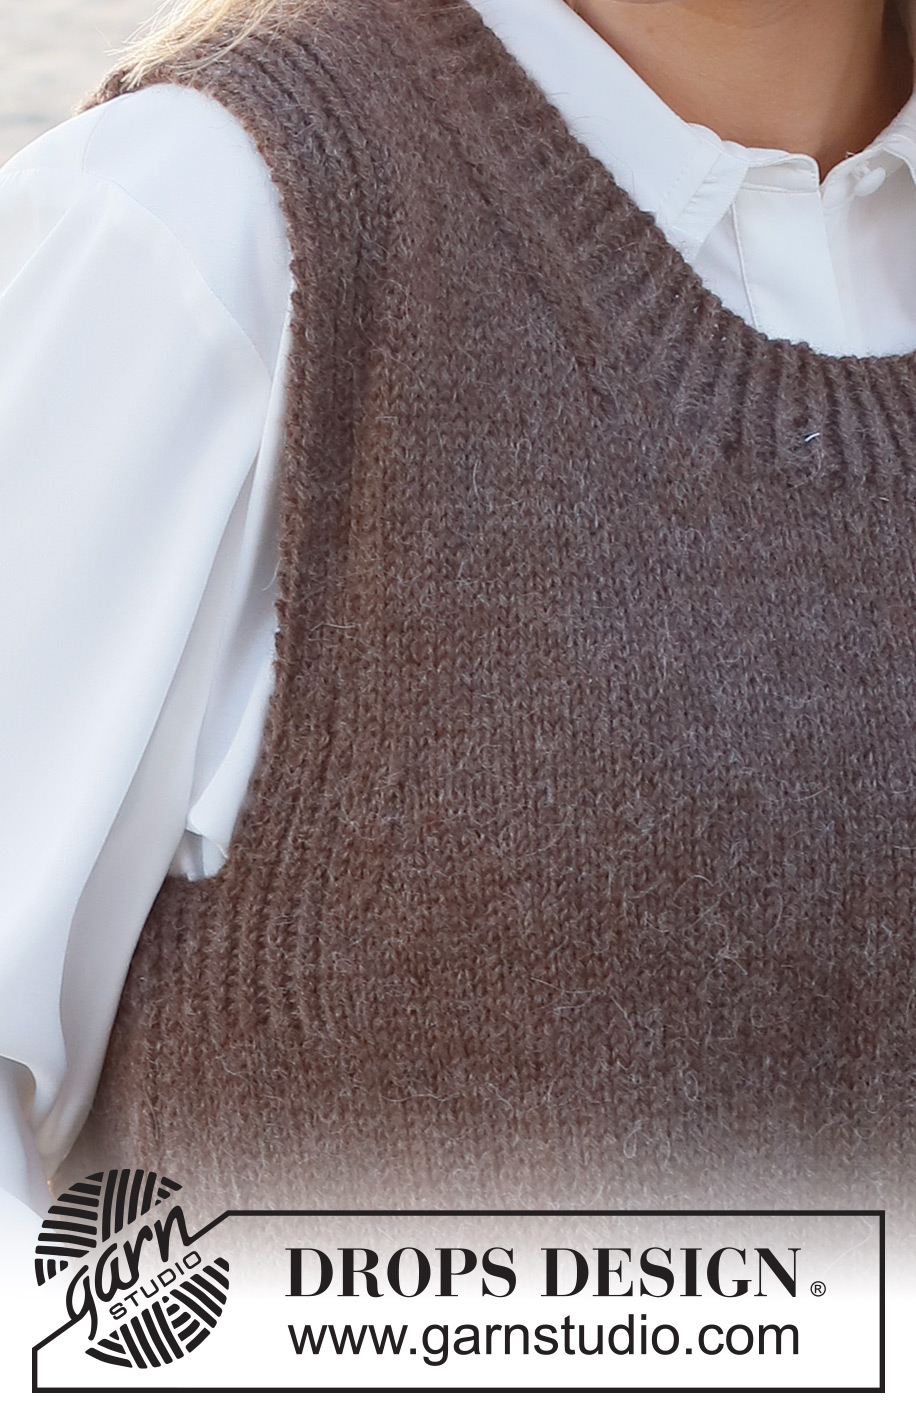
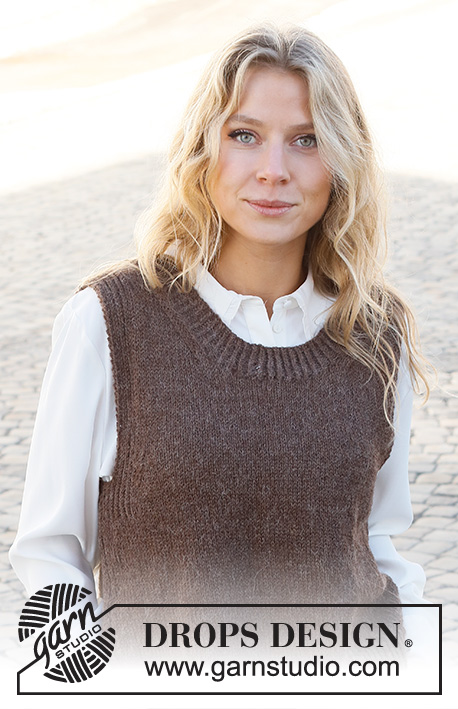
Knitted vest in DROPS Puna. The piece is worked with ribbed edges. Sizes S - XXXL.
DROPS 227-9 |
|||||||
|
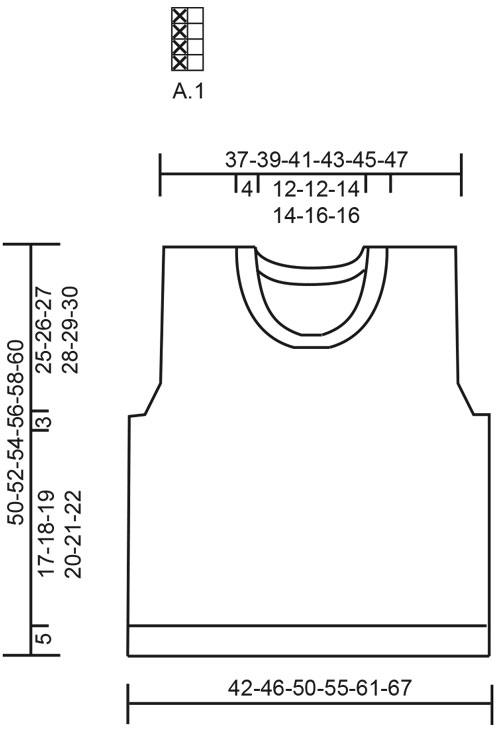
------------------------------------------------------- EXPLANATIONS FOR THE PATTERN: ------------------------------------------------------- RIDGE/GARTER STITCH (worked back and forth): Knit all rows. 1 ridge = knit 2 rows PATTERN: See diagram A.1. The diagram shows all rows in the pattern from the right side. DECREASE TIP-1 (evenly spaced): To work out how to decrease evenly, count the total number of stitches on needle (e.g. 103 stitches) minus the edge stitches (e.g. 2 stitches) and divide the remaining stitches by the number of decreases to be made (e.g. 17) = 5.9. In this example decrease by knitting together approx. each 5th and 6th stitch. Do not decrease the edge stitches. DECREASE TIP-2 (armholes): All decreases are worked from the right side! Decrease at the beginning of row: Work the first 11 stitches as before, slip 1 stitch as if to knit, knit 1 and pass the slipped stitch over the knitted stitch (= 1 stitch decreased). Decrease at the end of row: Work until there are 13 stitches left, knit 2 together and work to end of row (= 1 stitch decreased). DECREASE TIP-3 (neck): All decreases are worked from the right side! After the neck: Work 1 edge stitch in garter stitch, 2 stitches in stockinette stitch, slip 1 stitch as if to knit, knit 1 and pass the slipped stitch over the knitted stitch (= 1 stitch decreased). Before the neck: Work until there are 5 stitches left, knit 2 together and work to end of row (= 1 stitch decreased). BINDING-OFF TIP: To avoid the bind-off edge being tight you can bind off with a larger size needle. If the edge is still tight, make 1 yarn over after approx. each 4th stitch at the same time as binding off; the yarn overs are bind off as normal stitches. ------------------------------------------------------- START THE PIECE HERE: ------------------------------------------------------- VEST – SHORT OVERVIEW OF THE PIECE: The piece is worked in sections, back and forth on the needle and then sewn together. The neck is worked to finish. BACK PIECE: Cast on 103-113-121-133-149-163 stitches (including 1 edge stitch on each side) with circular needle size 3.5 MM = US 4 and DROPS Puna. Purl 1 row from the wrong side, then work rib from the right side as follows: 1 edge stitch in GARTER STITCH – read description above, work A.1 until there are 2 stitches left, work the first stitch in A.1 (so the pattern is symmetrical) and 1 edge stitch in garter stitch. Continue this rib back and forth for 5 cm = 2" – adjust so the next row is from the right side. Knit 1 row where you decrease 17-19-19-21-25-27 stitches evenly spaced – read DECREASE TIP-1 = 86-94-102-112-124-136 stitches. Change to circular needle size 4.5 MM = US 7. Purl 1 row from the wrong side. Continue with stockinette stitch and 1 edge stitch in garter stitch on each side. REMEMBER THE KNITTING GAUGE! When the piece measures 22-23-24-25-26-27 cm = 8¾"-9"-9½"-9¾"-10¼"-10⅝", work pattern as follows from the right side: 1 edge stitch in garter stitch, A.1 over the next 12-12-12-14-16-18 stitches, stockinette stitch until there are 13-13-13-15-17-19 stitches left, purl 1, A.1 over the next 11-11-11-13-15-17 stitches and 1 edge stitch in garter stitch. Continue this pattern. When the piece measures 25-26-27-28-29-30 cm = 9¾"-10¼"-10⅝"-11"-11⅜"-11¾" (the rib on each side measures 3 cm = 1⅛" – adjust to work next row from the right side), work as follows: Bind off the first 4-4-4-6-8-10 stitches for the armholes at the beginning of the next 2 rows (bind off with knit) = 78-86-94-100-108-116 stitches. The next row from the right side is worked as follows: 1 edge stitch in garter stitch, pattern as before over the next 8 stitches, work stockinette stitch until there are 9 stitches left, pattern over the next 8 stitches and 1 edge stitch in garter stitch. Continue this pattern. On the next row from the right side, decrease 1 stitch on each side for the armholes – read DECREASE TIP-2! Decrease like this each row from the right side a total of 1-3-5-6-8-10 times = 76-80-84-88-92-96 stitches. When the piece measures 46-48-50-52-54-56 cm = 18"-19"-19¾"-20½"-21¼"-22", bind off the middle 36-36-40-40-44-44 stitches for the neck and each shoulder (= 20-22-22-24-24-26 stitches) is finished separately. On the next row from the right side, decrease 1 stitch for the neck – read DECREASE TIP-3! Decrease like this each row from the right side a total of 2 times = 18-20-20-22-22-24 stitches. Continue with pattern and stockinette stitch until the piece measures 50-52-54-56-58-60 cm = 19¾"-20½"-21¼"-22"-22¾"-23⅝". Bind off with knit over knit and purl over purl. Work the other shoulder in the same way. FRONT PIECE: Cast on and work as for the back piece. When the piece measures 35-37-37-39-39-41 cm = 13¾"-14½"-14½"-15¼"-15¼"-16⅛" (there are 76-80-84-88-92-96 stitches on the needle), place the middle 18-18-20-20-24-24 stitches on a thread for the neck and each shoulder (= 29-31-32-34-34-36 stitches) is finished separately On the next row from the right side, decrease 1 stitch for the neck – remember DECREASE TIP-3! Decrease like this each row from the right side a total of 11-11-12-12-12-12 times = 18-20-20-22-22-24 stitches. Continue with pattern and stockinette stitch until the piece measures 50-52-54-56-58-60 cm = 19¾"-20½"-21¼"-22"-22¾"-23⅝". Bind off with knit over knit and purl over purl. Work the other shoulder in the same way. ASSEMBLY: Sew the shoulder seams inside the bind-off edge. Sew the side seams inside the 1 edge stitch. NECK: Start from the right side at one shoulder seam and knit up 120 to 148 stitches (including the stitches from the thread) inside the 1 edge stitch, with short circular needle size 3.5 MM = US 4 and DROPS Puna. The number of stitches must be divisible by 2; make sure the neck is neither too loose nor too tight. Work A.1 in the round over all stitches for 4½ cm = 1⅝". Bind off with knit-twisted over knit-twisted and purl over purl – read BINDING-OFF TIP. |
|||||||
Diagram explanations |
|||||||
|
|||||||
 |
|||||||
Have you finished this pattern?Tag your pictures with #dropspattern #visitviennaslipover or submit them to the #dropsfan gallery. Do you need help with this pattern?You'll find 27 tutorial videos, a Comments/Questions area and more by visiting the pattern on garnstudio.com. © 1982-2026 DROPS Design A/S. We reserve all rights. This document, including all its sub-sections, has copyrights. Read more about what you can do with our patterns at the bottom of each pattern on our site. |
|||||||


With over 40 years in knitting and crochet design, DROPS Design offers one of the most extensive collections of free patterns on the internet - translated to 17 languages. As of today we count 325 catalogs and 12298 patterns - 12288 of which are translated into English (US/in).
We work hard to bring you the best knitting and crochet have to offer, inspiration and advice as well as great quality yarns at incredible prices! Would you like to use our patterns for other than personal use? You can read what you are allowed to do in the Copyright text at the bottom of all our patterns. Happy crafting!
Post a comment to pattern DROPS 227-9
We would love to hear what you have to say about this pattern!
If you want to leave a question, please make sure you select the correct category in the form below, to speed up the answering process. Required fields are marked *.