Comments / Questions (423)
![]() Diana wrote:
Diana wrote:
Jag har tre Whippet-killar som jag skall göra denna tröja till och hoppas jag klarar av det då storlekarna här är mindre.
23.05.2015 - 15:46Maureen Hinton wrote:
Hi There, I would love to knit this jacket for my Daughters dog. I have been knitting for many years but I'm finding this pattern very hard to follow. I'm not very good a reading graphs. Is it possible to have the pattern written out completely row to row.. I look forward to hearing back from you. cheers Maureen Hinton
09.04.2015 - 06:31DROPS Design answered:
Dear Mrs Hinton, you will find here explanations to how to read a diagram - for any individual assistance you are welcome to contact your DROPS store. Happy knitting!
09.04.2015 - 09:43
![]() Crystal wrote:
Crystal wrote:
Additional: If I can help anyone else in any way with pattern problems (small size only) I will be happy to help.
21.02.2015 - 23:21
![]() Crystal wrote:
Crystal wrote:
I have figured out what I'm supposed to do, but will probably need additional help before the project is completed. I have to admit that your explanations are somewhat confusing, but I was able to figure things out by looking at how the pattern flows. Quite a few people are having problems (including me), but once you have figured out the established pattern and diagram, it's basically a cake walk. I just wanted you to know this
21.02.2015 - 23:17
![]() Gwen wrote:
Gwen wrote:
Considering all the confusion and errors in this pattern by numerous knitters, could garn studio redo this patternwith accurate instructions please? Many knitters love the pattern, but it has so many errors in it - thanks!
21.02.2015 - 20:55DROPS Design answered:
Dear Gwen, the pattern is correct and has already been knitted several times succesfully. Should you have any question, please feel free to ask here or contact your DROPS store for any help/assistance. Happy knitting!
23.02.2015 - 09:53
![]() Johanna wrote:
Johanna wrote:
Hej, tycker beskrivningen varit enkel ända fram tills jag kommit till att avmaska på slutet. I besrkivningen står det följande: Nu stickas arb färdigt fram och tillbaka på st – samtidigt avm i varje sida på vartannat v: 3 m 1 gång, 2 m 2-3-4 ggr, 1 m 2-3-4 ggr, 2 m 2-3-4 ggr och 3 m 1 gång = 32-50-74 m kvar på st. Arb mäter nu ca 30-39-48 cm. Jag förstår inte hur jag maskar av, och jag stickar enligt storlek M. Tack för återkoppling. //Johanna
21.02.2015 - 00:16DROPS Design answered:
Hej Du ska avmaska i varje sida på vartannat varv så här; Första avmaskningen 3 maskor per sida (=3 m 1 gång), de nästa 3 avmaskningarna avmaskar du 2 m per gång och sida (=2 m 3 ggr), de nästa 3 avmaskningarna avmaskar du 1 m per gång och sida (= 1 m 3 ggr) osv. Lycka till!
15.05.2015 - 11:09
![]() Crystal wrote:
Crystal wrote:
Please disregard previous message. What I said didn't make sense.
20.02.2015 - 22:40
![]() Crystal wrote:
Crystal wrote:
Dear Drops, howdy I work the WS sts to ensure that the cable pattern comes out correctly? I tried working the pattern from left to right, but in reverse to accommodate for the WS, but it doesn't appear to be coming out right. What am I doing wrong? How can I fix this, what should I be doing?
20.02.2015 - 19:52DROPS Design answered:
Dear Crystal, every row with a cable (= every even row in diagram) should be worked from RS (read from right towards the left every round + every row from RS) - from WS, read diagram from the left towards the right. Happy knitting!
21.02.2015 - 09:28
![]() Crystal wrote:
Crystal wrote:
Please disregard previous message. What I said didn't make sense.
20.02.2015 - 17:35
![]() Crystal wrote:
Crystal wrote:
Let me know if I have this right. When the pattern states work back and forth when working in the round, the pattern (M2, M3, etc.) Is worked from left to right until the required length is reached. Is this right?
20.02.2015 - 17:27
The Lookout |
|||||||||||||||||||
 |
 |
||||||||||||||||||
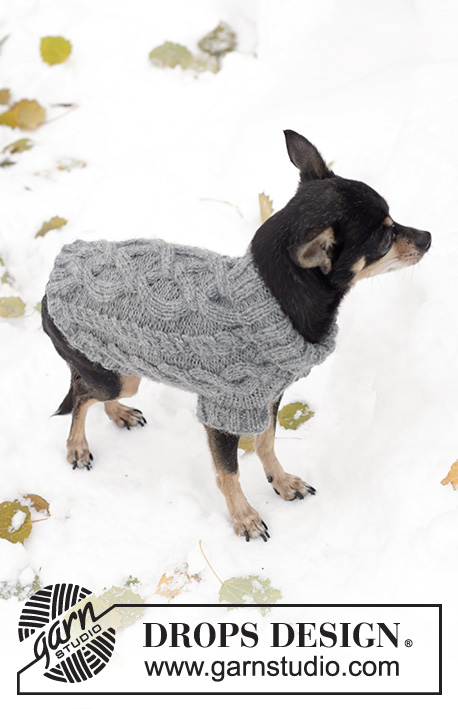
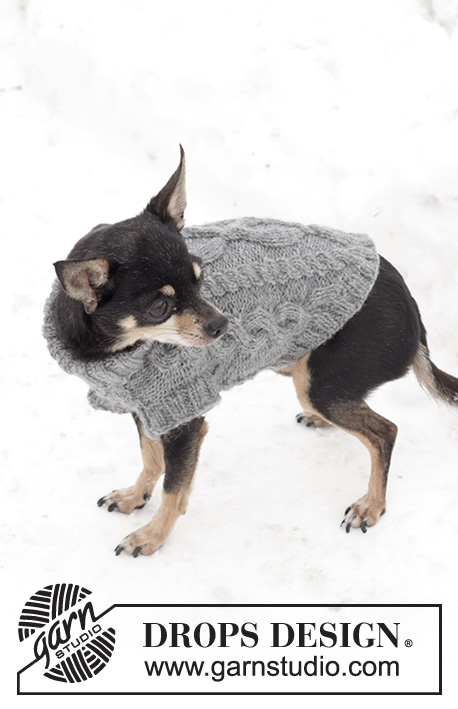
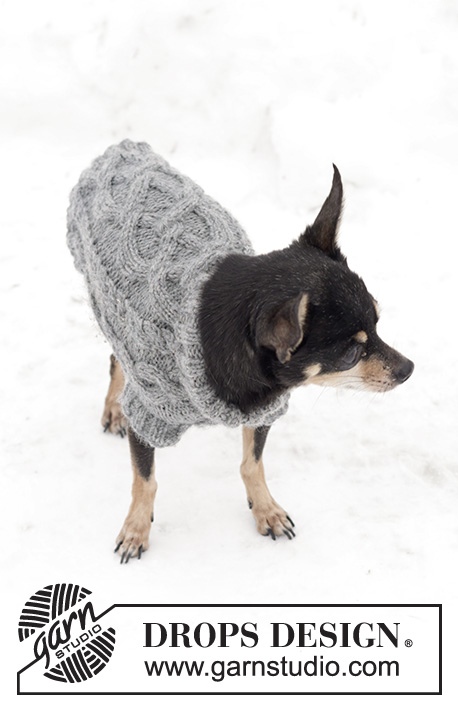
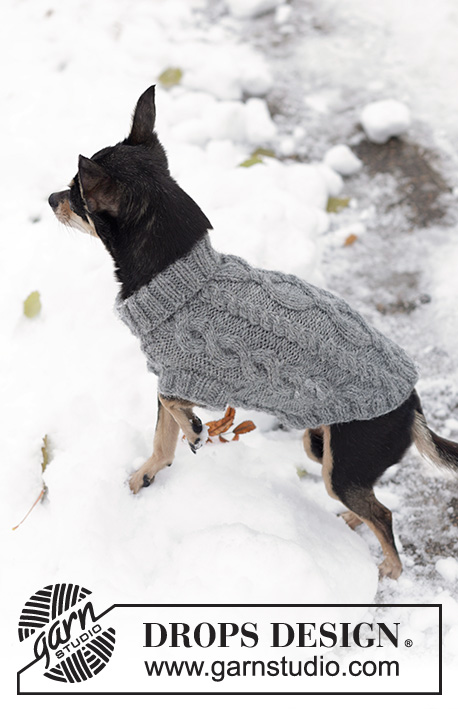
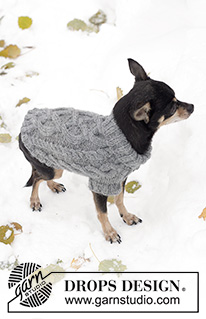
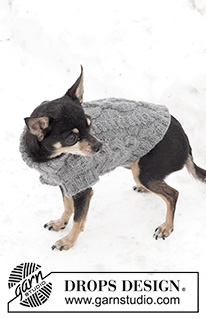
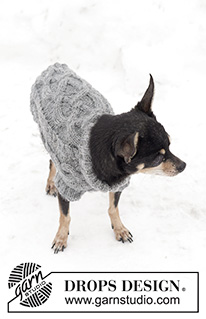
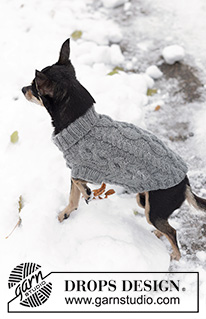
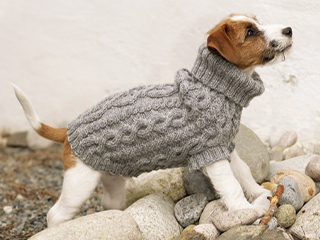
Knitted DROPS dog coat in ”Karisma” with cable pattern.
DROPS 102-43 |
|||||||||||||||||||
|
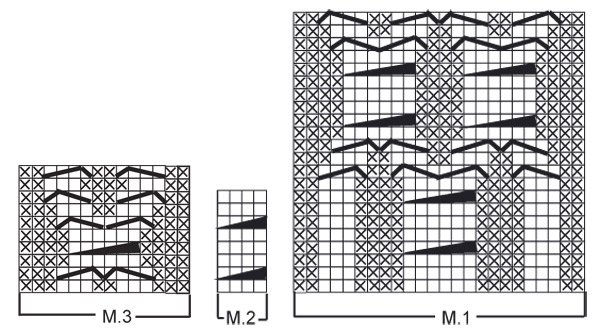
Knitting tension: 21 sts x 28 rows in stocking sts = 10 x 10 cm. Pattern: See diagrams M.1 to M.3 The diagram are shown from the RS. Rib: * K2, P2 * , repeat from *-* __________________________________________________________________ COAT Work in the round from the neck and down. Cast on 60-80-100 sts with double pointed needle size 3 mm and medium grey. Work in Rib for 8-10-12 cm (= Collar which is folded double). Change to small circular needle size 4mm (sock needle in smallest size). K 1 round at the same time inc. 16-32-54 sts evenly distributed = 76-112-154 sts. Continue the pattern as follows:: Size XS: M.2, P2 , M.2, P3, M.3, M.2, M.1 (= mid back), M.2, M.3 and P3. Size S: * M.2, P2 *, repeat from *-* 2 times, M.2, * M.3, M.2 *, repeat from *-* 2 times, M.1 (= mid back), * M.2, M.3 *, repeat from *-* 2 times. Size M: * M.2, P2 *, repeat from *-* 3 times, M.2, * M.3, M.2 *, repeat from *-* 3 times, M.1 (= mid back), * M.2, M.3 *, repeat from *-* 3 times. At the same time when the piece measures 12-16-20 cm split the work for the forelegs as follows: Put 10-16-22 sts on a thread or a stitch holder (= underneath the stomach), cast off 1 P st, continue to knit over the back piece and cast off the last st at the other side = 64-94-130 sts (= back piece). Knit back and forth over these sts for 6-8-10 cm (the piece measures 18-24-30 cm in total). Put sts on a thread or stitch holder and put sts from the thread or stitch holder underneath the stomach back on needle. Cast on 1 new st each side of these sts = 12-18-24 sts. Continue knitting the pattern back and forth with 1 P st each side. When knitted 6-8-10 cm put all sts on needle = 76-112-154 sts. When the piece measures 24-31-38 cm cast off 12-20-28 sts mid underneath the stomach. Now knit the piece back and forth on needle – at the same time cast off each side on every other row: 3 sts 1 time, 2 sts 2-3-4 time, 1 st 2-3-4 times, 2 st 2-3-4 times and 3 sts 1 time = 32-50-74 sts left. The piece measures approx. 30-39-48 cm. Assembly: Put the remaining sts on a small circular needle size 3mm and pick up sts around the casting off edge to a total of approx 84-108-140 sts. Knit Rib for 2-3-4 cm, cast off loosely. Leg: Pick up approx. 36-44-52 sts on double pointed needle size 3mm around 1 opening. Knit Rib for 2-3-4 cm, cast off loosely with K over K and P over P. Repeat for the other opening. |
|||||||||||||||||||
Diagram explanations |
|||||||||||||||||||
|
|||||||||||||||||||
 |
|||||||||||||||||||
Have you finished this pattern?Tag your pictures with #dropspattern or submit them to the #dropsfan gallery. Do you need help with this pattern?You'll find 24 tutorial videos, a Comments/Questions area and more by visiting the pattern on garnstudio.com. © 1982-2025 DROPS Design A/S. We reserve all rights. This document, including all its sub-sections, has copyrights. Read more about what you can do with our patterns at the bottom of each pattern on our site. |
|||||||||||||||||||







Post a comment to pattern DROPS 102-43
We would love to hear what you have to say about this pattern!
If you want to leave a question, please make sure you select the correct category in the form below, to speed up the answering process. Required fields are marked *.