Felting Tips
What is felting?
Felting is the process in which wool fibers are worked so that they lock together and form a dense fabric. Wool is particularly well suited for felting, though other fibers can also be felted.
Wool that has been superwash treated will not felt, as the treatment makes it resistant to shrinking. Pure white bleached yarn can be also difficult to felt because bleaching changes the wool structure. Always test felting a small swatch first.
How does felting work?
When wool is washed in hot water, the fibers expand and bind together through a combination of heat and friction. This results in a warm, durable material.
Felting is best suited for smaller items such as hats, slippers and bags. The looser the stitch tension, the more the item will felt together. The greater the friction, the stronger the felting effect.
We recommend using patterns specifically designed for felting. You can find patterns suitable for felting here.
Things to keep in mind:
The result after felting can vary depending on:
- Type of washing machine
- Spin cycle
- Knitting tension
- Size of the garment
- Wool quality
How to felt following a pattern
Follow the crochet or knitting pattern. The garment will look oversized at first, but it will shrink once felted.
You can felt in either a washing machine or a tumble dryer. After felting, the item should be washed like any other wool garment.
Felting in the washing machine
Washing machines felt differently. If the item has felted too little, try felting it one more time. If it has felted too much, stretch it back to the correct size while still wet.
Instructions:
- Place the item in the machine.
- Use a program lasting about 40 minutes (not a wool program).
- Wash at 40°C without prewash. Soap is optional.
- After washing, shape the item while it is still wet.
Felting in the tumble dryer
Felting in a tumble dryer gives good control over how much the item felts. The dryer can be opened during the process to check the size. If the item has felted too little, soak it thoroughly and felt again. If it has felted too much, stretch it back to the correct size while still wet.
Instructions:
- Soak the item completely in water.
- Place it in the tumble dryer and start drying.
- Continue until the item reaches the desired size (check periodically).
Felting Examples
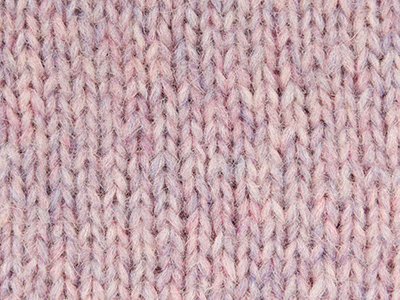
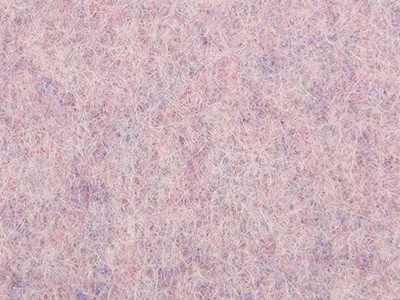
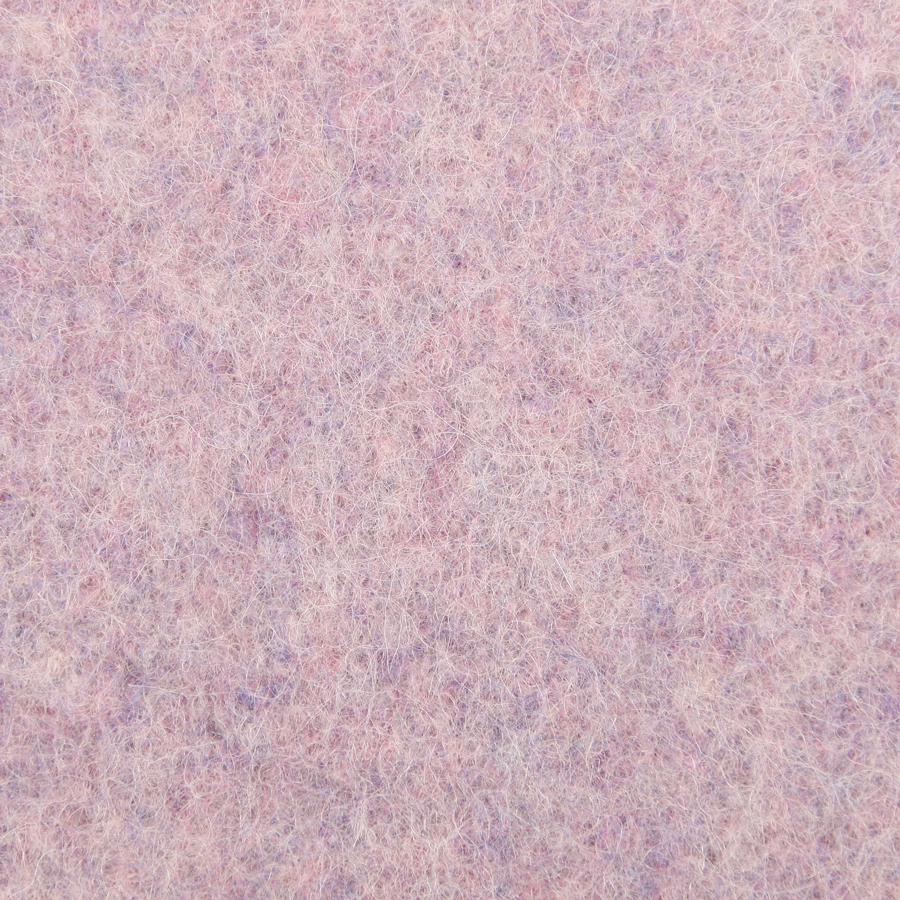
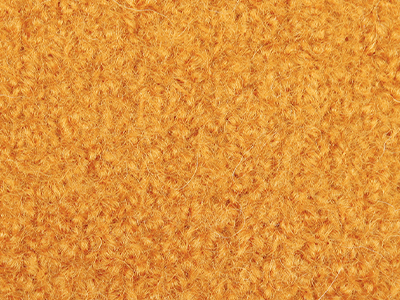
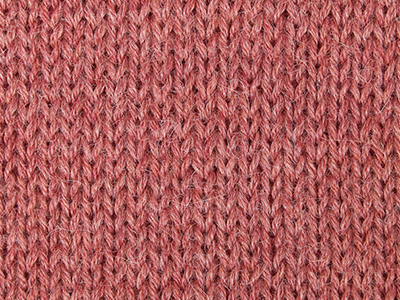
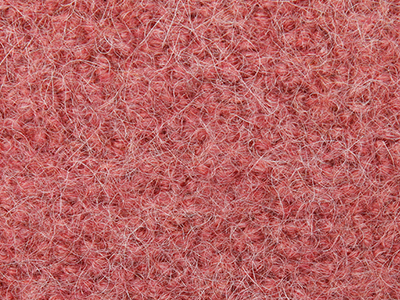
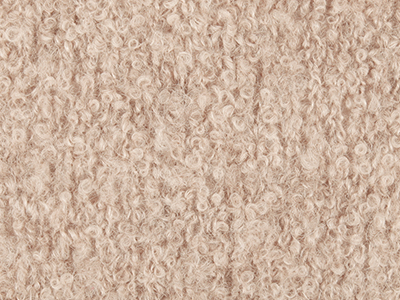
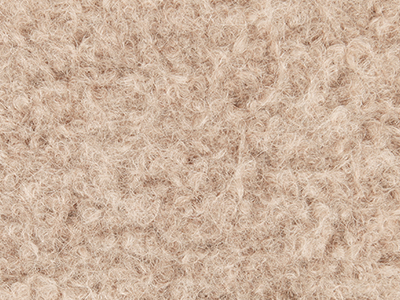
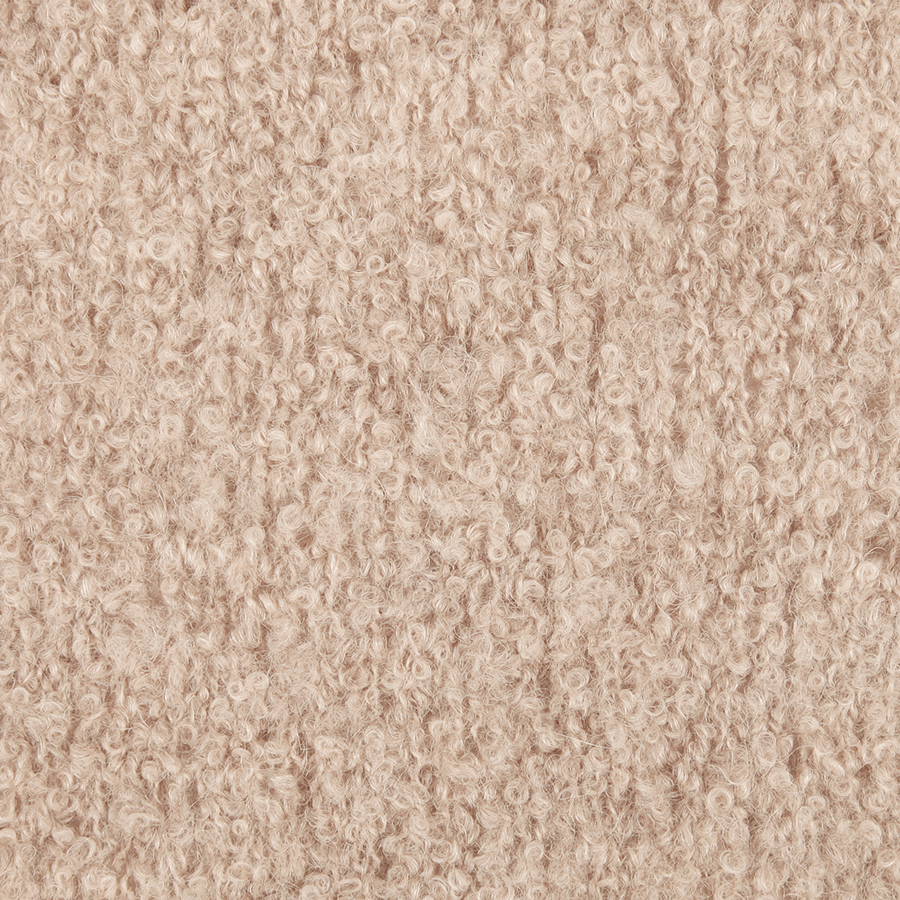
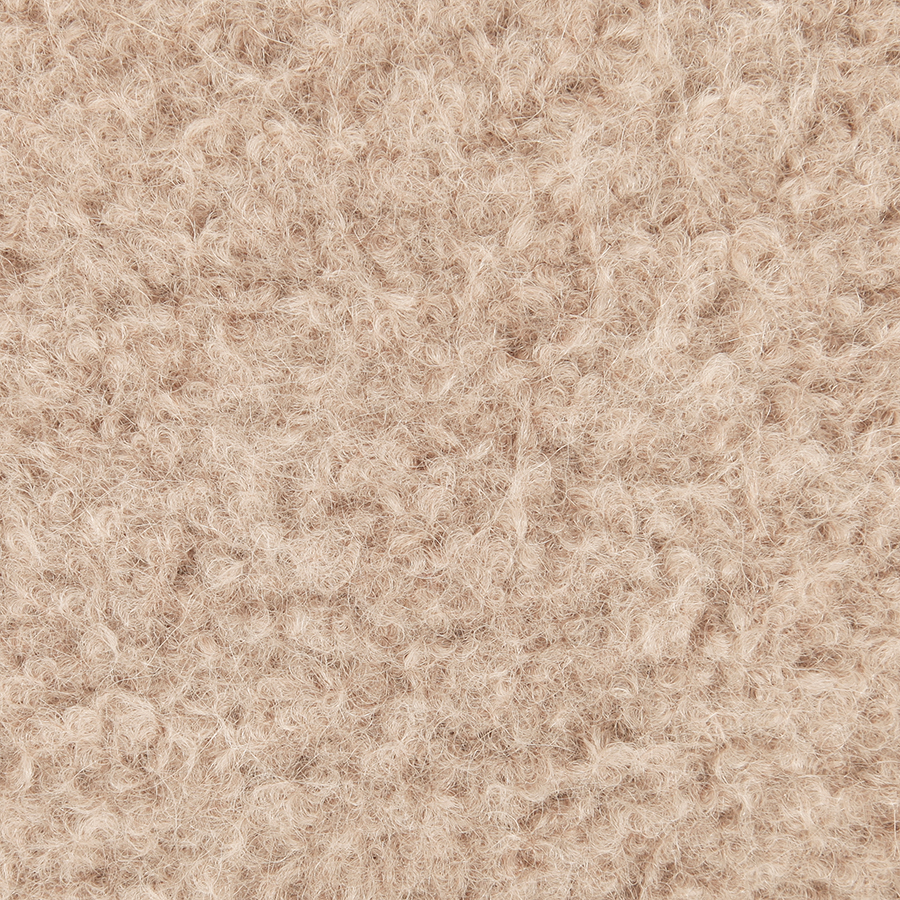
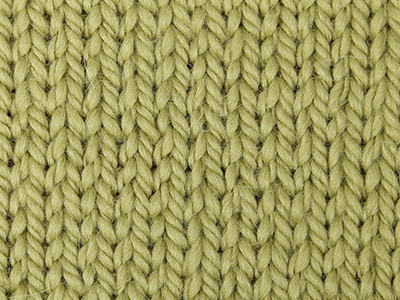
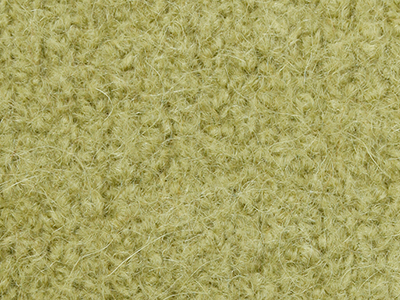
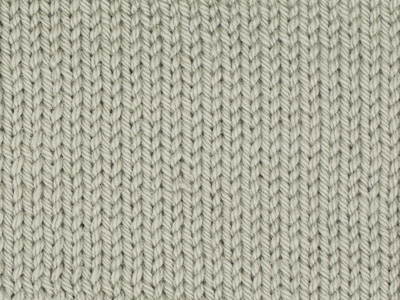
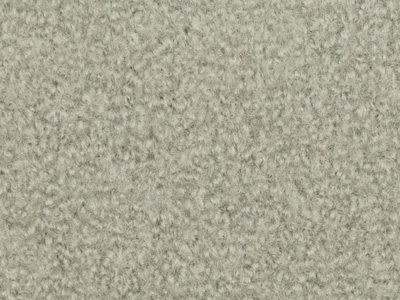
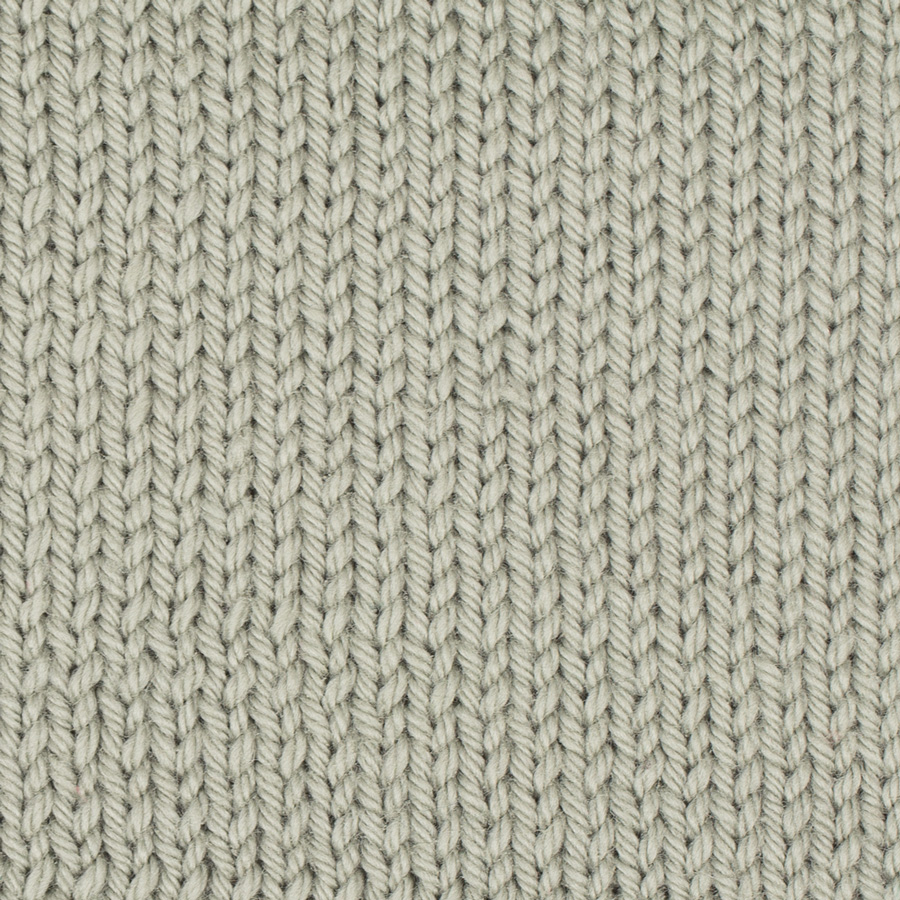
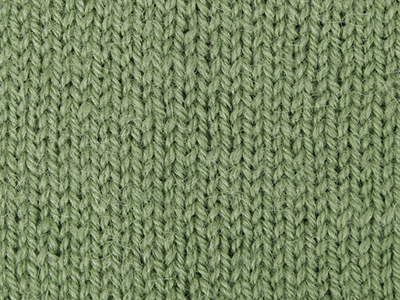
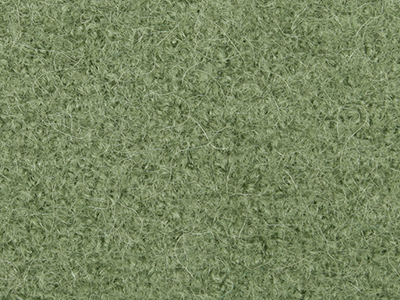
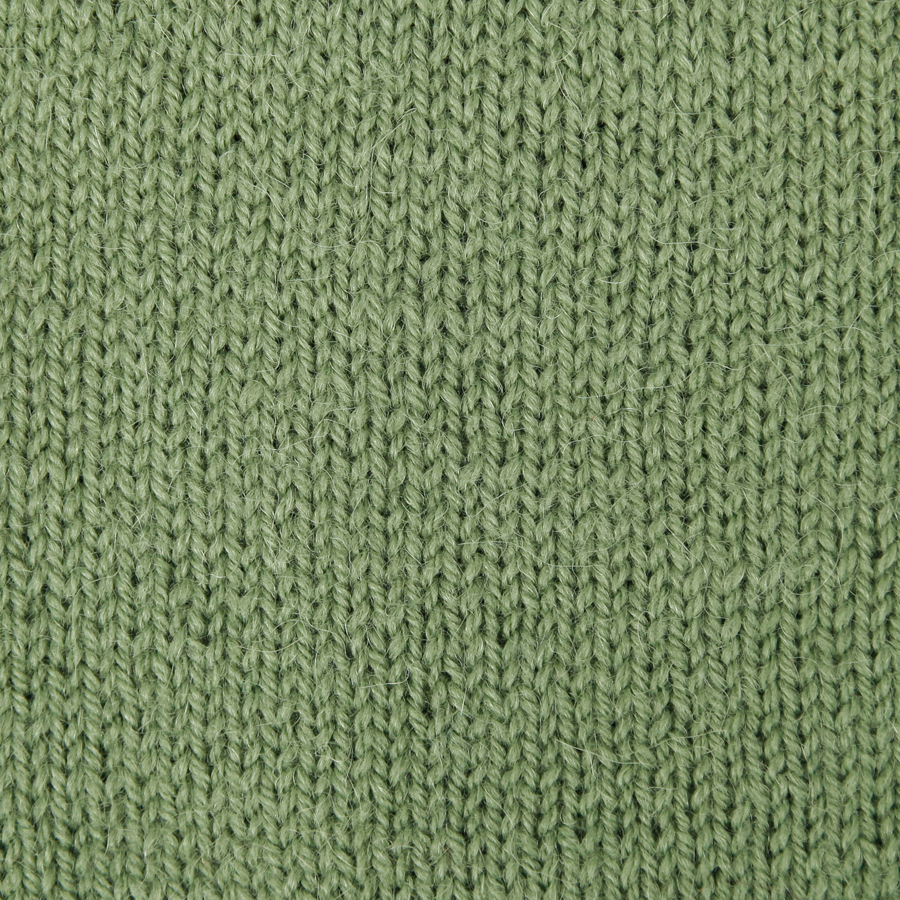
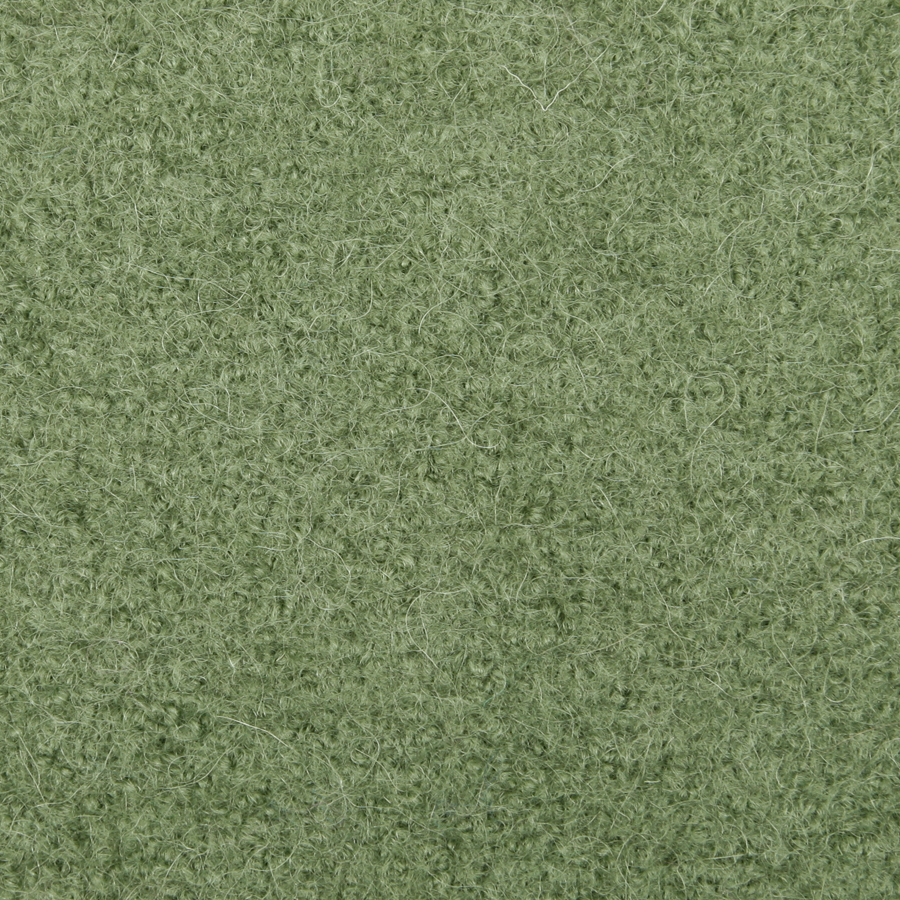
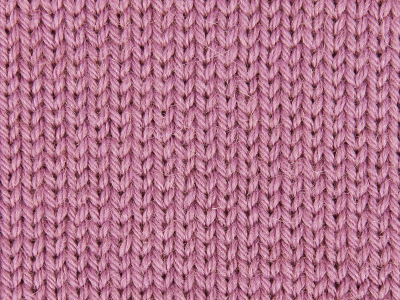
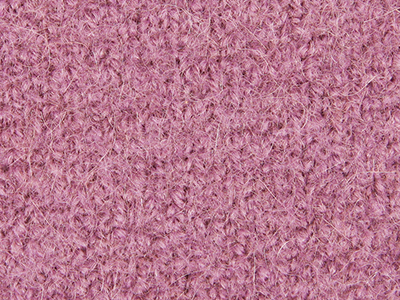
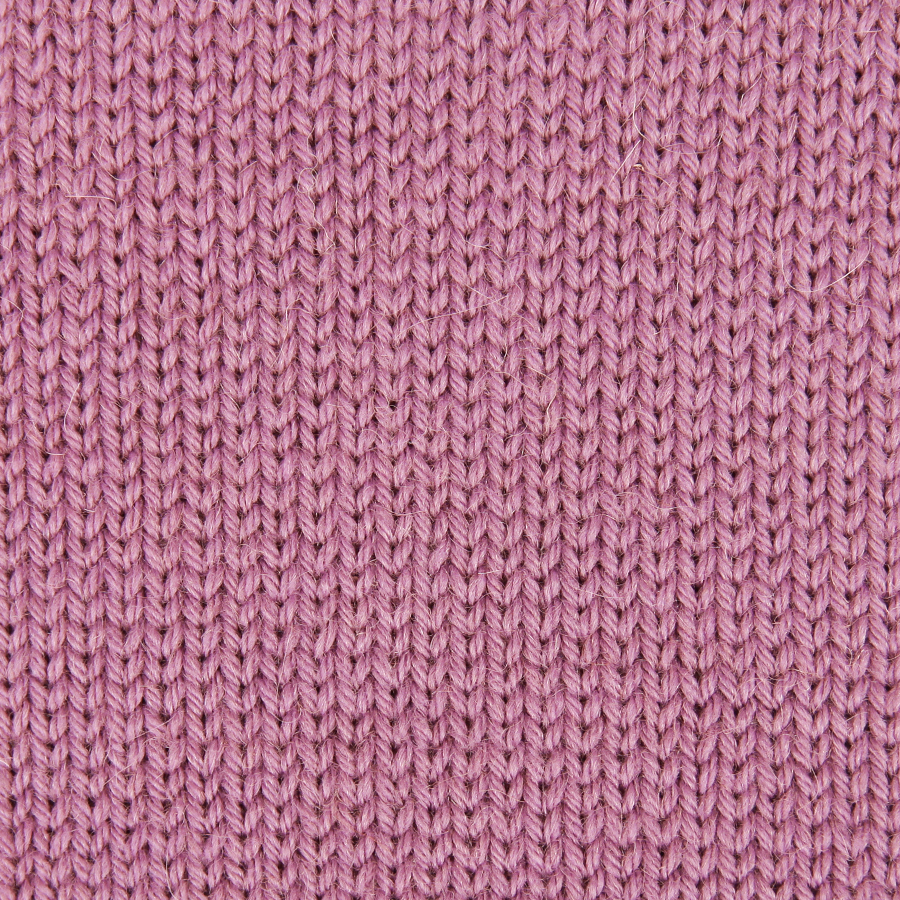
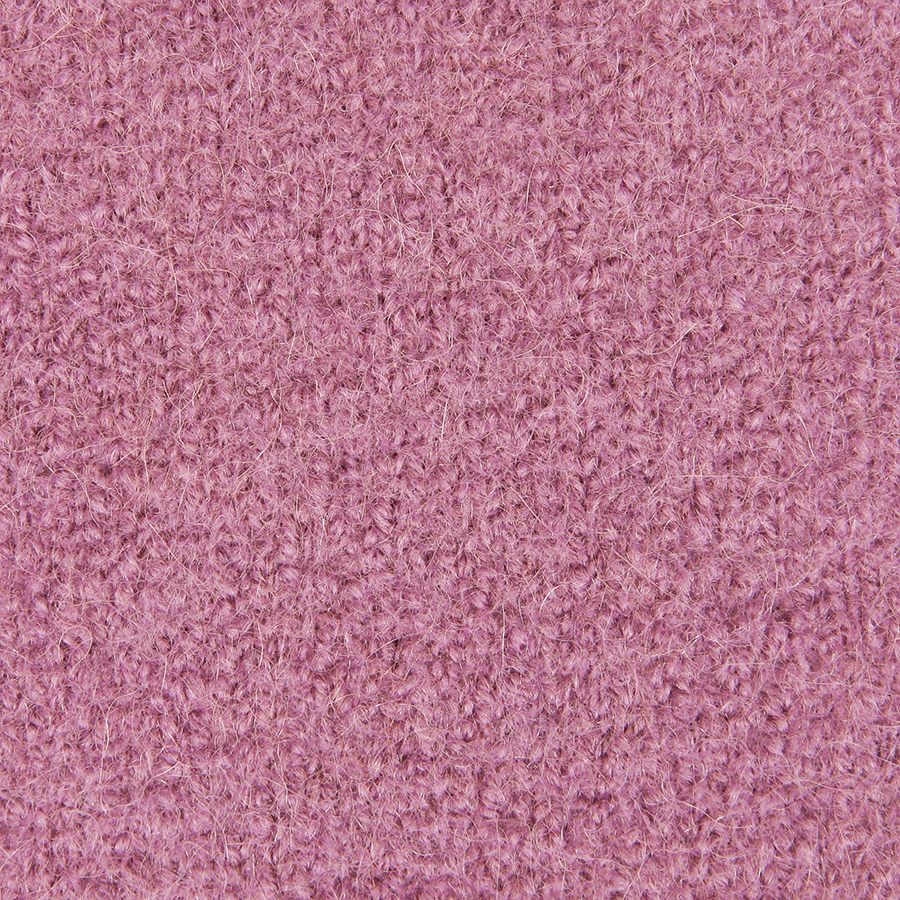
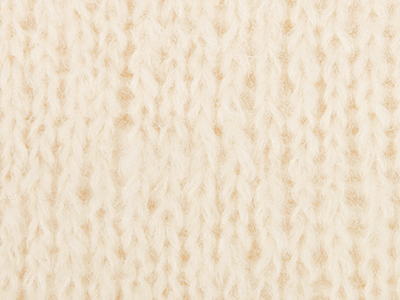
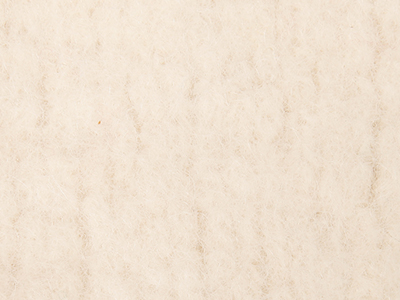
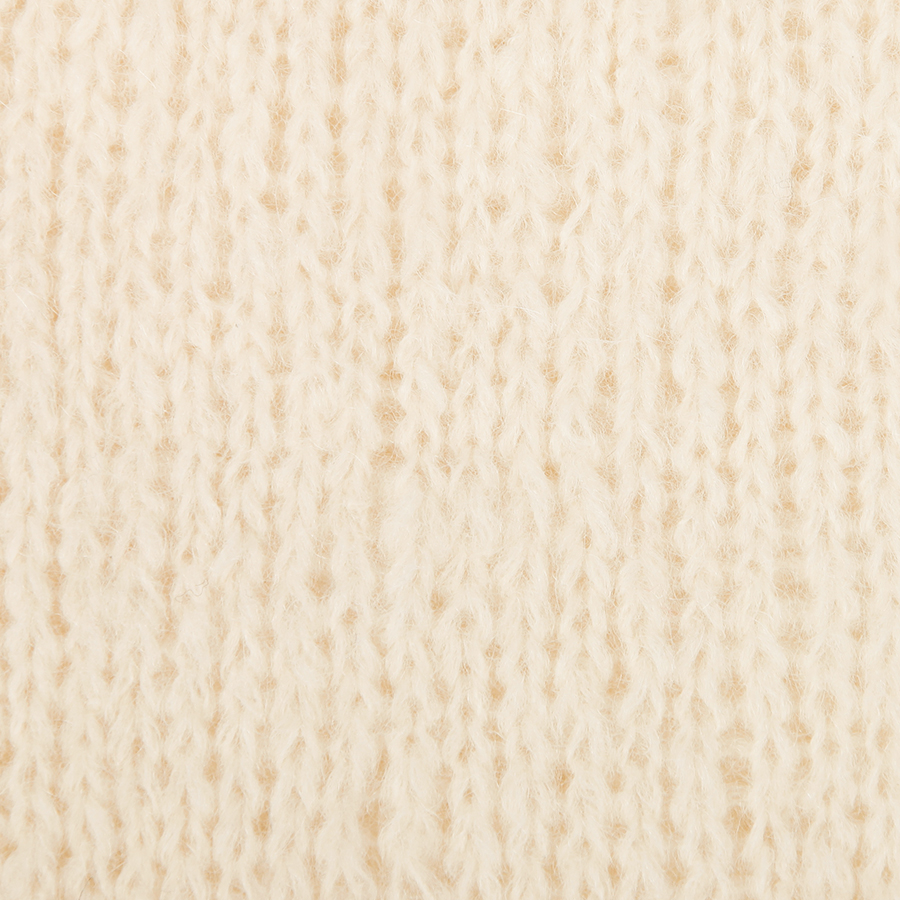
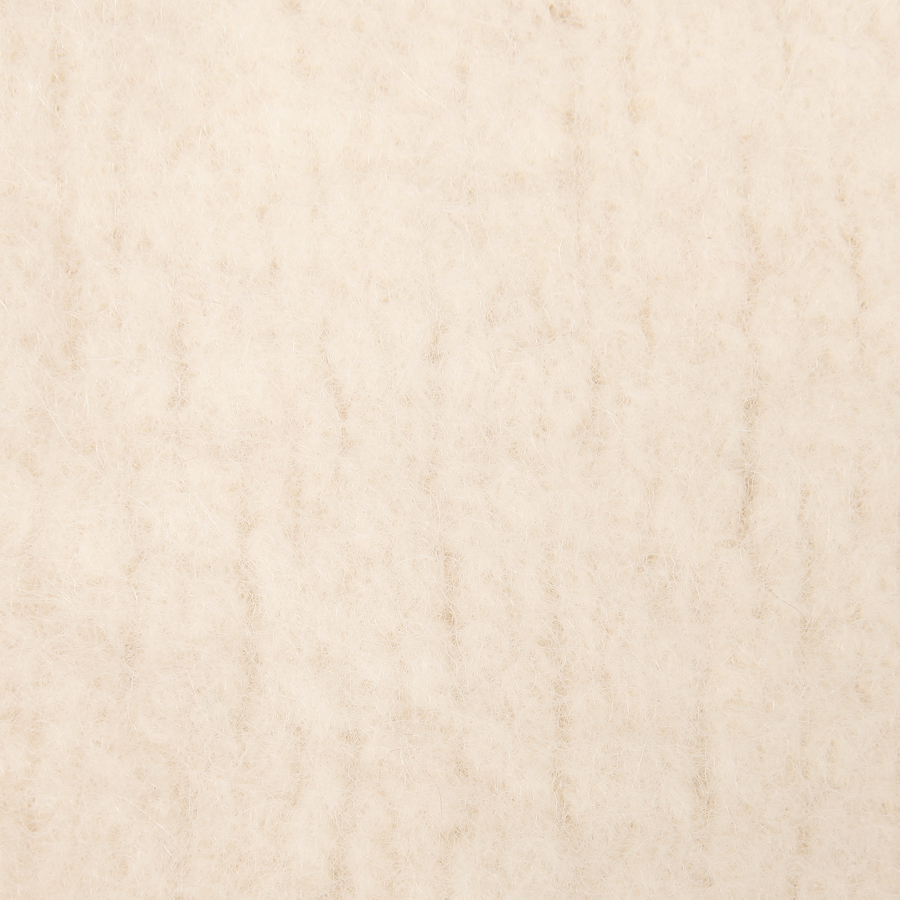
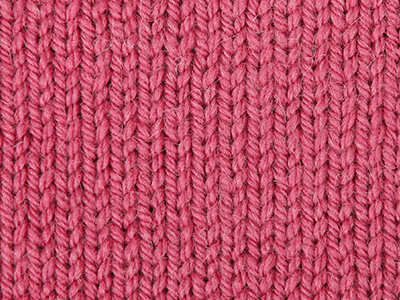
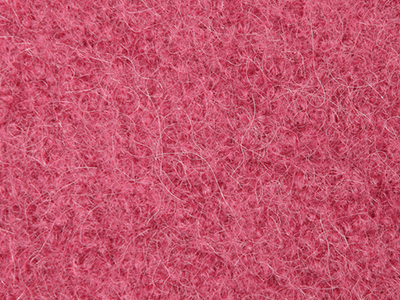
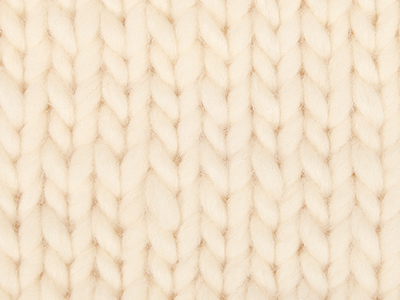
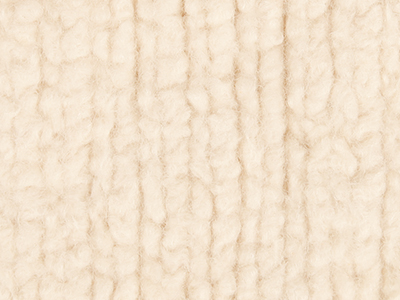
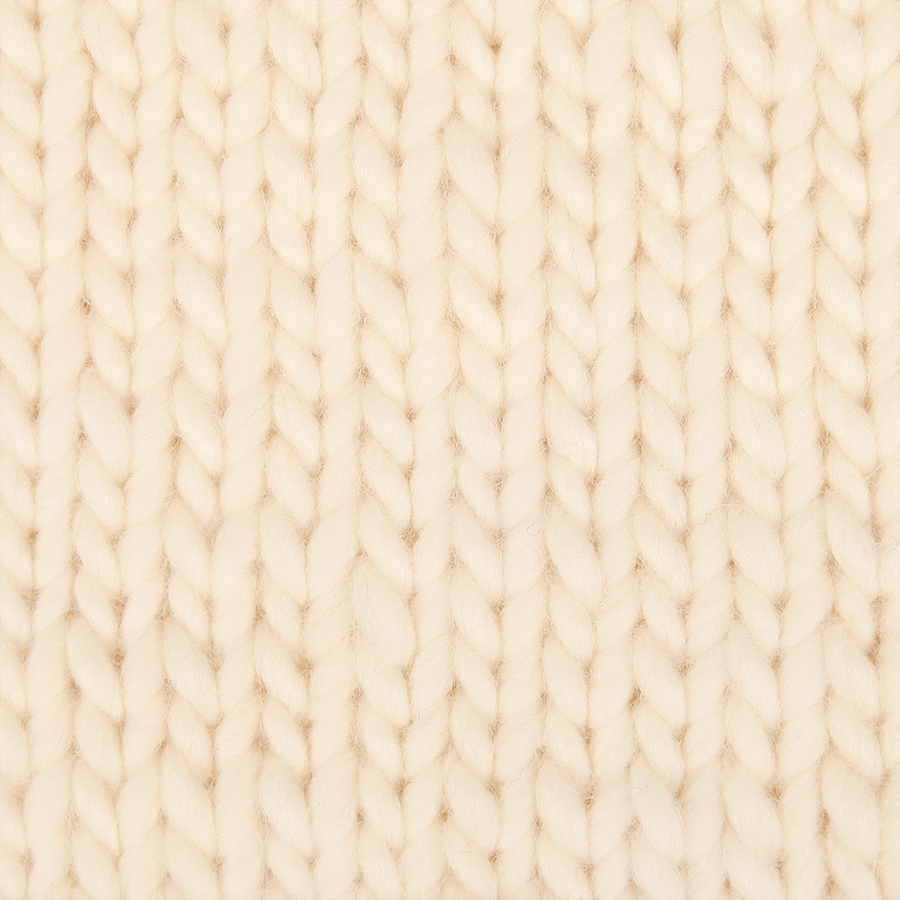
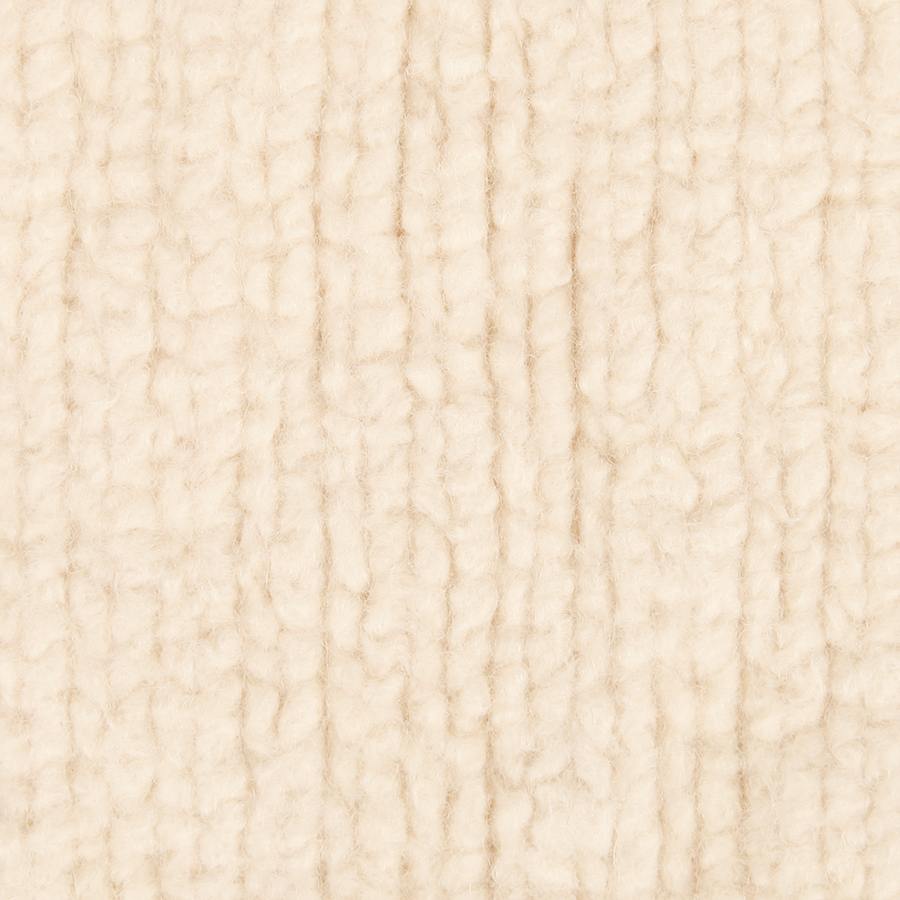
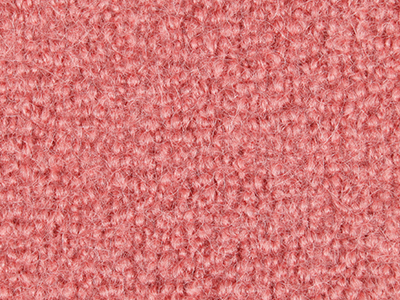
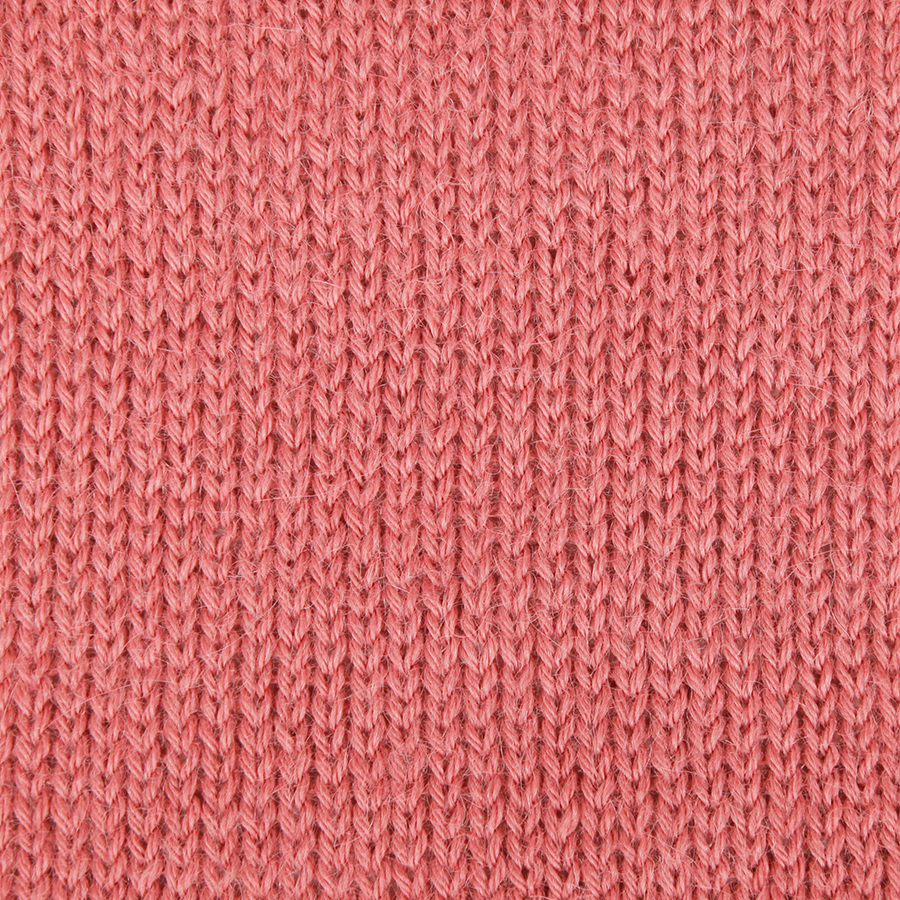
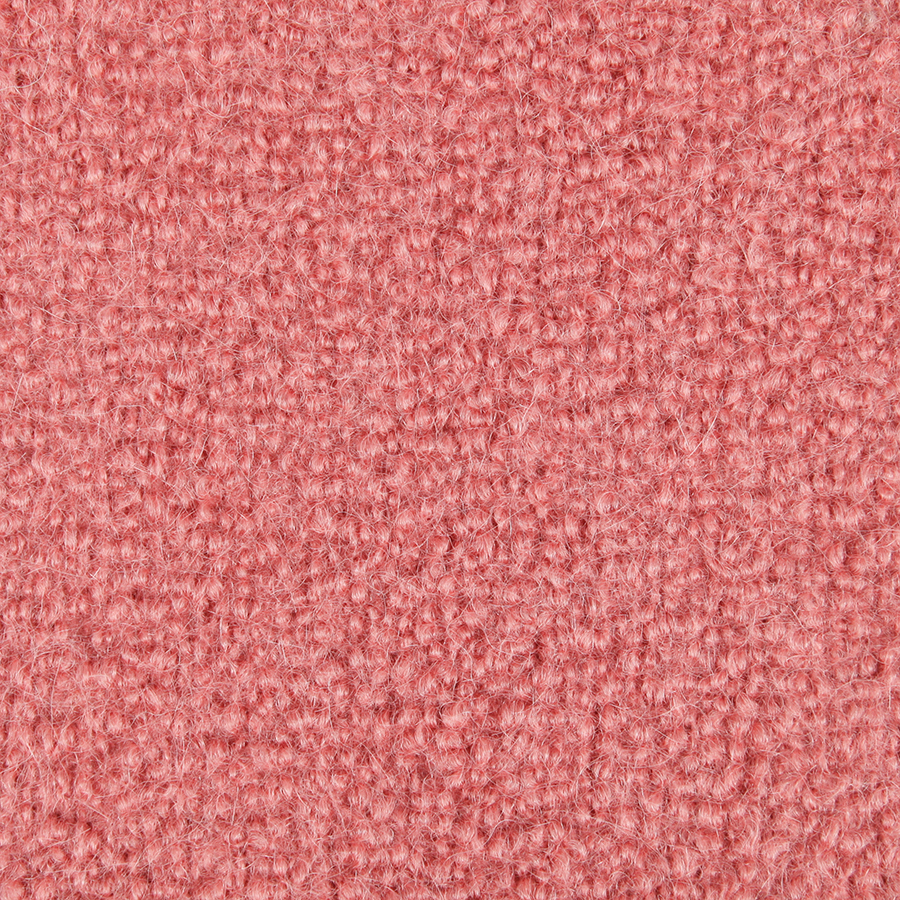
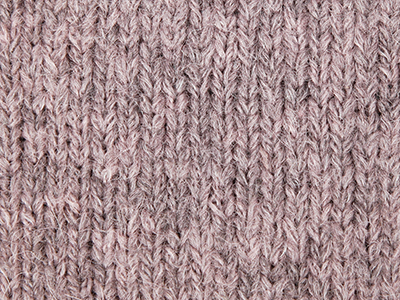
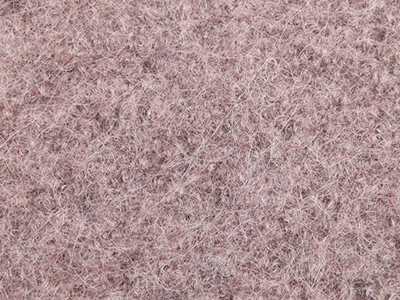
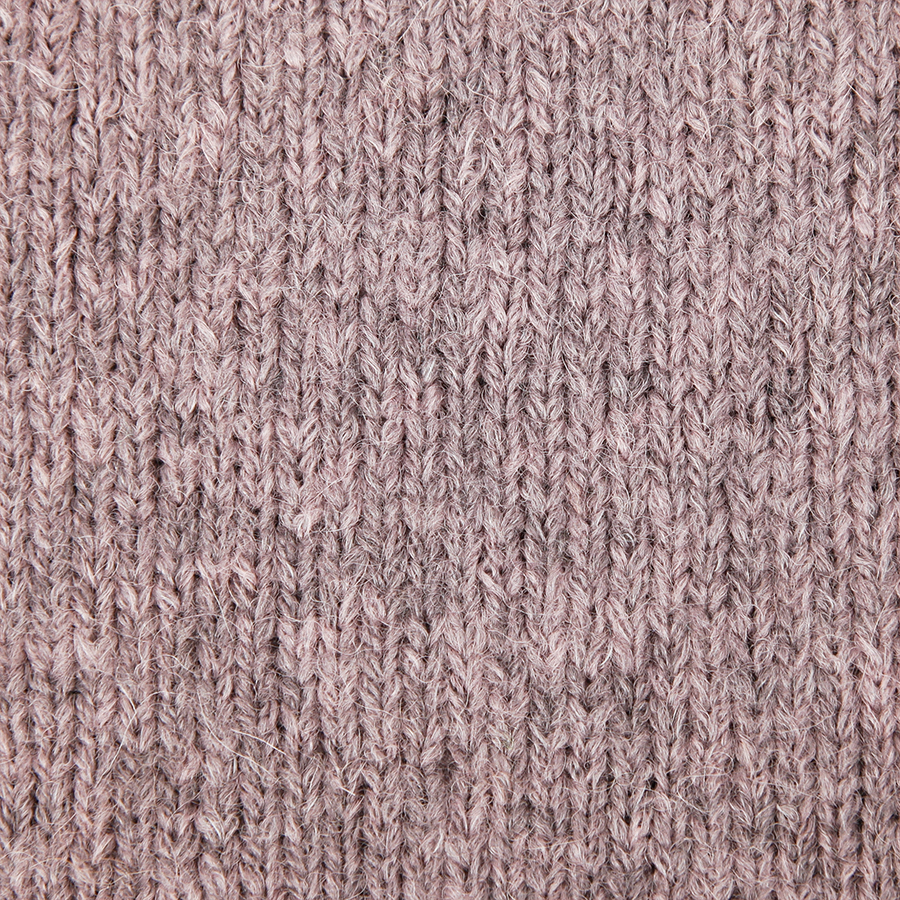
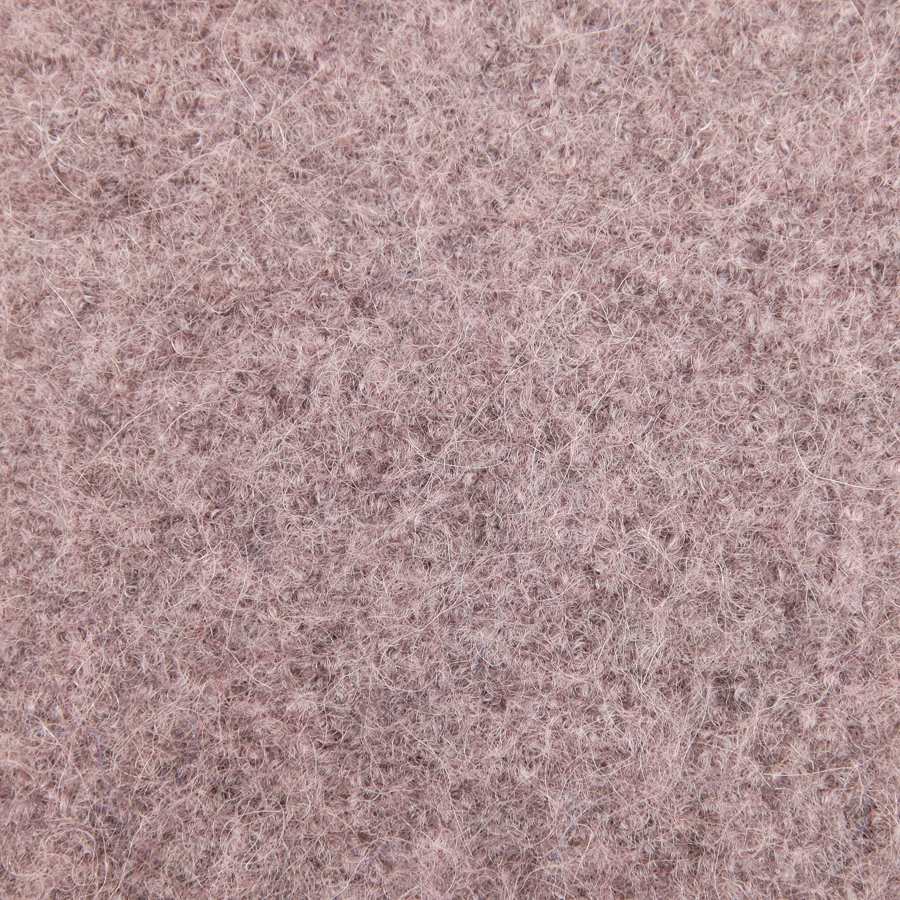
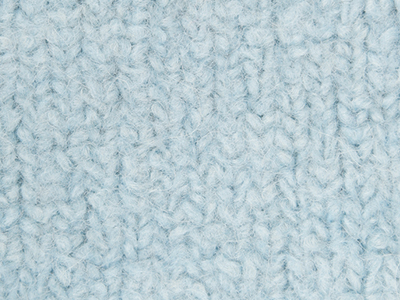
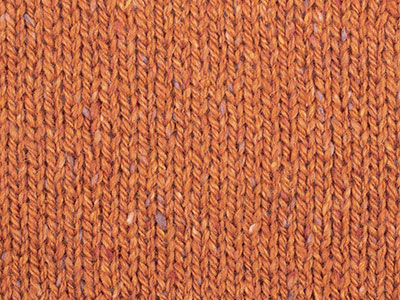
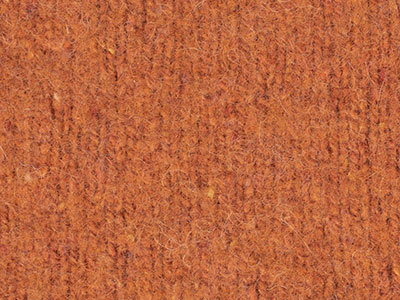
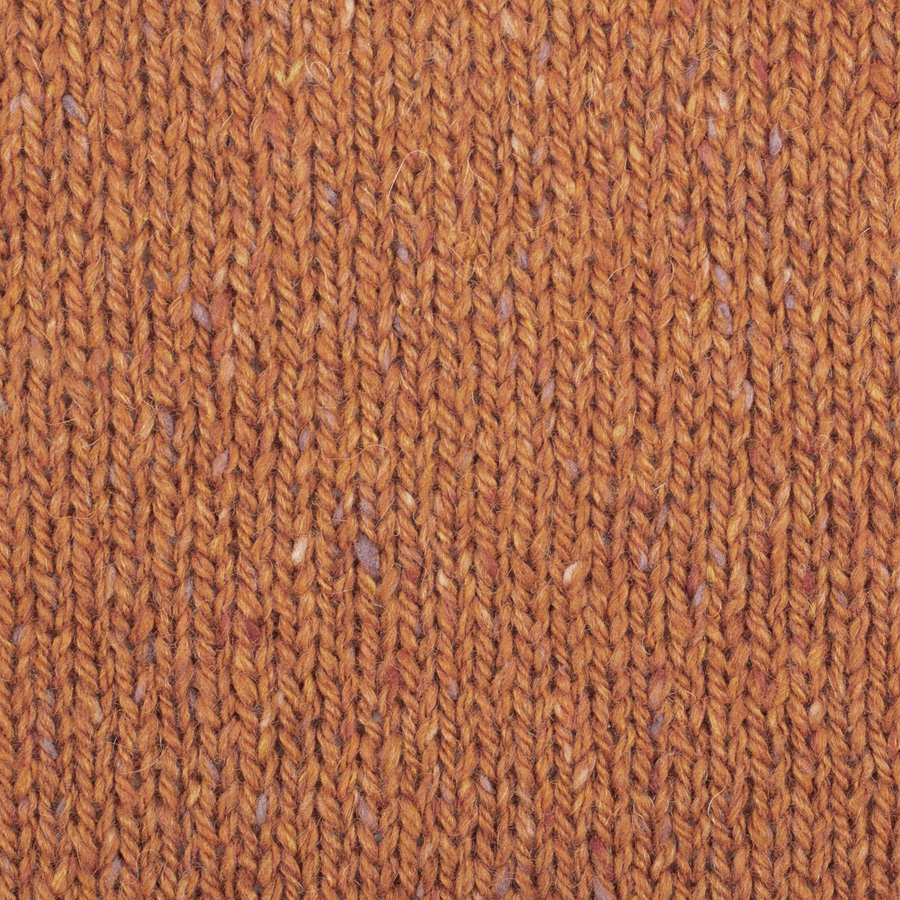
Ever wondered how the yarn you are working with would look felted? Here's an overview with samples of some of our feltable qualities.
The number of stitches and rows before and after felting shown in each of the samples are equivalent to approximately a 10 x 10 cm sample. Click on the pictures to see a bigger sample of the quality before and after felting.
DROPS Alpaca + DROPS Alpaca
Needles: 5.50 mm
Before: 16 sts x 21 rows
After: 21 sts x 32 rows


