
Popular categories
Looking for a yarn?


Comments / Questions (129)
![]() Katja wrote:
Katja wrote:
Sorry im so mehr Kommentare ich lese um so durcheinander. das mit 6 Reihen 8 M zunehmen ist klar. Dann jede 2. R Vorder+Rücken, jede 4.R Ärmel, also zb R 2 nur Vorder+Rücken, R 4 dann Ärmel, Vorder+Rück,richtig? Und ich mach immer 1 Umschlag vor der Vorletzten oder nach der 1. M? Heisst R 2 4M zunehmen, Rückreihe links. R 3 Hin und Rückreihe nur stricken, R 4 8 M zunehmen. oder zähl ich die R falsch? Beim Kommentar vom 16.08. ist das iwie anders beschrieben
03.06.2026 - 17:18DROPS Design answered:
Liebe Katja, in M werden Sie so zunehmen: 8 Maschen (= Vorder-, Rücken + Ärmel) 6 Mal in jeder 2. Reihe (= in jeder Hinreihe), dann nehmen Sie abwechslungsweise in jeder 2. Reihe 4 Maschen (nur Vorder + Rückenteil) und 8 Maschen (Vorder-, Rückenteile und Ärmel) insgesamt 22 Mal zu. Dann in M nehmen Sie noch 1 Mal in der nächsten Hinreihe aber nur 4 Maschen (Vorder und Rückenteile) = es wurde insgesamt 6+22+1=29 Mal für Vorder/Rücktenteil und 6+11=17 Mal für die Ärmel zugenommen. Viel Spaß beim Stricken!
04.06.2026 - 09:34
![]() Katja wrote:
Katja wrote:
Ich strick in Gr, M und der Fehlerteufel ist drin, da meine Jacke bei Raglanende über 40cm ist. Bei Zunahme V Auschnitt und Vorderseite werden 3 M insgesamt zugenommen? 1 M direkt nach Blende (VAuschnitt), dann 1 M re, 1 Zunahme (Vorderteil)und dann 1 Zunahme noch nach der 8. M in der 1. Zunahmereihe? ich hab nur 1 Zunhame gemacht nach der 8. M
03.06.2026 - 10:58DROPS Design answered:
Liebe Katja, die V-Ausschnitt-Zunahmen werden gleichzeitig als die Raglanzunahmen gestrickt, nur mit einem anderen Rythmus, beim V-Ausschnitt nimmt man in jeder 4. Reihe (= in jeder 2. Hinreihe) für beide Vorderteile zu; Für Raglan wird man zuerst in jeder 2. Reihe (jeder Hinreihe) 8 Maschen zunehmen, dann abwechslungs in jeder 2. Reihe 8 M (wie zuvor: Vorder-/Rückenteile + Ärmel) und 4 Maschen (nur Vorder-/Rückenteile) zunehmen. Es wird insgesamt 29 M in jeder 2. Reihe für Rumpf zugenommen = 58 Reihen so mit 22 Reihen =10cm sind diese 58 Reihen ca 26 cm. Viel Spaß beim Stricken!
04.06.2026 - 08:55
![]() Anastasya wrote:
Anastasya wrote:
When I increase inside the band, does that mean I need to knit the increased stitches in garter stitch or in stocking stitch after the increase? Does that mean that the band will be increased over the work?
28.04.2026 - 18:36DROPS Design answered:
Hi Anastasya, The increased stitches are worked in stocking stitch, so the bands remain the same width throughout. Regards, Drops Team.
29.04.2026 - 06:07
![]() Sarah wrote:
Sarah wrote:
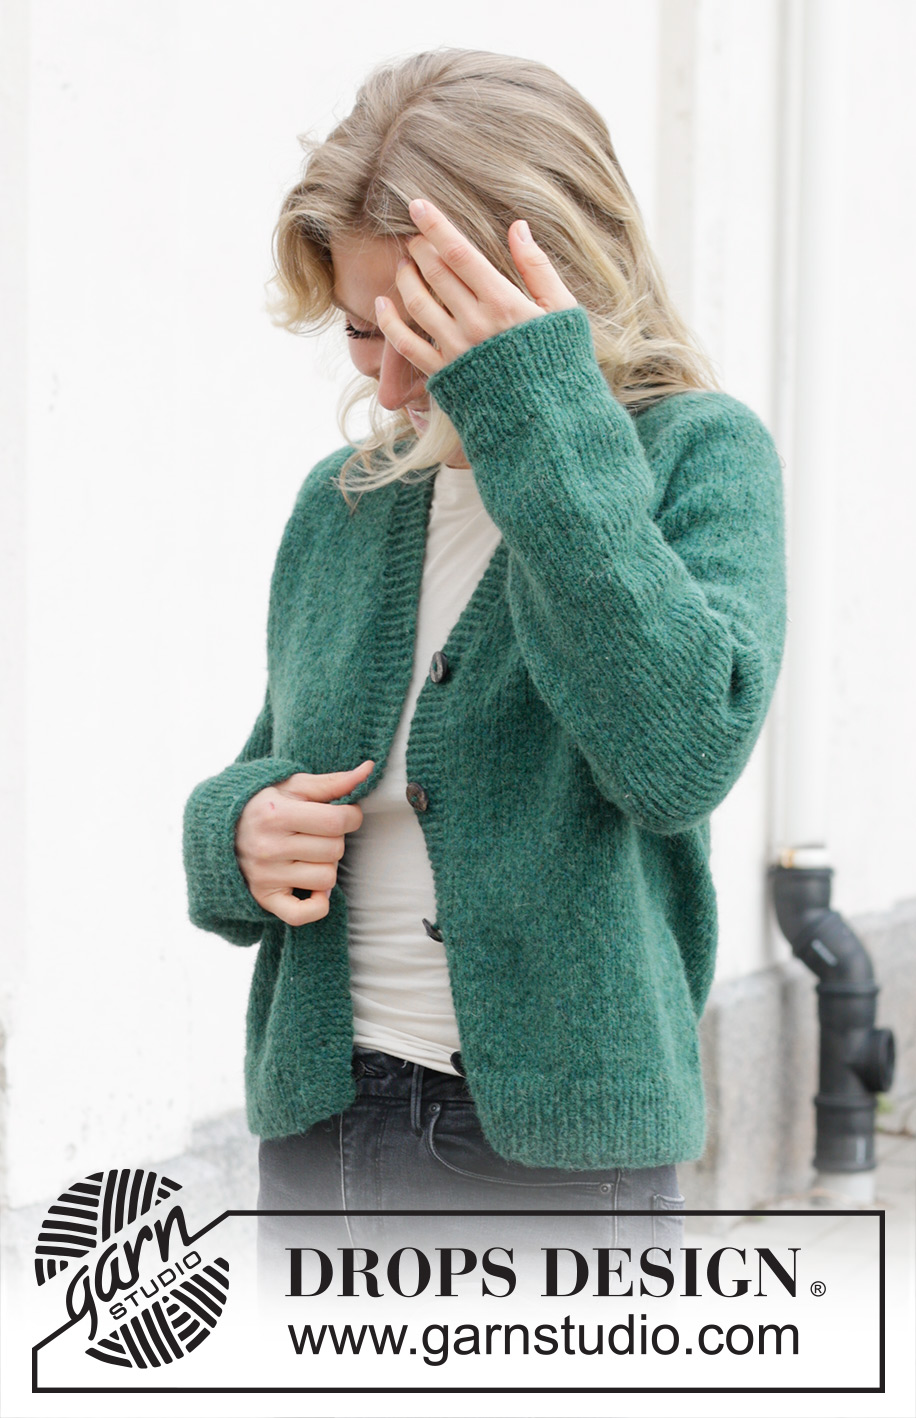
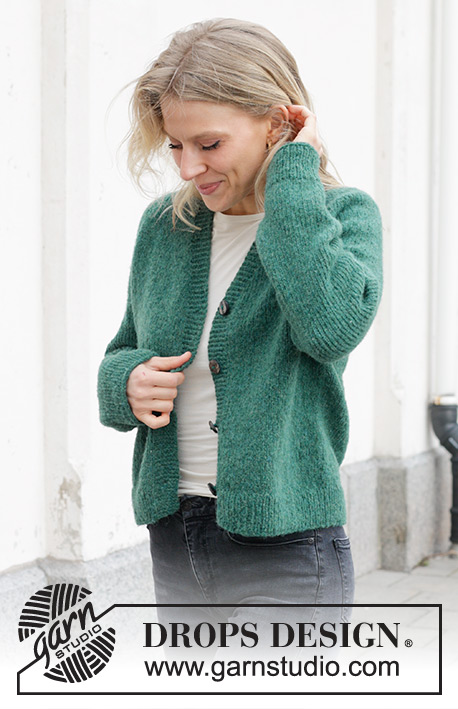
I’ve just finished this cardigan but something is wrong! I’ve looked at the pictures of others’ and most have the band meeting the sleeve ‘seam’. Mine is like the green cardigan where the 9 stitches create a sort of corner. I think this is wrong but can’t see how you get the sleeve seam to meet the band with the instructions. Mine is also too big - is that related? I’d be very grateful for any help. I’m a beginner so accept I may have a large frogging job on my hands! Sarah
19.04.2026 - 10:43DROPS Design answered:
Dear Sarah, we show in this video how to sew the bands worked at the beg of a piece (or at the end of front pieces) together then along back piece; hope it might help. Happy assembly!
20.04.2026 - 10:24
![]() Kirsi wrote:
Kirsi wrote:
Hei, yritän saada selvää lisäyssilmukoista. Olen nyt purkanut 2 kertaa työn ja aloittamassa kolmatta kertaa lisäyksiä. Yritän tehdä itselleni ohjeen joka kerrokselle kun on muuten vaikea hahmottaa lisäyksiä koska ne ovat eri tahtiin. Eli onko v aukko se joka on 9s ja ainaoikein kaitaleen välissä ja etukpl sen toisella puolella, eli sitä ei oikeastaan aluksi ole. Sitten on hiha ja sitten takakpl ja sitten hiha ja sitten taas olematon etukpl ja v aukko.
30.03.2026 - 16:58DROPS Design answered:
Hei, V-aukon lisäykset tehdään työn kummankin reunan reunimmaisten 7 silmukan, eli etureunojen, sisäpuolella. Etukappale on etureunan vieressä (aluksi 2 silmukkaa), sitten tulee hiha, takakappale, toinen hiha, toinen etukappale ja toinen etureuna. Raglanlisäykset tehdään aina merkkilangan kohdalla olevien 2 silmukan kummallakin puolella.
30.03.2026 - 17:38
![]() Mia wrote:
Mia wrote:
Hallo! Ik wil graag dit model breien in Drops Alpaca Boucle waarbij ik de boorden in ribbelsteek wil breien ipv boordsteek. Dit in een kleinere maat van naalden. Moet ik dan ook nog steken vermeerderen vlak voor de boord of is dit dan niet nodig? Alvast bedankt voor jullie antwoord!
07.03.2026 - 09:46DROPS Design answered:
Dag Mia,
De boordsteek trekt het werk samen en om dit te voorkomen wordt er gemeerderd vlak voor de boordsteek. Bij ribbelsteek heb je dit samentrekken niet.
07.03.2026 - 10:36
![]() Faith wrote:
Faith wrote:
Hello, I am struggling to understand the V neck & Raglan part (is there a video or row by row explanation somewhere?). Can you explain both parts in more detail? I am quite confused on what needs to be done row by row for both sections. Thanks!
04.03.2026 - 17:01DROPS Design answered:
Dear Faith, you will increase for V-neck and raglan simultaneously but not at the same rythm: increase for V-neck on every 4th row (= every other row from RS ) and increase for raglan first 8 sts (body and sleeves) on every other row (every row from RS), then increase for raglan alternatley 4 sts (body only) and 8 sts (body and sleeves). In some sizes, there will be extra increases for raglan on body only. Happy knitting!
05.03.2026 - 10:26
![]() Gisela wrote:
Gisela wrote:
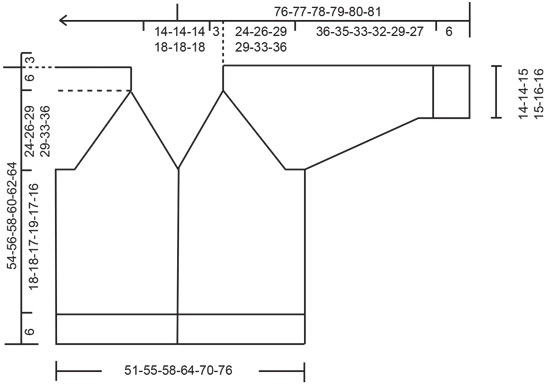
Wenn ich auf der Schnittzeichnung ( Größe L ) die Maße für die Blende addiere, komme ich auf 22cm pro Seite und nicht 17, wie angegeben. Ich danke euch sehr für eine Erklärung. LG Gisela
13.02.2026 - 18:01DROPS Design answered:
Liebe Gisela, die 17 cm beziehen sich auf die Länge ab dem Armausschnitt bis zum Beginn der Blende. Die 6 cm sind ja in der Schnittzeichnung noch zusätzlich angegeben. Viel Spaß beim Stricken!
18.02.2026 - 21:25
![]() Louise wrote:
Louise wrote:
Passer det virkelig, at der skal bruges 9 nøgler Air (9*150 m=1350m) til denne i str. L? I cardiganen 248-4 Gentle Wind skal der bruges 9 nøgler Daisy (9*110 m =990 m) i str. L, og den bliver med 120 cm i omkreds større end denne med omkreds 116 cm, og er også 2 cm længere. Tak :-)
09.02.2026 - 16:35DROPS Design answered:
Hej Louise, det er 2 helt forskellige garnkvaliteter og grupper, så dem kan du ikke sammenligne :)
11.02.2026 - 15:09
![]() Rebecca wrote:
Rebecca wrote:
Are there videos for each step of the pattern rather than just the general knitting information that is included in the video section of this pattern? I know how to knit a top down jumper, do increases, decreases, etc, but I am having difficulty understanding your pattern, especially the band section and would love to see a video about how that is managed. Is there a similar pattern that has a video with an explanation? Thanks for your help.
01.02.2026 - 21:02DROPS Design answered:
Dear Rebecca, in this video we show (for another pattern, ie with short rows on band stitches while you won't work any short rows here), how to first work the both bands and how to joining them together casting on new sts for yoke in between, then how this will be sewn together; Hope it can help. Happy knitting!
27.02.2026 - 14:33
|
|
No Nonsense Cardigan#nononsensecardigan |
|
 |
 |
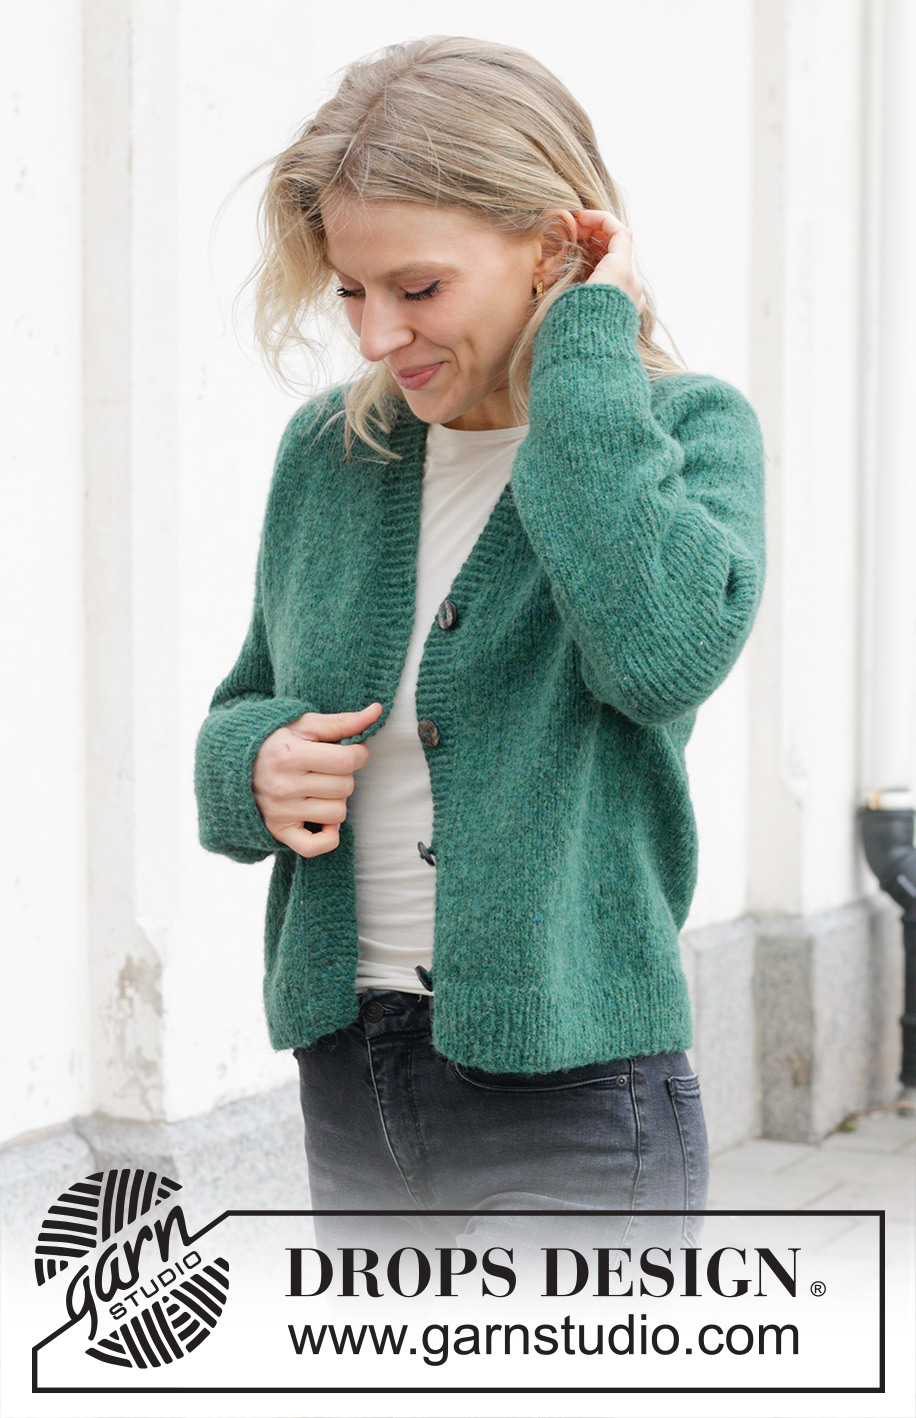
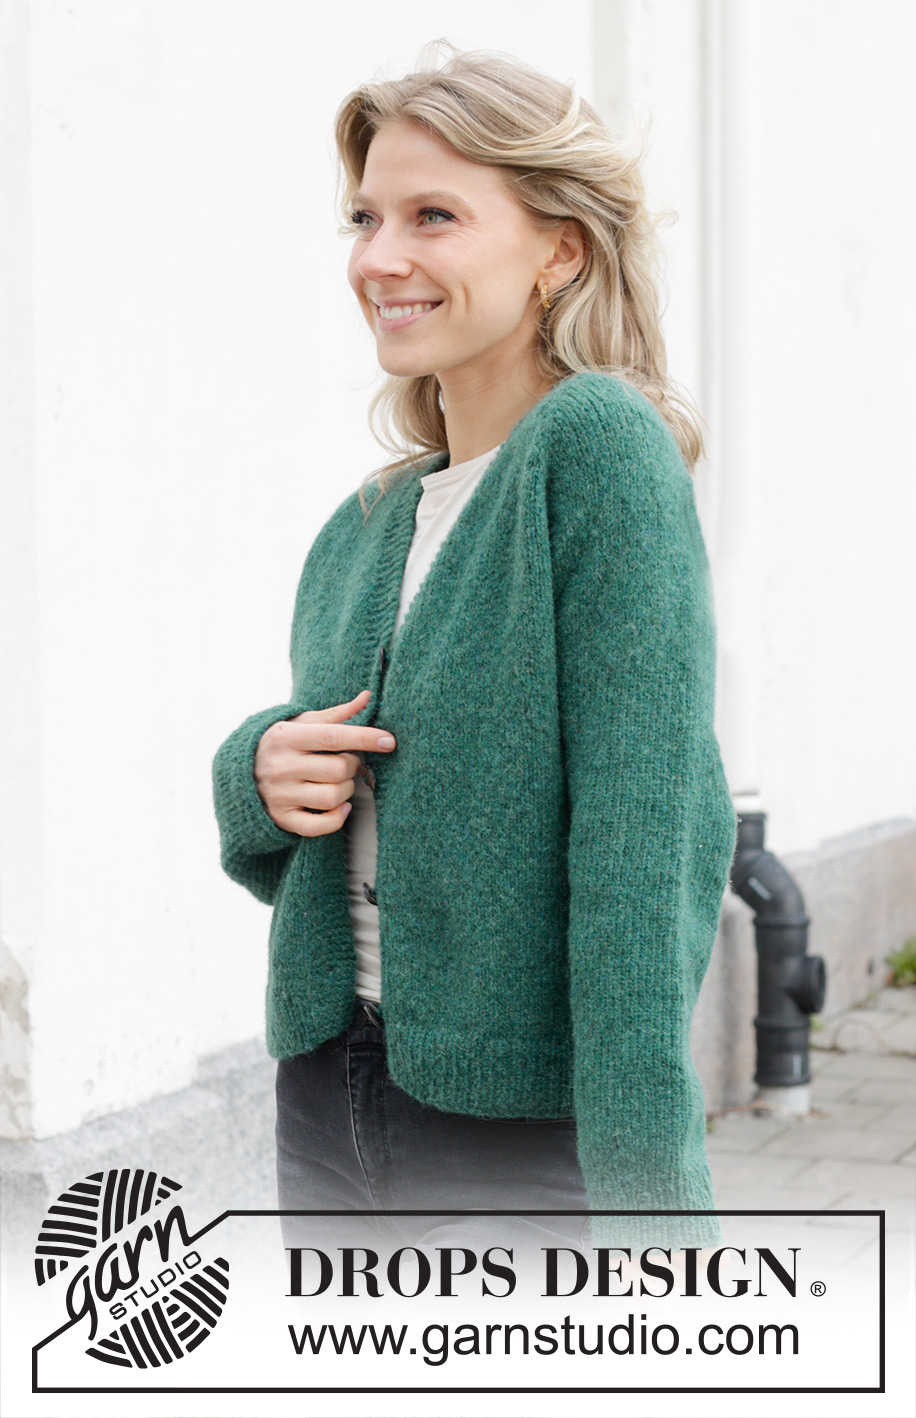
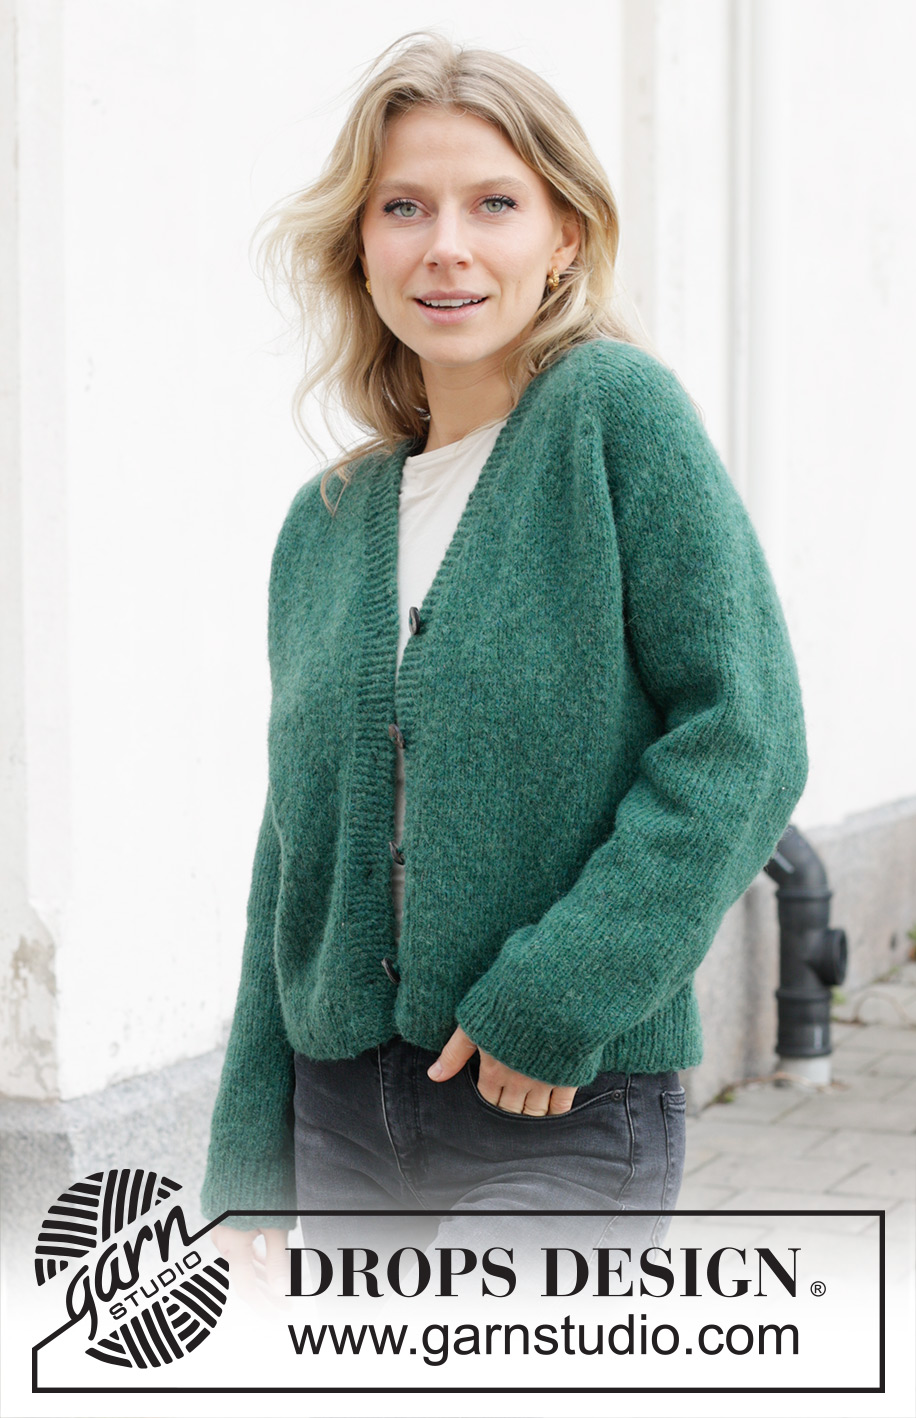
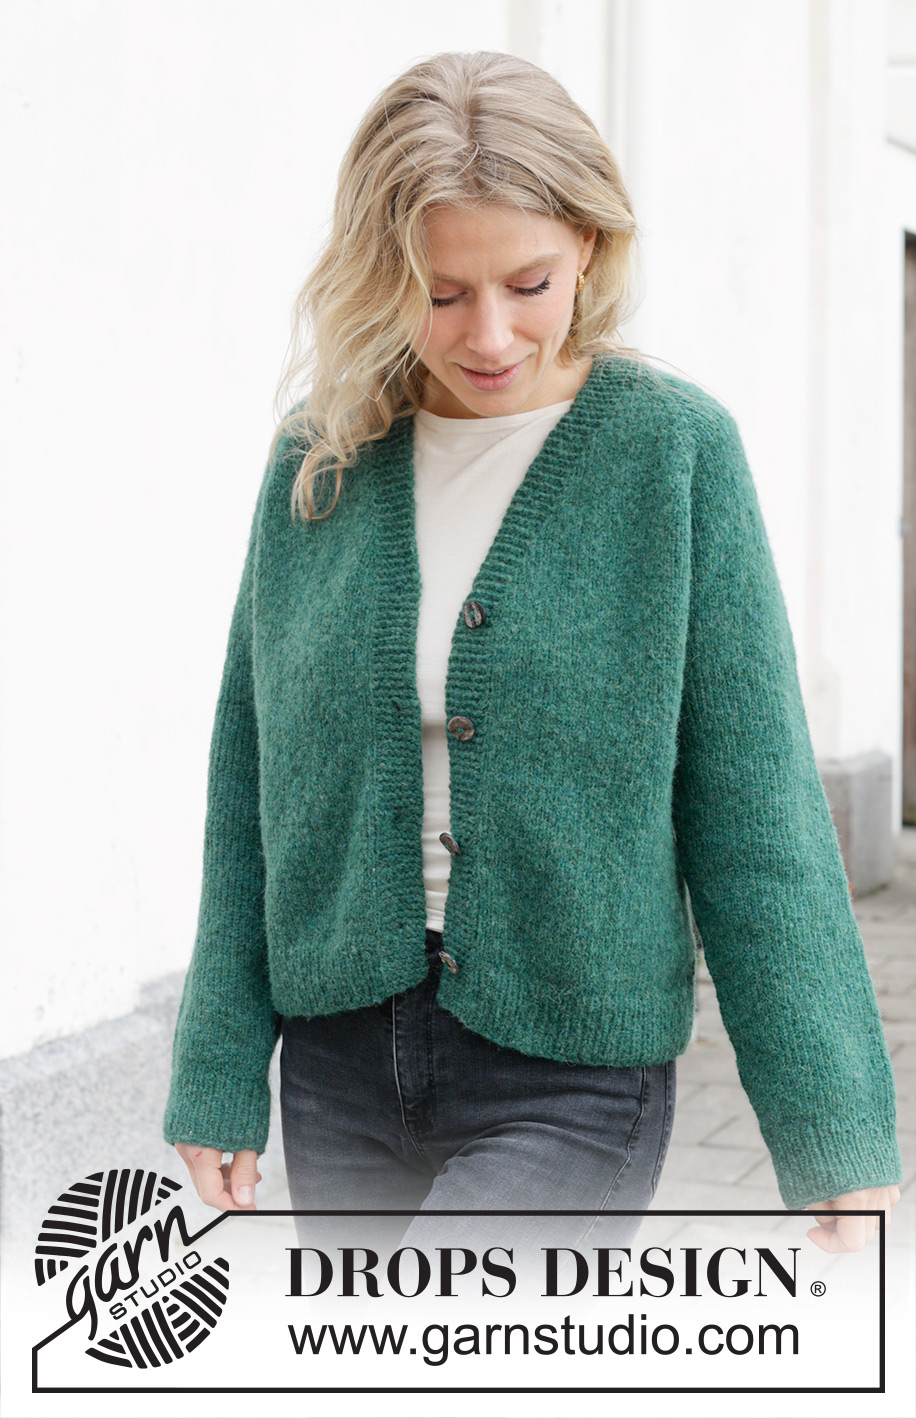
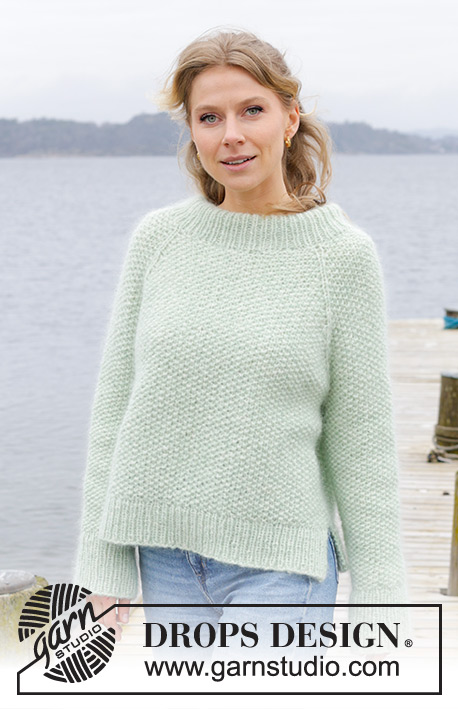
Knitted jacket in DROPS Air. The piece is worked top down with raglan and V-neck. Sizes S - XXXL.
DROPS 244-8 |
|
|
------------------------------------------------------- EXPLANATIONS FOR THE PATTERN: ------------------------------------------------------- GARTER STITCH (worked back and forth): Knit all rows. 1 ridge = knit 2 rows. RAGLAN: Increase 1 stitch before/after 2 stitches in each transition between the body and sleeves; the marker-thread sits between these 2 stitches. Increase 1 stitch by making 1 yarn over which is worked twisted on the next row/round to avoid a hole. The new stitches are then worked in stocking stitch. BUTTONHOLES: Work buttonholes on the right band (when the garment is worn). Work from the right side when there are 4 stitches left on the row as follows: Make 1 yarn over, knit 2 together and knit 2. On the next row (wrong side), knit the yarn over to leave a hole. The first buttonhole is worked 1 cm after the last increase for the V-neck, then the other 3 buttonholes with approx. 7-8-8½-7½-8-9 cm between each one. DECREASE TIP (for sleeves): Start 3 stitches before the marker-thread, knit 2 together, knit 2 (marker-thread sits between these 2 stitches), slip 1 stitch knit-wise, knit 1 and pass the slipped stitch over the knitted stitch (2 stitches decreased). ------------------------------------------------------- START THE PIECE HERE: ------------------------------------------------------- JACKET – SHORT OVERVIEW OF THE PIECE: Piece is worked back and forth, top down. Start by working 2 loose bands in garter stitch. Stitches are cast on between the 2 bands for the shoulders and back neck and the yoke continued back and forth with circular needle from mid-front. Stitches are increased for raglan and the V-neck. The yoke is divided for the body and sleeves and the body continued back and forth with circular needle. The sleeves are worked in the round with short circular needle/double pointed needles. RIGHT BAND (when the garment is worn): Cast on 7 stitches with circular needle size 5 mm and DROPS Air. Work GARTER STITCH – read description above, until the band measures 17-17-17-19-19-19 cm, finishing after a row from the wrong side. Lay the piece to one side. LEFT BAND: Cast on 7 stitches with circular needle size 5 mm and DROPS Air. Work garter stitch until the band measures 17-17-17-19-19-19 cm, finishing after a row from the right side. Do not cut the strand. Cast on 68-68-68-74-74-74 stitches at the end of this row, then knit the right band stitches = 82-82-82-88-88-88 stitches. Work 1 row with garter stitch over each band and purling the cast-on stitches. Insert 4 marker-threads (used when increasing for RAGLAN – read explanation above), without working the stitches and inserting them between 2 stitches as follows: Count 9 stitches, insert marker-thread 1, count 20 stitches, insert marker-thread 2, count 24-24-24-30-30-30 stitches, insert marker-thread 3, count 20 stitches, insert marker-thread 4, there are 9 stitches left on the row. YOKE: REMEMBER THE KNITTING TENSION! Continue back and forth with stocking stitch and garter stitch over each band. At the same time increase for the V-neck and raglan as described below. Read the next 2 sections before continuing. Start mid-front, from the right side. V-NECK: Increase for the neck inside the bands every 4th row 11-11-11-14-14-14 times by making 1 yarn over, which is worked twisted on the next row to avoid a hole. 1 cm after the last increase for the neck begin working the BUTTONHOLES – read description above. RAGLAN: Increase on each side of 2 stocking stitches in each transition between the front/back pieces and the sleeves every 2nd row (each row from the right side = 8 increased stitches) 6 times – read description above. Continue to increase for raglan every 2nd round but every 2nd increase is only on the front/back pieces (4 increased stitches), i.e., increase on the front/back pieces every 2nd row (each row from the right side) and on the sleeves every 4th row (every 2nd row from the right side). Increase like this 18-22-26-26-30-30 times on the body (9-11-13-13-15-15 times on the sleeves). SIZES S, M, XL, XXL and XXXL (the increases in size L are finished): Continue with stocking stitch and increase for raglan but now only increase on the body every 2nd row (the sleeve increases are finished) 2-1-1-1-5 times. ALL SIZES: You have increased a total of 26-29-32-32-37-41 times on the body and 15-17-19-19-21-21 times on the sleeves. After the last increase there are 268-288-308-324-348-364 stitches. Continue with stocking stitch and the bands in garter stitch until the yoke measures 24-26-29-29-33-36 cm, measured mid-back. Divide for the body and sleeves as follows: Work the first 46-49-52-56-60-64 stitches (front piece), place the next 50-54-58-58-62-62 stitches on a thread for the sleeve, cast on 10-10-10-12-14-16 stitches (in side under sleeve), work 76-82-88-96-104-112 stitches (back piece), place the next 50-54-58-58-62-62 stitches on a thread for the sleeve, cast on 10-10-10-12-14-16 stitches (in side under sleeve), work the last 46-49-52-56-60-64 stitches (front piece). BODY: = 188-200-212-232-252-272 stitches. Continue with stocking stitch and the bands in garter stitch for a further 18-18-17-19-17-16 cm. Knit 1 row from the right side and increase 19-21-21-23-25-27 stitches evenly spaced (do not increase over the bands) = 207-221-233-255-277-299 stitches. Change to circular needle size 4 mm and work as follows from the wrong side: 7 band stitches in garter stitch, * purl 1, knit 1 *, work from *-* until there are 8 stitches left, purl 1 and 7 band stitches in garter stitch. Continue this rib for 6 cm. Cast off. The jacket measures approx. 54-56-58-60-62-64 cm from the shoulder. SLEEVES: Place the 50-54-58-58-62-62 stitches from the thread on the one side of the piece on short circular needle/double pointed needles size 5 mm and knit up 1 stitch in each of the 10-10-10-12-14-16 stitches cast on under the sleeve = 60-64-68-70-76-78 stitches. Insert a marker-thread in the middle of the new stitches under the sleeve. Work stocking stitch in the round. When the sleeve measures 4 cm, decrease 2 stitches under the sleeve – read DECREASE TIP. Decrease like this every 5-3½-2½-2½-2-1½ cm a total of 6-8-9-10-11-11 times = 48-48-50-50-54-56 stitches. Continue working until the sleeve measures 36-35-33-32-29-27 cm from the division. Knit 1 round and increase 8-8-10-10-10-12 stitches evenly spaced = 56-56-60-60-64-68 stitches. Change to double pointed needles size 4 mm and work rib (knit 1, purl 1) for 6 cm. Cast off. The sleeve measures approx. 42-41-39-38-35-33 cm from the division. Work the other sleeve in the same way. ASSEMBLY: Sew the buttons onto the left band. Sew together the 2 loose bands mid-back and sew them to the neckline. |
|
 |
|
Have you finished this pattern?Tag your pictures with #dropspattern #nononsensecardigan or submit them to the #dropsfan gallery. Do you need help with this pattern?You'll find 29 tutorial videos, a Comments/Questions area and more by visiting the pattern on garnstudio.com. © 1982-2026 DROPS Design A/S. We reserve all rights. This document, including all its sub-sections, has copyrights. Read more about what you can do with our patterns at the bottom of each pattern on our site. |
|


With over 40 years in knitting and crochet design, DROPS Design offers one of the most extensive collections of free patterns on the internet - translated to 17 languages. As of today we count 325 catalogues and 12298 patterns translated into English (UK/cm). 12298
We work hard to bring you the best knitting and crochet have to offer, inspiration and advice as well as great quality yarns at incredible prices! Would you like to use our patterns for other than personal use? You can read what you are allowed to do in the Copyright text at the bottom of all our patterns. Happy crafting!
Post a comment to pattern DROPS 244-8
We would love to hear what you have to say about this pattern!
If you want to leave a question, please make sure you select the correct category in the form below, to speed up the answering process. Required fields are marked *.