Comments / Questions (119)
![]() Anna wrote:
Anna wrote:
Ik wil beginnen met het patroon, maar ik begrijp niet goed waarom beide biezen 17 cm moeten worden (maat M). De halsopening is toch niet in totaal 34 cm? In de maattekening kan ik dat niet terugvinden. Daar staat 14 plus 3 cm.
28.01.2026 - 17:25
![]() Veronique Coutant wrote:
Veronique Coutant wrote:
Comment faire les augmentations pour le raglan avec le marqueur on les fait comment ? Avant le marqueur ou pas doit t il t’y avoir 2 mailles endroit entre les jetés ?
21.01.2026 - 08:46DROPS Design answered:
Bonjour Mme Coutant, vous avez 2 mailles pour chaque raglan, et vous augmentez d'abord 1 m de chaque côté de chacune de ces 2 mailles (soit 8 m augmentées à chaque fois) puis vous allez augmenter ainsi: (1 rang en augmentant que pour les devants et le dos (4 augm), 1 rang sans augmenter, 1 rang en augmentant comme avant 8 m, 1 rang sans augmenter). Répétez ces 4 rangs autant que nécessaire. Quand vous n'augmentez que pour les devants et le dos, augmentez avant le 1er marqueur, après le 2ème, avant le 3ème et après le 4ème. Bon tricot!
23.01.2026 - 09:00
![]() Dubois Agathe wrote:
Dubois Agathe wrote:
Bonjour, je ne comprends pas les explications de ce modèle, êtes vous sur des traductions? ce n'est pas du tout compréhensible
18.01.2026 - 17:59DROPS Design answered:
Bonjour Mme Dubois, quelle partie ne comprenez-vous pas? Comment peut-on vous aider? Ce modèle se tricote de haut en bas, on tricote d'abord les bordures des devants séparément (comme dans cette vidéo, mais sans rangs raccourcis), et on va monter ensuite les mailles de l'empiècement comme dans la vidéo, entre celles des bordures. On augmente ensuite pour le raglan, on divise l'ouvrage à la fin de l'empiècement pour terminer le dos/les devants et les manches séparément. N'hésitez pas à nous indiquer quelle partie vous ne comprenez pas pour que nous puissions vous aider. Bon tricot!
19.01.2026 - 10:46
![]() Carla wrote:
Carla wrote:
Is drops design air dezelfde dikte wol als drops design lima?
07.01.2026 - 14:03DROPS Design answered:
Dag Carla,
Nee, DROPS Lima valt in garencategorie B en is dus dunner dan DROPS Air, welke in categorie C valt.
07.01.2026 - 17:58
![]() Jeannie wrote:
Jeannie wrote:
Hi, I am a beginner knitter. What are the right and left bands for? When (which part on the pattern) are the band for the neck and the shoulder being knitted? Thank you.
04.01.2026 - 11:37DROPS Design answered:
Dear Jeannie, the left and right bands are the garter stitch edges, where the buttonholes are worked and the buttons are sewn later on. As explained in SHORT OVERVIEW OF THE PIECE, in this case, the bands are the very start of the neck edge, that you later increase for the shoulders and neck at the back. So you work each band, cast on stitches in between them and join both. Now you continue with the yoke, while continuing to work the edges of the piece in garter stitch, for the bands. Happy knitting!
04.01.2026 - 23:58
![]() Mareike wrote:
Mareike wrote:
„Dann die nächsten 3 Knopflöcher im Abstand von ca. 7-8-8½-7½-8-9 cm dazwischen einarbeiten.“ Warum ist der Abstand der Knopflöcher für Größe XL kleiner (7,5cm) als bei Größe L (8,5cm), wenn bei jeder Größe nur 4 Knöpfe verarbeitet werden? Eigentlich müsste der Knopflochabstand doch mit jeder Größe größer werden. Danke im Voraus.
09.12.2025 - 15:48DROPS Design answered:
Liebe Mareike, die Halsausschnitt ist bei den größeren Größen länger, daher ist der Bereich, in dem man für die Knopflöcher abnimmt, kleiner, und die Knöpfe müssen enger sitzen. Viel Spaß beim Stricken!
16.12.2025 - 16:22
![]() Ella wrote:
Ella wrote:
Hallo! Die Zunahmen für den V -Ausschnitt sind diese rechts- oder linksgeneigt oder auf einer Seire rechts, auf der anderen links? Herzlichen Dank und herzliche Grüße!
04.12.2025 - 06:38DROPS Design answered:
Liebe Ella, bei diesem Modell werden die V-Halsauschnitt genauso gleich gestrickt; aber gerne können Sie wählen ob sie lieber rechts / links geneigt sein sollen. Viel Spaß beim Stricken!
04.12.2025 - 09:32
![]() Annemie Kloos wrote:
Annemie Kloos wrote:
Hallo! Ich habe zum ersten Mal eine Strickjacke in RVO gestrickt. Es hat alles super gut geklappt. Die Drops Air hat sich gut stricken lassen. Ich habe sie etwas länger gestrickt. 2 Knopflochreihen mehr! Sie passt perfekt. LG Annemie
01.12.2025 - 13:43
![]() Eva wrote:
Eva wrote:
Hallo, ich verstehe diesen Teil der Anleitung nicht mit den Raglanzunahmen. Ich stricke Gr. M - wenn ich mich an die Vorgaben halte habe ich 22 Vorder/Rückenteilzunahmen und 11 Ärmelzunahmen. Muss dann für Gr. M noch 1x Vorderteil zunehmen - bei alle Größen steht dann aber Gesamtmenge 29 Zunahmen Vorder/Rückenteil und 17 Zunahmen an den Ärmeln. Das ist doch widersprüchlich, bzw. wo kommen die Extrazunahmen plötzlich her? Es steht ja auch, dass die Ärmelzunahmen nun beendet sind. Danke!
24.11.2025 - 06:47DROPS Design answered:
Liebe Eva, man muss zuerst 6 Mal in jeder 2. Reihe zunehmen + 22 Mal (nur für Vorder/Rückenteil) in jeder 2. Reihe dann noch 1 Mal in jeder 2. Reihe = so sind es insgesamt 29 Zunahmen für Vorder-/Rückenteile, für Ärmel nur 6 Mal in jeder 2. Reihe + 11 M in jeder 4. Reihe = 17 Mal. Viel Spaß beim Stricken!
24.11.2025 - 14:35
![]() Martina wrote:
Martina wrote:
Hallo, ich verstehe etwas bei der Zunahme des V-Ausschnittes nicht. Wenn ich am Ende der Kantenmaschen zunehme, ist das die gleiche Stelle wie für die Raglanzunahme (2 Maschen nach der letzten Markierung; bzw. 2 Maschen vor der ersten Markierung) werden in dieser Reihe dann zwei Maschen an diesen Stellen zugenommen? Danke!
07.11.2025 - 18:13DROPS Design answered:
Liebe Martina, die Zunahmen für den V-Ausschnitt werden nach den 7 Blenden-Maschen am Anfang einer HinReihe und vor den 7 Blenden-Maschen am Ende einer HinReihe gestrickt, ganz am Anfang stricken Sie so: 7 Blenden-Maschen, (1 Zunahme für V-Ausschnitt), 1 M rechts, (1 Zunahme für Raglan), 1 M rechts (= 9 Maschen für Vorderteil), Markierer, 1 M rechts (2 Maschen für Raglanlinie)... und am Ende genauso aber verkerhrt. Viel Spaß beim Stricken!
18.11.2025 - 11:34
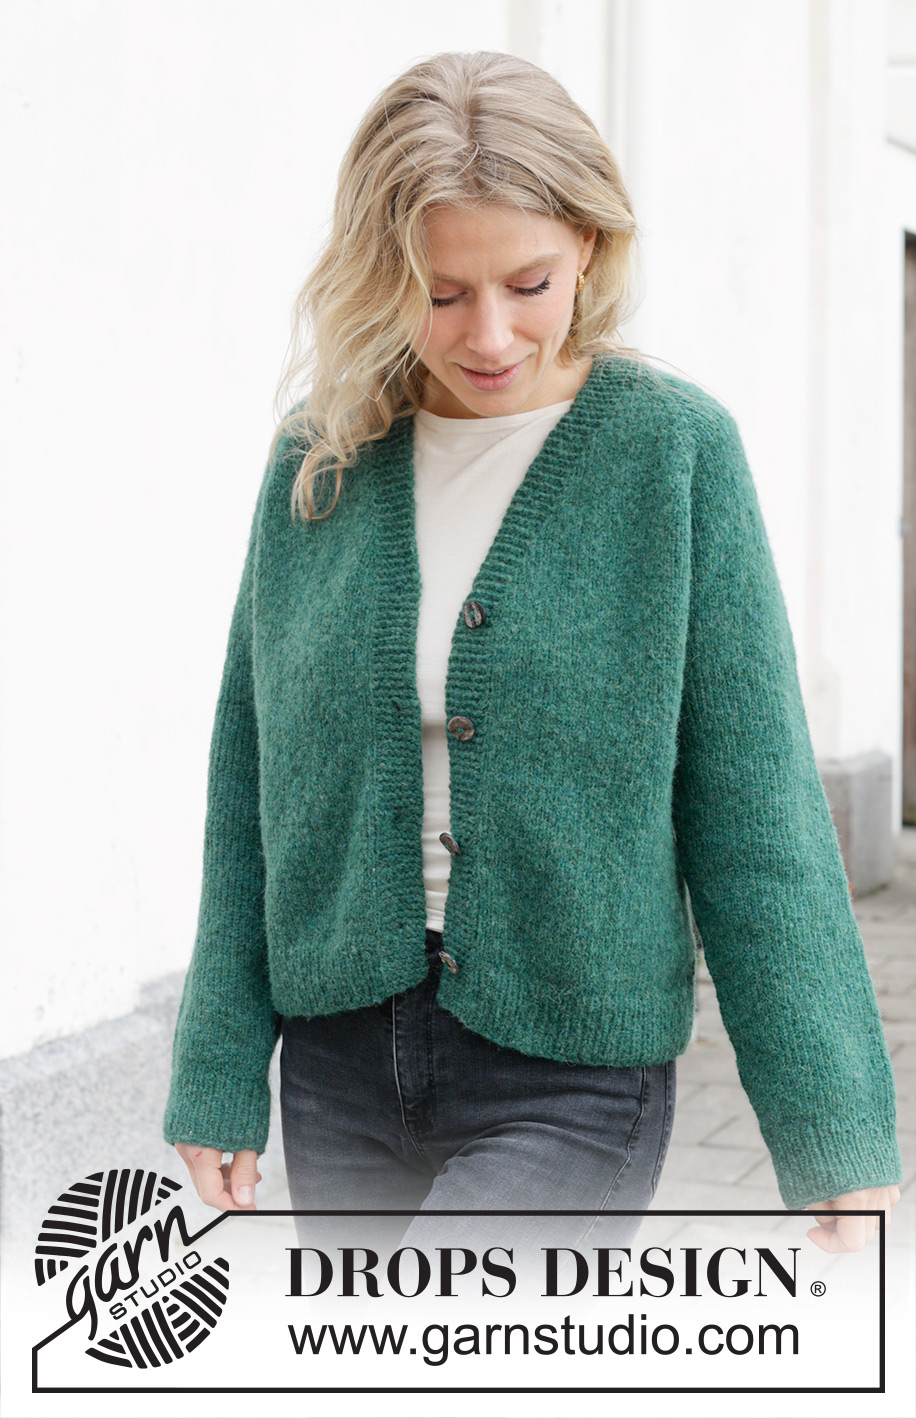
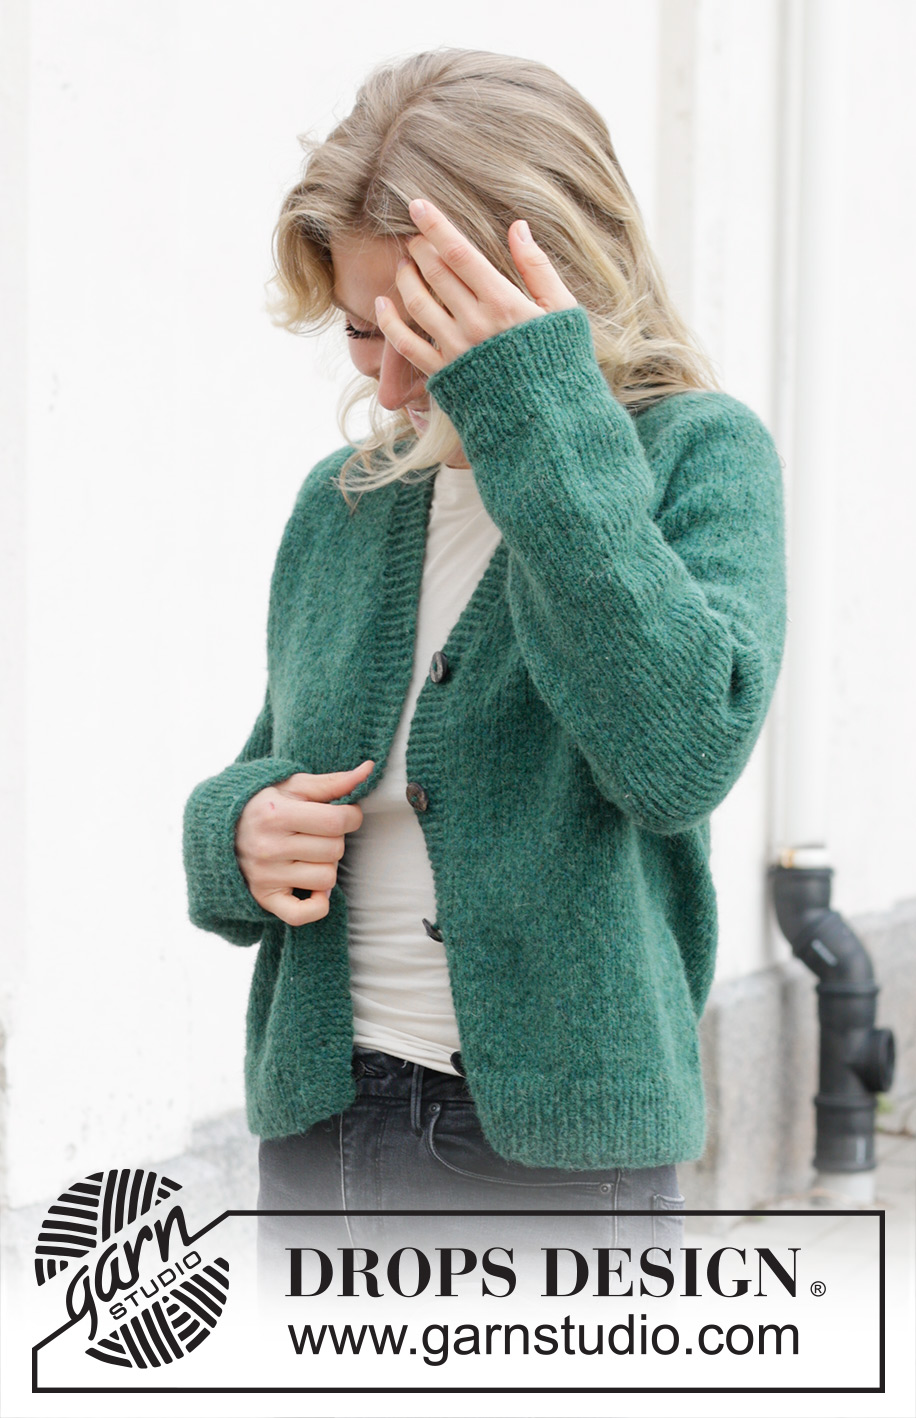
No Nonsense Cardigan#nononsensecardigan |
|
 |
 |
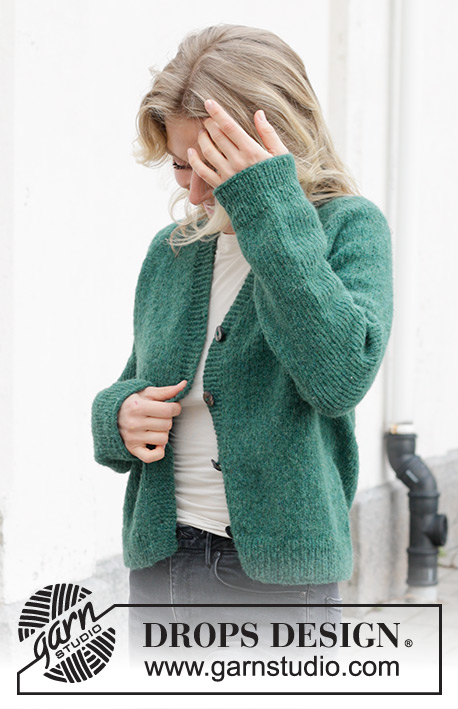
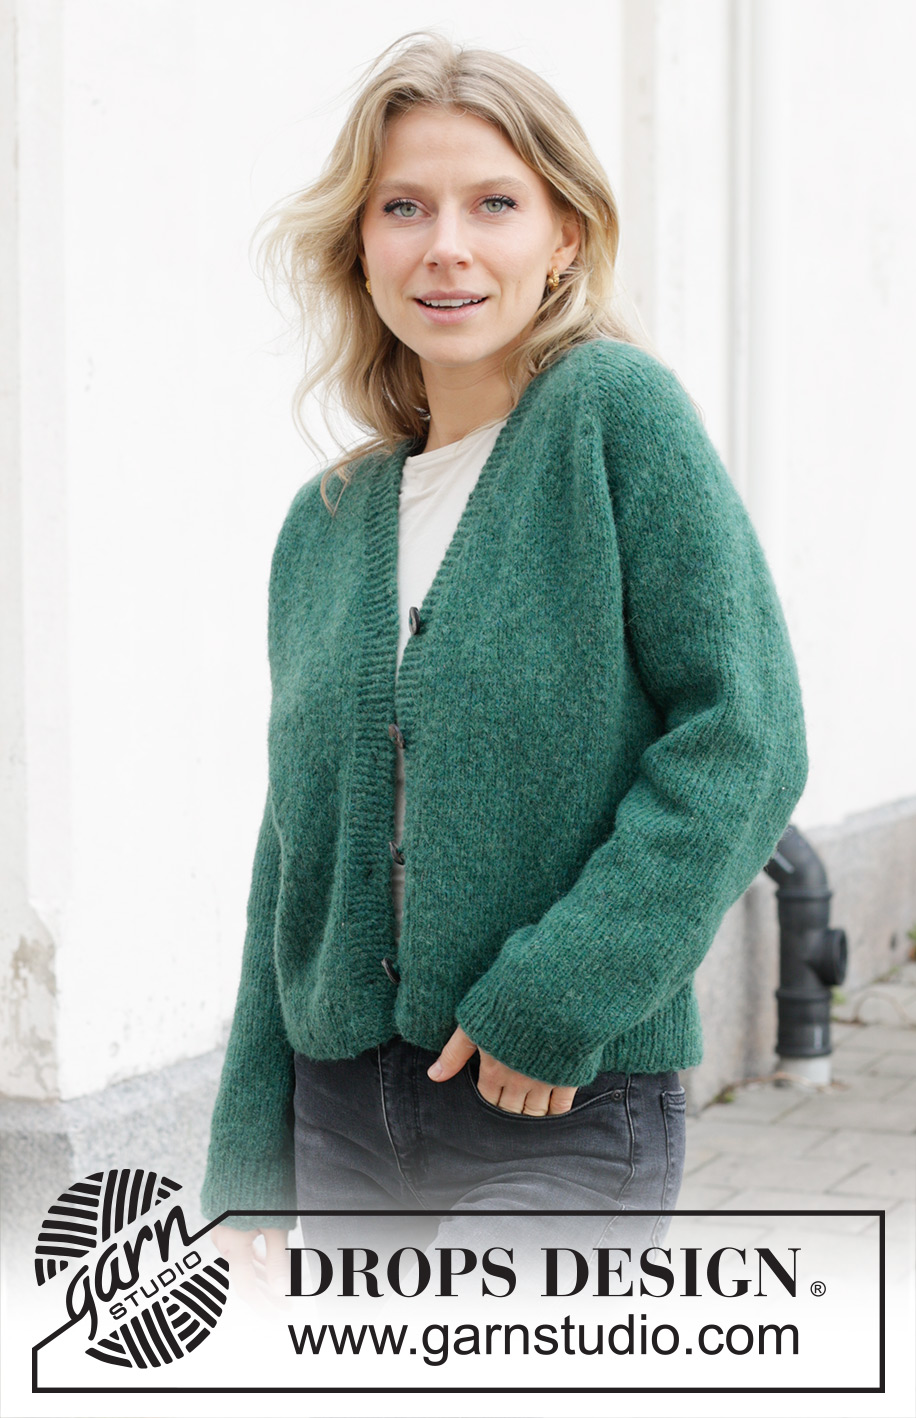
Knitted jacket in DROPS Air. The piece is worked top down with raglan and V-neck. Sizes S - XXXL.
DROPS 244-8 |
|
|
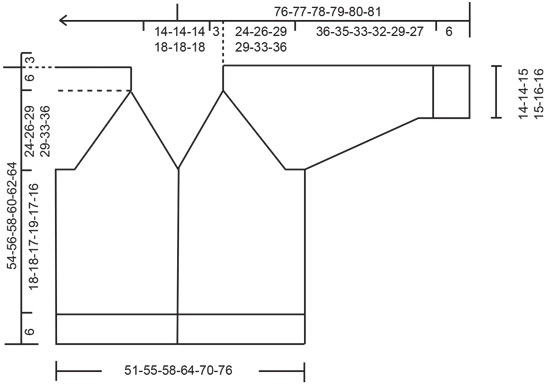
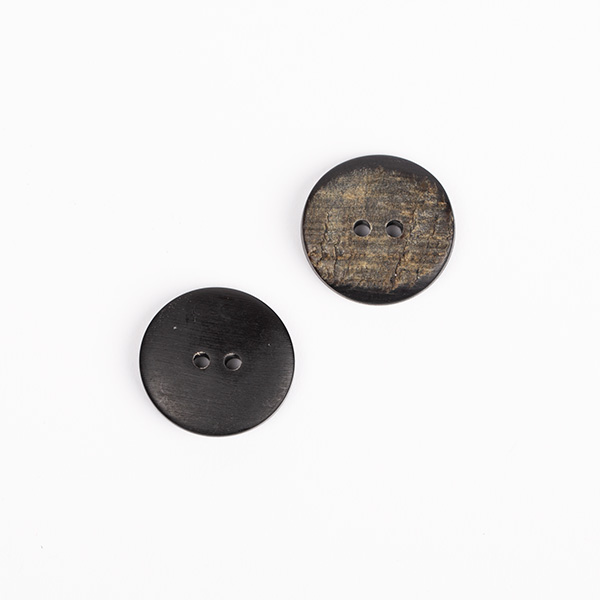
------------------------------------------------------- EXPLANATIONS FOR THE PATTERN: ------------------------------------------------------- GARTER STITCH (worked back and forth): Knit all rows. 1 ridge = knit 2 rows. RAGLAN: Increase 1 stitch before/after 2 stitches in each transition between the body and sleeves; the marker-thread sits between these 2 stitches. Increase 1 stitch by making 1 yarn over which is worked twisted on the next row/round to avoid a hole. The new stitches are then worked in stocking stitch. BUTTONHOLES: Work buttonholes on the right band (when the garment is worn). Work from the right side when there are 4 stitches left on the row as follows: Make 1 yarn over, knit 2 together and knit 2. On the next row (wrong side), knit the yarn over to leave a hole. The first buttonhole is worked 1 cm after the last increase for the V-neck, then the other 3 buttonholes with approx. 7-8-8½-7½-8-9 cm between each one. DECREASE TIP (for sleeves): Start 3 stitches before the marker-thread, knit 2 together, knit 2 (marker-thread sits between these 2 stitches), slip 1 stitch knit-wise, knit 1 and pass the slipped stitch over the knitted stitch (2 stitches decreased). ------------------------------------------------------- START THE PIECE HERE: ------------------------------------------------------- JACKET – SHORT OVERVIEW OF THE PIECE: Piece is worked back and forth, top down. Start by working 2 loose bands in garter stitch. Stitches are cast on between the 2 bands for the shoulders and back neck and the yoke continued back and forth with circular needle from mid-front. Stitches are increased for raglan and the V-neck. The yoke is divided for the body and sleeves and the body continued back and forth with circular needle. The sleeves are worked in the round with short circular needle/double pointed needles. RIGHT BAND (when the garment is worn): Cast on 7 stitches with circular needle size 5 mm and DROPS Air. Work GARTER STITCH – read description above, until the band measures 17-17-17-19-19-19 cm, finishing after a row from the wrong side. Lay the piece to one side. LEFT BAND: Cast on 7 stitches with circular needle size 5 mm and DROPS Air. Work garter stitch until the band measures 17-17-17-19-19-19 cm, finishing after a row from the right side. Do not cut the strand. Cast on 68-68-68-74-74-74 stitches at the end of this row, then knit the right band stitches = 82-82-82-88-88-88 stitches. Work 1 row with garter stitch over each band and purling the cast-on stitches. Insert 4 marker-threads (used when increasing for RAGLAN – read explanation above), without working the stitches and inserting them between 2 stitches as follows: Count 9 stitches, insert marker-thread 1, count 20 stitches, insert marker-thread 2, count 24-24-24-30-30-30 stitches, insert marker-thread 3, count 20 stitches, insert marker-thread 4, there are 9 stitches left on the row. YOKE: REMEMBER THE KNITTING TENSION! Continue back and forth with stocking stitch and garter stitch over each band. At the same time increase for the V-neck and raglan as described below. Read the next 2 sections before continuing. Start mid-front, from the right side. V-NECK: Increase for the neck inside the bands every 4th row 11-11-11-14-14-14 times by making 1 yarn over, which is worked twisted on the next row to avoid a hole. 1 cm after the last increase for the neck begin working the BUTTONHOLES – read description above. RAGLAN: Increase on each side of 2 stocking stitches in each transition between the front/back pieces and the sleeves every 2nd row (each row from the right side = 8 increased stitches) 6 times – read description above. Continue to increase for raglan every 2nd round but every 2nd increase is only on the front/back pieces (4 increased stitches), i.e., increase on the front/back pieces every 2nd row (each row from the right side) and on the sleeves every 4th row (every 2nd row from the right side). Increase like this 18-22-26-26-30-30 times on the body (9-11-13-13-15-15 times on the sleeves). SIZES S, M, XL, XXL and XXXL (the increases in size L are finished): Continue with stocking stitch and increase for raglan but now only increase on the body every 2nd row (the sleeve increases are finished) 2-1-1-1-5 times. ALL SIZES: You have increased a total of 26-29-32-32-37-41 times on the body and 15-17-19-19-21-21 times on the sleeves. After the last increase there are 268-288-308-324-348-364 stitches. Continue with stocking stitch and the bands in garter stitch until the yoke measures 24-26-29-29-33-36 cm, measured mid-back. Divide for the body and sleeves as follows: Work the first 46-49-52-56-60-64 stitches (front piece), place the next 50-54-58-58-62-62 stitches on a thread for the sleeve, cast on 10-10-10-12-14-16 stitches (in side under sleeve), work 76-82-88-96-104-112 stitches (back piece), place the next 50-54-58-58-62-62 stitches on a thread for the sleeve, cast on 10-10-10-12-14-16 stitches (in side under sleeve), work the last 46-49-52-56-60-64 stitches (front piece). BODY: = 188-200-212-232-252-272 stitches. Continue with stocking stitch and the bands in garter stitch for a further 18-18-17-19-17-16 cm. Knit 1 row from the right side and increase 19-21-21-23-25-27 stitches evenly spaced (do not increase over the bands) = 207-221-233-255-277-299 stitches. Change to circular needle size 4 mm and work as follows from the wrong side: 7 band stitches in garter stitch, * purl 1, knit 1 *, work from *-* until there are 8 stitches left, purl 1 and 7 band stitches in garter stitch. Continue this rib for 6 cm. Cast off. The jacket measures approx. 54-56-58-60-62-64 cm from the shoulder. SLEEVES: Place the 50-54-58-58-62-62 stitches from the thread on the one side of the piece on short circular needle/double pointed needles size 5 mm and knit up 1 stitch in each of the 10-10-10-12-14-16 stitches cast on under the sleeve = 60-64-68-70-76-78 stitches. Insert a marker-thread in the middle of the new stitches under the sleeve. Work stocking stitch in the round. When the sleeve measures 4 cm, decrease 2 stitches under the sleeve – read DECREASE TIP. Decrease like this every 5-3½-2½-2½-2-1½ cm a total of 6-8-9-10-11-11 times = 48-48-50-50-54-56 stitches. Continue working until the sleeve measures 36-35-33-32-29-27 cm from the division. Knit 1 round and increase 8-8-10-10-10-12 stitches evenly spaced = 56-56-60-60-64-68 stitches. Change to double pointed needles size 4 mm and work rib (knit 1, purl 1) for 6 cm. Cast off. The sleeve measures approx. 42-41-39-38-35-33 cm from the division. Work the other sleeve in the same way. ASSEMBLY: Sew the buttons onto the left band. Sew together the 2 loose bands mid-back and sew them to the neckline. |
|
 |
|
Have you finished this pattern?Tag your pictures with #dropspattern #nononsensecardigan or submit them to the #dropsfan gallery. Do you need help with this pattern?You'll find 28 tutorial videos, a Comments/Questions area and more by visiting the pattern on garnstudio.com. © 1982-2026 DROPS Design A/S. We reserve all rights. This document, including all its sub-sections, has copyrights. Read more about what you can do with our patterns at the bottom of each pattern on our site. |
|








Post a comment to pattern DROPS 244-8
We would love to hear what you have to say about this pattern!
If you want to leave a question, please make sure you select the correct category in the form below, to speed up the answering process. Required fields are marked *.