
Popular categories
Looking for a yarn?


Comments / Questions (20)
![]() Hanne wrote:
Hanne wrote:
Jeg forstår, ligesom flere andre herinde, heller ikke den skrå skulder. Det giver ikke mening, - og jeg er en meget erfaren strikker😉 Vh Hanne
03.01.2026 - 18:17
![]() Anja wrote:
Anja wrote:
Volgens mij minderen bij de hals voor het voorpand 6x1 steek?
11.12.2025 - 10:33DROPS Design answered:
Dat Anja,
Voor de 2 kleinste maten inderdaad 6 keer 1 steek aan beide kanten.
11.12.2025 - 18:04
![]() Larissa wrote:
Larissa wrote:
Die Anleitung widerspricht sich beim Ende der Beschreibung des Vorderteils. "Bei einer Länge von 52-54-55-57-58-60 cm die mittleren 18-18-22-22-22-22 Maschen für den Halsausschnitt stilllegen. Jede Schulter einzeln wie nachfolgend beschrieben weiterstricken." Und dann steht "Es wird für den Halsausschnitt abgenommen und gleichzeitig werden Maschen für die Schulterschrägung stillgelegt." Für was lege ich zuerst still - Halsausschnitt oder Schultern? Und was stricke ich zuerst?
24.11.2025 - 18:31
![]() Christy wrote:
Christy wrote:
Your description for diagonal shoulder makes no sense. I have read your answer other on this multiple times, I have watched all the available videos you have posted and it still is not clear. I have even the instructions in English, Swedishand Norwegian hoping it would be clear in a different language but it is not. Please clarify! i am an experienced knitter but it is not clear…
21.10.2025 - 23:21DROPS Design answered:
Hi Christy. Since you don't understand the description (in several languages) or the various videos we have made, it might be best if you explain a little more and more precisely what you don't understand. And remember, you can always visit a store that sells DROPS yarn for more personal guidance. best regards DROPS Design
27.10.2025 - 12:56
![]() Brugere wrote:
Brugere wrote:
Bonjour, je recommence du début, j ai rabattu mes 32 mls de l encolure, je finis mon rangs (je suis sr l endroit) . je fais mon rang envers . Sur l endroit, je rabats 1ml en début de rang, je finis mon rang ? Sur envers côté emmanchures ..c est là que je ne comprends pas comment on fait malgré vos explications pouvez-vous svp plus me détailler mes rangs . merci encore. Cordialement. ( Avez-vous des vidéos en plus)
17.10.2025 - 10:49DROPS Design answered:
Bonjour Mme Brugere, pour le dos, épaule gauche + devant, épaule droite: vous mettez les mailles de l'épaule en attente en début de rang sur l''envers et pour le dos, épaule droite + devant, épaule gauche, vous mettez les mailles de l'épaule en attente en début de rang sur l'endroit. Dans cette vidéo, nous montrons, pour un autre modèle, comment on procède pour mettre des mailles en attente pour l'épaule et comment former l'encolure en même temps. Bon tricot!
17.10.2025 - 15:56
![]() Brugere wrote:
Brugere wrote:
Merci pour votre réponse mais elle m aide pas ds les explications ils ne parlent pas de rangs raccourci !! Pouvez vous SVP me dire comment je dois procéder pour ces rangs de biais. , merci cordialement
15.10.2025 - 08:53DROPS Design answered:
Bonjour Mme Brugere, c'est ce que vous tricotez en laissant en attente 2 x 8 m + 1 x 7 m en début de rang à partir de l'emmanchure: vous tricotez 8 m, vous les mettez en attente, vous terminez le rang, vous tournez et tricotez les mailles (sans les 8), vous répétez ces 2 rangs encore 1 fois puis vous tricotez 2 rangs sur les 7 dernières mailles, et maintenant, vous tricotez ces 23 mailles. Bon tricot!
15.10.2025 - 10:24
![]() Brugere wrote:
Brugere wrote:
Bonjour, je ne comprends pas le biais de l épaule. J ai mis mes mls en attente ( pour moi : 8 , 8 , 7) j arrivé côté bras sur l'entroit de mon travail. faut il que je coupe mon fil ?mais après [ vous dites reprendre les 23 mls ] à partir de là je ne comprends plus rien. Pouvez vous m'aider merci. Cordialement
12.10.2025 - 11:16
![]() Brugere wrote:
Brugere wrote:
Bonjour, je ne comprends pas le biais de l épaule. J ai mis mes mls en attente ( pour moi : 8 , 8 , 7) j arrivé côté bras sur l'entroit de mon travail. faut il que je coupe mon fil ?mais après [ vous dites reprendre les 23 mls ] à partir de là je ne comprends plus rien. Pouvez vous m'aider merci. Cordialement
12.10.2025 - 11:15DROPS Design answered:
Bonjour Mme Brugere, quand vous avez terminé vos rangs raccourcis, vous reprenez toutes les mailles de l'épaule: 23 pour vous (8x2 + 7x1 = 23)et vous tricotez 1 rang jersey (endroit sur l'endroit ou envers sur l'envers), et vous rabattez ces 23 mailles. Bon tricot!
15.10.2025 - 08:18
![]() Brugere wrote:
Brugere wrote:
Merci , mais les diminution se font comme la technique de l encolure ? Cordialement
10.10.2025 - 08:27DROPS Design answered:
Bonjour Mme Brugere, non, pour les emmanchures, on va rabattre 1 maille au début de chaque rang de chaque côté (pas diminuer 1 m de chaque côté), en fonction de la taille, par ex en taille S on va rabattre 1 m au début des 12 rangs suivants = 6 x 1 m de chaque côté. Bon tricot!
10.10.2025 - 08:30
![]() Brugere wrote:
Brugere wrote:
Bonjour, pouvez vous m' aider svp. Après la séparation du devant et du dos ( je fais mon rang envers) ? Et ensuite Je commence mais diminution sur l endroit ? Dès 2 côtés ? Merci cordialement
09.10.2025 - 17:33DROPS Design answered:
Bonjour Mme Brugere, vous pouvez rabattre au 1er rang sur l'envers ou bien au 1er rang suivant sur l'endroit, tant que vous rabattez 1 maille de chaque côté (= au début des 2 rangs suivants), vous pouvez choisir dès le 1er rang sur l'envers ou celui sur l'endroit, les 2 marcheront tout aussi bien. Bon tricot!
10.10.2025 - 08:02
|
|
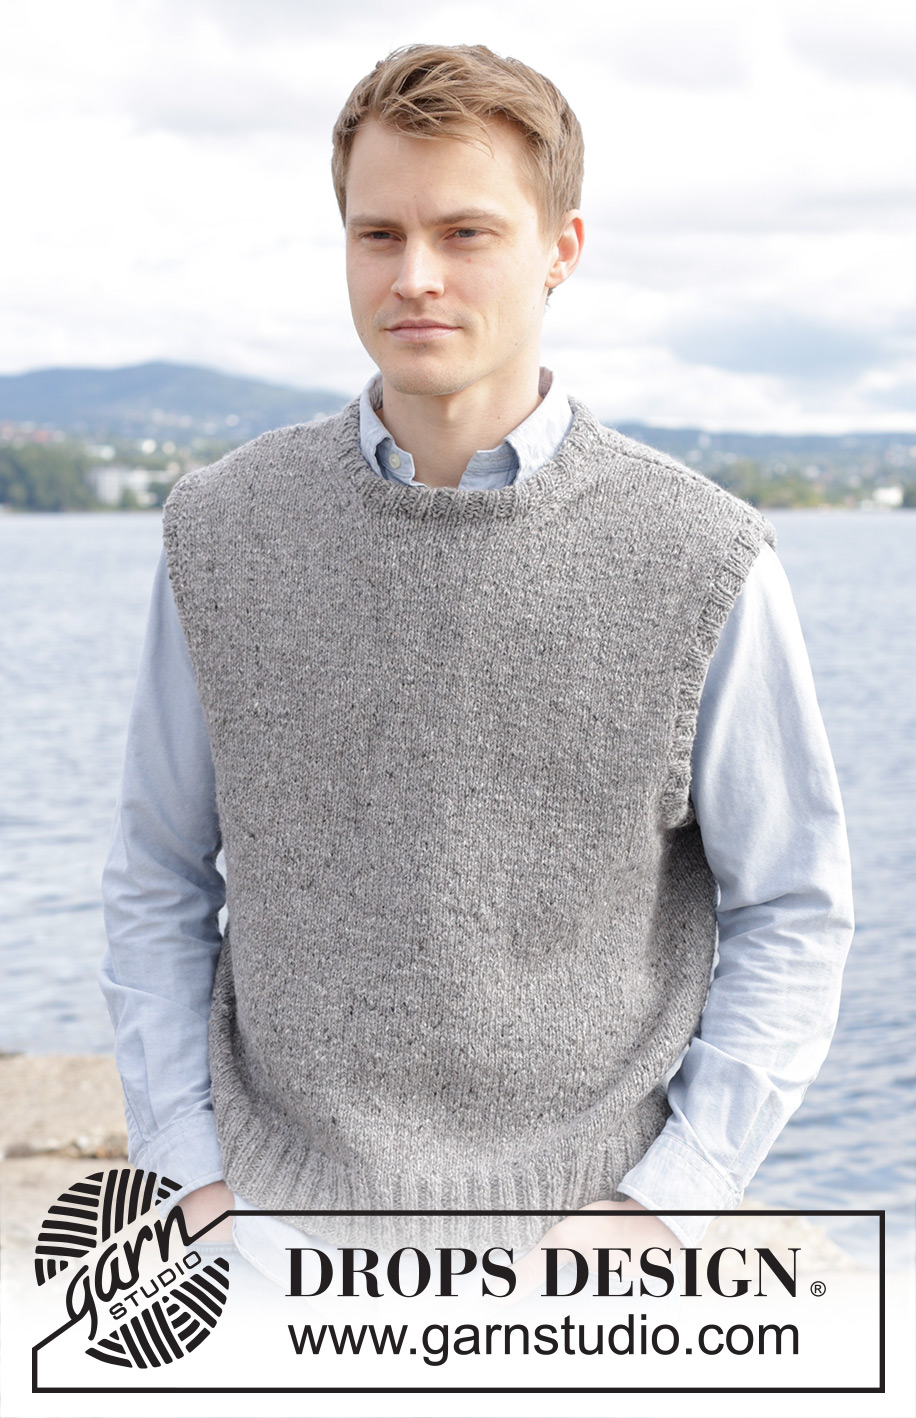
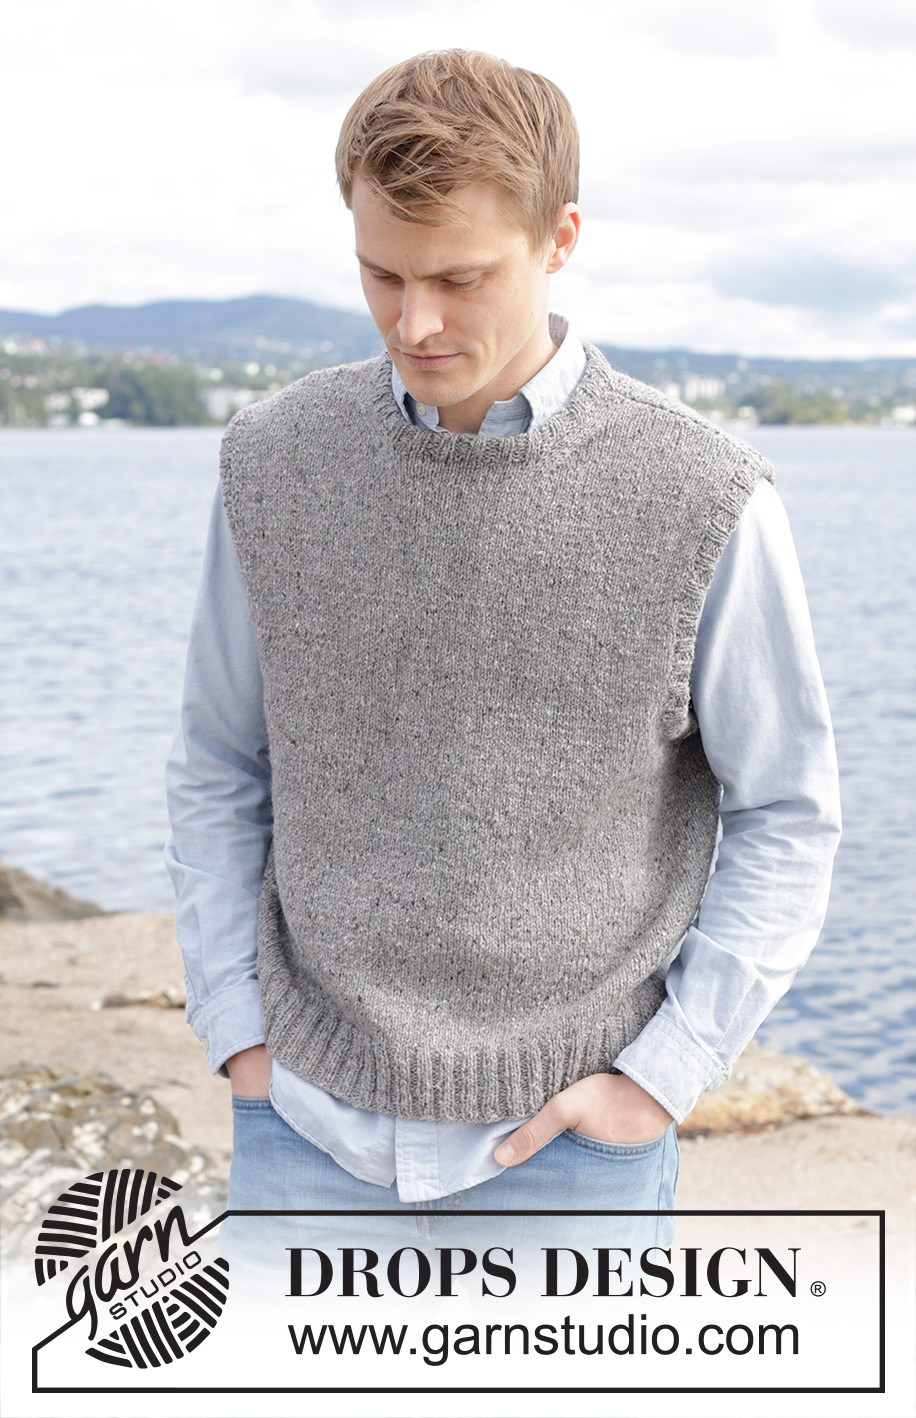
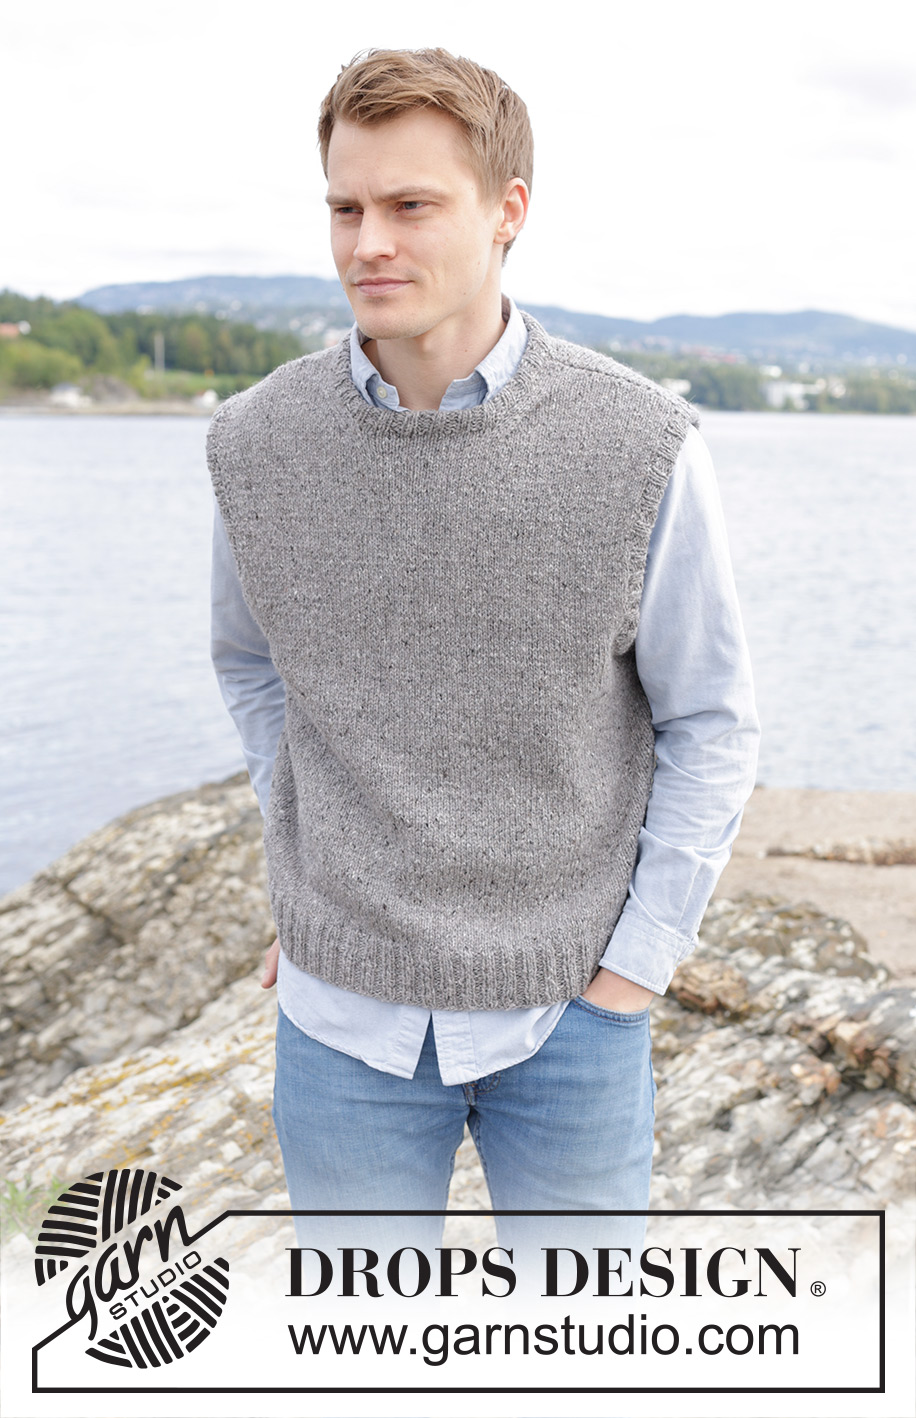
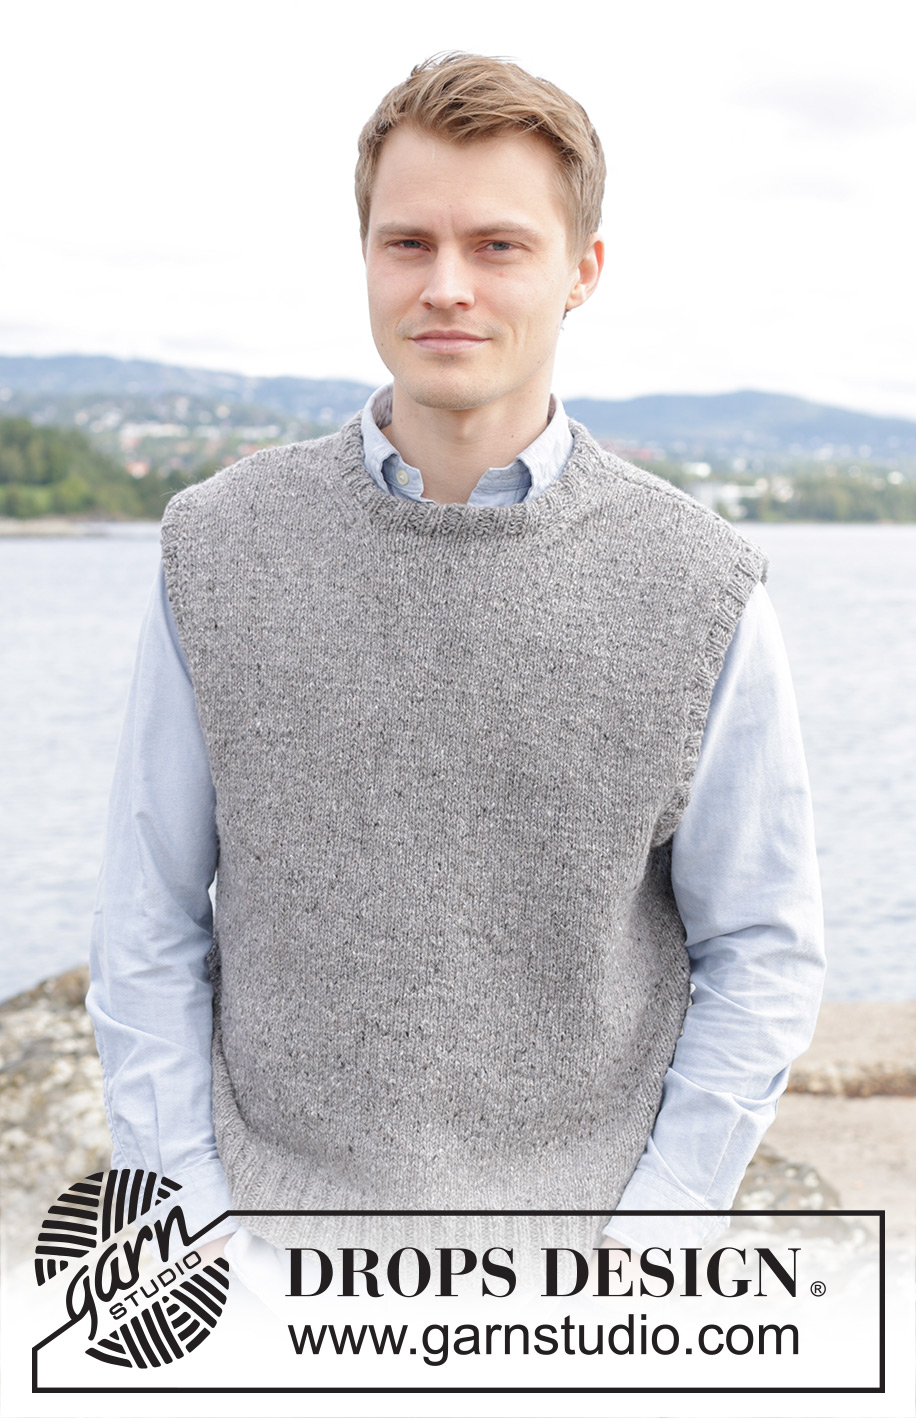
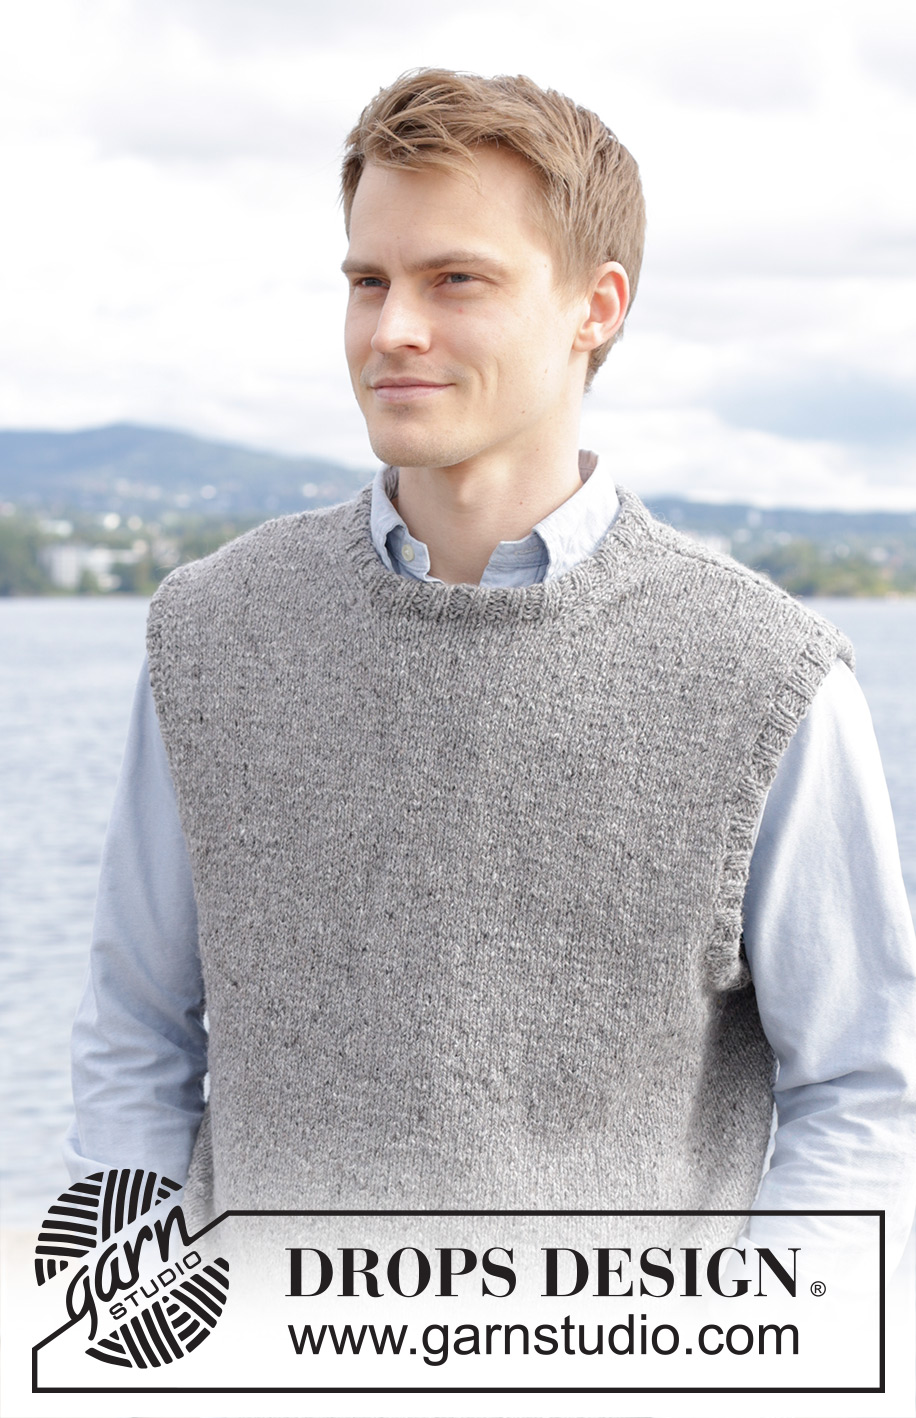
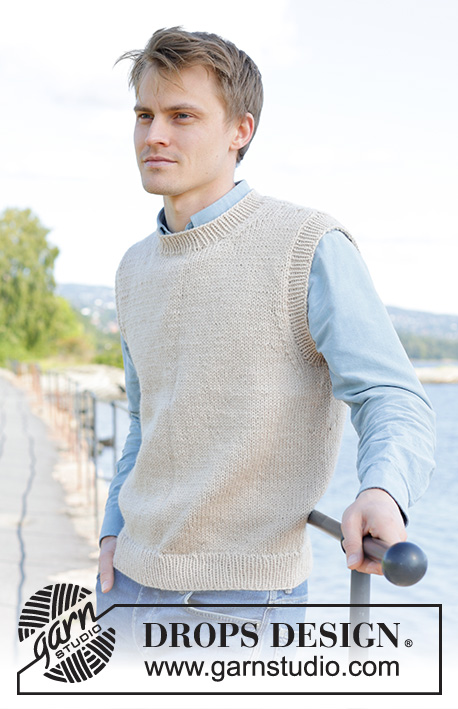
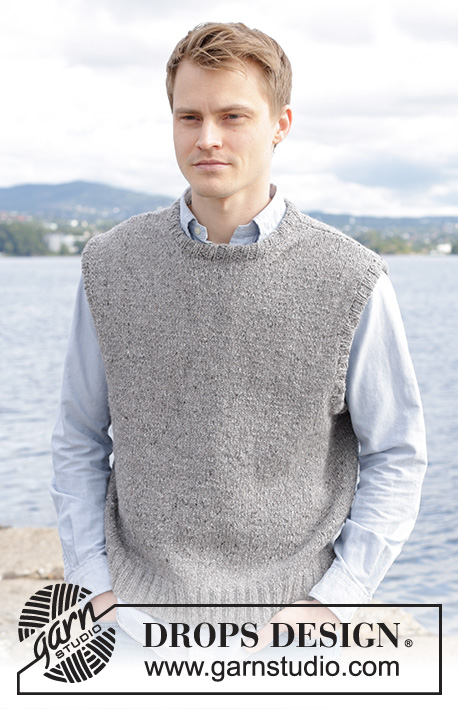
Urban Fog Vest#urbanfogvest |
|
 |
 |
Knitted vest for men in DROPS Soft Tweed. The piece is worked bottom up with stockinette stitch. Sizes S - XXXL.
DROPS 246-6 |
|
|
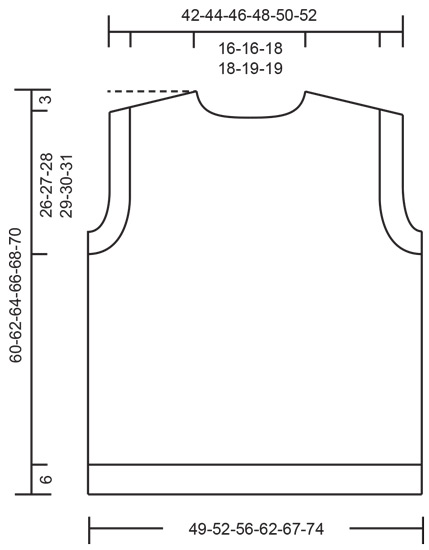
------------------------------------------------------- EXPLANATIONS FOR THE PATTERN: ------------------------------------------------------- DECREASE TIP (for neckline): All decreases are worked from the right side! DECREASE AT BEGINNING OF ROW: Knit 3, slip 1 stitch knit-wise, knit 1 and pass the slipped stitch over the knitted stitch (= 1 stitch decreased). DECREASE AT END OF ROW: Work until there are 5 stitches left, knit 2 together (= 1 stitch decreased), knit 3. ------------------------------------------------------- START THE PIECE HERE: ------------------------------------------------------- VEST – SHORT OVERVIEW OF THE PIECE: The piece is worked in the round with circular needle, bottom up, as far as the armholes. The piece is divided and the front and back pieces are finished separately, back and forth. The neck and sleeve edges are worked in the round to finish. BODY: Cast on 208-220-236-260-280-312 stitches with circular needle size 4 MM = US 6 and DROPS Soft-Tweed. Work rib in the round (knit 2, purl 2) for 6 cm = 2⅜". Knit 1 round and decrease 22-22-24-24-26-30 stitches evenly spaced = 186-198-212-236-254-282 stitches. Insert 1 marker-thread at the beginning of the round and 1 marker-thread after 93-99-106-118-127-141 stitches; allow the threads to follow your work onwards – they are used when working the armholes. Change to circular needle size 5 MM = US 8. Work stockinette stitch in the round. REMEMBER THE KNITTING GAUGE! When the piece measures 31-32-33-34-35-36 cm = 12¼"-12½"-13"-13⅜"-13¾"-14¼", bind off for the armholes as follows: Start 5-6-6-7-9-11 stitches before the first marker-thread, bind off 9-11-12-14-17-21 stitches, work until there are 5-6-6-7-9-11 stitches left before the second marker-thread and place these 84-88-94-104-110-120 stitches on a stitch holder (front piece), bind off 9-11-12-14-17-21 stitches. The front and back pieces are finished separately. BACK PIECE: = 84-88-94-104-110-120 stitches. Continue with stockinette stitch back and forth and at the same time bind off 1 stitch at the beginning of every row 6-6-7-10-11-14 times on each side = 72-76-80-84-88-92 stitches. When the piece measures 56-58-60-62-64-66 cm = 22"-22¾"-23⅝"-24⅜"-25¼"-26" bind off the middle 28-28-32-32-34-34 stitches for the neckline and finish each shoulder separately. OVERVIEW OF THE NEXT SECTION: Bind off for the neckline and work the diagonal shoulder. Read NECKLINE and DIAGONAL SHOULDER before continuing. NECKLINE: Bind off 1 stitch at the beginning of the next row from the neck. DIAGONAL SHOULDER: When the piece measures 57-59-61-63-65-67 cm = 22½"-23¼"-24"-24¾"-25½"-26⅜" place the outermost stitches on a thread for the shoulder, working them first to avoid cutting the strand. Place 7-8-8-8-9-9 stitches on the thread 2 times, then place the last 7-7-7-9-8-10 stitches on the thread. All stitches are now either bind off or on the thread. Place the 21-23-23-25-26-28 stitches from the thread back on circular needle size 5 MM = US 8. Work 1 row of stockinette stitch (to avoid holes in the transitions between the stitches on the thread, pick up the strand between 2 stitches and work it twisted together with the next stitch on the left needle). Bind off on the next row. The piece measures approx. 60-62-64-66-68-70 cm = 23⅝"-24⅜"-25¼"-26"-26¾"-27½" from the cast-on edge to the top of the shoulder. Work the other shoulder in the same way. FRONT PIECE: Place the 84-88-94-104-110-120 stitches from the stitch holder back on circular needle 5 MM = US 8. Continue with stockinette stitch back and forth at the same time as, on the first row from the right side, you bind off as follows for the armholes: 1 stitch 6-6-7-10-11-14 times on both sides = 72-76-80-84-88-92 stitches. When the piece measures 52-54-55-57-58-60 cm = 20½"-21¼"-21⅝"-22½"-22¾"-23⅝" place the middle 18-18-22-22-22-22 stitches on a thread for the neckline and finish each shoulder separately. OVERVIEW OF THE NEXT SECTION: Bind off for the neckline and work the diagonal shoulder. Read NECKLINE and DIAGONAL SHOULDER before continuing. NECKLINE: On the next row from the right side decrease for the neckline – read DECREASE TIP. Decrease like this on each row from the right side 6-6-6-6-7-7 times. DIAGONAL SHOULDER: When the piece measures 57-59-61-63-65-67 cm = 22½"-23¼"-24"-24¾"-25½"-26⅜" place the outermost stitches on a thread for the shoulder in the same way as on the back piece. When all stitches are either bind off or on the thread, place the 21-23-23-25-26-28 stitches from the thread back on 5 MM = US 8 circular needle. Work 1 row of stockinette stitch in the same way as on the back piece, then bind off. The piece measures approx. 60-62-64-66-68-70 cm = 23⅝"-24⅜"-25¼"-26"-26¾"-27½" from the cast-on edge to the top of the shoulder. Work the other shoulder in the same way. ASSEMBLY: Sew the shoulder seams. NECK: Start on one shoulder with circular needle size 4 MM = US 6 and knit up 84 to 100 stitches (including the stitches from the thread – stitch count should be divisible by 4). Work rib in the round (knit 2, purl 2) for 5 cm = 2". Bind off with knit over knit and purl over purl. Fold the neck double to the inside and sew down. To avoid the neck being tight and rolling outwards, it is important that the seam is elastic. SLEEVE EDGES: Start at the bottom of the armhole with short circular needle size 4 MM = US 6 and knit up 108-112-116-120-128-132 stitches around the armhole (stitch count should be divisible by 4). Work rib in the round (knit 2, purl 2) for 5 cm = 2". Bind off with knit over knit and purl over purl. Fold the rib double to the inside and sew down. Work the other sleeve edge in the same way. |
|
 |
|
Have you finished this pattern?Tag your pictures with #dropspattern #urbanfogvest or submit them to the #dropsfan gallery. Do you need help with this pattern?You'll find 22 tutorial videos, a Comments/Questions area and more by visiting the pattern on garnstudio.com. © 1982-2026 DROPS Design A/S. We reserve all rights. This document, including all its sub-sections, has copyrights. Read more about what you can do with our patterns at the bottom of each pattern on our site. |
|


With over 40 years in knitting and crochet design, DROPS Design offers one of the most extensive collections of free patterns on the internet - translated to 17 languages. As of today we count 324 catalogs and 12290 patterns - 12280 of which are translated into English (US/in).
We work hard to bring you the best knitting and crochet have to offer, inspiration and advice as well as great quality yarns at incredible prices! Would you like to use our patterns for other than personal use? You can read what you are allowed to do in the Copyright text at the bottom of all our patterns. Happy crafting!
Post a comment to pattern DROPS 246-6
We would love to hear what you have to say about this pattern!
If you want to leave a question, please make sure you select the correct category in the form below, to speed up the answering process. Required fields are marked *.