
Popular categories
Looking for a yarn?


Comments / Questions (137)
![]() Melli wrote:
Melli wrote:
Ich verstehe dies nicht so ganz: Bei der nächsten R. über den Armlöchern die gleiche Anzahl Maschen anschlagen. Heißt das, dass ich die Maschenanzahl, die ich abgekettet habe, wieder aufnehmen muss?
21.08.2014 - 21:39DROPS Design answered:
Sie schlagen die gleiche Anzahl M, die Sie abgekettet haben, wieder neu an (also nicht auffassen), wenn Sie an der betreffenden Stelle sind, d.h. ohne den Arbeitsfaden abzuschneiden schlagen Sie die M so an wie beim normalen Maschenanschlag. Es soll ja ein Loch entstehen, damit Sie den Arm hindurchstecken können. :-) Die Jacke ist ja ein Kreis mit zwei Schlitzen für die Arme.
21.08.2014 - 22:11
![]() Thèrese wrote:
Thèrese wrote:
Rygstykke - ærmelukning: jeg har 21 cm fra midt og derefter 20m 26m luk + 43 m + 26m luk og 20m slut nu har jeg så 34 m tilbage. Er de for mange - eller hvad har jeg gjort forkert ? Vh
24.02.2014 - 00:12DROPS Design answered:
Hej Thèrese. Er din strikkefasthed korrekt eller har du taget for meget ud?
05.03.2014 - 16:07
![]() Nancy König wrote:
Nancy König wrote:
Kann ich diese Jacke auch mit einer Rundstricknadel stricken?
23.02.2014 - 06:58DROPS Design answered:
liebe Frau König, die Jacke muss wie beschrieben mit einem Nadelspiel begonnen werden, da Sie ja zunächst mit 8 M beginnen. Dann nehmen Sie ja in jeder 2. Runde 8 M zu und sobald Sie genügend M auf der Nadel haben, können Sie erst zur kurzen Rundnadel (40 cm) und dann zur längeren Rundnadel wechseln. Viel Spaß beim Stricken!
23.02.2014 - 11:11
![]() De Pieri Elvira wrote:
De Pieri Elvira wrote:
Was heißt den Anfang der Runde markieren = gegen den Nacken?
14.02.2014 - 23:07DROPS Design answered:
Liebe Elvira, Sie bringen am Rd-Beginn einen Markierer an und führen diesen beim Stricken mit, dieser Markierer kennzeichnet die Mitte der Jacke und zwar in Richtung Nacken - er zeigt also an, wo die obere Mitte der Jacke ist. Dieser Markierer ist wichtig, wenn Sie für die Armausschnitte abketten, damit Sie an der richtigen Stelle beginnen. Viel Spaß beim Stricken!
15.02.2014 - 11:45
![]() Shanara wrote:
Shanara wrote:
Hat jemand hier die Jacke schon fertig, und hält die auf den Schultern? Ich habe schon mal eine total schöne Rundjacke gestrickt, die ich nie anhatte, weil sie immer über die Schultern rutscht. Wäre blöd, wenn ich nochmal eine fertig mache, die dann wieder im Schrank hängt.
01.02.2014 - 19:56
![]() Gaby wrote:
Gaby wrote:
An alle Interessierten. Ich hab die Jacke in Gr. S ohne Lochmuster gestrickt. Sie ist traumhaft schön geworden und es ist exakt die Hälfte der Wolle übrig geblieben. Daraus kann ich noch einen kompletten Pullover in Gr. S. stricken. Die wolle hält schön warm und ist total kuschelig.
18.11.2013 - 18:27
![]() Anna wrote:
Anna wrote:
7 pelotes(350 g/ 50 g each)
16.11.2013 - 19:35
![]() Jennifer wrote:
Jennifer wrote:
Eine sehr schöne Anleitung und die Wolle ist total kuschelig :) Ich habe hier gelesen dass die Ärmel auch rund gestrickt werden können, das war auch gleich mein Gedanke. Dann schlage ich aber ohne die Randmaschen ab, oder? Also z.B. in Größe XL/XXL nur 35 statt 37 Maschen?
24.10.2013 - 08:33DROPS Design answered:
Liebe Jennifer, Sie könnten dann eine M weniger anschlagen (etwas Breite ergeben die beiden Rand-M auch, also besser nur 1 M weniger): Achten Sie aber darauf, dass Sie nach dem Armoch wieder die richtige Maschenzahl haben.
25.10.2013 - 08:23
![]() Helle wrote:
Helle wrote:
Jeg har valgt at strikke ærmerne på rundpind. Jeg er dog lidt i tvivl med indtagningen til ærmekuplen. Skal jeg lukke en maske i begge sider på både ret og vrang pind eller kun i starten af hver pind?
10.10.2013 - 21:43DROPS Design answered:
Når du lukker af til ærmekuppel så er du nødt til at strikke frem og tilbage. Du lukker 3 m af i begyndelsen af den første pind fra retsiden, og 3 m af i den anden siden (i begyndelsen af vrangpinden). Herefter lukker du 1 m af i begyndelsen af hver p til arb måler 60 cm.
11.10.2013 - 09:02
![]() Dottie wrote:
Dottie wrote:
I am unable to find size 101/2 double point needles, and your pattern ask me to use that size. It didn't look like you sold them either. D
08.10.2013 - 20:20DROPS Design answered:
Dear Dottie, for this pattern, you need a set of regular double pointed needles (to start the circle) + circular needle size 40 cm (16") + 80 cm (32") when you have enough room to work the circle and straight needle for sleeves. Happy knitting!
09.10.2013 - 09:50
|
|
Modern Elegance#modernelegancejacket |
|
 |
 |
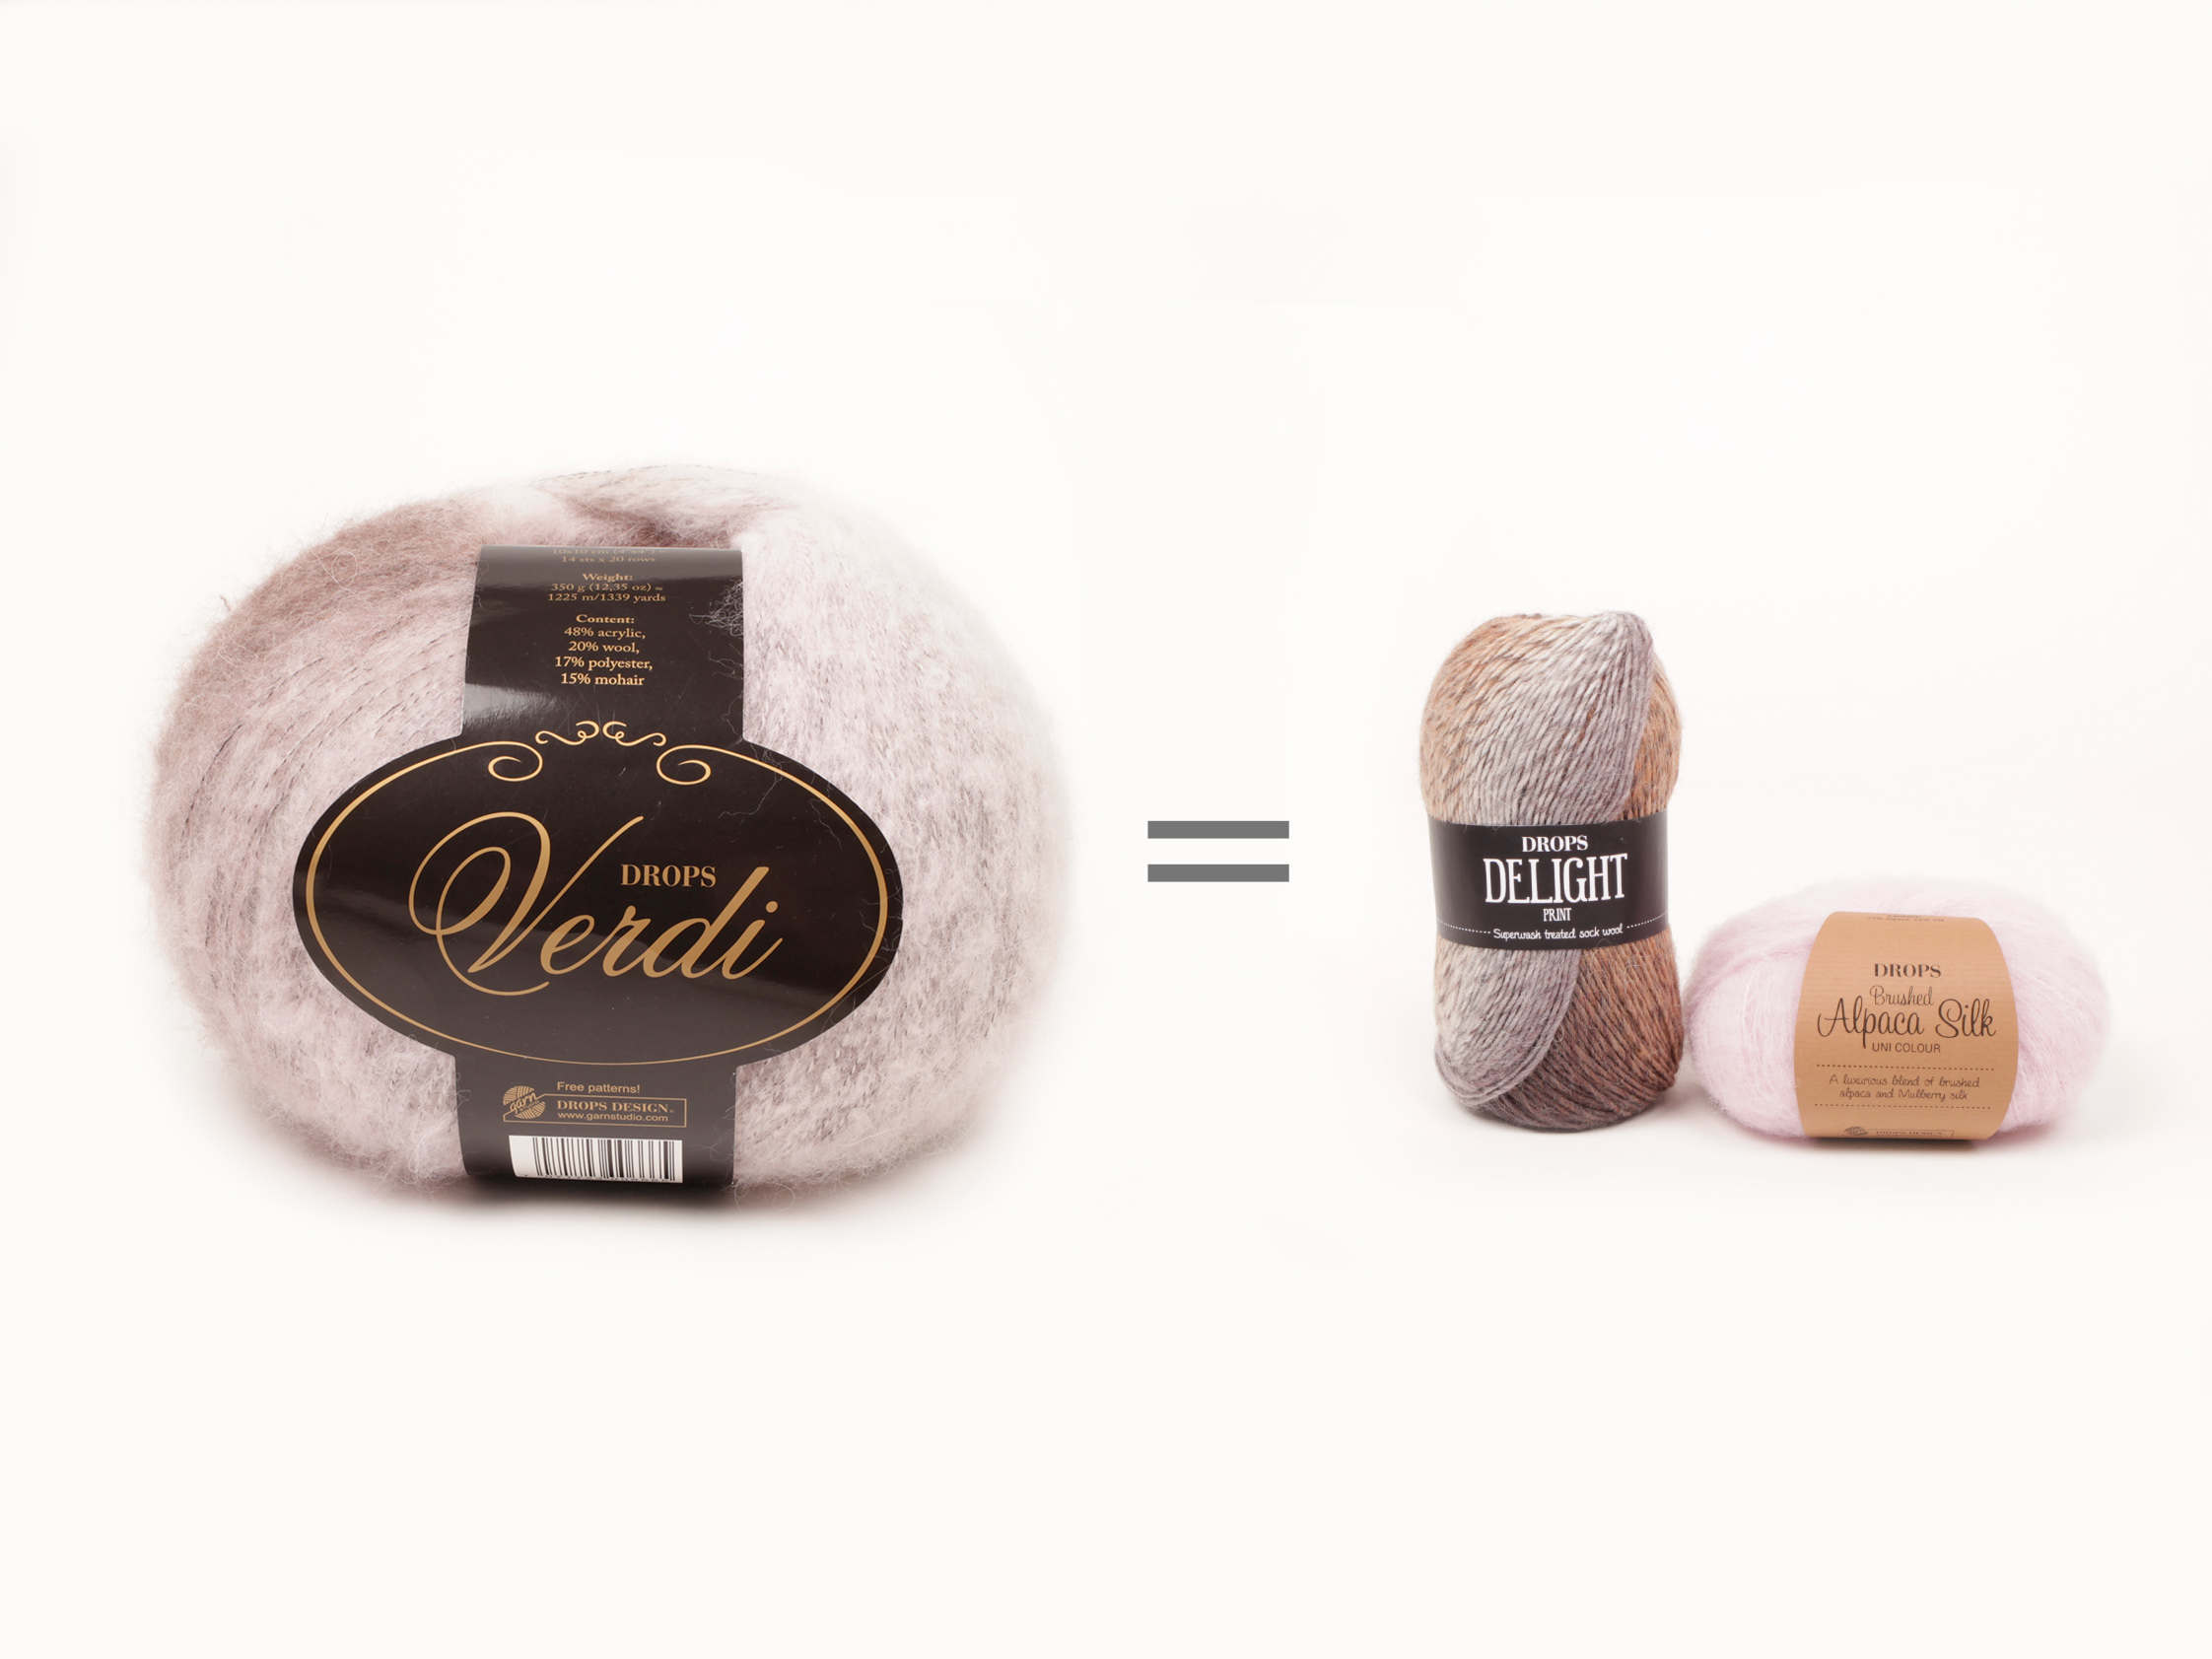
Knitted DROPS jacket worked in a circle in ”Verdi”. Size: S to XXXL
DROPS 134-5 |
|
|
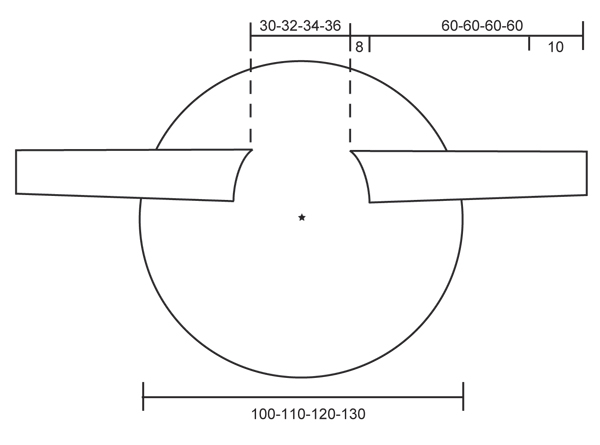
GARTER ST (in the round on circular needle): * K 1 round and P 1 round *, repeat from *-*. GARTER ST (back and forth on needle): K all rows. -------------------------------------------------------- BODY: Worked in the round in a circle from mid back. Cast on 8 sts with Verdi and divide them on 4 double pointed needles size 7mm / US 10½. Insert 1 marker at beg of round = mid up towards neck. K1 round while at the same time K 2 sts in every st = 16 sts. Insert 8 markers in with 2 sts between every marker. Continue in stockinette st – At the same time inc with 1 YO after every marker (= 8 YOs per round) on every other round - on next round K YO to make a small hole over every YO. Switch to circular needle when needed. REMEMBER THE GAUGE! When piece measures 19-21-22-23 cm / 7½"-8¼"-8¾"-9" from the middle, work next round as follows from mid of neck (this must be a round without inc): Work 19-20-22-24 sts, bind off 24-26-28-30 sts (= armhole) work until 43-46-50-54 sts remain, bind off 24-26-28-30 sts (= armhole), work the last 19-20-22-24 sts on round. On next round cast on same no of new sts over the bind off sts over each armhole. Continue to work and inc as before until piece measures approx. 48-53-58-63 cm / 19"-21"-22¾"-24¾" from the middle. Work 6 rounds in Garter st – see explanation above - (continue to inc when working in garter st). LOOSELY bind off with K sts. SLEEVE: Worked back and forth on needle. Cast on 34-36-37-39 sts (includes 1 edge st in each side) on needle size 7mm / US 10½ with Verdi, work 6 rows in garter st - then work in stockinette st. When piece measures 10-13-14-10 cm / 4"-5"-5½"-4" inc 1 st in each side, repeat inc every 6.5-5.5-4.5-4.5 cm / 2½"-2¼"-1¾"-1¾" a total of 6-7-9-10 times = 46-50-55-59 sts. When piece measures 52 cm / 20½" (all sizes), bind off for sleeve cap at beg of every row: 3 sts 1 time in each side, then 1 st in each side until piece measures approx. 60 cm / 23½" (all sizes). Bind off the remaining sts. ASSEMBLY: Sew the sleeve seams inside 1 edge st. Sew in the sleeves so that middle of sleeve cap is placed where armholes are the closest tog (i.e where 1st st was cast on for first armhole and where last st was bound off on second armhole) and sleeve seams are placed where the armholes are the furthest apart (i.e. in opposite side). |
|
 |
|
Have you finished this pattern?Tag your pictures with #dropspattern #modernelegancejacket or submit them to the #dropsfan gallery. Do you need help with this pattern?You'll find 10 tutorial videos, a Comments/Questions area and more by visiting the pattern on garnstudio.com. © 1982-2026 DROPS Design A/S. We reserve all rights. This document, including all its sub-sections, has copyrights. Read more about what you can do with our patterns at the bottom of each pattern on our site. |
|


With over 40 years in knitting and crochet design, DROPS Design offers one of the most extensive collections of free patterns on the internet - translated to 17 languages. As of today we count 324 catalogs and 12278 patterns - 12268 of which are translated into English (US/in).
We work hard to bring you the best knitting and crochet have to offer, inspiration and advice as well as great quality yarns at incredible prices! Would you like to use our patterns for other than personal use? You can read what you are allowed to do in the Copyright text at the bottom of all our patterns. Happy crafting!
Post a comment to pattern DROPS 134-5
We would love to hear what you have to say about this pattern!
If you want to leave a question, please make sure you select the correct category in the form below, to speed up the answering process. Required fields are marked *.