
Looking for a yarn?


Comments / Questions (23)
![]() Catarina Skoglund wrote:
Catarina Skoglund wrote:
Undrar om antal maskor i halsringningen på mönster 231-11. Ska det bara tas upp 10 maskor på var sida mellan de maskor som är avsatta på tråd fram och bak? Sammanlagda antal maskor runt hela halsen 68 maskor?
14.04.2025 - 22:27DROPS Design answered:
Hei Catarina. Det stemmer. Det plukkes opp 8 masker på hver side av maskene på tråden foran og 2 masker i hver side av maskene på tråden på bakstykket = 10+10. mvh DROPS Design
28.04.2025 - 10:22
![]() Petra Marquardt wrote:
Petra Marquardt wrote:
Wenn ich es richtig lese wird Vordertei und Rückenteil immer rechts gestrickt auf dem Bild sieht es so aus als ob Hinteihe rechts und Rückreise links gestrickt wurde
03.03.2025 - 20:23DROPS Design answered:
Liebe Frau Marquardt, Sie sind ja recht, am Anfang erklären wir nur, wie man krausrechts strickt, aber nach Bündchen wird man Glattrechts stricken, siehe unter Rückenteil: Glatt rechts hin- und zurückstricken, mit je 1 Rand-Masche kraus rechts beidseitig.. Viel Spaß beim Stricken!
04.03.2025 - 09:33
![]() Martin Ghislaine wrote:
Martin Ghislaine wrote:
Bjr, est-il possible d’avoir le modèle avec des aiguilles droites svp Cdlt
15.02.2025 - 14:41DROPS Design answered:
Bonjour Mme Martin, on tricote ici le devant et le dos séparément en allers et retours sur aiguille circulaire pour avoir suffisamment de place pour y loger toutes les mailles. Vous pouvez donc les tricoter sur aiguilles droites sans souci. Cette leçon pourra vous aider à adapter les manches. Pour le col, pensez à ne faire d'abord qu'une seule des coutures d'épaules avant de relever les mailles puis terminez par la couture du col/de l'épaule. Bon tricot!
17.02.2025 - 07:59
![]() Marianne wrote:
Marianne wrote:
Glömde skriva mönster 231-11
06.02.2025 - 10:48
![]() Marianne wrote:
Marianne wrote:
Jag förstår inte hålvarvet, vad betyder 1-1-2-2-1-1 osv.
06.02.2025 - 10:43DROPS Design answered:
Hej Marianne, det beskriver hvor mange masker glat i de forskellige størrelser, som1 m glat i de to mindste størrelser, eller 2 masker i de to næste størrelser, eller 1 m i de to største størrelser. Prøv at markere den størrelse du strikker, det gør du øverst i opskriften :)
12.02.2025 - 11:20
![]() DOLFIN wrote:
DOLFIN wrote:
Bonjour, pour les côtes niveau encolure, on fait une première fois 9cm et après avoir mis en attente les 30m centrales, on fait encore 12 cm de côtes, ce qui fait en tout 21 cm de côtes, or sur le modèle il est indiqué 19cm de hauteur pour la totalité de la partie haute (c'est-à-dire à partir de l'emmanchure jusqu'en haut de l'épaule) pour le modèle en M. Y a-t-il un problème ou c'est moi qui n'ai pas compris quelque chose ? Merci pour votre réponse, bonne soirée
25.11.2024 - 20:22DROPS Design answered:
Bonjour Mme Dolfin, les côtes doivent mesurer 12 cm de hauteur totale et non 12 + les 9 précédents, la correction a été faite, merci pour votre retour. Bonne continuation!
26.11.2024 - 09:35
![]() SABINE wrote:
SABINE wrote:
Je vous emercie de votre réponse datée de 16h. Ok pour l'échantillon avec aiguille n°8. MMais attention ! vous me dites 108 pour taille L ? or sur le modèle j'ai bien vérifié 108 m sont pour la taille M ! nous sommes d'accord ?
03.04.2024 - 16:12DROPS Design answered:
Tout à fait Sabine, la taille M est bien ici la 3ème taille vu que ce modèle commence en taille XS. Bon tricot!
04.04.2024 - 08:48
![]() SABINE wrote:
SABINE wrote:
Bonjour, après avoir fait mon échantillon qui faisait bien 10X10 avec aiguille n°5, j'ai monté porle dos 108 m comme indiqué pour la taille M, et commencer à tricoter les côtes. Mais mon ouvrage me paraît "immense" sur les aiguilles, et si je mesure déjà la moitié du rang que je tricote, je devrais avoir la moitié de 58 cm de largeur indiqué et j'ai 35 cm pour une demi largeur !!! je ne sais pas quoi faire
03.04.2024 - 15:02DROPS Design answered:
Bonjour Sabine, l'échantillon de 12 mailles x 14 rangs en jersey se tricote avec les aiguilles 8 et 1 fil de chaque qualité (2 fils au total); comme on tricote les côtes avec des aiguilles plus fines, il faudra davantage de mailles que pour le jersey, raison pour laquelle on a autant de mailles à monter mais après les côtes, on va diminuer, autrement dit en taille L on commence par 108 mailles en côtes avec les aiguilles 5 mais on va diminuer 48 mailles avant de continuer avec les aiguilles 8 et donc 72 mailles qui feront environ 58 cm (sans les mailles lisières sur la base de l'échantillon). Bon tricot!
03.04.2024 - 16:00
![]() Sara Rose wrote:
Sara Rose wrote:
Can't seem to get circular needles in 40cm, only 80cm, so what is 'magic loop'? Hoping it's simple...
16.03.2024 - 16:32DROPS Design answered:
Dear Sara, here is a video on the MAGIC LOOP technique. I hope this helps! Happy Knitting!
17.03.2024 - 10:23
![]() Marie wrote:
Marie wrote:
Då står det ”på nästa varv från halsen maskas det av 2 maskor” Hur ska dessa maskor maskas av? Jämt fördelande under varvet eller i halskanten? Ser det inte konstigt ut när man fortsätter med resåren om man tar dem mitt i varvet? Då blir det inte två räta två aviga två räta när man fortsätter upp med axeln?
03.03.2024 - 14:30DROPS Design answered:
Hej Marie, det er de 2 yderste masker mod halsen du maskar av (ikke jævnt fordelt) :)
05.03.2024 - 14:59
|
||||||||||||||||
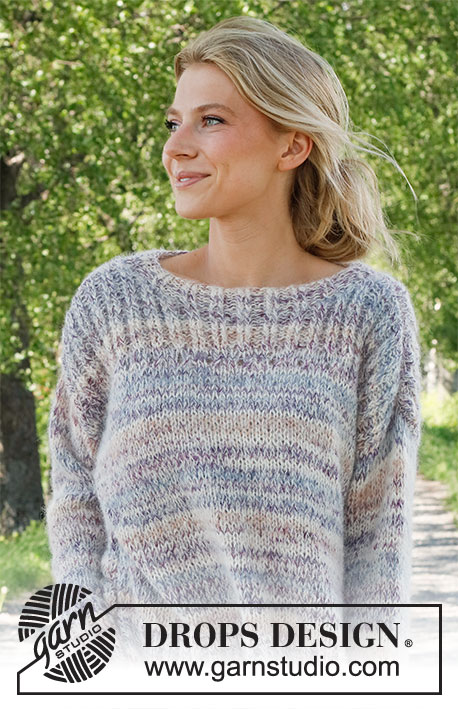
Colorful Walk#colorfulwalksweater |
||||||||||||||||
 |
 |
|||||||||||||||
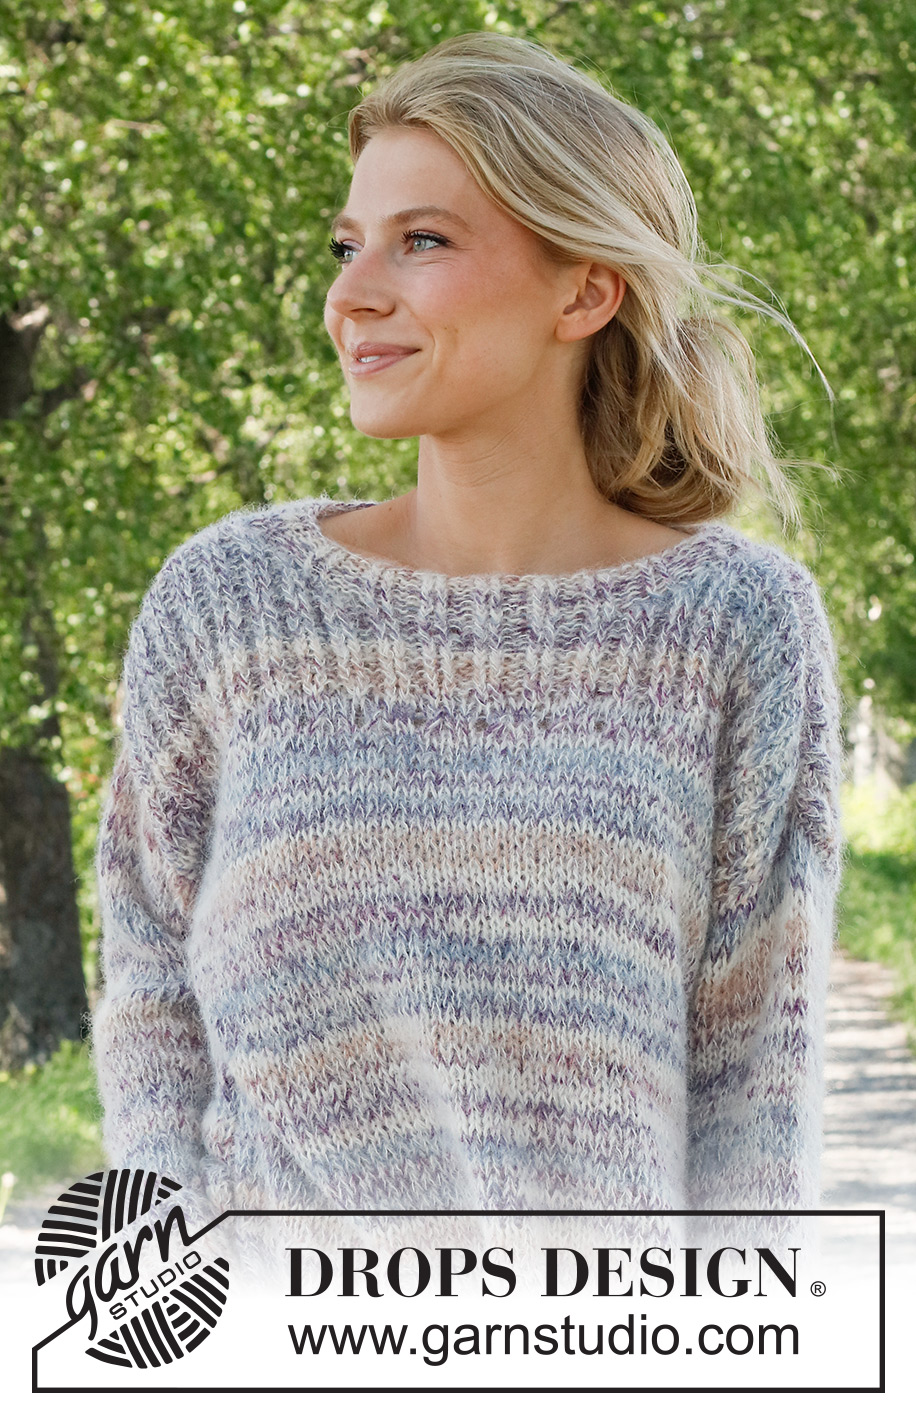
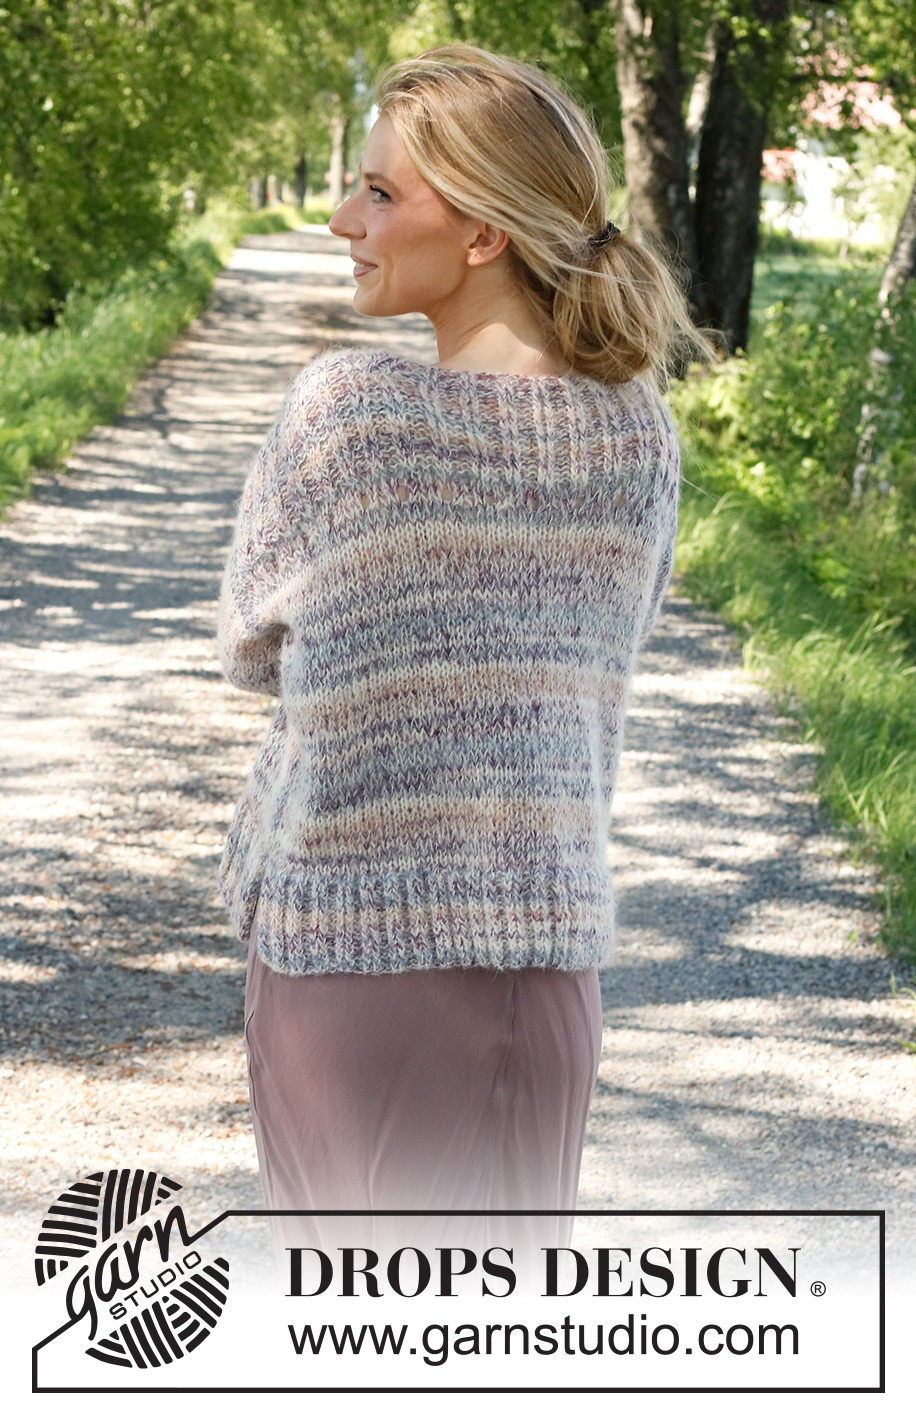
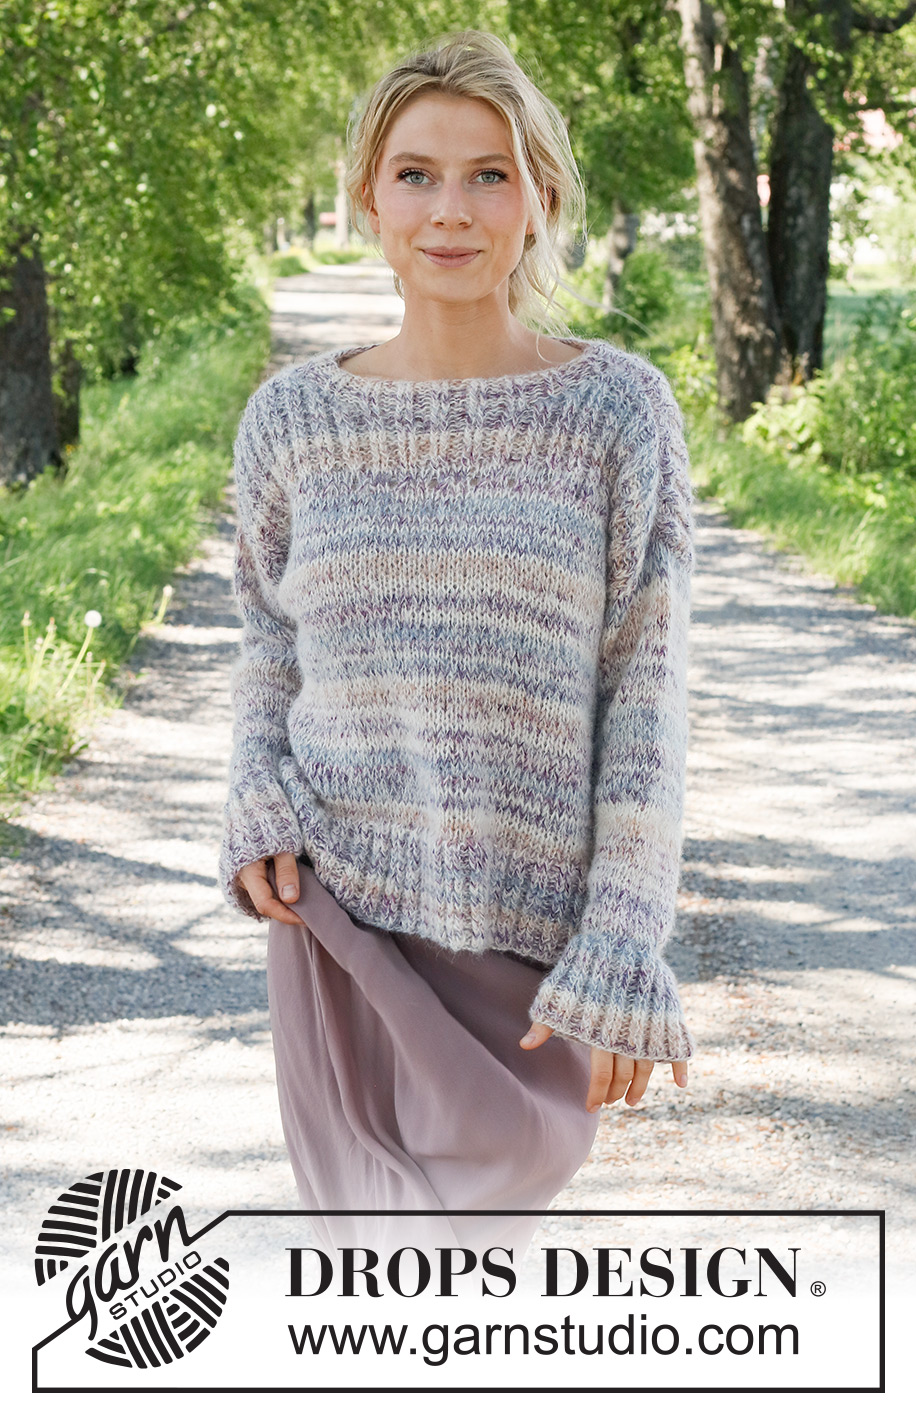
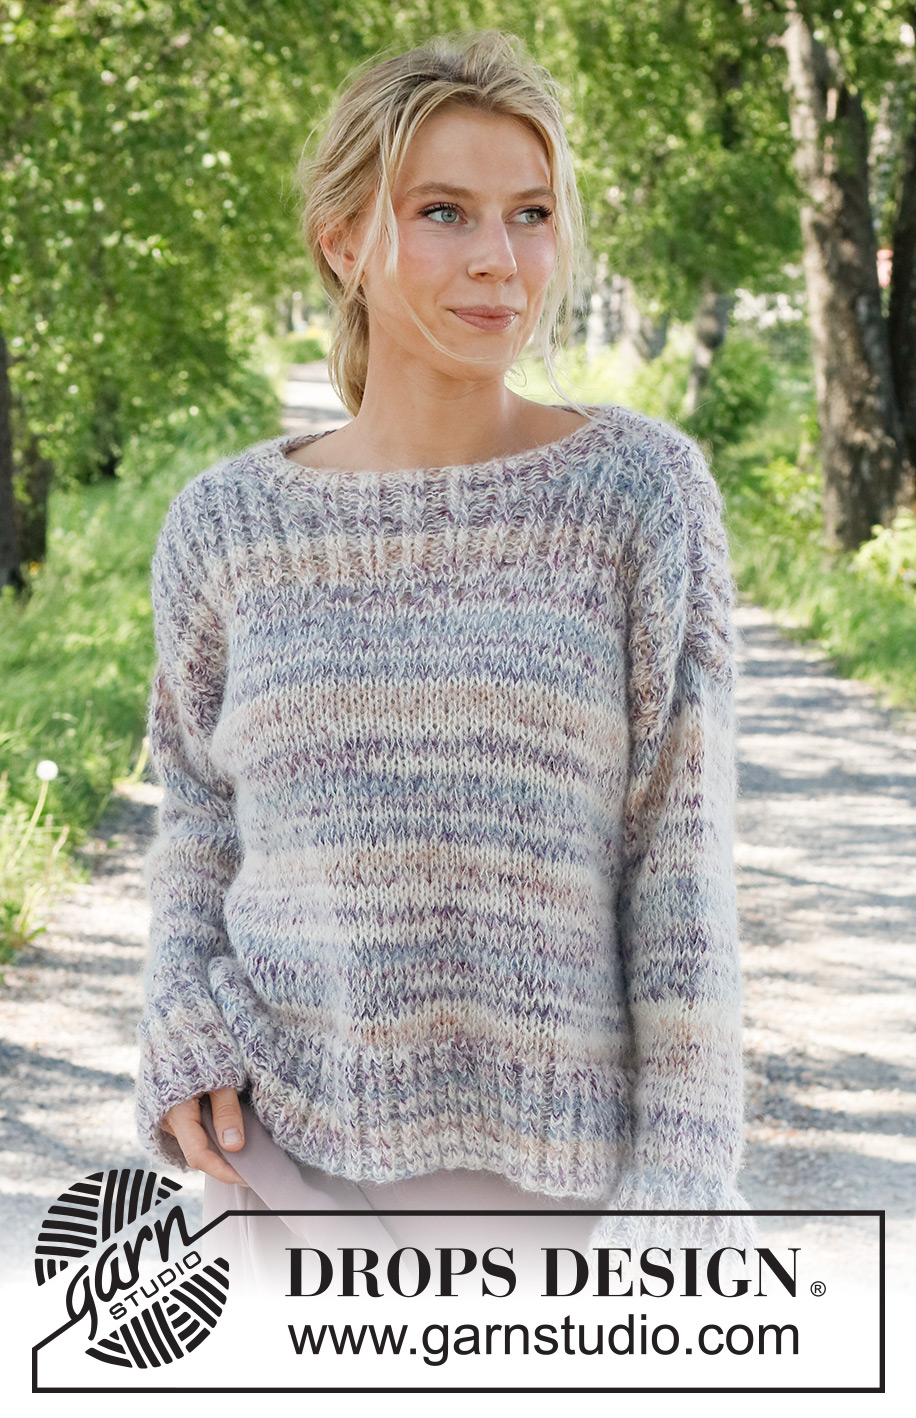
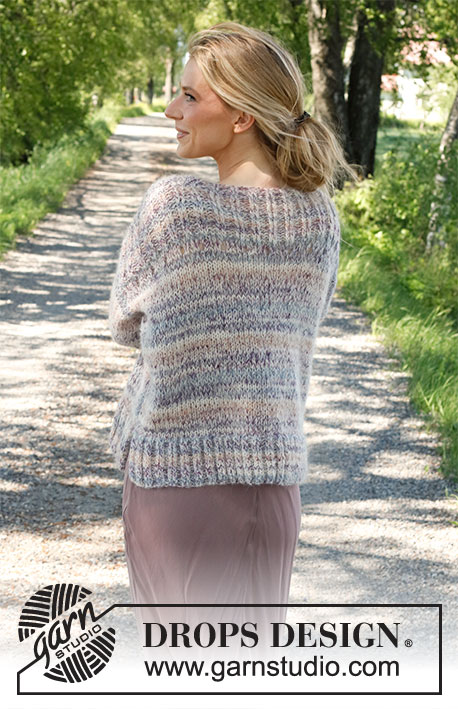
Knitted sweater in DROPS Fabel and DROPS Brushed Alpaca Silk. The piece is worked bottom up with ribbed edges. Sizes XS - XXL.
DROPS 231-11 |
||||||||||||||||
|
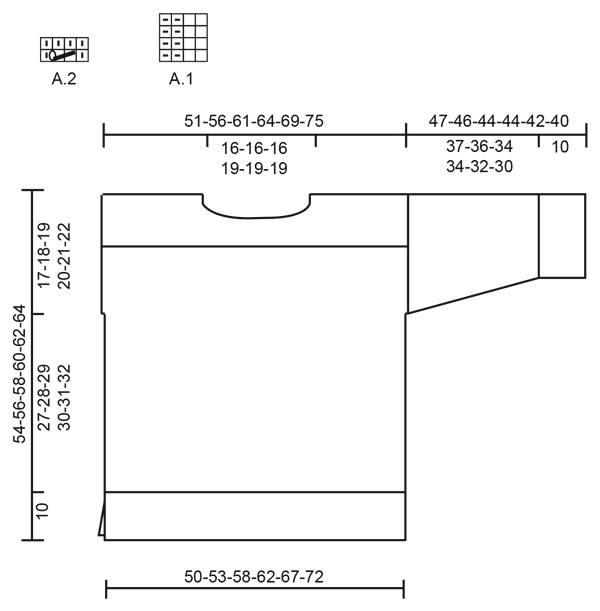
------------------------------------------------------- EXPLANATIONS FOR THE PATTERN: ------------------------------------------------------- RIDGE/GARTER STITCH (worked back and forth): Knit all rows. 1 ridge = knit 2 rows. PATTERN: See diagrams A.1 and A.2. The diagrams show all rows in the pattern from the right side. DECREASE/INCREASE TIP (evenly spaced): To work out how to decrease/increase evenly, count the number of stitches to be decreased/increased over (e.g. 96 stitches), and divide by the number of decreases/increases to be made (e.g. 36) = 2.6. In this example, decrease by alternately knitting together each 1st and 2nd stitch and each 2nd and 3rd stitch. When increasing, make 1 yarn over after alternately each 2nd and 3rd stitch. On the next row work the yarn overs twisted to avoid holes. INCREASE TIP (for sleeves): Work until there are 2 stitches left before the marker, 1 yarn over, knit 4 (marker sits between these 4 stitches), 1 yarn over. On the next round knit the yarn overs twisted to avoid holes. Then work the new stitches in stockinette stitch. ------------------------------------------------------- START THE PIECE HERE: ------------------------------------------------------- SWEATER – SHORT OVERVIEW OF THE PIECE: The back and front pieces are worked separately, back and forth. The sleeves are worked in the round with double pointed needles/short circular needle. The pieces are sewn together and the neck worked in the round to finish. BACK PIECE: Cast on 92-96-108-116-124-136 stitches with circular needle size 5 MM = US 8 and 1 strand of each quality (= 2 strands). Work rib as follows: 1 edge stitch in GARTER STITCH – read description above, work A.1 until there are 3 stitches left, work the first 2 stitches in A.1, 1 edge stitch in garter stitch. Continue this rib back and forth for 10 cm = 4". Work the next row from the right side as follows: Knit all stitches and decrease 32-32-38-42-44-48 stitches evenly spaced – read DECREASE/INCREASE TIP, cast on 1 new stitch at the end of the row (= edge stitch). Change to circular needle size 8 MM = US 11. Work back from the wrong side as follows: 1 edge stitch in garter stitch, purl to the end of the row and cast on 1 stitch (= edge stitch) = 62-66-72-76-82-90 stitches. Continue with stockinette stitch and 1 edge stitch in garter stitch on each side. REMEMBER THE KNITTING GAUGE! When the piece measures 37-38-39-40-41-42 cm = 14½"-15"-15¼"-15¾"-16⅛"-16½", cast on 1 stitch at the end of the next 2 rows = 64-68-74-78-84-92 stitches. Continue with stockinette stitch and 1 edge stitch in garter stitch on each side until the piece measures 40-42-44-46-48-50 cm = 15¾"-16½"-17¼"-18"-19"-19¾". Now work a row of holes as follows: 1 edge stitch in garter stitch, 1-1-2-2-1-1 stitches in stockinette stitch, A.2 until there are 2-2-1-1-2-2 stitches left, 1-1-2-2-1-1 stitches in stockinette stitch, 1 edge stitch in garter stitch. When A.2 is finished, increase 12-16-18-18-20-20 stitches evenly on the next row from the wrong side – remember DECREASE/INCREASE TIP = 76-84-92-96-104-112 stitches. Change to circular needle size 5 MM = US 8. Work rib as follows: 1 edge stitch in garter stitch, work A.1 until there are 3 stitches left, work the first 2 stitches in A.1, 1 edge stitch in garter stitch. Continue this rib for 9 cm = 3½". Now place the middle 30-30-30-34-34-34 stitches on a thread for the neck and finish each shoulder separately. On the next row from the neck bind off the first 2 stitches. On the next row from the neck, work the 2 outermost stitches from neck together (1 stitch decreased) = 20-24-28-28-32-36 stitches on the shoulder. Continue the rib with 1 edge stitch in garter stitch on each side until rib measures 12 cm = 4¾" in total. Knit 1 row from the right side where you decrease 4-5-6-6-7-8 stitches evenly spaced = 16-19-22-22-25-28 stitches on the shoulder. Change to circular needle size 8 MM = US 11. Bind off with purl from the wrong side. The piece measures approx. 54-56-58-60-62-64 cm = 21¼"-22"-22¾"-23⅝"-24⅜"-25¼" from the shoulder down. Work the other shoulder in the same way. FRONT PIECE: Cast on and work in the same way as the back piece until the front piece measures 40-42-44-46-48-50 cm = 15¾"-16½"-17¼"-18"-19"-19¾". Now work a row of holes in the same way as on the back piece. When A.2 is finished, increase 12-16-18-18-20-20 stitches on the next row from the wrong side = 76-84-92-96-104-112 stitches. Change to circular needle size 5 MM = US 8. Work rib as follows: 1 edge stitch in garter stitch, work A.1 until there are 3 stitches left, work the first 2 stitches in A.1, 1 edge stitch in garter stitch. Continue this rib for 6 cm = 2⅜". Now place the middle 18-18-18-22-22-22 stitches on a thread for the neck and finish each shoulder separately. Then bind off on each row from the neck as follows: 4 stitches 1 time and 2 stitches 2 times. On the next row from the neck, work the 2 outermost stitches from neck together (1 stitch decreased) = 20-24-28-28-32-36 stitches on the shoulder. Continue the rib with 1 edge stitch in garter stitch on each side until rib measures 12 cm = 4¾" in total. Knit 1 row from the right side where you decrease 4-5-6-6-7-8 stitches evenly spaced = 16-19-22-22-25-28 stitches on the shoulder. Change to circular needle size 8 MM = US 11. Bind off with purl from the wrong side. The piece measures approx. 54-56-58-60-62-64 cm = 21¼"-22"-22¾"-23⅝"-24⅜"-25¼" from the shoulder down. Work the other shoulder in the same way. SLEEVES: Cast on 52-52-52-56-56-56 stitches with double pointed needles size 5 MM = US 8 and 1 strand of each quality (= 2 strands). Work A.1 in the round for 10 cm = 4", knit 1 round where you decrease 22-21-20-22-21-20 stitches evenly spaced = 30-31-32-34-35-36 stitches. Change to double pointed needles size 8 MM = US 11. Insert 1 marker at the beginning of the round (= mid-under sleeve). Work 2 rounds of stockinette stitch. Now work a round of holes as follows: Knit 1-1-2-1-1-2, work A.2 until there are 1-2-2-1-2-2 stitches left, knit 1-2-2-1-2-2. When A.2 is finished continue with stockinette stitch until the sleeve measures 13 cm = 5⅛". Now increase 1 stitch on each side of the marker – read INCREASE TIP. Increase like this every 7½-6-4½-4½-3½-3½ cm = 2⅞"-2⅜"-1⅝"-1⅝"-1¼"-1¼" a total of 5-6-7-7-8-8 times = 40-43-46-48-51-52 stitches. Continue with stockinette stitch until the sleeve measures 47-46-44-44-42-40 cm = 18½"-18"-17¼"-17¼"-16½"-15¾". Bind off. Work the other sleeve in the same way. ASSEMBLY: Sew the shoulder seams inside the bind-off edge. Sew in the sleeves. Sew the side seams, leaving a 10 cm = 4" split at the bottom. NECK: Start on the top of one shoulder with short circular needle size 5 MM = US 8 and 1 strand of each quality (= 2 strands). Knit up from the right side as follows: 8 stitches between the shoulder seam and the stitches on the thread in front, work the 18-18-18-22-22-22 stitches from the thread in rib as before, knit up 8 stitches as far as the other shoulder seam, knit up 2 stitches after the seam, work the 30-30-30-34-34-34 stitches from the thread in rib as before, knit up 2 stitches back to the seam = 68-68-68-76-76-76 stitches. Work A.1 in the round for 4 to 5 cm = 1½" to 2" (or desired length) – make sure the rib matches over the stitches from the threads. Bind off with knit over knit and purl over purl. |
||||||||||||||||
Diagram explanations |
||||||||||||||||
|
||||||||||||||||
|
||||||||||||||||
Have you finished this pattern?Tag your pictures with #dropspattern #colorfulwalksweater or submit them to the #dropsfan gallery. Do you need help with this pattern?You'll find 31 tutorial videos, a Comments/Questions area and more by visiting the pattern on garnstudio.com. © 1982-2025 DROPS Design A/S. We reserve all rights. This document, including all its sub-sections, has copyrights. Read more about what you can do with our patterns at the bottom of each pattern on our site. |
||||||||||||||||


With over 40 years in knitting and crochet design, DROPS Design offers one of the most extensive collections of free patterns on the internet - translated to 17 languages. As of today we count 314 catalogs and 11822 patterns - 11812 of which are translated into English (US/in).
We work hard to bring you the best knitting and crochet have to offer, inspiration and advice as well as great quality yarns at incredible prices! Would you like to use our patterns for other than personal use? You can read what you are allowed to do in the Copyright text at the bottom of all our patterns. Happy crafting!
Post a comment to pattern DROPS 231-11
We would love to hear what you have to say about this pattern!
If you want to leave a question, please make sure you select the correct category in the form below, to speed up the answering process. Required fields are marked *.