
Popular categories
Looking for a yarn?


Comments / Questions (53)
Miriam wrote:
Moet je de 6 naalden alle steken breien ook de steken van de verkorte toeren voor de teen meebreien? Help! Ik snap niets van die beschrijving.
06.10.2013 - 18:34DROPS Design answered:
Hoi. Je moet als je de 6 nld over alle st breit nog steeds de verkorte toeren richting de teen om de nld.
07.10.2013 - 21:08
![]() Heike Drackert wrote:
Heike Drackert wrote:
Ich verstehe diese Anleitung auch nicht. Finde Sie wirklich sehr seltsam erklärt. Habe jetzt dummerweise die Wolle schon da und selbst mein Handarbeitsladen hat die Anleitung nicht verstanden.
25.06.2013 - 20:33DROPS Design answered:
Liebe Heike, sagen Sie bitte Ihrem DROPS Laden, er soll mit uns Kontakt aufnehmen. Wir helfen gerne weiter bei konkreten Fragen.
26.06.2013 - 20:43
![]() Laila Söderström wrote:
Laila Söderström wrote:
Hur stickas socken steg för steg. Visa bild hur socken ser ut innan den monteras. Jag har inte stickat denna teknik förut. Tack! Tjusig sock.
18.06.2013 - 15:57
![]() Jutta wrote:
Jutta wrote:
Hallo, diese Socken sind sehr schön. Aber diese Anleitung verstehe ich gar nicht. Wo strickt man denn den Mustersatz? Und wo fängt man bei diesem Socken an?
29.01.2013 - 08:24DROPS Design answered:
Liebe Jutta, ganz am Anlag der Anleitung unter „Socken“ finden Sie die Information: „Die Arbeit wird von unter dem Fuß hin und zurück gestrickt. Die ersten 23 M. nach M1 stricken.“ M1 ist der Mustersatz und er wird also über die ersten 23 M gestrickt.
29.01.2013 - 09:17
![]() Drops Design wrote:
Drops Design wrote:
Ja du tæller mønstermaskerne med i forhøjningen.
07.04.2010 - 10:59
![]() Lise wrote:
Lise wrote:
Ønsker at vide om man tæller mønstermaskerne med når der laves forhøjning
06.04.2010 - 16:39BB wrote:
Ļoti skaisti!
14.02.2010 - 22:02
![]() Eevis wrote:
Eevis wrote:
Aika hankalan tuntuinen ohje. Kaipaisi hieman tarkennusta.
14.02.2010 - 08:54
![]() Loes wrote:
Loes wrote:
Hiermee wil ik wel gezien worden.
01.02.2010 - 23:01
![]() Lise wrote:
Lise wrote:
Dette er strømper man bare må eje. Tør ikke engang vise min datter billedet før opskriften ligger fremme til brug. Kanon!
30.01.2010 - 13:19
|
||||||||||||||||||||||
Lucy Toes#lucytoessocks |
||||||||||||||||||||||
 |
 |
|||||||||||||||||||||
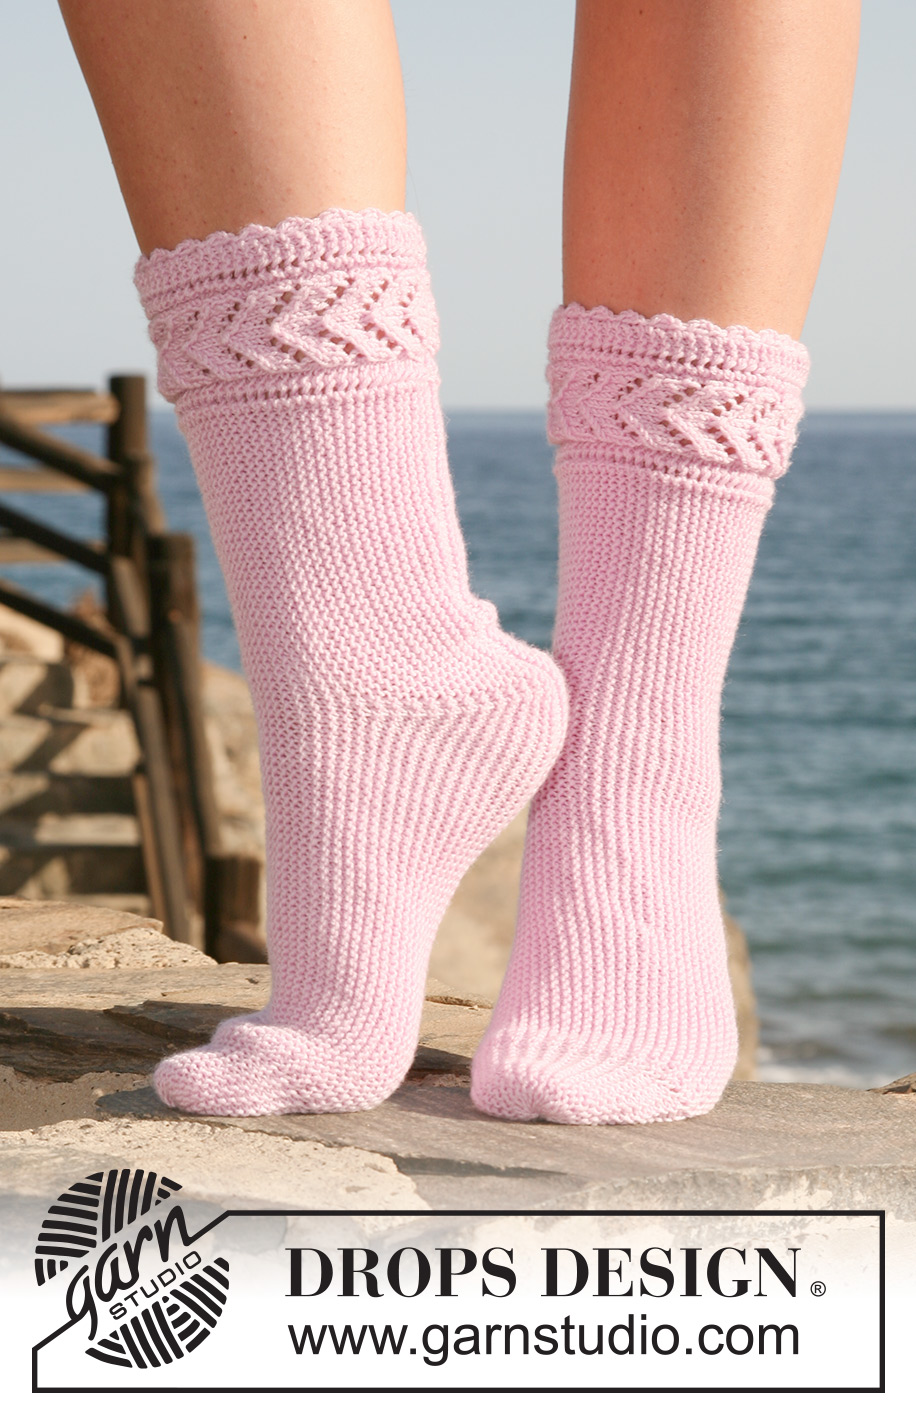
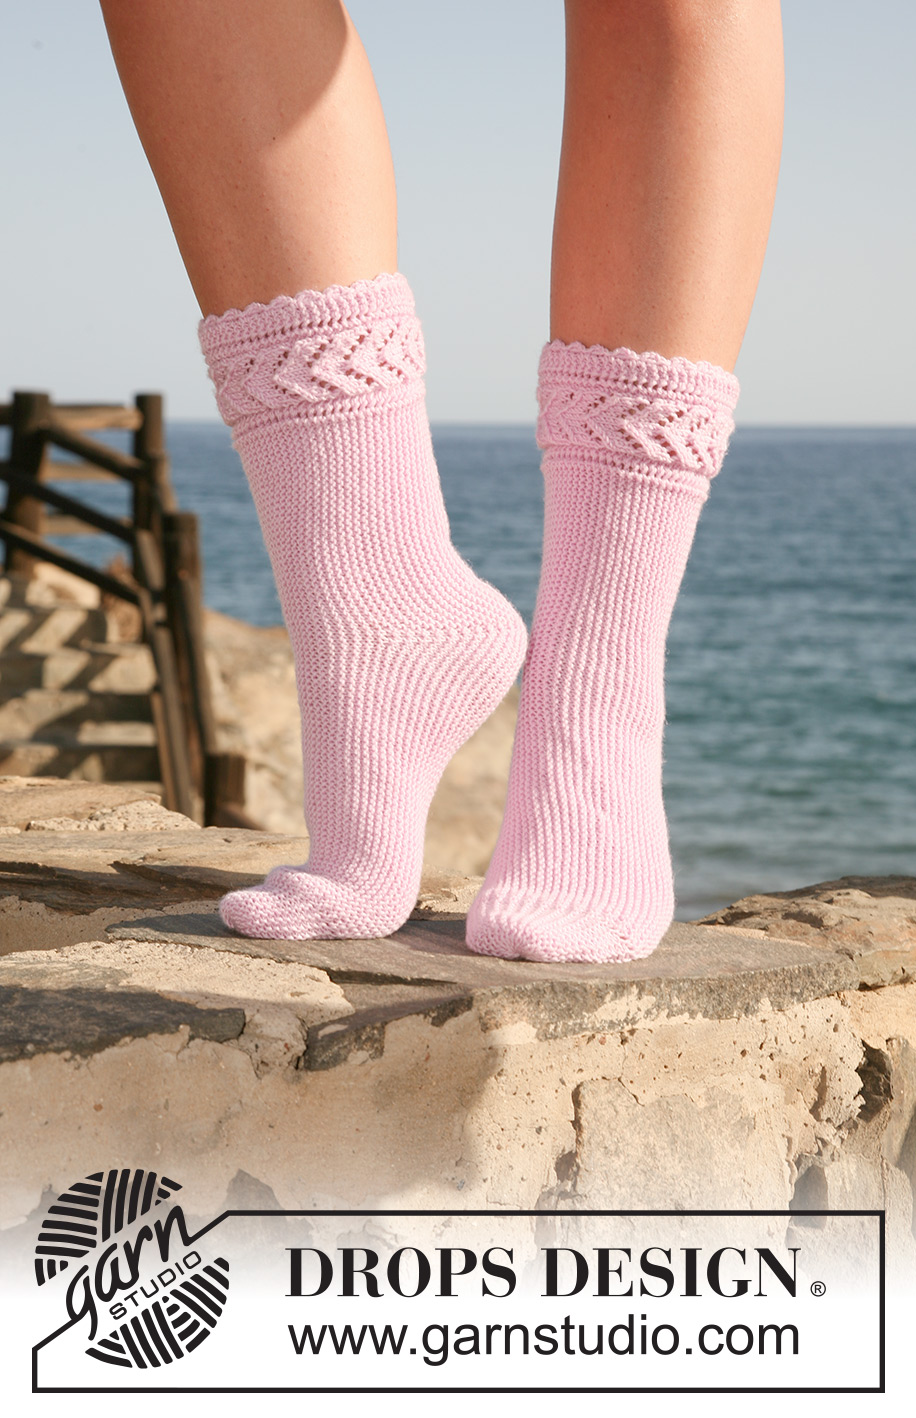
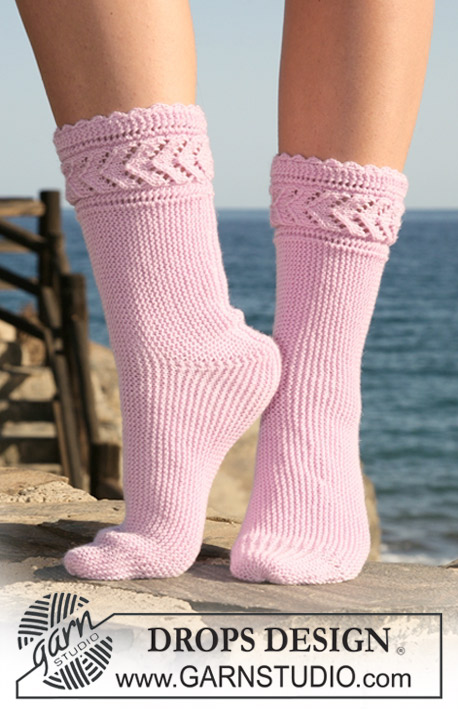
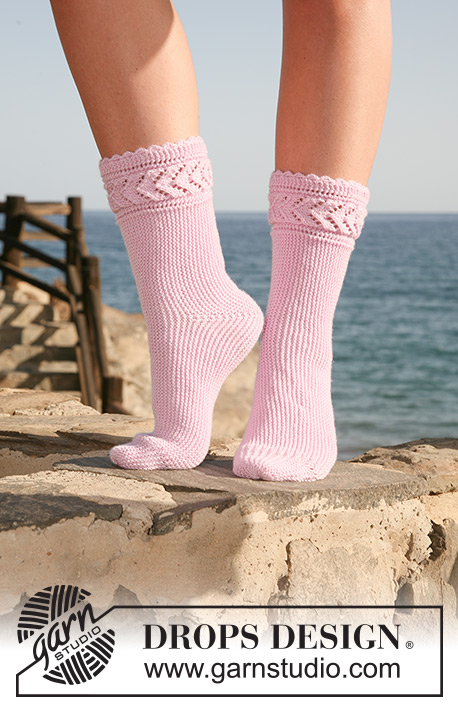
DROPS sock knitted from side to side in ”BabyMerino”.
DROPS 119-33 |
||||||||||||||||||||||
|
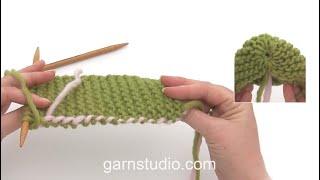
GARTER ST (back and forth on needle): K all rows. PATTERN: See diagram M.1. Diagram shows the pattern from RS. KNITTING TIP: When turning mid piece slip first st as if to K, tighten thread and work return row. Do this to avoid a hole in transition. ASSEMBLY TIP: The toes need tightening securely, therefore insert a thread in the outer loop of the outermost st towards the toe and let this thread follow the piece. Use this to tighten tog the toe. -------------------------------------------------------- -------------------------------------------------------- SOCK: REMEMBER THE GAUGE! Worked back and forth from mid under foot, over upper foot and back to mid under foot. Work the first 23 sts on needle in M.1 and remaining sts in garter st – SEE ABOVE! TOE: On every other row towards the toes turn piece when 10-13-16 sts remain and work return row – See KNITTING TIP! Cast on 120-130-140 sts on needle size 2.5 mm / US 1 with Baby Merino. Beg with shortened rows mid back as follows (work pattern and garter st, se above): Work 28 sts, turn, slip 1 st as if to K, work 27 sts on return row. Work 36 sts, turn, slip 1 st as if to K, work 35 sts on return row. Work 44 sts, turn, slip 1 st as if to K, work 43 sts on return row. Work 52 sts, turn, slip 1 st as if to K, work 51 sts on return row. Size US9/10 (EU40/42): Work 60 sts, turn, slip 1 st as if to K, work 59 sts on return row. All sizes: Work 6 rows on all sts (remember shortened rows towards the toe – i.e. the opposite side to shortened rows mid back). See ASSEMBLY TIP! Now dec for heel as follows: Insert a marker in st no 62-68-72 (from the side with shortened rows mid back). Dec 1 st each side of st with marker on every other row a total of 11 times = 98-108-118 sts. Continue until piece measures 9-11-13 cm / 3½"-4⅜"-5⅛" from the last dec. Now inc for heel as follows: Insert a marker in st no 51-57-61 (from the side with shortened rows mid back). Inc 1 st each side of st with marker on every other row a total of 11 times = 120-130-140 sts. Work 6 rows on all sts. Now work shortened rows mid back as follows – from RS: Size US9/10 (EU40/42): Work 60 sts, turn, slip 1 st as if to K, work 59 sts on return row. All sizes: Work 52 sts, turn, slip 1 st as if to K, work 51 sts on return row. Work 44 sts, turn, slip 1 st as if to K, work 43 sts on return row. Work 36 sts, turn, slip 1 st as if to K, work 35 sts on return row. Work 28 sts, turn, slip 1 st as if to K, work 27 sts on return row. Work 1 row on all sts. Slip all sts on a stitch holder. ASSEMBLY: Graft tog sts from stitch holder and sts on cast on row. The seam will sit under foot and up along the back of leg. Tighten thread on toe and fasten securely. CROCHET BORDER: Crochet a border round the top of leg with hook size 3 mm / C and Baby Merino as follows: 1 sc, * ch 3, 1 dcr in sc, skip approx 1 cm / ⅜", 1 sc *, repeat from *-*, and finish with ch 3, 1 dc in sc, skip approx 1 cm / ⅜" and 1 sl st in first sc. |
||||||||||||||||||||||
Diagram explanations |
||||||||||||||||||||||
|
||||||||||||||||||||||
 |
||||||||||||||||||||||
Have you finished this pattern?Tag your pictures with #dropspattern #lucytoessocks or submit them to the #dropsfan gallery. Do you need help with this pattern?You'll find 18 tutorial videos, a Comments/Questions area and more by visiting the pattern on garnstudio.com. © 1982-2026 DROPS Design A/S. We reserve all rights. This document, including all its sub-sections, has copyrights. Read more about what you can do with our patterns at the bottom of each pattern on our site. |
||||||||||||||||||||||


With over 40 years in knitting and crochet design, DROPS Design offers one of the most extensive collections of free patterns on the internet - translated to 17 languages. As of today we count 324 catalogs and 12290 patterns - 12280 of which are translated into English (US/in).
We work hard to bring you the best knitting and crochet have to offer, inspiration and advice as well as great quality yarns at incredible prices! Would you like to use our patterns for other than personal use? You can read what you are allowed to do in the Copyright text at the bottom of all our patterns. Happy crafting!
Post a comment to pattern DROPS 119-33
We would love to hear what you have to say about this pattern!
If you want to leave a question, please make sure you select the correct category in the form below, to speed up the answering process. Required fields are marked *.