
Popular categories
Looking for a yarn?


Comments / Questions (35)
![]() Chantal wrote:
Chantal wrote:
Après les cotes 2/2 on dit de faire diminution. Quelle sorte de diminution ? Est-ce 2 mailles ensembles ou glisser 1 maille tricoter l’autre et passer la maille glissée par dessus la maille tricotée. Merci
14.06.2025 - 03:53DROPS Design answered:
Bonjour Chantal, vous pouvez diminuer comme vous le préférez, que ce soit par l'une ou l'autre méthode. Bon tricot!
16.06.2025 - 07:26
![]() Zoe Mason-Chard wrote:
Zoe Mason-Chard wrote:
I would like to knit this in the round without the split in the rib , do you recommend I use the same number of stitches please ?
10.06.2025 - 19:01DROPS Design answered:
Dear Mrs Mason-Chard, arrange the number of stitches to get a number divisible by 4 for rib then adjust again if necessary after rib. Happy knitting!
11.06.2025 - 07:54
![]() Judy St Lawrence wrote:
Judy St Lawrence wrote:
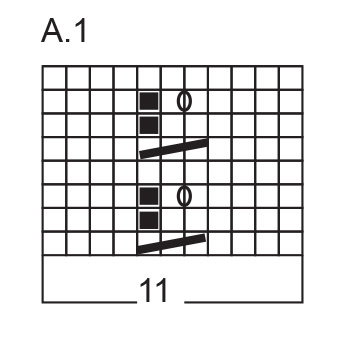
The diagram explanation for the third stitch is incorrect. What stitch is it supposed to be?
30.05.2025 - 16:00DROPS Design answered:
Dear Judy, that's right, it seems to be a mistake in the English version. It should be: "slip 1 stitch as if to knit, knit 2, passed the slipped stitch over the knitted stitches". Happy knitting!
31.05.2025 - 22:47
![]() Kíra wrote:
Kíra wrote:
Hi i just wanted to ask on the front top half before the neck garter stiches there is a few row of just knit stiches and no pattern followed there!But i cannot find this in the pattern!Am i doing something wrong?
24.05.2025 - 13:17
![]() Bodil Engen Lund wrote:
Bodil Engen Lund wrote:
Takk for svar. Men lurer på er 1 rapport 8 omganger og skal strikkes 11 ganger i høyden i str. M?
08.05.2025 - 16:49DROPS Design answered:
Hei Bodil, Ja, 1 rapport av A.1 er 8 omganger i høyden. På omgangen strikker du 22 rapporter av A.1 i bredden og, samtidig, setter du 1 merketråd etter 11 rapporter i bredden, og 1 merketråd etter den siste masken på omgangen. Du gjentar A.1 i høyden til riktig lengden (32 cm i din størrelse). Håper dette hjelper og god fornøyelse!
08.05.2025 - 17:41
![]() Bodil Engen Lund wrote:
Bodil Engen Lund wrote:
Lurer på om dere kan hjelpe med svar på mine spørsmål sendt 27/4. Takk på forhånd 😊
30.04.2025 - 13:57DROPS Design answered:
Hej Bodil, du havde glemt at markere den som et spørgsmål :) Du sætter mærkerne i hver side (ialt 22 rapporter = 11 på forstykket og 11 på bagstykket). Du fortsætter ti arbejdet måler 32 cm + de cm du har lagt til. God fornøjelse!
30.04.2025 - 14:47
![]() Bodil Engen Lund wrote:
Bodil Engen Lund wrote:
Strikker den i str.M. strikker den 3xm lengre enn oppgitt. Strikker A1. Skal sette 2 merker, etter 11 rapporter av A1 og etter siste m på omgangen. Skjønner ikke hvordan. 11 rapporter, vil det si 8 omganger × 11. Det blir jo nesten 33xm tilsammen? Når arbeidet måler 32cm, det blir mye lengre tilsammen med det jeg har strikket før. Trenger hjelp her.
27.04.2025 - 13:56
![]() Duimering Bunt Hennie wrote:
Duimering Bunt Hennie wrote:
Mooi eenvoudige patroon
09.04.2025 - 15:40
![]() Jenna wrote:
Jenna wrote:
Hi, The 1st for in the A1. Pattern indicates 4 knit stitches, the next 3 stitches to be skipped over since they were decreased earlier, but prior to beginning A1, it was just regular stockinette. How do I navigate this 1st row in A1?
08.04.2025 - 13:25DROPS Design answered:
Dear Jenna, on first row in A.1 work (K4, slip 1, K2, pass the slipped stitch over the knitted 2 stitches, knit 4) - you have decreased 1 stitch in the middle of A.1 = 10 sts remain. On 2nd round knit the 10 stitches. On 3rd round work: knit 5, YO, knit 5 (= 11 stitches again). On 4th round, knit all the 11 stitches. Repeat these 4 rounds. Note that, when working back and forth row 1 and 3 should be worked from RS so that row 2 and 4 will be purled from the wrong side. Happy knitting!
08.04.2025 - 15:04
![]() Ingrid wrote:
Ingrid wrote:
Hallo, Ist es möglich ein Foto von der Rückseite des Tops zu bekommen? So hat man eine Vorstellung wie es von hinten aussieht. Danke Liebe Grüße Ingrid
27.03.2025 - 11:44DROPS Design answered:
Liebe Ingrid, die Rückseite vom Top wird genauso wie die Vorderseite gestrickt, dh mit Muster, Halsausschnitt ist auch genauso tief, da beide Vorder- und Rückenteil gleich gestrickt werden. Viel Spaß beim Stricken!
27.03.2025 - 13:18
|
|||||||||||||
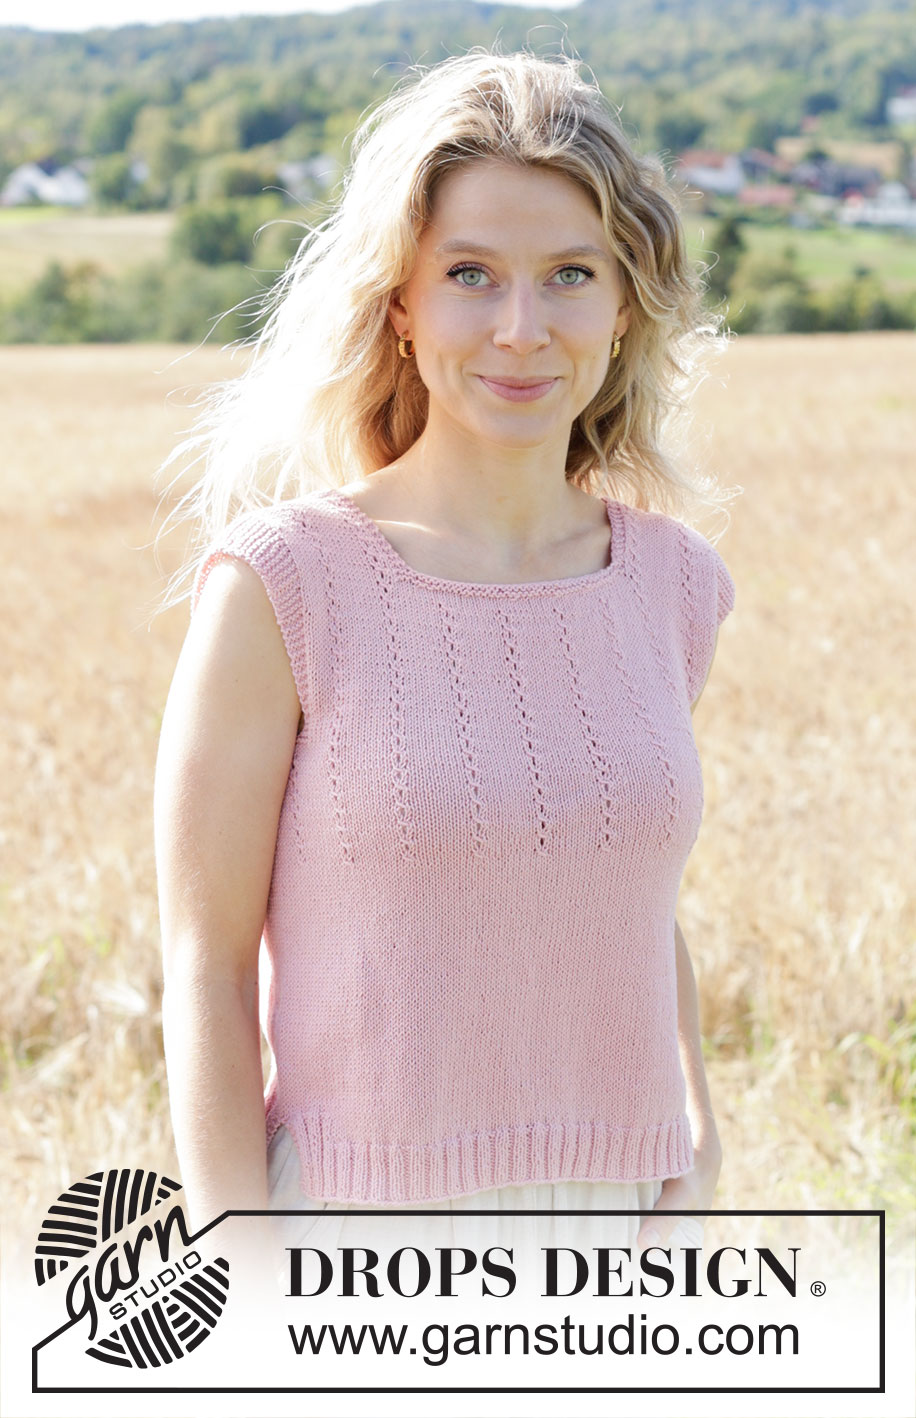
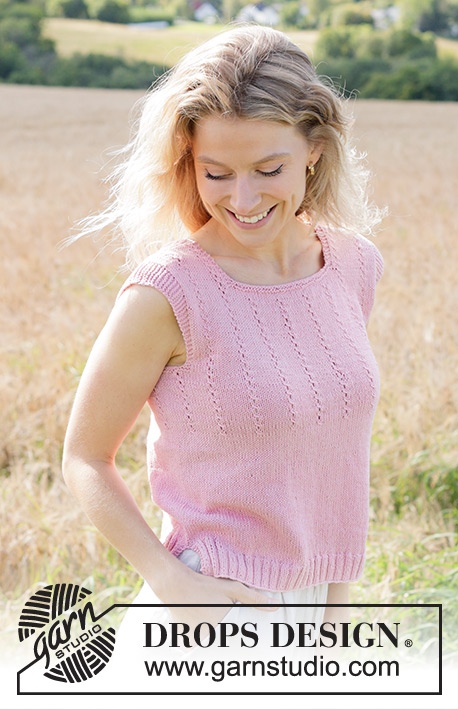
Rosewater Rain#rosewaterraintop |
|||||||||||||
 |
 |
||||||||||||
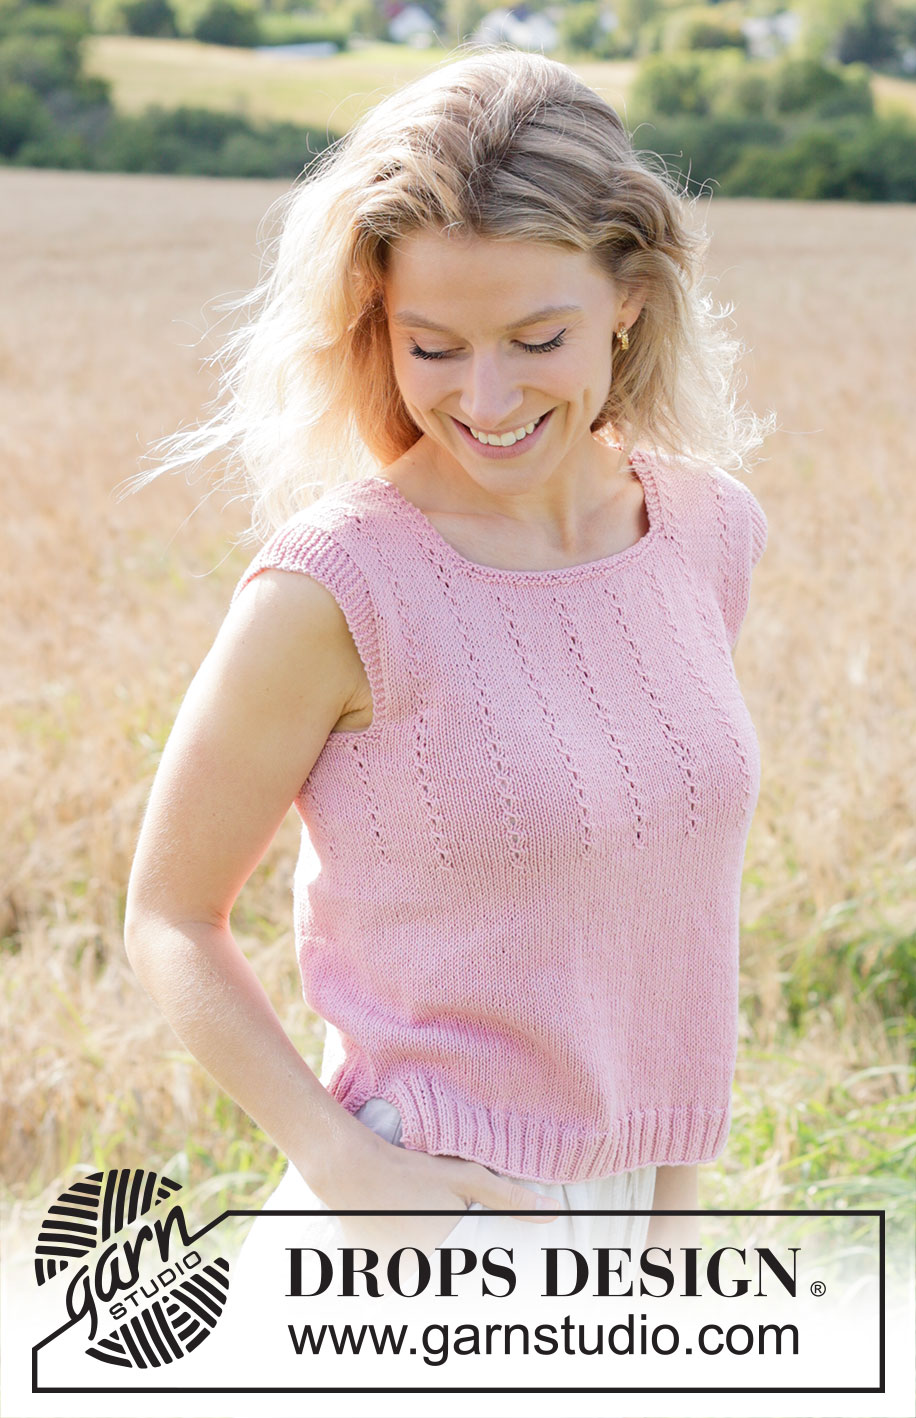
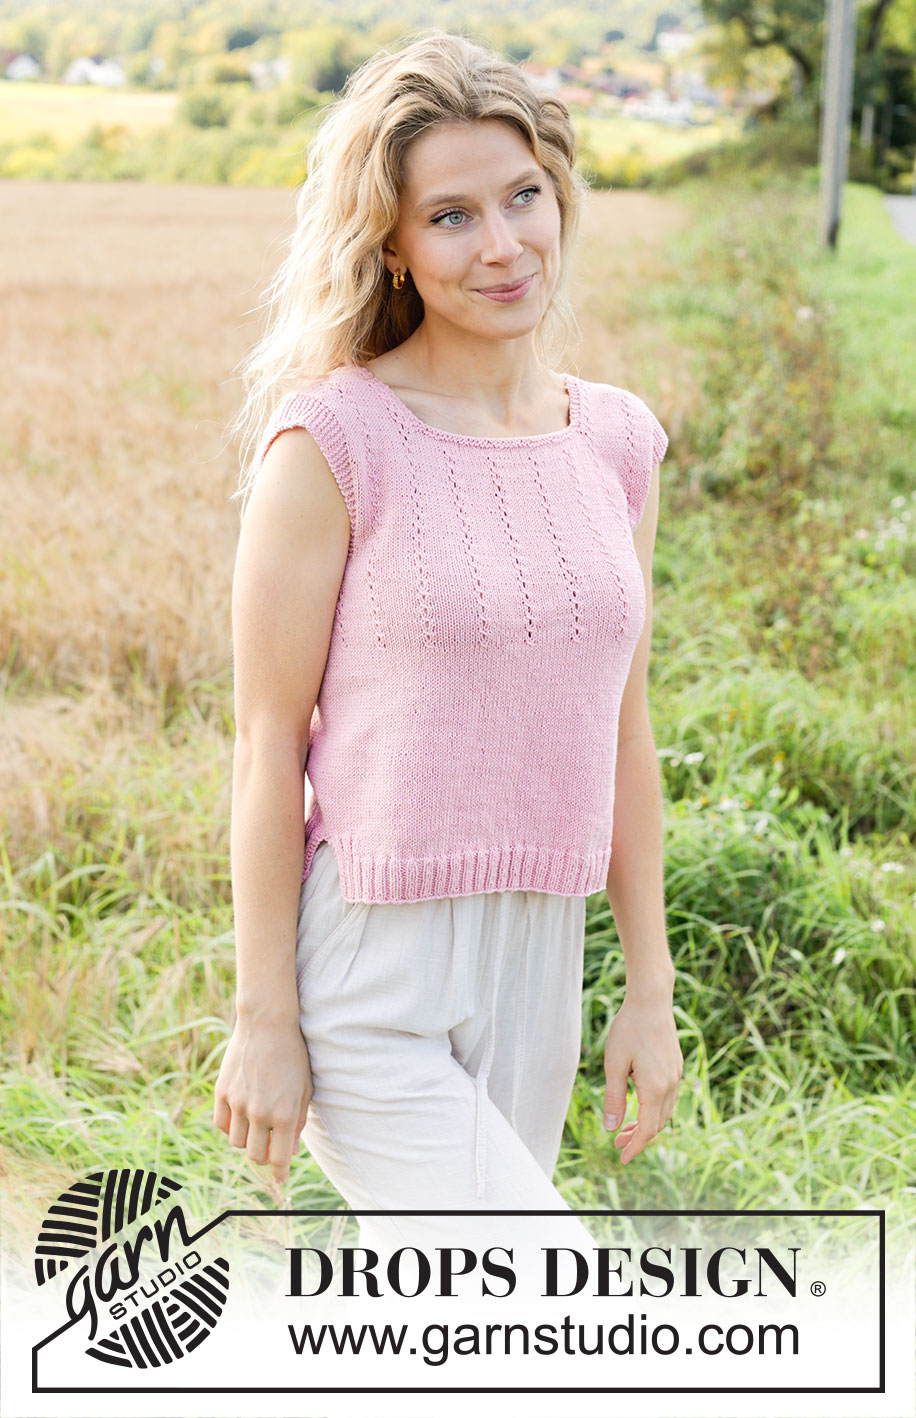
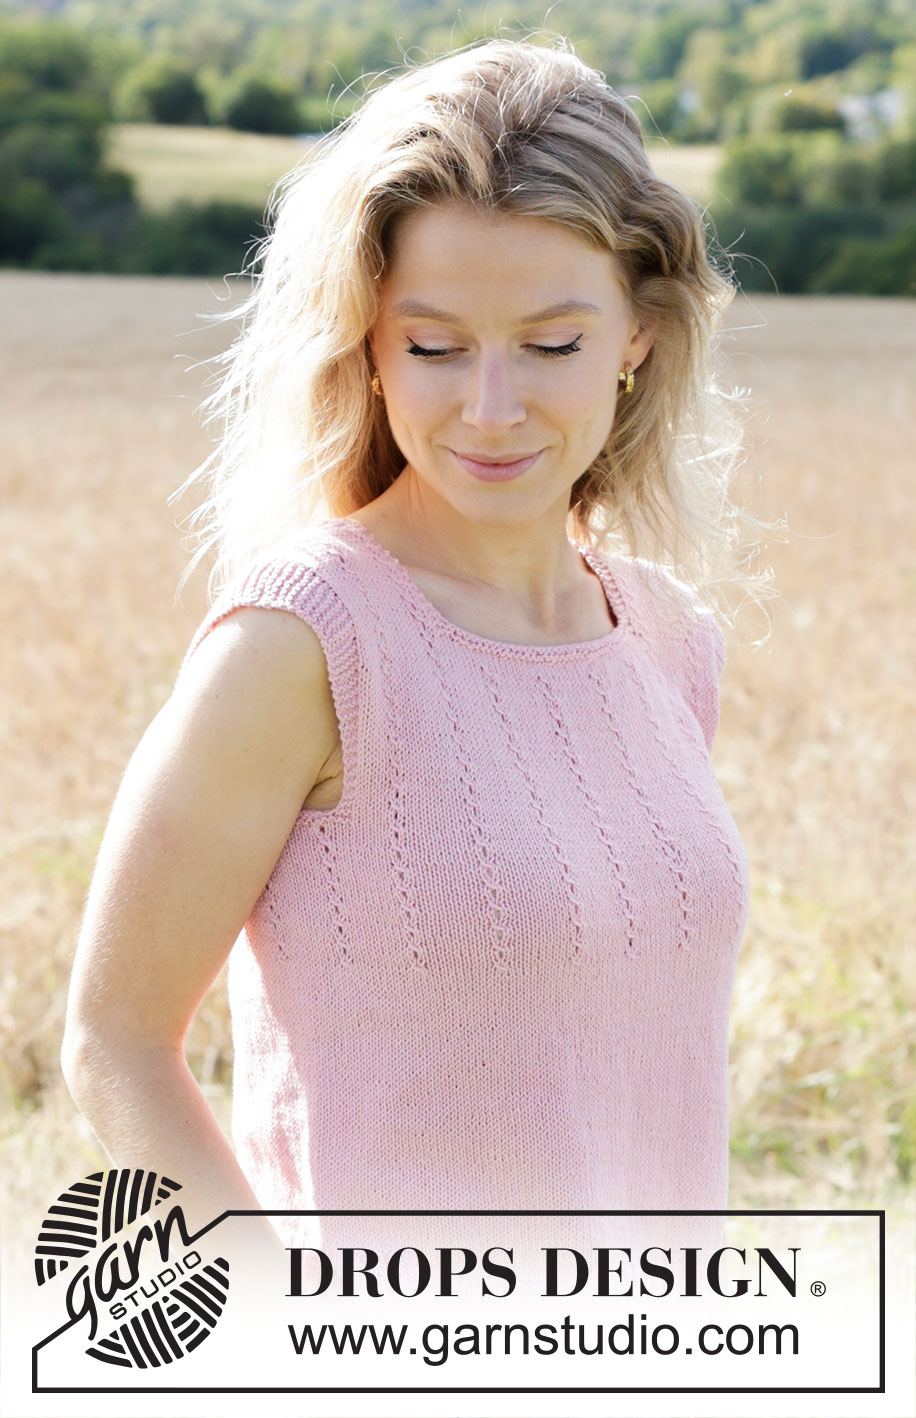
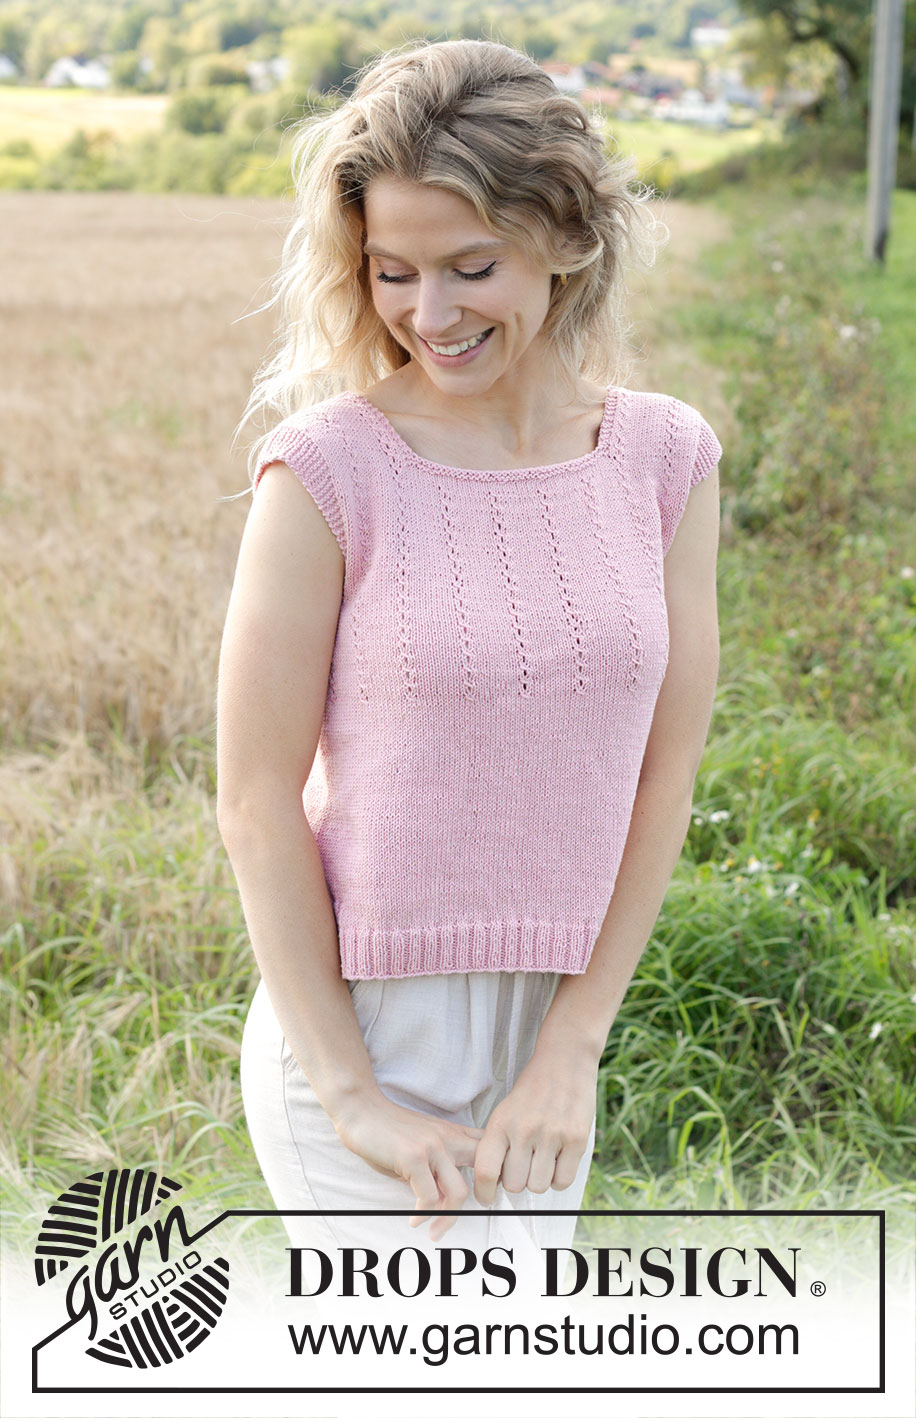
Knitted top in DROPS Safran. Piece is knitted bottom up with lace cables. Size XS – XXXL.
DROPS 250-15 |
|||||||||||||
|
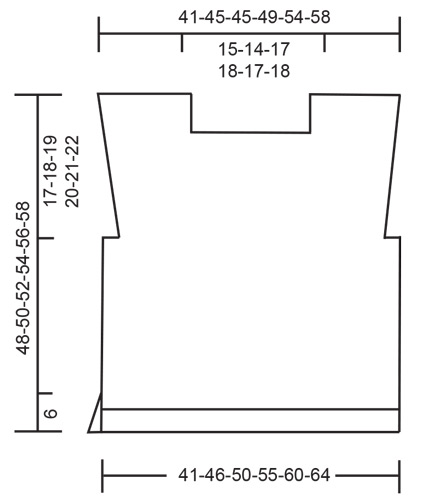
---------------------------------------------------------- EXPLANATION FOR THE PATTERN: ---------------------------------------------------------- GARTER STITCH (back and forth): Knit all rows. 1 ridge vertically = knit 2 rows. GARTER STITCH (worked in the round): 1 ridge vertically = 2 rounds, i.e. knit 1 round and purl 1 round. PATTERN: See diagram A.1. Diagrams show all rows seen from the right side. INCREASE TIP: Increase 1 stitch by making 1 yarn over inside stitches in garter stitch. On next row knit yarn over twisted to avoid hole. Work the increased stitches in garter stitch. ---------------------------------------------------------- START THE PIECE HERE: ---------------------------------------------------------- TOP - SHORT OVERVIEW OF THE PIECE: Work front piece and back piece first back and forth, bottom up separately to make a vent at the bottom. Then put the parts together, and finish in the round, before dividing the piece for armholes. Finish each part separately. Sew the shoulder seams. BACK PIECE: Cast on 114-126-138-154-166-178 stitches on circular needle size 2.5 MM = US 1.5 with DROPS Safran. Purl 1 row from wrong side, then work rib, begin from right side as follows: 2 stitches in GARTER STITCH - read explanation above - * knit 2, purl 2 *, work from *-* until 4 stitches remain, knit 2 and finish with 2 stitches in garter stitch. Continue rib like this for 4 cm = 1½", work next row as follows from right side: 2 stitches in garter stitch, knit 2, purl 2, knit 2, purl 2, knit the next 94-106-118-134-146-158 stitches, and decrease 15-16-17-22-23-24 stitches evenly over these stitches, purl 2, knit 2, purl 2, knit 2 and 2 stitches in garter stitch = 99-110-121-132-143-154 stitches. Switch to circular needle size 3.5 MM = US 4 and work in stockinette stitch with 8 stitches rib + 2 stitches in garter stitch in each side until piece measures 6 cm = 2⅜", finish with a row from wrong side. Put back piece aside, and work the front piece. FRONT PIECE: Cast on the same number of stitches and work the same way as back piece. Then place the parts together as explained below. TOP: Now slip parts together as follows: Knit over the 99-110-121-132-143-154 stitches from front piece, and knit over the 99-110-121-132-143-154 stitches from back piece = 198-220-242-264-286-308 stitches. Work in stockinette stitch in the round over all stitches. When piece measures 21-22-23-24-25-26 cm = 8¼"-8¾"-9"-9½"-9¾"-10¼", work A.1 over all stitches (= 18-20-22-24-26-28 repetitions). Insert 2 marker threads in piece, after 9-10-11-12-13-14 repetitions of A.1 and after last stitch on round. Continue with A.1 vertically. When piece measures 30-31-32-33-34-35 cm = 11¾"-12¼"-12½"-13"-13⅜"-13¾", work 2 ridges in GARTER STITCH - read explanation above - over the 20-20-30-30-30-30 stitches in each side (= 10-10-15-15-15-15 stitches in garter stitch on each side of marker thread in each side) while AT THE SAME TIME on first round decreasing 2-2-4-4-4-4 stitches evenly over these stitches in garter stitch in each side (= 18-18-26-26-26-26 stitches in garter stitch and 194-216-234-256-278-300 stitches in total), work the remaining stitches in pattern as before. When 2 ridges in garter stitch have been worked vertically over the 18-18-26-26-26-26 stitches in each side, bind off the middle 12-12-20-20-20-20 stitches in each side for armholes and finish each piece separately. BACK PIECE: = 85-96-97-108-119-130 stitches. Work piece back and forth on needle from here. Continue with pattern and 3 stitches in garter stitch in each side. When piece measures 2 cm =¾" from where body was divided for armholes, increase 1 stitch in each side for shoulder - read INCREASE TIP! Repeat increase in each side on every 6th-8th-8th-12th-12th-12th row 7-6-6-5-5-5 times in total = 99-108-109-118-129-140 stitches. AT THE SAME TIME when piece measures 40-42-44-46-48-50 cm = 15¾"-16½"-17¼"-18"-19"-19¾", work 2 ridges in garter stitch over the middle 53-52-63-64-63-64 stitches while AT THE SAME TIME on 1st row decreasing 12-12-16-16-16-16 stitches evenly over these stitches in garter stitch (= 41-40-47-48-47-48 stitches in garter stitch), work the remaining stitches in pattern as before. When 2 ridges in garter stitch have been worked vertically over the 41-40-47-48-47-48 stitches in garter stitch, bind off the middle 35-34-41-42-41-42 stitches for neck and finish each piece separately = 26-31-26-30-36-41 stitches remain on each shoulder. Continue with pattern, 10-9-9-8-8-8 stitches in garter stitch towards the armholes and 3 stitches in garter stitch towards the neck. Bind off when piece measures 48-50-52-54-56-58 cm = 19"-19¾"-20½"-21¼"-22"-22¾". Work the other shoulder the same way. FRONT PIECE: = 85-96-97-108-119-130 stitches. Work as on back piece. ASSEMBLY: Sew the shoulder seams. |
|||||||||||||
Diagram explanations |
|||||||||||||
|
|||||||||||||
 |
|||||||||||||
 |
|||||||||||||
Have you finished this pattern?Tag your pictures with #dropspattern #rosewaterraintop or submit them to the #dropsfan gallery. Do you need help with this pattern?You'll find 18 tutorial videos, a Comments/Questions area and more by visiting the pattern on garnstudio.com. © 1982-2026 DROPS Design A/S. We reserve all rights. This document, including all its sub-sections, has copyrights. Read more about what you can do with our patterns at the bottom of each pattern on our site. |
|||||||||||||


With over 40 years in knitting and crochet design, DROPS Design offers one of the most extensive collections of free patterns on the internet - translated to 17 languages. As of today we count 324 catalogs and 12290 patterns - 12280 of which are translated into English (US/in).
We work hard to bring you the best knitting and crochet have to offer, inspiration and advice as well as great quality yarns at incredible prices! Would you like to use our patterns for other than personal use? You can read what you are allowed to do in the Copyright text at the bottom of all our patterns. Happy crafting!
Post a comment to pattern DROPS 250-15
We would love to hear what you have to say about this pattern!
If you want to leave a question, please make sure you select the correct category in the form below, to speed up the answering process. Required fields are marked *.