
Popular categories
Looking for a yarn?


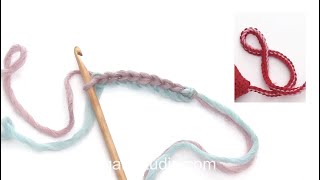
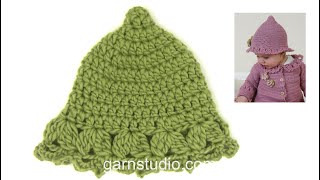
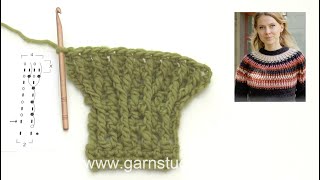
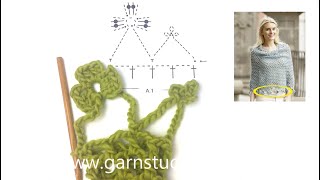
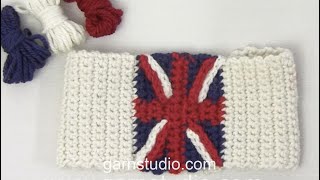
Crochet Videos
Learn to crochet with our fantastic tutorial videos! We have everything from beginner tutorials for the most basic stitches to advanced techniques, as well as step-by-step videos to guide you through some of our most popular free crochet patterns.


With over 40 years in knitting and crochet design, DROPS Design offers one of the most extensive collections of free patterns on the internet - translated to 17 languages. As of today we count 325 catalogues and 12298 patterns translated into English (UK/cm).
We work hard to bring you the best knitting and crochet have to offer, inspiration and advice as well as great quality yarns at incredible prices! Would you like to use our patterns for other than personal use? You can read what you are allowed to do in the Copyright text at the bottom of all our patterns. Happy crafting!