Comments / Questions (5)
![]() Frauke Voß-Bichels wrote:
Frauke Voß-Bichels wrote:
Guten Tag, wie sollen die ersten zwei Maschen für die Passe abgenommen werden? Mit freundlichen Grüßen Frauke Voß-Bichels
01.04.2025 - 19:22DROPS Design answered:
Liebe Frau Voß-Bichels, bei dieser Reihe strickt man Glattrechts, und zwar mit rechten Maschen, so können Sie einfach 2 Maschen rechts zusammen stricken. Viel Spaß beim Stricken!
02.04.2025 - 07:43
![]() Riitta Herva wrote:
Riitta Herva wrote:
Hei. Mallineuleen A2 ja A3 järjestys. Neulotaanko niitä vuorotellen samalla, kun tehdään satulaolkapään lisäykset ja? Kun ohjeessa kerrotaan: Jatka helmineuletta, tarkoittaako mallineule A2 vai A3? Kun jatketaan piirroksen A3 mallineuletta, niin aloitetaan kerroksesta 1 alkaen? Vähän sekava ohjeistus A2 ja A3 mallineuleista. Ymmärrän niiden piirrokset, mutta en järjestystä. Kiitos.
02.12.2024 - 10:22DROPS Design answered:
Hei, neulo seuraavasti (tee samalla lisäykset): Neulo ensimmäisillä 18-26 silmukalla joustinneuletta ja piirroksen A.1 mallineuletta kuten aiemmin, neulo mallineuletta piirroksen A.2 mukaisesti, neulo mallineuletta piirroksen A.3 mukaisesti, kunnes olet seuraavan merkin kohdalla (= etukappale), neulo seuraavilla 18-26 silmukalla joustinneuletta ja piirroksen A.1 mallineuletta kuten aiemmin, neulo mallineuletta piirroksen A.2 mukaisesti, neulo jäljellä olevilla silmukoilla mallineuletta piirroksen A.3 mukaisesti (= takakappale). Kun olet neulonut piirroksen A.2 loppuun, jatkat neulomista piirroksen A.3 mukaan siten, että helmineule jatkuu rikkoutumattomana.
06.12.2024 - 18:22
![]() Susanne wrote:
Susanne wrote:
Skrev tidligere i dag - jeg har fundet ud af det 👍
23.11.2024 - 18:11
![]() Susanne wrote:
Susanne wrote:
Jeg forstår ikke hvordan mønsteret skal gå op ved strik af halskant. Jeg skal slutte med 44 m. rib. Derefter skal jeg fortsætte rundt på samme måde 8 cm. Hvis jeg igen skal starte omg. med 10 m. og herefter mønster A1 ligger mønsteret ikke over hinanden. Skal jeg starte næste omgang med de 44 rib. som jeg sluttede forrige omgang med?
23.11.2024 - 17:32DROPS Design answered:
Hej Susanne, du kan sætte et mærke så du nøjagtig ved hvor omgangen og mønsteret starter, men det er ret enkelt, du skal have 46 masker rib foran og bagpå og så mønsteret i hver side som på billedet :)
27.11.2024 - 07:54
![]() Susan Köfer wrote:
Susan Köfer wrote:
Im A1 muster in der 3. reihe bleibt bei mir nur 1 masche zwischen den linken übrig. Aber in der 4. reihe sollten es 2 sein. Was mache ich falsch? Hilfe bitte😏
02.11.2024 - 22:20DROPS Design answered:
Liebe Frau Köfer, bei der 3. Reihe soll nur 1 Masche abgenommen werden, dh: 1 Masche wie zum Rechtsstricken abheben, die 2 nächsten Maschen rechts stricken (also separat, nicht zusammen) und dann die abgehobene Masche über die gestrickten ziehen = es sind immer noch 2 Maschen übrig. Viel Spaß beim Stricken!
04.11.2024 - 08:53
Embrace Winter Neck Warmer#embracewinterneckwarmer |
||||||||||||||||
 |
 |
|||||||||||||||
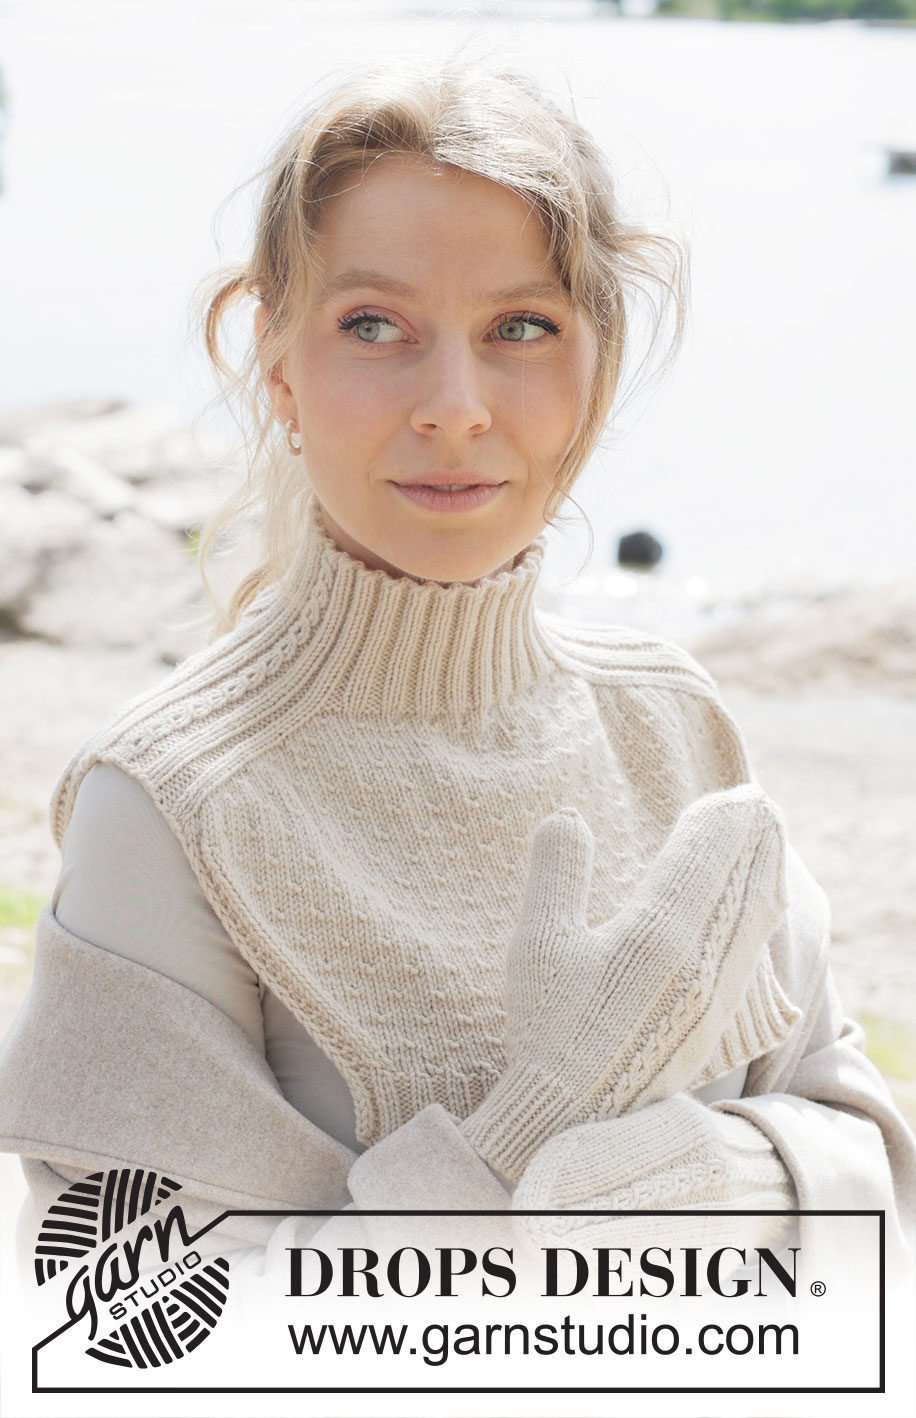
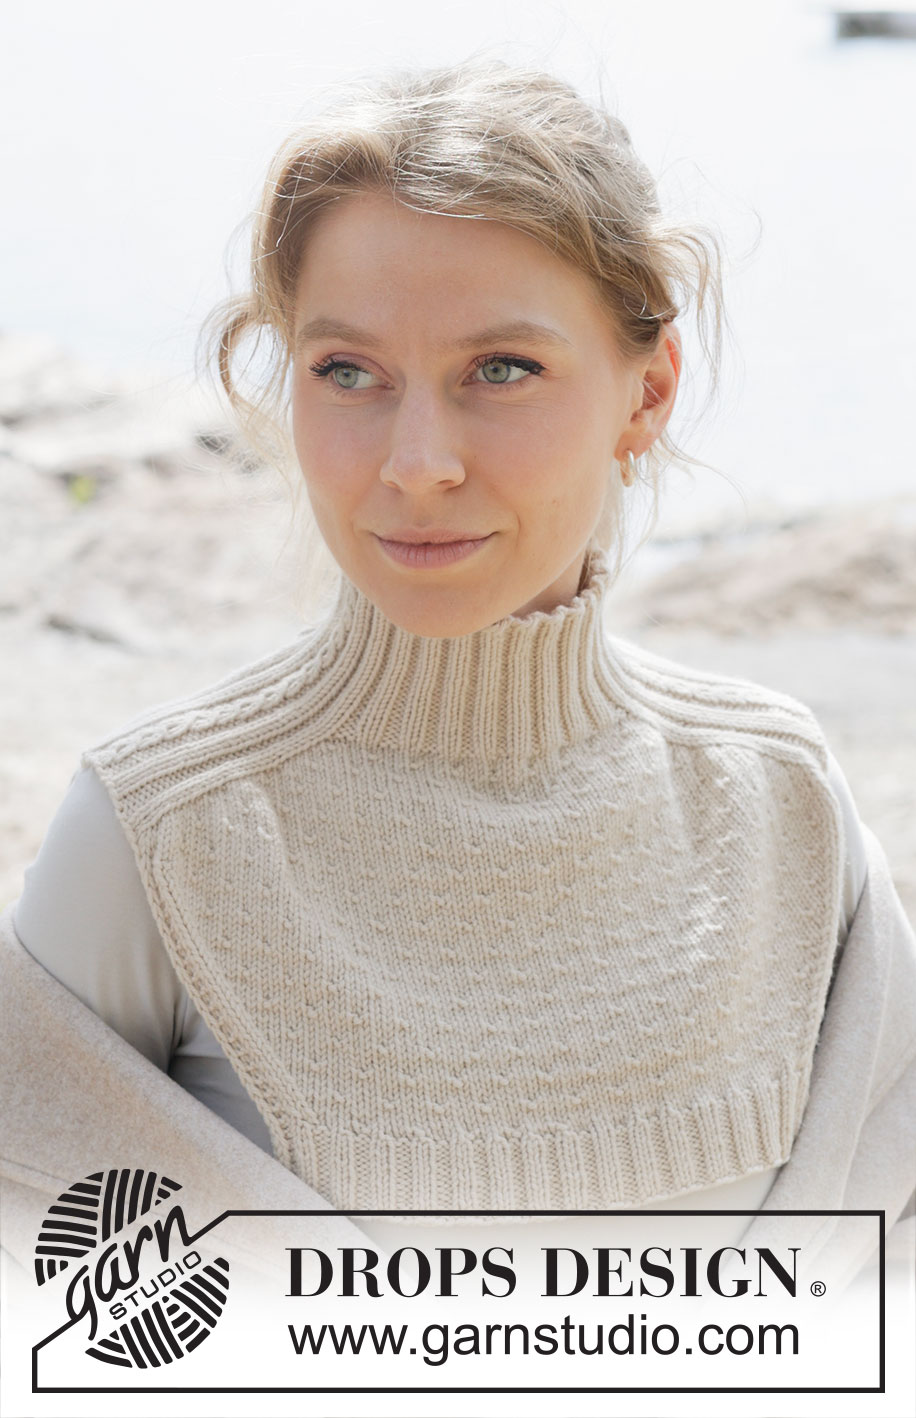
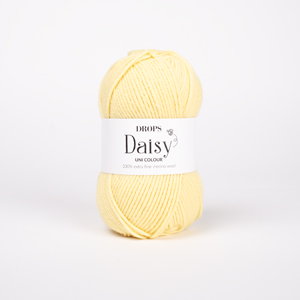
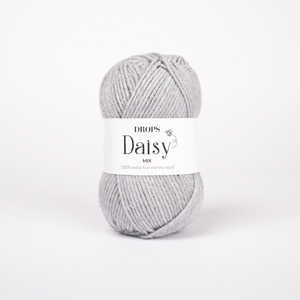
Knitted neck warmer in DROPS Daisy or DROPS Merino Extra Fine. Piece is knitted top down with saddle shoulders and relief pattern.
DROPS 253-6 |
||||||||||||||||
|
---------------------------------------------------------- EXPLANATION FOR THE PATTERN: ---------------------------------------------------------- PATTERN: See diagrams A.1 to A.3. Number of stitches in A.1 will vary but is always counted as 6 stitches. Diagrams show all rows in pattern seen from the right side. INCREASE TIP: INCREASE 1 STITCH TOWARDS THE LEFT AFTER MARKER: Use left needle to pick up yarn between 2 stitches from round below, pick up yarn from the front and knit stitch in back loop of stitch. INCREASE 1 STITCH TOWARDS THE RIGHT BEFORE MARKER: Use left needle to pick up yarn between 2 stitches from round below, pick up yarn from the back and knit stitch in front loop of stitch. Then work the new stitches in pattern. I-CORD: FIRST 2 STITCHES: Work as follows on every row: Slip 1 stitch purlwise with strand in front of piece, knit 1. LAST 2 STITCHES: Work as follows on every row: Work until 2 stitches remain on needle, slip 1 stitch purlwise with strand in front of piece, knit 1. GARTER STITCH (back and forth on needle): Knit on all rows, i.e. knit from right side and knit from wrong side. 1 ridge vertically = knit 2 rows. DECREASE TIP: All decreases are done from the right side! Decrease 1 stitch in each side as follows: Work i-cord, work 2 stitches in garter stitch, work 1 stitch in stockinette stitch, slip 1 stitch knitwise, knit 1, lift slipped stitch over stitch worked, work pattern as before until 7 stitches remain on row, knit 2 together, knit 1, 2 stitches in garter stitch, finish with i-cord (= 2 stitches decreased). ---------------------------------------------------------- START THE PIECE HERE: ---------------------------------------------------------- NECK WARMER - SHORT OVERVIEW OF PIECE: In this pattern needles of different length have been used, begin with fitting length for number of stitches and switch as needed. Work neck edge and yoke in the round on circular needle from right shoulder at the back, and work top down. When yoke is done, bind off for shoulder and divide the piece in front piece and back piece. Work front and back piece back and forth separately. NECK EDGE: Cast on 104-120 stitches on circular needle size 4 MM = US 6 with DROPS Daisy or DROPS Merino Extra Fine. Switch to circular needle size 3.5 MM = US 4 (cast on on a larger needle to get an elastic cast-on edge). Work rib and PATTERN - read explanation above, in the round as follows: Work rib (= knit 2/purl 2) over the first 6-10 stitches, work A.1, work rib (= knit 2/purl 2) over the next 46-54 stitches, work A.1, work rib (= knit 2/purl 2) over the last 40-44 stitches. Continue the round like this for 8 cm = 3⅛" - adjust so that last round is last round in A.1. The neck edge can later be folded in towards wrong side and assembled to form a neck edge of approx. 4 cm = 1½". Insert 1 marker after the first 35-43 stitches on round (= approx. mid front), measures piece from this marker. YOKE: Switch to circular needle size 4 MM = US 6. Now insert 4 the markers in the piece, use the markers when increasing for saddle shoulder. Work next round as follows: Work rib and A.1 as before over the first 18-26 stitches (= shoulder stitches), insert 1st marker here. Work in stockinette stitch over the next 34-34 AT THE SAME TIME decrease 1 stitch (= 33-33 stitches for front piece), insert 2nd marker here. Work rib and A.1 over the next 18-26 stitches (= shoulder stitches), insert 3rd marker here. Work in stockinette stitch over the next 34-34 stitches AT THE SAME TIME decrease 1 stitch (= 33-33 stitches for front piece), insert 4th marker here = 102-118 stitches. On next round work pattern while AT THE SAME TIME increasing for saddle shoulder as explained below - read the 2 next paragraphs before continuing. PATTERN: Work in the round as follows: Work rib and A.1 as before over the first 18-26 stitches, work A.2, work A.3 until next marker (= front piece), work rib and A.1 as before over the next 18-26 stitches, work A.2, work A.3 the rest of round (= back piece). Pattern will not fit a whole repetition but work as far as possible (pattern will be symmetrical). Continue with moss stitch / A.3 like this, work the increased stitches in pattern. SADDLE SHOULDER INCREASE: Increase 4 stitches on round as follows: Increase AFTER 1st and 3rd marker, and BEFORE 2nd and 4th marker - read INCREASE TIP Increase only on back piece and front piece and number of shoulder stitches stays the same. Increase like this every round 27-27 times in total = 210-226 stitches. Remember to follow the knitting gauge! After last increase yoke measures approx. 10 cm = 4" from marker mid front. On next round (= last round worked in the round), bind off shoulder stitches and work front piece and back piece separately. Work as follows: Bind off the first 18-26 stitches with knit over knit and purl over purl, work A.3 as before over the next 87-87 stitches (= front piece), bind off the next 18-26 stitches with knit over knit and purl over purl, work A.3 as before over the last 87-87 stitches (= back piece). Finish front pieces and back piece separately. Slip stitches from front piece on a thread or needle and work over stitches from back piece. BACK PIECE: = 87-87 stitches. Now work pattern back and forth, work 1st row from wrong side. Work 2 stitches I-CORD – read explanation above, work 2 stitches in GARTER STITCH – read explanation above, work 2 stitches in stockinette stitch work A.3 as before, until 6 stitches remain on row, work 2 stitches in stockinette stitch, work 2 stitches in garter stitch and finish with 2 stitches i-cord. Work back and forth like this while AT THE SAME TIME decreasing 1 stitch in each side. Read DECREASE TIP and decrease 14-14 times on every other round (i.e. Every row from right side) = 59-59 stitches. Piece measures approx. 20 cm = 8" from marker mid front. Switch to circular needle size 3.5 MM = US 4 and work next row from right side as follows: Work 2 stitches i-cord, work rib (= purl 2 / knit 2) over the next 53-53 stitches AT THE SAME TIME increase 11-11 stitches evenly over these stitches, purl 2, and finish with 2 stitches i-cord = 70-70 stitches. Work rib (= knit 2/purl 2) with i-cord in each side for 3 cm = 1⅛". Bind off stitches with knit over knit and purl over purl. Neck warmer measures approx. 23-23 cm = 9"-9" from marker mid front and approx. 26-28 cm = 10¼"-11" from the top of shoulder. FRONT PIECE: Work as on back piece. |
||||||||||||||||
Diagram explanations |
||||||||||||||||
|
||||||||||||||||

|
||||||||||||||||
Have you finished this pattern?Tag your pictures with #dropspattern #embracewinterneckwarmer or submit them to the #dropsfan gallery. Do you need help with this pattern?You'll find 23 tutorial videos, a Comments/Questions area and more by visiting the pattern on garnstudio.com. © 1982-2025 DROPS Design A/S. We reserve all rights. This document, including all its sub-sections, has copyrights. Read more about what you can do with our patterns at the bottom of each pattern on our site. |
||||||||||||||||


Post a comment to pattern DROPS 253-6
We would love to hear what you have to say about this pattern!
If you want to leave a question, please make sure you select the correct category in the form below, to speed up the answering process. Required fields are marked *.