
Popular categories
Looking for a yarn?















Comments / Questions (14)
 Britt-Marie wrote:
Hej! I mitten på långsidan blir det ett glapp där man börjat arbetet och till andra sidan av mitten. Hur har du gjort så att sidorna möts? Ser på bilden av bandanan att det inte är något glapp. När man stickat klart ser det ut som att en bit av mitten har färre varv än resten. Hoppas du förstår vad jag menar. Kan man få kontakt med någon/telefon angående mönstret?
15.08.2026 - 14:49DROPS Design answered:
Hei Britt-Marie. Når bandanan er ferdig strikket så legg den flat, slik du ser den på bildet (ikke der bandanan er på et hode). Brukt trådenden der det ble lagt opp 7 masker og sy hakket pent sammen, slik at "langsiden" blir en jevn kant. Du kan alltids besøke en garnbutikk som selger DROPS garn for mer personlig forklaring, vi har dessverre ingen som svarer på spørsmål til oppskrifter via telefon. mvh DROPS Design
17.08.2026 - 11:42
 Erin wrote:
When I follow the pattern and cast on 7 stitches, this seems to give the bandana a flat end rather than coming to a point like in the photo. Is this to be expected? Or have I made a mistake with the pattern?
21.07.2026 - 12:43DROPS Design answered:
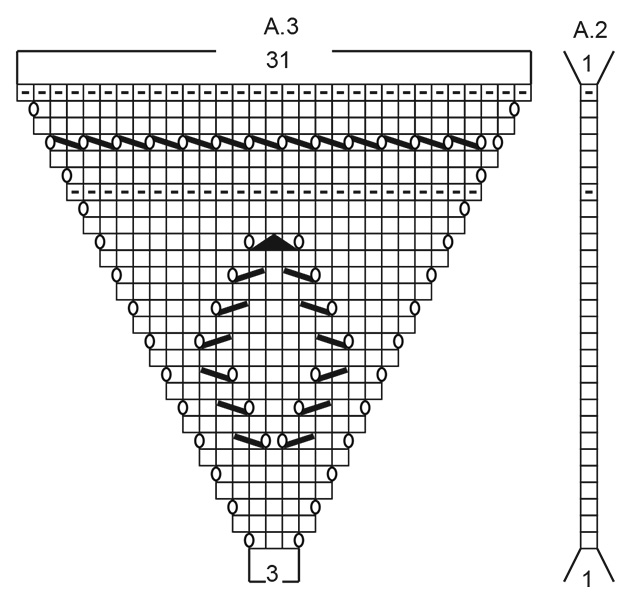
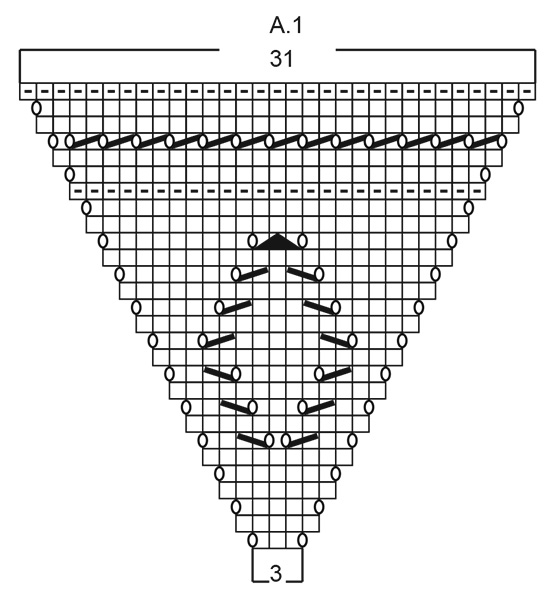
Dear Erin, after you have increased to 13 sts, you will work the lace pattern on each side of the middle stitch increasing on each side + on each side of middle stitch to get a shape of a triangle - the middle stitch will be then at the tip of the bandana. Happy knitting!
11.08.2026 - 11:06
Britt-Marie wrote:
Hej! Angående varv 11 diagram A5 och A9 skall man sticka 24 maskor istället för 25? (Rätsidan) Hur får man de saknade maskorna på varv 16 i A4 och A9, se svaret enligt DROPS Design: Men det saknas en avig maska på det 16:e varvet i A.4 och A.9 (sista maskan). Här är en rättelse.
20.07.2026 - 20:02DROPS Design answered:
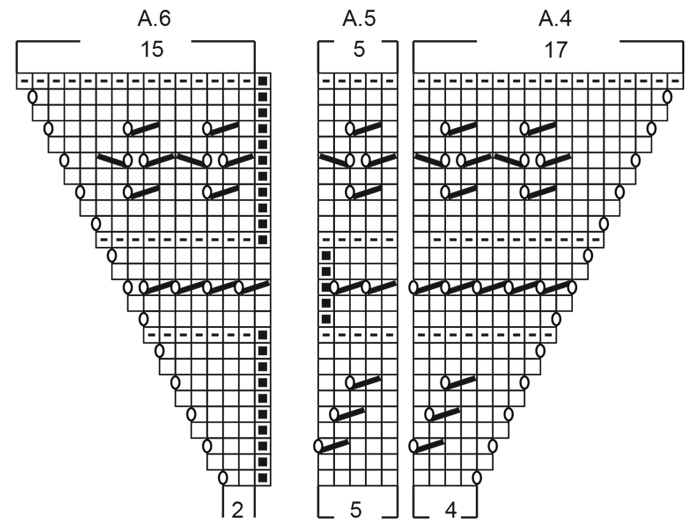
Hej Britt-Mari, det är samma saknade maska som på de andra varven, den är bara flyttat från A.6 till A.5
05.08.2026 - 07:15
 Rosa wrote:
Buenas tardes, en las secciones A5 y A9, de la vuelta 11 a la 15 hay un punto que en el esquema aparece como q no existe. Pero al realizar esa vuelta te encuentras q te sobra un punto. Sinceramente no lo entiendo por q después ese punto se vuelve a tener en cuenta. Gracias.
08.07.2026 - 18:42DROPS Design answered:
Hola Rosa, este punto que no existe ayuda a colocar correctamente el diagrama, incluso cuando tenemos menos o más puntos que en filas anteriores. Este punto está realmente en la misma posición que antes y no se ha movido, pero ahora la hebra + 2 puntos juntos de derechos están justo en el límite entre A.8/A.9 y A.5/A.6. Por eso, el cuadrado se mueve a la sección del medio, para que la hebra entre 2 puntos se dibuje correctamente, sin tener que unir directamente los diagramas. Así que tú no tienes que cambiar nada a la hora de trabajar el diagrama, si no que ten en cuenta que el cuadrado negro en A.5/A.9 pertenece a la repetición siguiente/anterior del mismo diagrama o al A.6 (después de A.5) o A.8 (antes de A.9).
12.07.2026 - 23:00
 VU wrote:
Que dois je faire quand il y a le symbole ; pas de maille, passer au symbole suivant. Merci pour votre aide
08.07.2026 - 09:38DROPS Design answered:
Bonjour Mme Vu, la case avec ce symbole n'est pas une maille, autrement dit, dans A.6 par ex, vous commencez A.6 par 2 m au 1er rang (= 2 m end + 1 jeté), puis lorsque vous allez tricoter les rangs 11 à 15, vous aurez 4 m dans chaque A.2 (et pas 5) et, au rang ajouré, vous tricoterez 2 m ens à l'end/1 jeté tout du long en terminant par 1 m end dans A.6 (+ les jetés de A.4 et A.6). Vous avez ensuite de nouveau 5 m dans A.5 = la première maille de A.6 n'existe plus car c'est devenu la 1ère de A.5. Bon tricot!
08.07.2026 - 15:33
 Amanda wrote:
I am already stuck at row 4. no matter how many times i start over i end up with 12 stitches instead of 13. Am I missing a yarn over or something like that?
22.06.2026 - 18:06DROPS Design answered:
Dear Amanda, you should have 4 yarn overs on row 4: 3 band sts with I-cord, then 1 yarn over, then knit 1, make 1 yarn over, knit 1, make 1 yarn over, knit 1, make 1 yarn over and finish with 3 band sts = 13 sts. Happy knitting!
23.06.2026 - 08:38
 Inger Karin wrote:
Jeg er ikke sikker på om jeg om jeg postet som spørsmål eller kommentar så jeg prøver å stille spørsmålet en gang til: Er det feil i diagrammene A 4 - A 10? Alt stemmer til og med omg 16 som strikkes rett fra vrangen. Etter det stemmer ikke antall masker med diagrammet.
16.06.2026 - 12:37DROPS Design answered:
Hei Inger. Når man strikker hullmønstret (ca halveis i diagrammene i høyden) vil det i diagrammet vise mindre masker i A.5 / A.9, men disse "ser" man i de skrå diagrammene, slik at maskeantallet vil stemme (selv om man ikke ser det i diagrammene). Prøv å sett maskemarkører mellom hvert diagram så har man en bedre oversikt. Men det mangler en vrangmaske på 16. rad i A.4 og A.9 (siste maske). Her kommer det en rettelse. mvh DROPS Design
02.07.2026 - 08:04
Inger Karin wrote:
Er det feil i diagrammene A 4 - A 10? Alt stemmer til og med omg 16 som strikkes rett fra vrangen. Etter det stemmer ikke antall masker med diagrammet.
15.06.2026 - 16:12
Marla wrote:
Hei, jeg er litt usikker hvordan jeg burde strikke et ny laget kast fra vrangen. På den siden hvor dere vise hvordan man gjør kast, finnes det to metoder (kan dessverre ikke sende lenken). Hvis jeg bruker den første metoden, blir hullene i arbeidet ganske store. Takk for hjelpa!
23.05.2026 - 17:57
 Annemie wrote:
Er wordt niet gehaakt maar gebreid. De middelste steken moeten voor NLD 1,3,en 5 averechts worden gebreid, anders krijg je daar geen tricotsteken zoals op de foto's te zien is, maar ribbelsteken.
23.05.2026 - 15:54
|
||||||||||||||||||||||
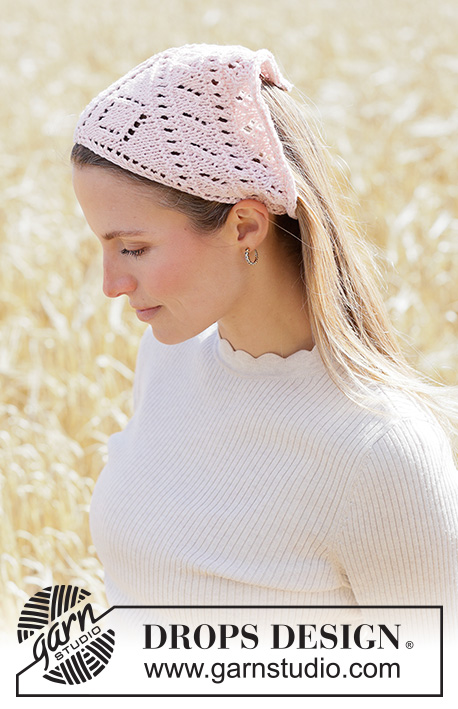
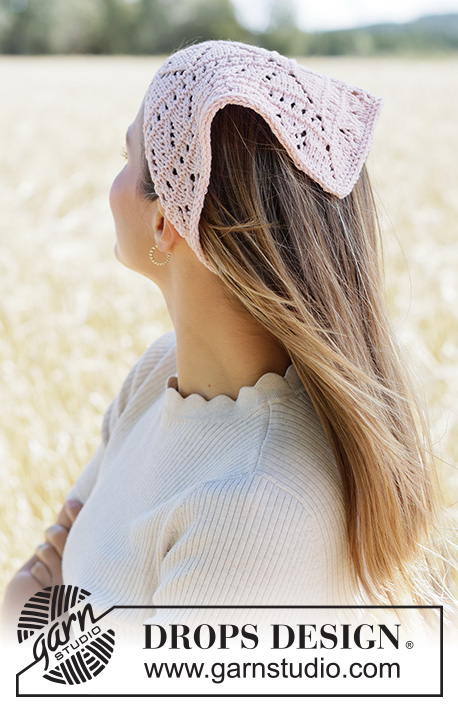
Rosy Rhythm Bandana#rosyrhythmbandana |
||||||||||||||||||||||
 |
 |
|||||||||||||||||||||
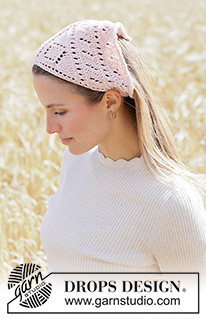
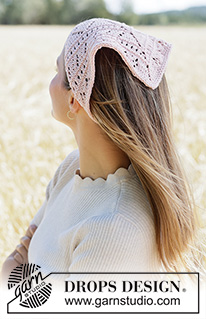
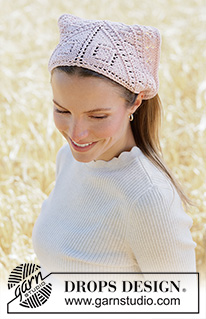
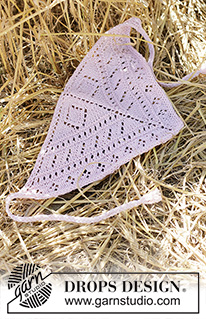
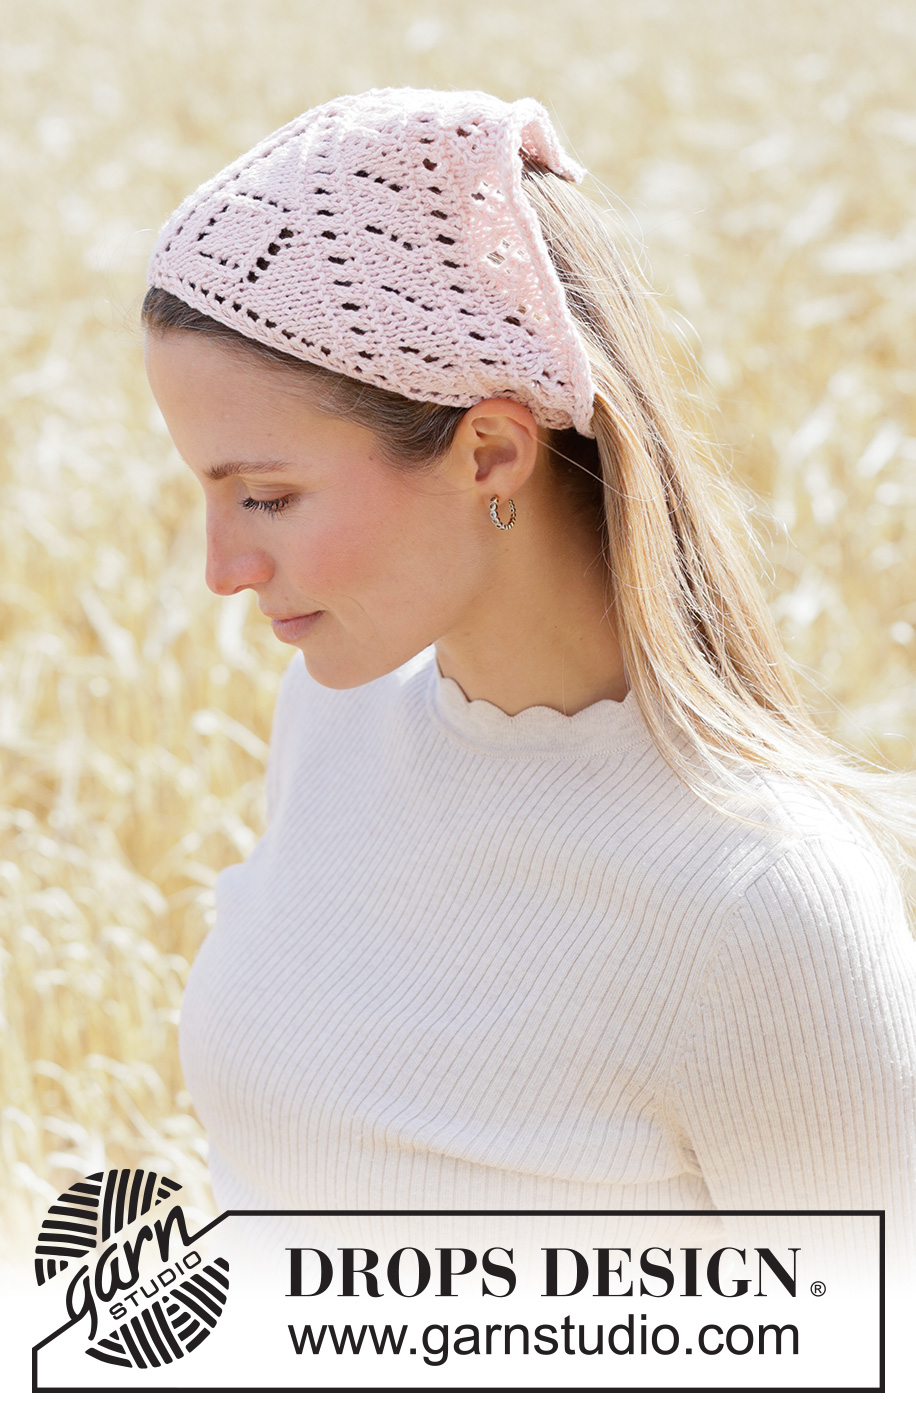
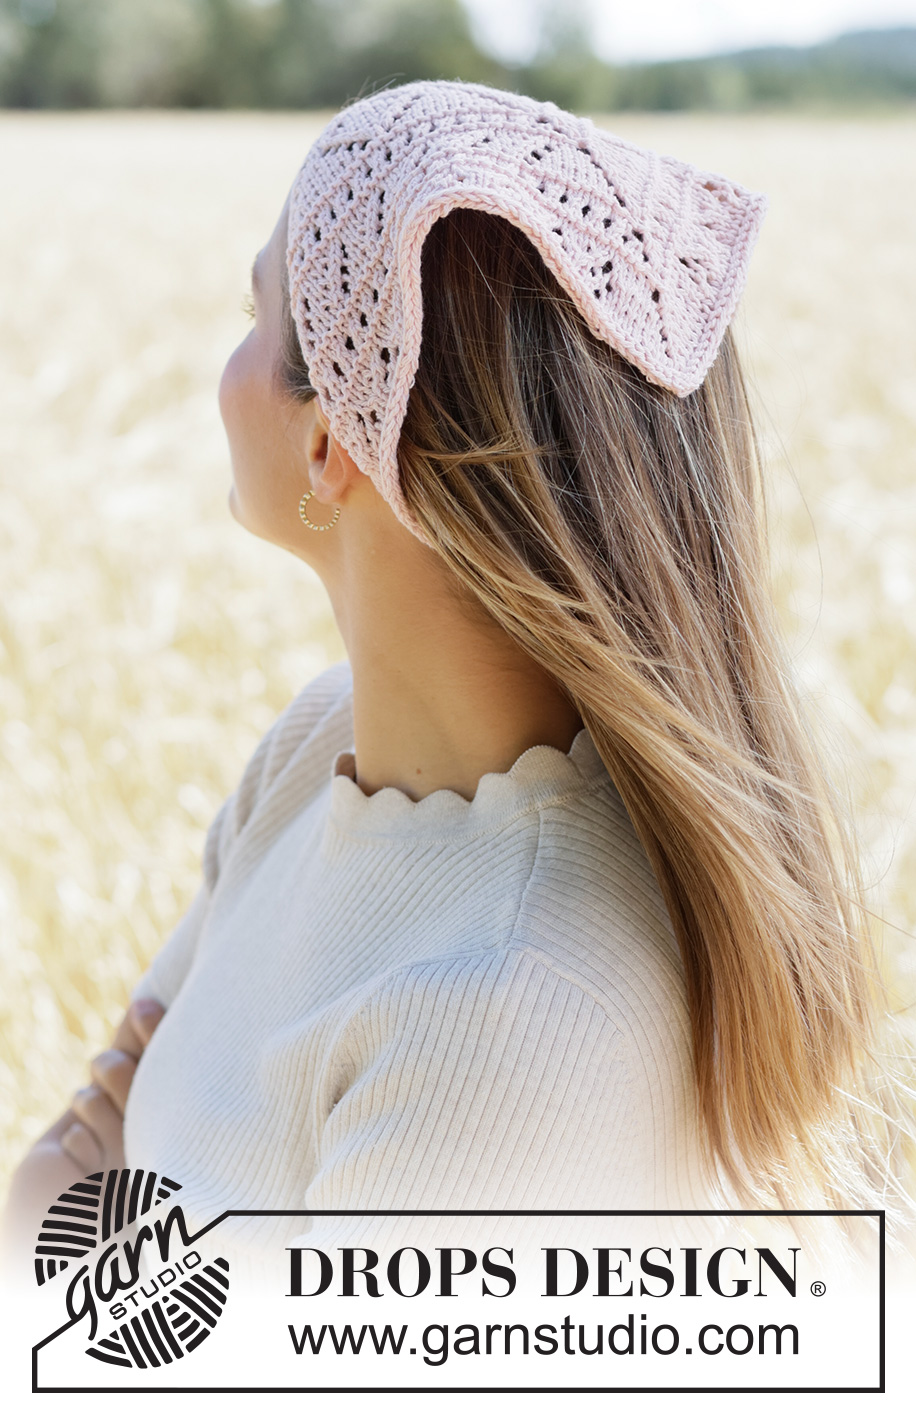
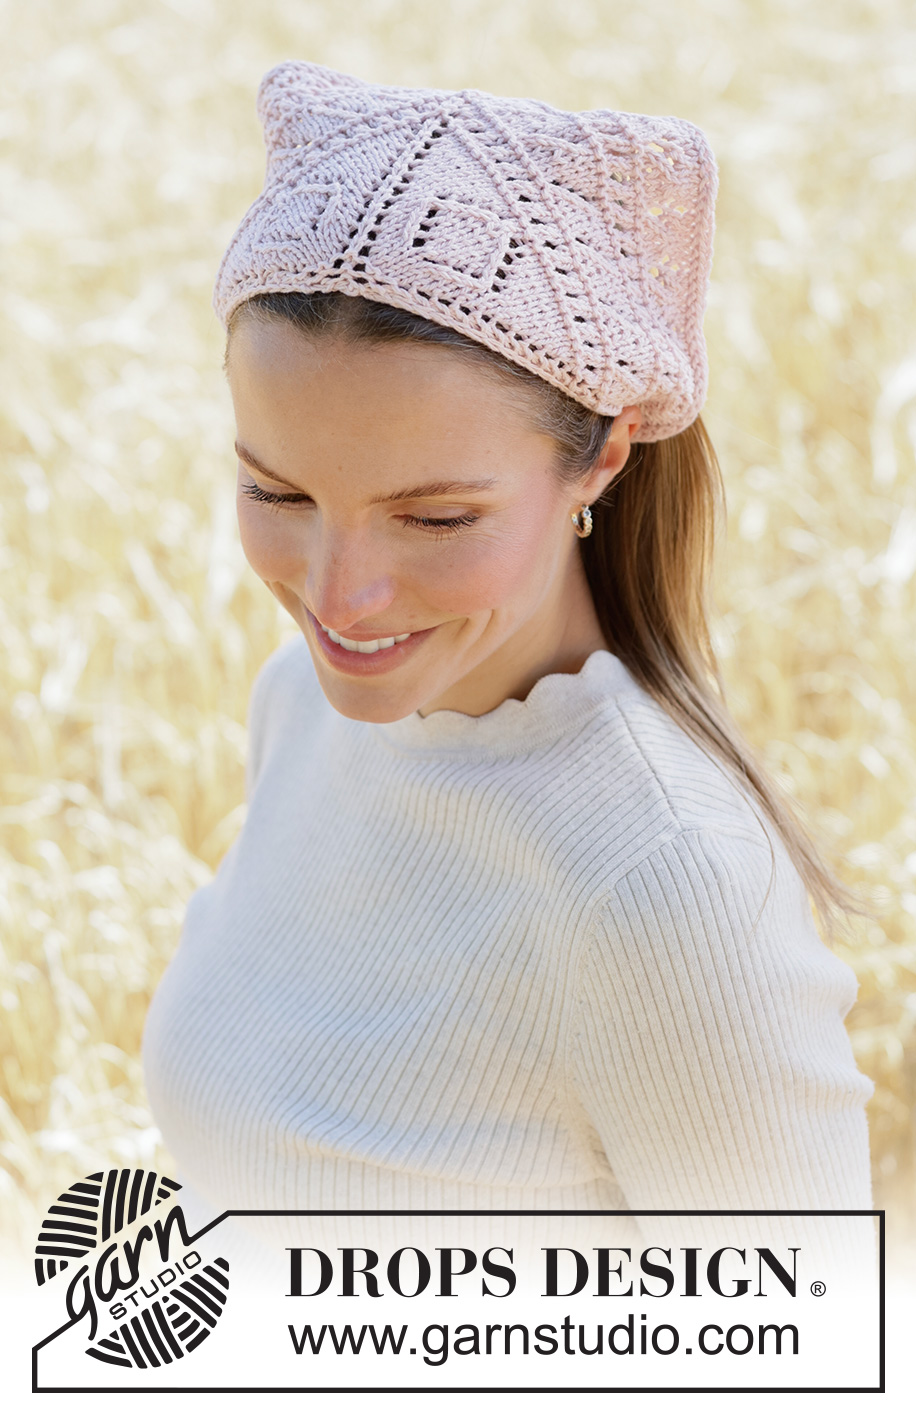
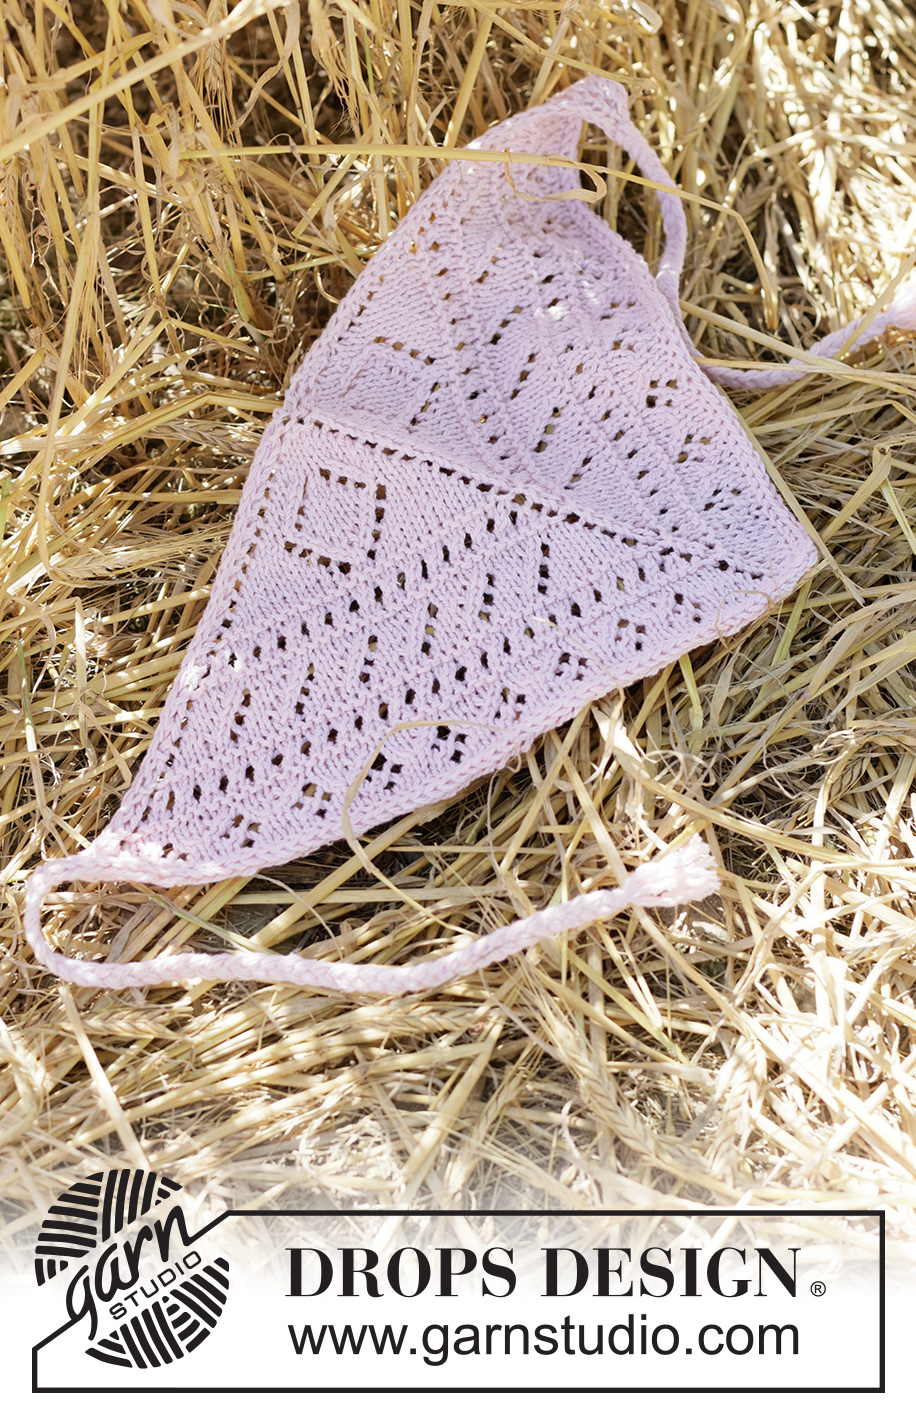
Knitted headscarf/bandana in DROPS Cotton Merino. The piece is worked with lace pattern and I-cord.
DROPS 265-5 |
||||||||||||||||||||||
|
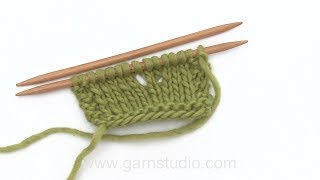
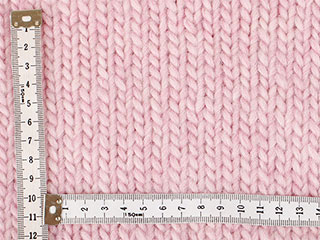
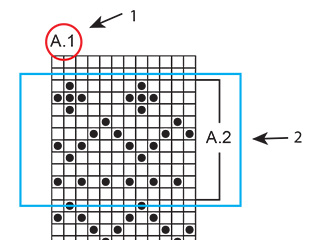
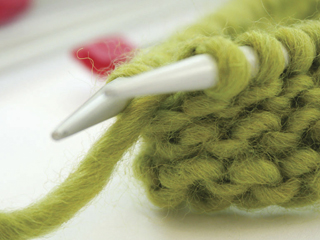
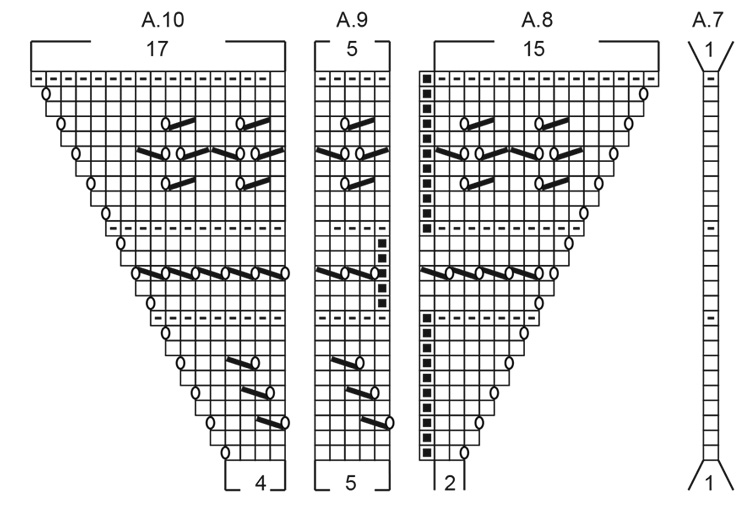
------------------------------------------------------- EXPLANATIONS FOR THE PATTERN ------------------------------------------------------- GARTER STITCH (worked back and forth): Knit all rows, from both the right and wrong side. 1 ridge in height = knit 2 rows. PATTERN: See diagrams A.1 to A.10. The diagrams show all rows in the pattern from the right side. 3 EDGE-STITCHES WITH I-CORD: BEGINNING OF ROW: Slip 1 stitch purl-wise with the strand in front, knit 1, work 1 garter stitch. END OF ROW: Work until there are 3 stitches left on the row, work 1 garter stitch, slip 1 stitch purl-wise with the strand in front, knit 1. Work in the same way from both the right and wrong side. I-CORD BIND OFF: START (wrong side): When working the last row from the wrong side, cast on 2 stitches at the end of the row. Turn. ROW 1 (right side): Knit 1, knit 2 twisted together. Slip the 2 stitches from the right needle onto the left needle, do not turn (when working the strand tightens the piece into a small tube). Repeat ROW 1 until there are 2 stitches left. Slip these 2 stitches onto the left needle. Bind off. ------------------------------------------------------- START THE PIECE HERE: ------------------------------------------------------- HEADSCARF – SHORT OVERVIEW OF THE PIECE: The piece is worked back and forth from the middle outwards. Cords are worked on each side to finish, which are used to fasten the headscarf. HEADSCARF: Cast on 7 stitches with circular needle size 4 MM = US 6 and DROPS Cotton Merino. Work back and forth (first row is worked from the wrong side): ROW 1 (wrong side): Work 3 stitches according to EDGE-STITCHES WITH I-CORD – read explanation above, knit 1, work 3 stitches according to edge-stitches with I-cord. ROW 2 (right side): Work 3 stitches according to edge-stitches with I-cord, make 1 yarn over, knit 1, make 1 yarn over, work 3 stitches according to edge-stitches with I-cord = 9 stitches. ROW 3 (wrong side): Work 3 stitches according to edge-stitches with I-cord, knit 3, work 3 stitches according to edge-stitches with I-cord. ROW 4 (right side): Work 3 stitches according to edge-stitches with I-cord, make 1 yarn over, knit 1, make 1 yarn over, knit 1, make 1 yarn over, work 3 stitches according to edge-stitches with I-cord = 13 stitches. ROW 5 (wrong side): Work 3 stitches according to edge-stitches with I-cord, knit 7, work 3 stitches according to edge-stitches with I-cord. Continue with PATTERN – read explanation above, with the first row from the right side as follows: 3 edge-stitches as before, work A.1, then A.2 across 1 stitch (= mid-stitch), work A.3, then 3 edge-stitches as before. Insert 1 marker in the mid-stitch and allow it to follow your work onwards, making it easier to following the pattern. Continue the diagrams. When they are finished there are 69 stitches. Remember to maintain the knitting gauge. Continue pattern as follows, with the first row from the right side: 3 edge-stitches as before, work A.4 across 4 stitches, then A.5, 5 times in width (there are 2 stitches left before the mid-stitch), work A.6 across 2 stitches, A.7 across 1 stitch (= mid-stitch), A.8 across 2 stitches, A.9, 5 times in width (there are 7 stitches left), work A.10 across 4 stitches and 3 edge-stitches as before. Continue the pattern. When the diagrams are finished there are 121 stitches (the last row was from the wrong side). Work I-CORD BIND-OFF – read explanation above. Cut and fasten the strand. The piece measures approx. 46 cm = 18" along the long side and 23 cm = 9" measured along the mid-stitch. The scarf is a triangle. Cords are now worked, then fastened to each end of the long side. CORDS: Cut 6 strands of DROPS Cotton Merino, each 80 cm = 31½" in length. Thread the strands halfway through the piece, outermost at one end of the long side, now with 12 strands of equal length. Divide the strands into 3 bunches of 4 and plait the bunches until there is 3 cm = 1⅛" left. Tie a strand around the plait and fasten well. Work a second cord at the other end of the long side. |
||||||||||||||||||||||
Diagram explanations |
||||||||||||||||||||||
|
||||||||||||||||||||||
 |
||||||||||||||||||||||
 |
||||||||||||||||||||||
 |
||||||||||||||||||||||
 |
||||||||||||||||||||||
Have you finished this pattern?Tag your pictures with #dropspattern #rosyrhythmbandana or submit them to the #dropsfan gallery. Do you need help with this pattern?You'll find 8 tutorial videos, a Comments/Questions area and more by visiting the pattern on garnstudio.com. © 1982-2026 DROPS Design A/S. We reserve all rights. This document, including all its sub-sections, has copyrights. Read more about what you can do with our patterns at the bottom of each pattern on our site. |
||||||||||||||||||||||

With over 40 years in knitting and crochet design, DROPS Design offers one of the most extensive collections of free patterns on the internet - translated to 17 languages. As of today we count 333 catalogs and 12536 patterns - 12515 of which are translated into English (US/in).
We work hard to bring you the best knitting and crochet have to offer, inspiration and advice as well as great quality yarns at incredible prices! Would you like to use our patterns for other than personal use? You can read what you are allowed to do in the Copyright text at the bottom of all our patterns. Happy crafting!
Post a comment to pattern DROPS 265-5
We would love to hear what you have to say about this pattern!
If you want to leave a question, please make sure you select the correct category in the form below, to speed up the answering process. Required fields are marked *.