
Popular categories
Looking for a yarn?



























Comments / Questions (47)
 Jardé wrote:
Bonjour Drops ! Comment puis-je faire la série d’augmentations juste avant le rang de rabattage des mailles ? Quelle technique avez-vous utilisée ? Merci !
04.11.2026 - 20:50DROPS Design answered:
Bonjour Mme Jardé, vous pouvez utiliser la technique que vous souhaitez, celle avec laquelle vous êtes le plus à l'aise (retrouvez ici, en vidéo différentes techniques pour augmenter), les mailles (y compris ces augmentations) seront rabattues juste après avec la bordure I-cord. Bon tricot!
05.11.2026 - 14:13
 Carmel wrote:
Hello, Can you please tell me how to increase the first stitch on the wrong side? Is it done purl wise? Thank you
31.10.2026 - 19:51DROPS Design answered:
Hi Carmel, The increase in the first stitch is by knitting 2 stitches in the same stitch (both through the front and back loop). This is the same from both the right and wrong side (see Increase Tip-1 in the explanations). Regards, Drops Team.
01.11.2026 - 14:45
 Remy wrote:
How do I do the i-cord edge? understand how to do the k2fb, but it's coming out bumpy on the sides. I have watched the video, and reviewed the comments in 3 languages. And I have reworked it multiple times. Does it have something to do with the front or back position of the yarn? Is there anywzy you can re-word or go into more detail? Please help
29.10.2026 - 01:04DROPS Design answered:
Hi Remy, It is important that the stitches are loose but of equal size when casting off with I-cord. This could be the reason your cast-off edge is bumpy. The yarn is held at the back of the piece when casting off. Regards, Drops Team.
29.10.2026 - 05:22
Romaned wrote:
Bonjour, lors des augmentations sur l\'envers, en début de rang, doit t on les faire comme sur l\'endroit ?
16.10.2026 - 16:09DROPS Design answered:
Bonjour Romaned, tout à fait, vous tricotez la 1ère et la dernière maille 2 fois à l'endroit aussi bien sur l'endroit que sur l'envers, les autres mailles se tricotent en jersey. Bon tricot!
16.10.2026 - 17:10
 Rebecka wrote:
"Sticka 1 varv avigt från avigsidan där det ökas 30 maskor jämnt fördelat (öka 15 maskor jämnt fördelat på varje sida av mittmaskan) = ca 225 maskor på varvet." Står inte hur denna ökning ska göras på avigsidan? Gör man den som det står att man ska göra på rätsidan blir det ett hål...
21.07.2026 - 09:23DROPS Design answered:
Hei Rebecka. Du øker med 1 omslag (från avigsidan) og når du på neste pinne (från rätsidan), så skal det felles av med i-cord. Les i oppskriften under: I-CORD AVMASKNING. Omslaget gjør at avfellingskanten ikke strammer, blir ingen hull. mvh DROPS Design
05.08.2026 - 08:03
Julie wrote:
Bonjour, Je n’arrive pas á comprendre comment tricoter le jeté après le marqueur lorsque je suis sur le rang envers. D’avance merci pour l’aide apportée
25.06.2026 - 18:47DROPS Design answered:
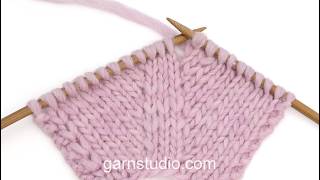
Bonjour Julie, découvrez ici, en vidéo, comment tricoter ces jetés sur l'envers, avant et après le marqueur, ainsi que le rendu final, notez que dans la vidéo, on a 3 m jersey entre les augmentations contre 1 seule pour le châle, tricotez bien 1 seule maille entre les augmentations comme dans le châle et non comme dans la vidéo (qui ne montre que la technique). Bon tricot!
26.06.2026 - 07:14
 Hanne Van Den Berge wrote:
“Brei 1 naald averecht aande verkeerde kant terwijl u 30 steken verdeeld meerdert”. Met wat voor steek meerder je aan de verkeerde kant?
16.06.2026 - 19:59DROPS Design answered:
Dag Hanne,
Dat staat inderdaad niet duidelijk aangegeven. Je zou dit kunnen doen door 2 steken in 1 steek te breien of de draad tussen 2 steken van de vorige naald op te nemen en deze gedraaid te breien.
17.06.2026 - 21:02
 Andrea wrote:
Hallo, meine Frage ist: Wieso werden die Rückreihen auch mit rechten Maschen gestrickt? Das Tuch ist doch nicht in kraus rechts. Danke.
23.04.2026 - 15:37DROPS Design answered:
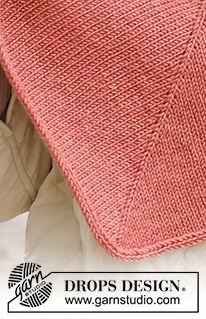
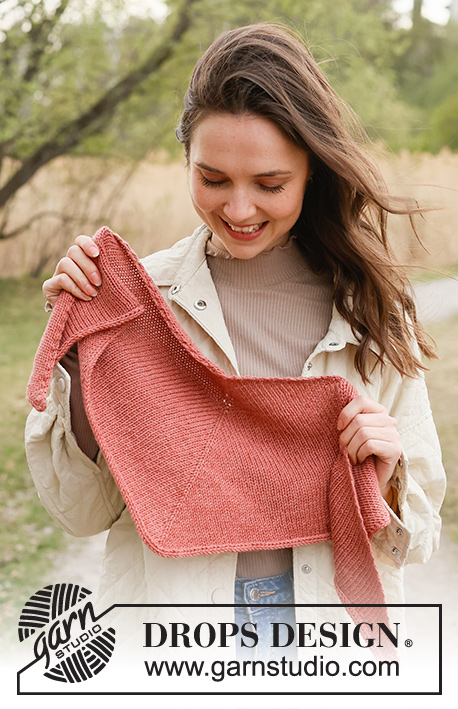
Liebe Andrea, hier ist das Tuch glattrechts gestrickt (sieh 3. Foto vielleicht?) wenn man Glatt rechts strickt, soll man die Hin-Reihen rechts und di Rück-Reihen links stricken. Viel Spaß beim Stricken!
23.04.2026 - 16:43
Nina wrote:
Hi! Regarding the increases at the beginning and the end of eacht row, these should be on both the right side, as well as the wrong side? When I follow the instructions from the pattern INCREASE TIP 1 (and according to the instruction video) on both sides, my edge does not look like the edge on the pictures of the pattern. Can you please elaborate? Thanks!
05.01.2026 - 14:21
 Lucie Michaud wrote:
Hi! Regarding these increases at the beginning and at the end of each row on the wrong side “ROW 2 (wrong side): Increase 1 stitch in the first stitch …increase 1 stitch in the last stitch.” I did a purl front back since we are on the purl side, but should I follow the INCREASE TIP 1 and make a knit front back even on the wrong side? Thanks!
05.01.2026 - 01:03DROPS Design answered:
Dear Lucie, you should increase as shown in the TIP, so you should knit front back from the wrong side as well. Happy knitting!
11.01.2026 - 23:49
|
|
Spanish Rose#spanishroseshawl |
|
 |
 |
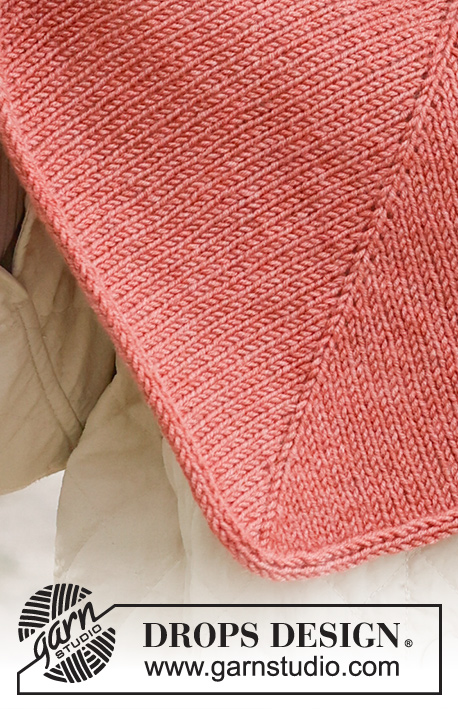
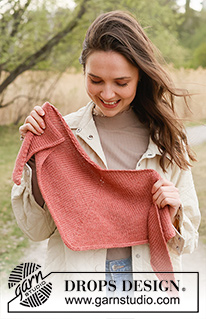
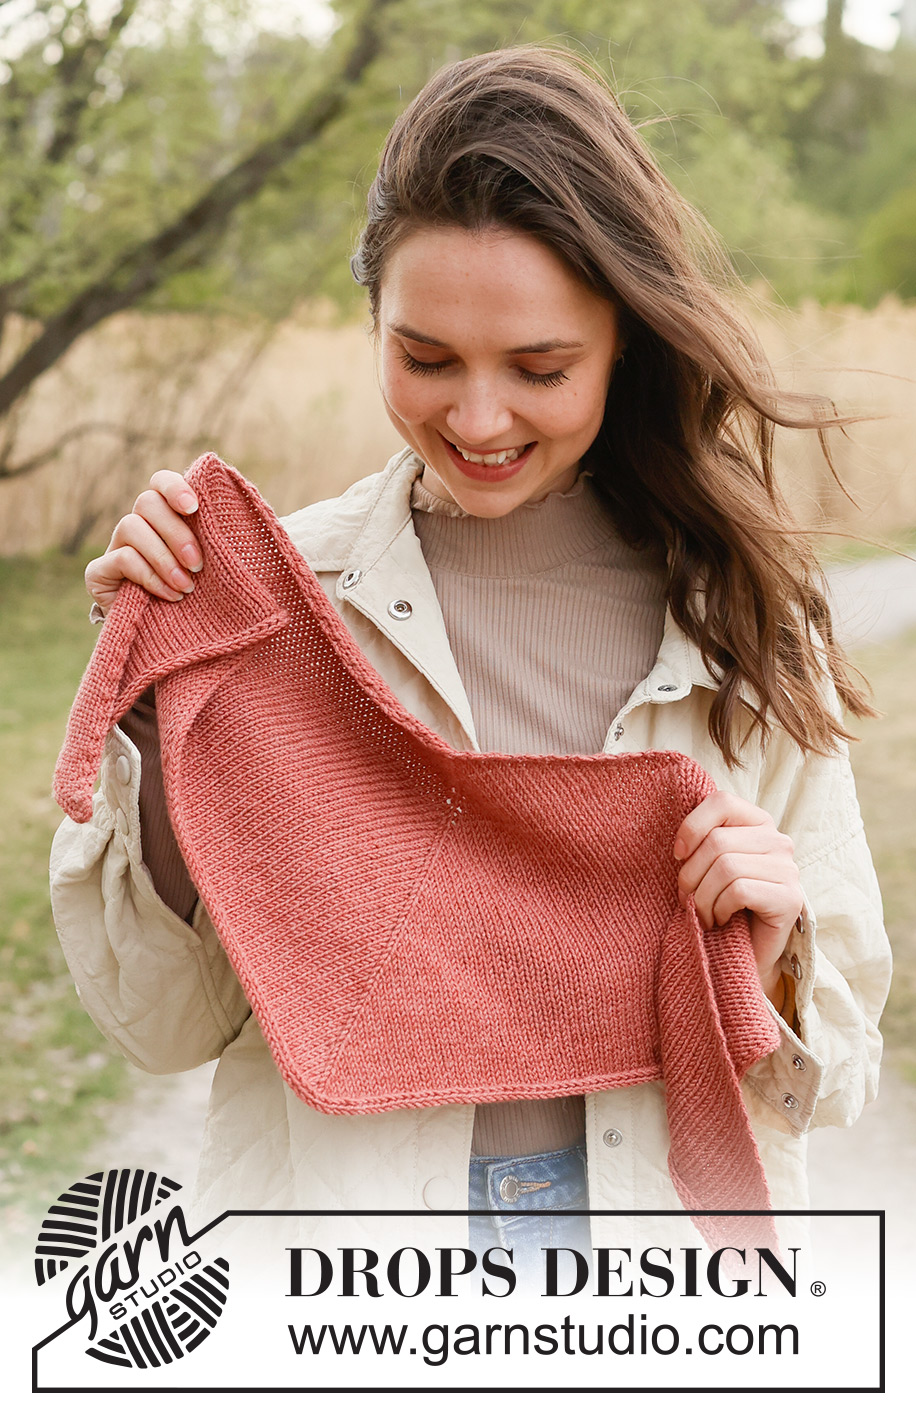
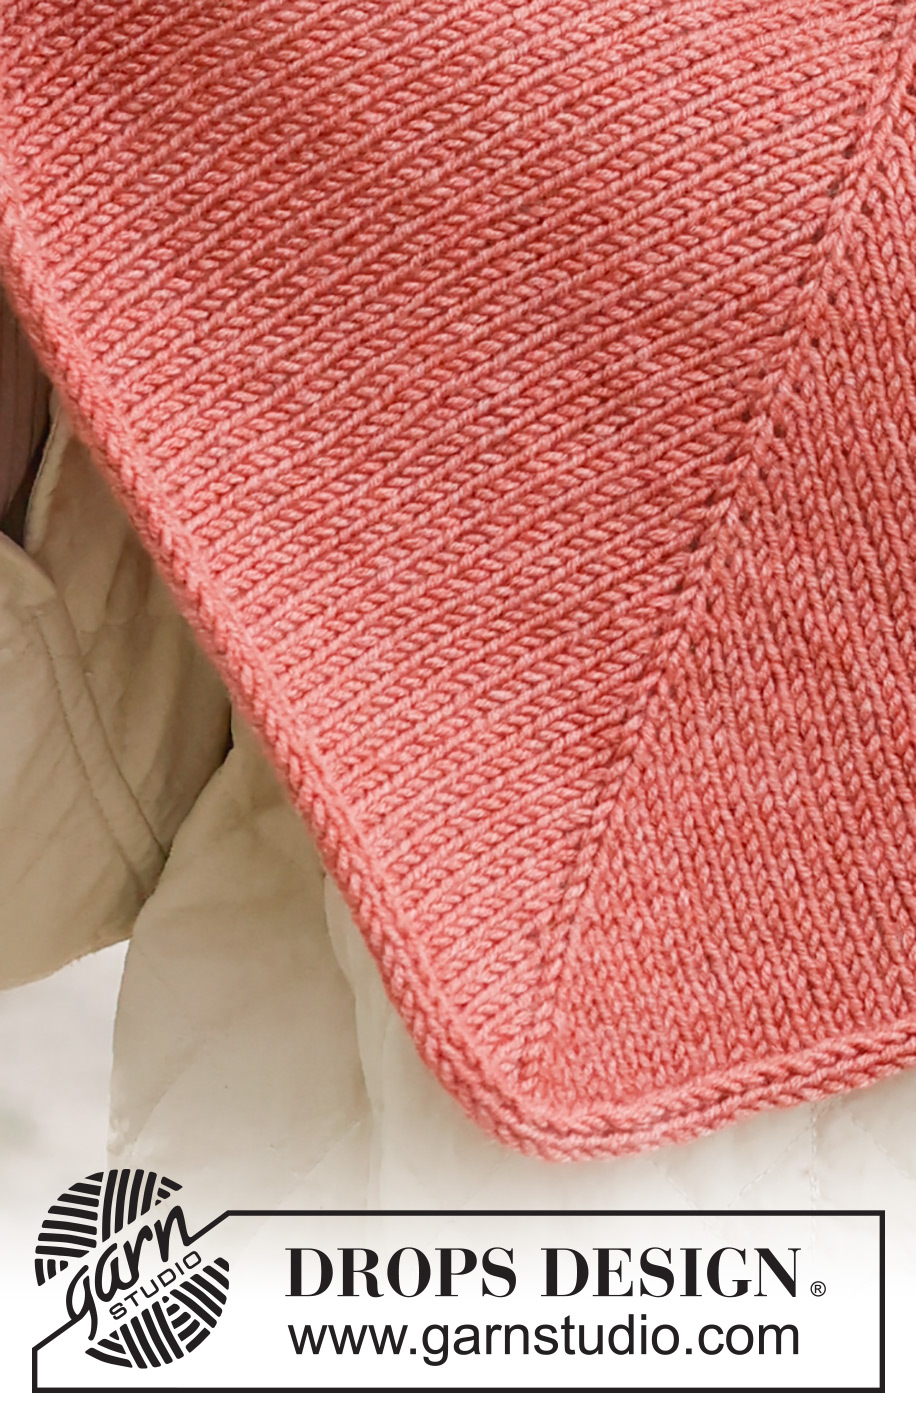
Knitted shawl in DROPS Merino Extra Fine. The piece is worked top down, with stockinette stitch and I-cord edge.
DROPS 234-49 |
|
|
------------------------------------------------------- EXPLANATIONS FOR THE PATTERN: ------------------------------------------------------- INCREASE TIP-1 (sides): Knit 1 in both the front and back loops of the same stitch (1 stitch increased). INCREASE TIP-2 (middle): All increases are worked from the right side! Make 1 yarn over on each side of the marker-stitch (2 stitches increased). Then work the yarn overs as follows from the wrong side: BEFORE MARKER-STITCH: Purl yarn over in the back loop = no hole. AFTER MARKER-STITCH: Slip the yarn over off the left needle and replace the other way round (insert the needle from the back when replacing it). Purl yarn over in the front loop = no hole. Work the new stitches in stockinette stitch. ------------------------------------------------------- START THE PIECE HERE: ------------------------------------------------------- SHAWL – SHORT OVERVIEW OF THE PIECE: The piece is worked back and forth with circular needle, top down. Bind off with an I-cord edge. SHAWL: Cast on 5 stitches with circular needle size 4.5 MM = US 7 and DROPS Merino Extra Fine. Insert 1 marker in the middle stitch. ROW 1 (right side): Increase 1 stitch in the first stitch – read INCREASE TIP-1, work stockinette stitch as far as the marker-stitch, increase 1 stitch on each side of the marker-stitch – read INCREASE TIP-2, work stockinette stitch until there is 1 stitch left, increase 1 stitch in the last stitch – read INCREASE TIP-1. ROW 2 (wrong side): Increase 1 stitch in the first stitch, work stockinette stitch until there is 1 stitch left, (remember INCREASE TIP-2 describes how the yarn overs are worked on the wrong side), increase 1 stitch in the last stitch. Repeat rows 1 and 2 until the piece measures 24 cm = 11⅜" measured along the mid-stitch. REMEMBER THE KNITTING GAUGE! Finish after a row from the right side. The piece measures 24 cm = 9½" in the knitting direction and there are 195 stitches. Purl 1 row from the wrong side where you increase 30 stitches evenly spaced (15 stitches on each side of the mid-stitch) = 225 stitches. Bind off with I-cord as described below. I-CORD BIND-OFF: It is important to bind off loosely so the shawl hangs nicely. Work loose, even stitches. Work as follows: * Knit 2, knit 2 twisted together, place the 3 stitches from the right needle back onto the left needle (in the same order) *. Work from *-* until all the stitches on the left needle have been bind off and there are 3 stitches on the right needle, move these back onto the left needle and cast them off. Cut and fasten the strand. |
|
Have you finished this pattern?Tag your pictures with #dropspattern #spanishroseshawl or submit them to the #dropsfan gallery. Do you need help with this pattern?You'll find 9 tutorial videos, a Comments/Questions area and more by visiting the pattern on garnstudio.com. © 1982-2026 DROPS Design A/S. We reserve all rights. This document, including all its sub-sections, has copyrights. Read more about what you can do with our patterns at the bottom of each pattern on our site. |
|





With over 40 years in knitting and crochet design, DROPS Design offers one of the most extensive collections of free patterns on the internet - translated to 17 languages. As of today we count 333 catalogs and 12536 patterns - 12515 of which are translated into English (US/in).
We work hard to bring you the best knitting and crochet have to offer, inspiration and advice as well as great quality yarns at incredible prices! Would you like to use our patterns for other than personal use? You can read what you are allowed to do in the Copyright text at the bottom of all our patterns. Happy crafting!
Post a comment to pattern DROPS 234-49
We would love to hear what you have to say about this pattern!
If you want to leave a question, please make sure you select the correct category in the form below, to speed up the answering process. Required fields are marked *.