
Looking for a yarn?


Comments / Questions (19)
![]() Anna wrote:
Anna wrote:
Wenn ich das Teil in der Größe M Sticke sind bei den 83 Anschlagmachen die Randmaschen inkludiert?
20.01.2025 - 13:31DROPS Design answered:
Liebe Anna, ja ganz genau, die Rand-Maschen sind damit gezählt. Viel Spaß beim Stricken!
20.01.2025 - 15:45
![]() Cher wrote:
Cher wrote:
I am a new knitter. I have cast on, and ready to do the next part. Instructions say: 1 edge stitch in GARTER STITCH – read explanation above, A.1 until 2 stitches remain, work first stitch in A.1, 1 stitch in garter stitch. Does this mean I do a row of “knit” and then the rest of the garment moss?
03.01.2025 - 14:41DROPS Design answered:
Dear Cher, these are the instructions for the first row and the following rows (with the stripes). Start the row with 1 edge stitch in garter stitch (that is, this stitch will always be knitted in every row, from now onwards), then work row 1 of chart A.1 (knit 1, purl 1) over all stitches in the row until 2 stitches remain in this row, work the first stitch of A.1 (knit 1) and finish with 1 edge stitch in garter stitch. Now work the stripes (so change colours accordingly) while working as established in this row (so the edge stitches are always knitted and in A.1 stitches you work purl over knit and knit over purl). Happy knitting!
05.01.2025 - 18:32
![]() Sandra wrote:
Sandra wrote:
Ich habe die Seiten wie krausrechts gestr. (nach dem Video) zusammen gestrickt. Von der Innenseite (auf links gedreht, die Stelle der Naht liegt, wenn ich es wieder auf rechts drehe so eingesackt und Seiten beulen nach außen. Hätte ich es mit einer anderen Technik zusammennähen sollen?
30.03.2023 - 14:27DROPS Design answered:
Liebe Sandra, Sie können das Top anfeuchten, die Nähte in Form ziehen, flachdrücken und liegend trocknen lassen, damit sollte sich die Ausbeulung beheben lassen. Viel Spaß mit Ihrem Top!
05.04.2023 - 10:40
![]() Sandra wrote:
Sandra wrote:
Hallo, wird die Schulter am Hals im Muster gestrickt oder Krausrechts? Steht nicht in der Anleitung Danke und Grüße
30.03.2023 - 10:56DROPS Design answered:
Liebe Sandra, Sie stricken die Schultern wie zuvor weiter, d.h. im Muster. Gutes Gelingen weiterhin!
05.04.2023 - 10:42
![]() Nicola ELLICOTT wrote:
Nicola ELLICOTT wrote:
Where is diagram A1, it isn’t showing on the website page!
27.03.2023 - 18:35DROPS Design answered:
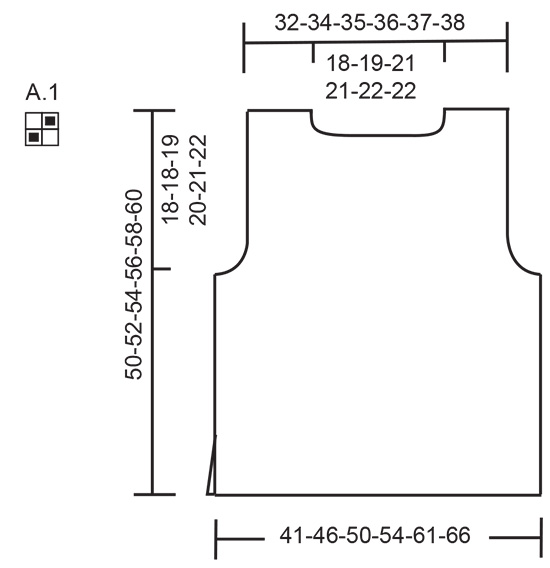
Dear Nicola, diagram A.1 is right beside the schematic drawing, on its left side. I is only two stitch wide and two stitch high. Happy Crafting!
28.03.2023 - 07:30
![]() Sandra wrote:
Sandra wrote:
Re Schulter Rückenteil: Kette ich 1 Masche in der Hin oder Rückreihe ab? Bei der Li Schulter Rückenteil habe ich die Rückrunde gestrickt und in der Hinrunde am Hals abgekettet oder muss ich das jetzt andersrum machen - in der Rückrunde am Hals abketten
25.03.2023 - 08:54DROPS Design answered:
Liebe Sandra, für die Rechte Schulter Rückenteil wird man für den Hals am Anfang einer Rück-Reihe (am Anfang der Reihe von Hals bis Schulter) abketten - beim Linken Schulter Rückenteil soll man für den Hals am Anfang einer Hin-Reihe abketten (am Anfang der Reihe vom Hals bis Schulter). Aber beim Vorderteil ketten Sie für den Hals am Anfang einer Hin-Reihe (rechte Schulter) / Rückreihe (linke Schulter). Viel Spaß beim stricken!
27.03.2023 - 09:05
![]() Sandra wrote:
Sandra wrote:
Guten Morgen, ist der Maschenanschlag schon die Hinreihe oder Zählt der Anschlag nicht mit? Bin Anfänger und weiß nicht ob der Maschenanschlag schon mitzählt
20.03.2023 - 07:29DROPS Design answered:
Liebe Sandra, Anschlagskante zählt nicht als Reihe, wenn die Maschen angeschlagen sind, dann stricken Sie die erste Hinreihe. Viel Spaß beim stricken!
20.03.2023 - 09:31
![]() Sandra wrote:
Sandra wrote:
Stricke ich das Musterstück zum abmessen in dem Muster re/li? oder einfach nur hin re und rück li?
20.03.2023 - 07:10DROPS Design answered:
Liebe Sandra, ich verstehe Ihre Frage leider nicht, könnten Sie bitte mehr beschreiben, was Sie hier meinen? Danke im voraus für Ihr Verständnis.
20.03.2023 - 09:31
![]() Sandra wrote:
Sandra wrote:
Schulter beginnen: es wird die li Schulter zuerst angezeit, wenn ich die Arbeit aufteile, ist es egal welche Schulter ich zuerst beginne? Da ich ja den Faden dann an der re Schulter habe wenn ich in einer Hinrunde beginne. In der Anleitung steht zuerst die li Schulter.
14.03.2023 - 08:31DROPS Design answered:
Liebe Sandra, beim Rückenteil werden Sie zuerst den linke Schulter stricken: bei einer Hinreihe stricken Sie die Maschen vom rechten Schulter, und legen Sie sie still, dann ketten Sie die Maschen für den Halsausschnitt ab, und stricken Sie die Maschen vom linken Schulter weiter. Beim Vorderteil stricken Sie zuerst die Maschen vom rechten Schulter und legen Sie sie still, ketten Sie die Maschen für den Hals ab und stricken Sie die Maschen vom rechten Schulter weiter. Viel Spaß beim stricken!
14.03.2023 - 10:09
![]() Sandra wrote:
Sandra wrote:
Hallo, wenn ich in der Hinreihe am Anfang 4 Ma abgekettet habe und dann auf der linken Seite auch, habe ich eine Masche noch auf der Nadel schneide ich den Faden dann ab? Oder Kette ich die 4 MA auf der RR ab? Randmasche immer noch Kraus re oder re auf der rechten seite und li auf der linken Seite
13.03.2023 - 11:05DROPS Design answered:
Liebe Sandra, für die Armauschnitte soll man nur am Anfang der Reihen abketten, dh am Anfang der nächsten 2 Reihen (= Hin- + Rückreihe) die ersten 4 Maschen abketten , dann am Anfang der nächsten 6 Reihen 1 Masche abketten (1 Masche 3 Mal auf beiden Seite). Viel Spaß beim stricken!
13.03.2023 - 11:22
|
|||||||
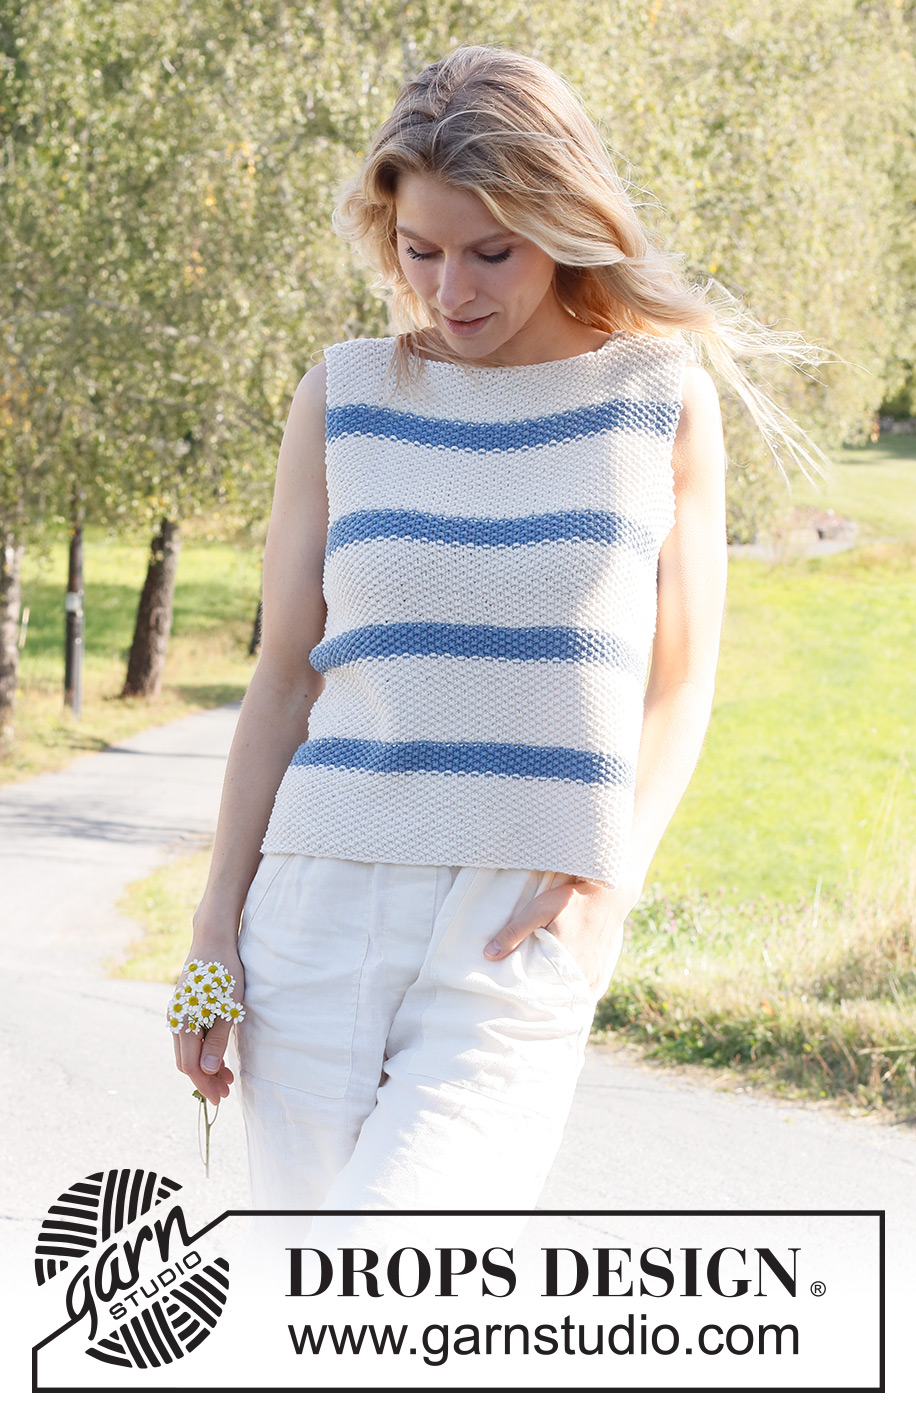
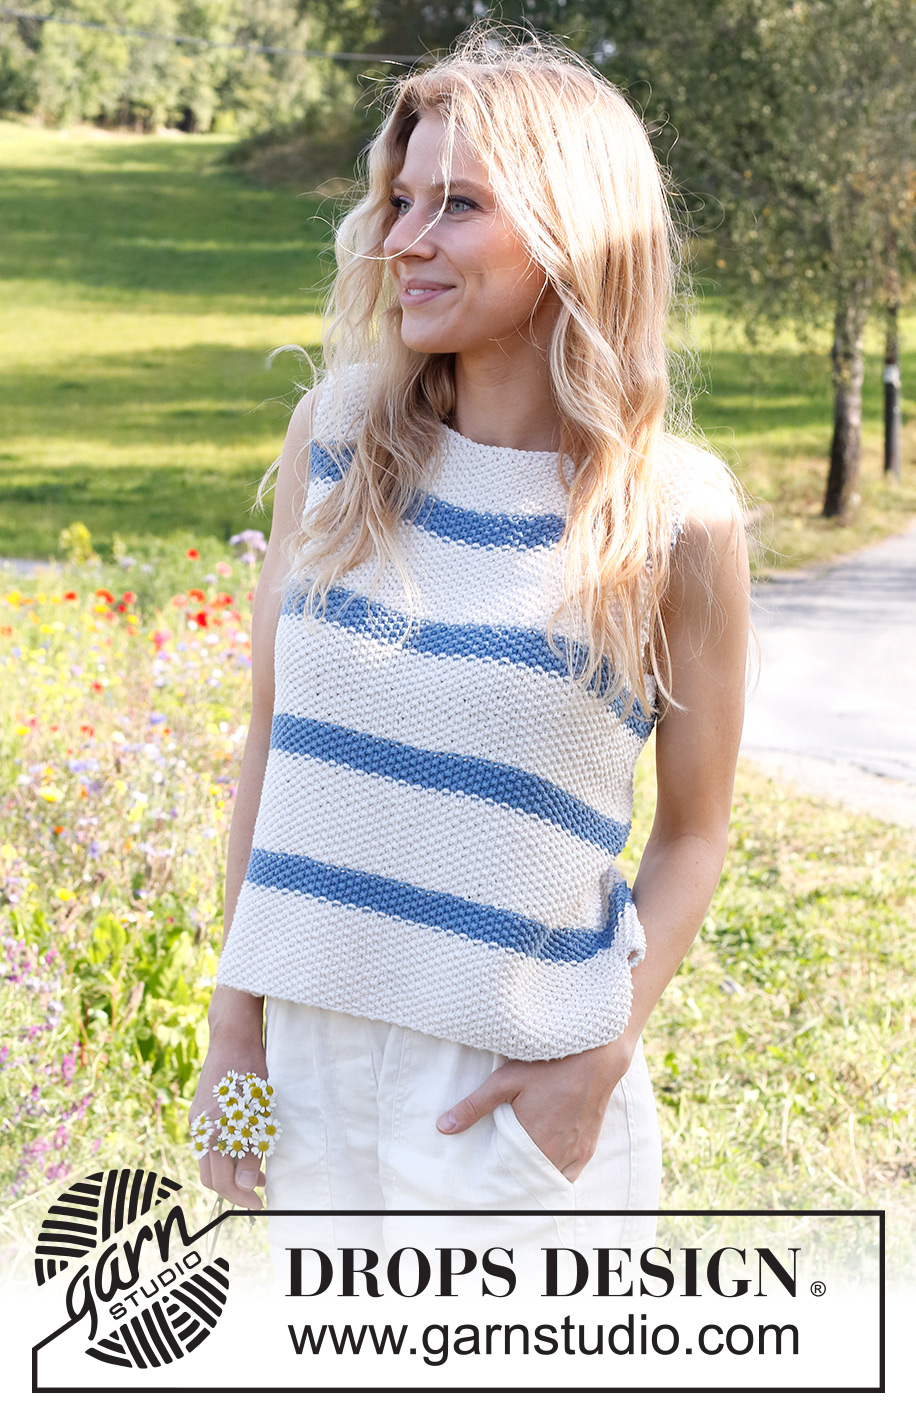
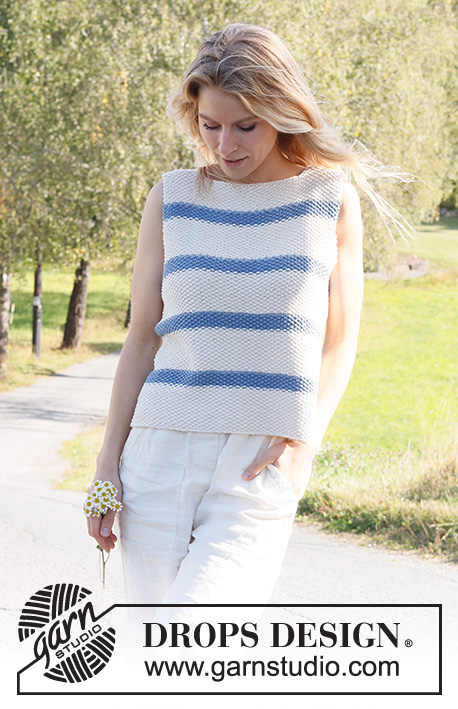
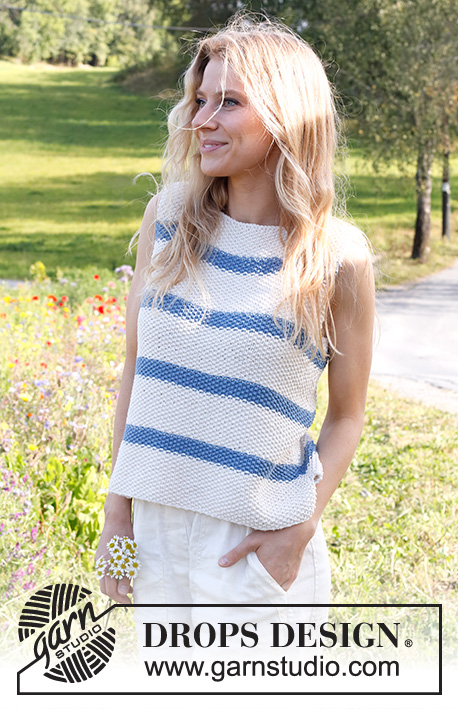
Sea Bird Top#seabirdtop |
|||||||
 |
 |
||||||
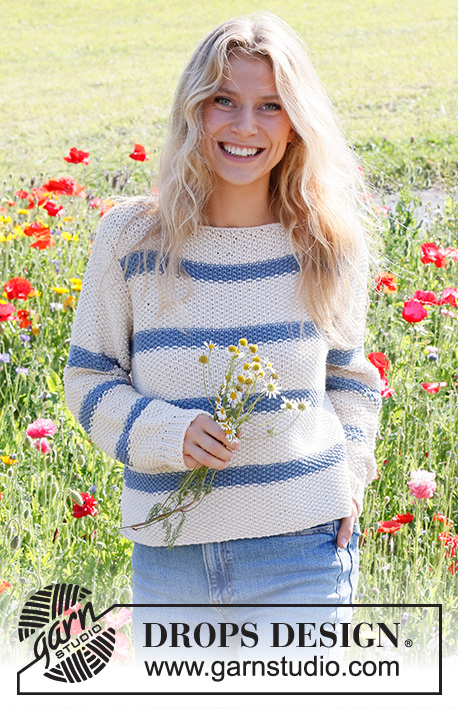
Knitted top in DROPS Paris. Piece is knitted bottom up, with moss stitch and stripes. Size: S - XXXL
DROPS 230-27 |
|||||||
|
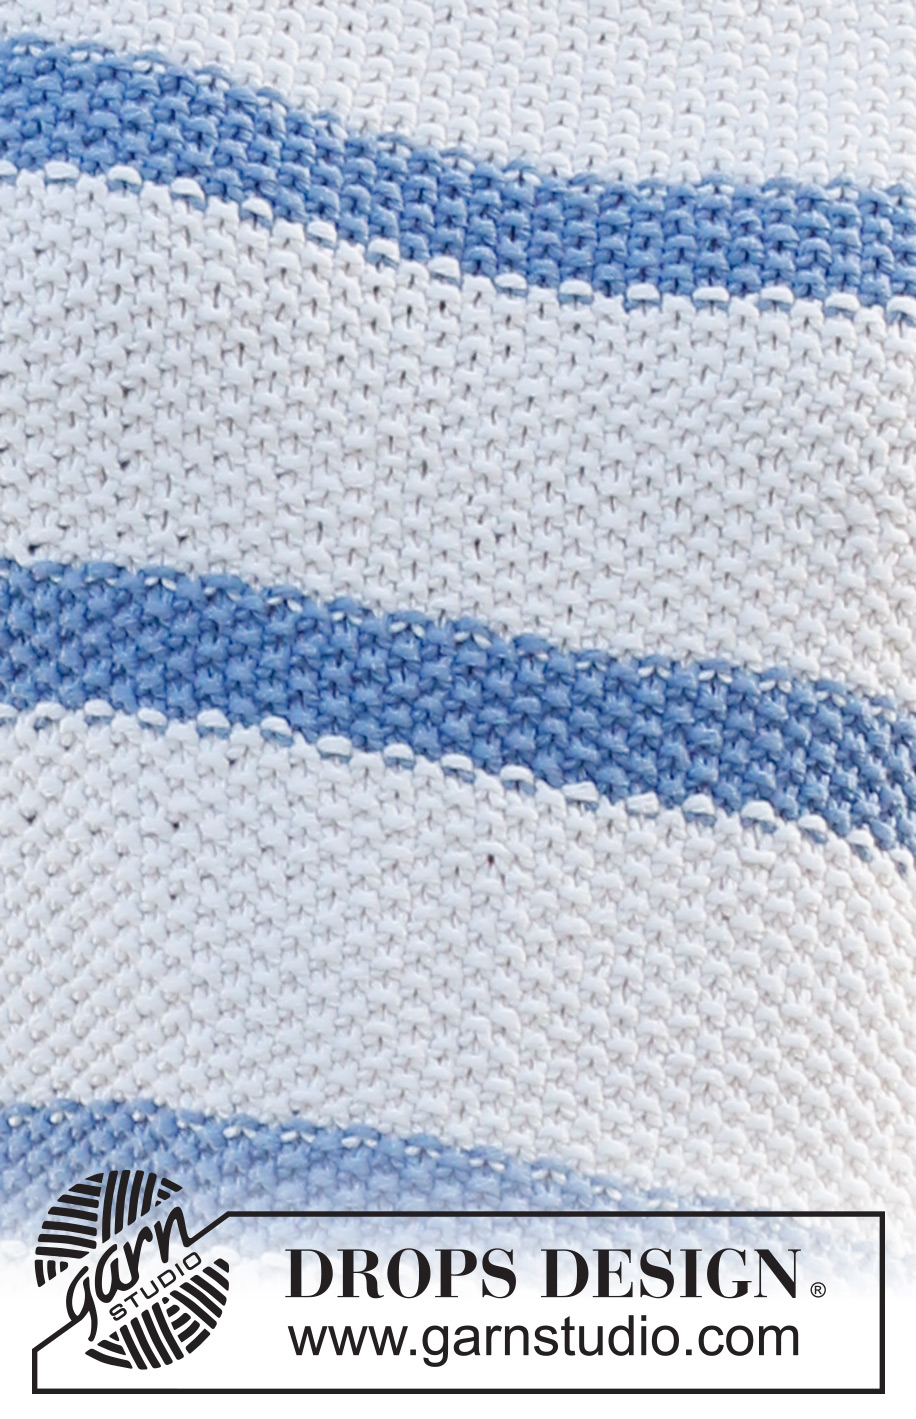
---------------------------------------------------------- EXPLANATION FOR THE PATTERN: ---------------------------------------------------------- GARTER STITCH (back and forth): Knit all rows. 1 ridge vertically = knit 2 rows. PATTERN: See diagram A.1. Diagrams show all rows in pattern seen from the right side. STRIPES: Work stripes in color jeans blue and color off white as follows: Work 8-8½-9½-9½-10-10½ cm = 3⅛"-3¼"-3⅝"-3⅝"-4"-4⅛" with color off white, work 2½ cm = 1" with color jeans blue. Work until 4 stripes have been worked in total with color jeans blue. Work the rest of the piece in the color off white. ---------------------------------------------------------- START THE PIECE HERE: ---------------------------------------------------------- TOP - SHORT OVERVIEW OF THE PIECE: Worked back and forth on circular needle, bottom up in parts, and sewn together when finished. BACK PIECE: Cast on 73-83-89-95-107-117 stitches on circular needle size 5 MM = US 8 with color off white in DROPS Paris. Work as follows: 1 edge stitch in GARTER STITCH – read explanation above, A.1 until 2 stitches remain, work first stitch in A.1, 1 stitch in garter stitch. Work STRIPES– read explanation above. REMEMBER THE KNITTING GAUGE! Work until piece measures 31-32-33-34-35-36 cm = 12¼"-12½"-13"-13⅜"-13¾"-14¼" from cast-on edge. Now bind off stitches for armhole at the beginning of every row in each side as follows: Bind off 4-5-6-7-10-12 stitches 1 time, and 1 stitch 3-6-7-8-10-12 times = 59-61-63-65-67-69 stitches. Continue with A.1 and stripes as before. Work until piece measures 47-49-51-53-55-57 cm = 18½"-19¼"-20"-21"-21⅝"-22½" from cast-on edge. On next row from right side cast stitches off for neck as follows: Work over the first 17-17-17-18-18-19 stitches as before and slip them on a thread, bind off the next 25-27-29-29-31-31 stitches for neck, work over the last 17-17-17-18-18-19 stitches as before. Then work each shoulder separately. LEFT SHOULDER: = 17-17-17-18-18-19 stitches. Begin from wrong side, and bind off stitches for neck at the beginning of every row from neck as follows: Bind off 1 stitch 3 times = 14-14-14-15-15-16 stitches. Work until piece measures 50-52-54-56-58-60 cm = 19¾"-20½"-21¼"-22"-22¾"-23⅝" from cast-on edge. Bind off by knitting. RIGHT SHOULDER: Slip the 17-17-17-18-18-19 stitches from thread back on needle. Begin from wrong side, and bind off stitches for neck at the beginning of every row from neck as follows: Bind off 1 stitch 3 times = 14-14-14-15-15-16 stitches. Work until piece measures 50-52-54-56-58-60 cm = 19¾"-20½"-21¼"-22"-22¾"-23⅝" from cast-on edge. Bind off by knitting. FRONT PIECE: Cast on the same number of stitches, and work the same way as back piece. ASSEMBLY: Assemble using color off white. Sew the shoulder seams. Sew side seams in outer loop of edge stitch and leave 5 cm = 2" at the vent at the bottom. |
|||||||
Diagram explanations |
|||||||
|
|||||||
|
|||||||
Have you finished this pattern?Tag your pictures with #dropspattern #seabirdtop or submit them to the #dropsfan gallery. Do you need help with this pattern?You'll find 20 tutorial videos, a Comments/Questions area and more by visiting the pattern on garnstudio.com. © 1982-2025 DROPS Design A/S. We reserve all rights. This document, including all its sub-sections, has copyrights. Read more about what you can do with our patterns at the bottom of each pattern on our site. |
|||||||


With over 40 years in knitting and crochet design, DROPS Design offers one of the most extensive collections of free patterns on the internet - translated to 17 languages. As of today we count 314 catalogs and 11822 patterns - 11812 of which are translated into English (US/in).
We work hard to bring you the best knitting and crochet have to offer, inspiration and advice as well as great quality yarns at incredible prices! Would you like to use our patterns for other than personal use? You can read what you are allowed to do in the Copyright text at the bottom of all our patterns. Happy crafting!
Post a comment to pattern DROPS 230-27
We would love to hear what you have to say about this pattern!
If you want to leave a question, please make sure you select the correct category in the form below, to speed up the answering process. Required fields are marked *.