
Popular categories
Looking for a yarn?


Comments / Questions (24)
![]() Véro wrote:
Véro wrote:
Bonjour, je suis au 5ème rang de la 1 ère partie, et je ne comprends pas comment on peut faire un rang raccourci sur un rang endroit et reprendre le 6 rang sur l’envers. Si on fait un rang raccourci à l’endroit on retombe automatiquement sur un rang endroit. Je n’ai jamais fait de rang raccourci et je suis perdue. Si je suis l’es explication je me retrouve à l’endroit. Merci pour vos réponses rapides.
16.12.2024 - 17:33DROPS Design answered:
Bonjour Véro, au 5ème rang, vous ne tricotez que les mailles jusqu'au marqueur, vous laissez les autres mailles sur l'aiguille gauche, vous tournez et vous tricotez le 6ème rang = sur l'envers, soit les mailles que vous avez tricoté au 5ème rang mais cette fois sur l'envers. Bon tricot!
17.12.2024 - 09:44
![]() Lambert wrote:
Lambert wrote:
Bonjour je commence le châle et j’ai un souci dans la partie 1. Au 5ème rang on doit faire un rang raccourci mais en même temps sur le diagramme il faut faire des torsades. Je n’arrive pas a voir comment faire. J’ai besoin de vous Merci
15.12.2024 - 15:17DROPS Design answered:
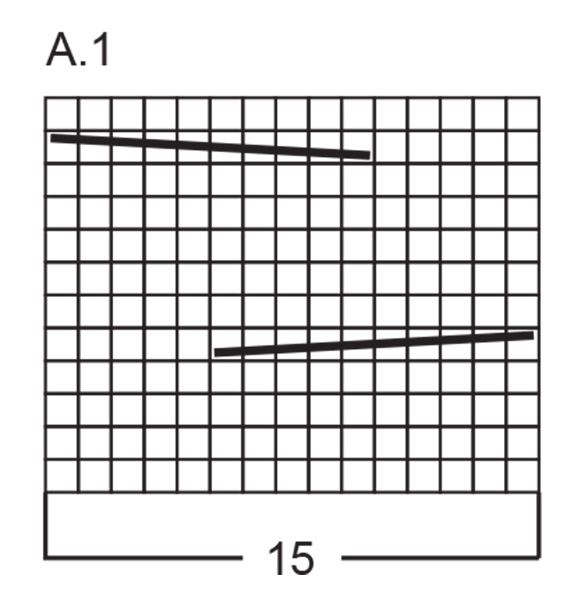
Bonjour Mme Lambert, le diagramme se tricote sur les 15 dernières mailles, vu sur l'endroit, les rangs raccourcis se tricotent sur les premières mailles, avant la torsade, autrement dit, lorsque vous tricotez les rangs 5 et 6, vous ne tricotez que les mailles au point mousse (avec les 2 m de bordure), pas celles du diagramme/des torsades. Bon tricot!
16.12.2024 - 11:00
![]() Leo wrote:
Leo wrote:
Sono arrivata alla sezione centrale con le 60 maglie sul ferro, ma la lunghezza totale che ho è di soli 42 cm invece di 82. Dove ho sbagliato? Le 60 maglie sono in totale, o solo sulla parte della maglia a legaccio?
08.12.2024 - 15:40DROPS Design answered:
Buonasera Leo, gli 82 cm vengono raggiunti alla fine della sezione centrale. Per quanto riguarda le maglie, si fa sempre riferimento a tutte le maglie sul ferro, se non diversamente indicato. Buon lavoro!
13.12.2024 - 22:41
![]() Mariana wrote:
Mariana wrote:
Tehdäänkö ne lyhennetyt kerrokset aina oikein vai palmikko osuuteen?
19.11.2024 - 06:39DROPS Design answered:
Lyhennetyt kerrokset neulotaan ainaoikeinneuleen kohdalla, eli näillä kerroksilla ei neulota palmikon silmukoita.
19.11.2024 - 18:04
![]() Sylwia wrote:
Sylwia wrote:
Dzień dobry:) Przepiękny wzór.:) Jestem bardzo początkująca w pracach z drutami i mam pytanie odnośnie warkocza (A1). Nie jasne jest dla mnie co mam zrobić w rzędzie 5 w sekcji 1. Jak przepracować warkocz kiedy wymagane jest obrócenie robótki zaraz przed warkoczem? Z góry dziękuję i pozdrawiam!:)
12.11.2024 - 23:30DROPS Design answered:
Witaj Sylwio, warkocz wykonasz w następnym rzędzie na prawej stronie robótki, ten rząd już nie będzie rzędem skróconym, ale będzie przerabiany w całości. Pozdrawiamy!
14.11.2024 - 16:03
![]() Laurence wrote:
Laurence wrote:
L’aiguille circulaire est elle nécessaire ? Ne peut on pas le faire avec des aiguilles droites ?
01.11.2024 - 09:17DROPS Design answered:
Bonjour Laurence, on utilise souvent des aiguilles circulaires pour tricoter en allers et retours, c'est ainsi plus confortable pour le nombre de mailles, mais dans ces cas-là, vous pouvez effectivement tricoter sur aiguilles droites. Retrouvez plus d'infos sur les aiguilles circulaires ici. Bon tricot!
01.11.2024 - 10:03
![]() Majbritt wrote:
Majbritt wrote:
Når jeg når op på 60 masker måler mit tørklæde kun 54 cm. Jeg skiftede fra pind 5 til 5,5. Burde jeg skifte til pind 6? Og er det korrekt at A1 strikkes over rækkerne 1-4 og at 5 og 6 udelukkende er forkortede rækker?
22.10.2024 - 22:30DROPS Design answered:
Hej Majbritt, Strikker du i DROPS Air og har du 33 pinde retstrik i højden på 10 cm - det skal du have for at få målene i opskriften :)
23.10.2024 - 15:28
![]() Maria wrote:
Maria wrote:
Hallo, wenn ich das richtig verstehe, ist im Teil 1 jede 5. Reihe eine verkürzte - allerdings ist laut Muster in der gleichen Runde die Verzopfung angezeigt. Man kommt aber gar nicht bis zum Muster, da verkürzte Reihe. Oder verstehe ich da etwas falsch? Vielen Dank!
19.10.2024 - 20:40DROPS Design answered:
Liebe Maria, so ist es richtig, die verkürzten Reihen werden nur im Krausrechts gestrickt, A.1 wird gestrickt, nur wenn man alle Maschen strickt (Reihe 1 bis 4). Viel Spaß beim Stricken!
21.10.2024 - 08:39
![]() Anouk wrote:
Anouk wrote:
Hello, from what I understand, during the 6 rows pattern repeat, A1/the cable pattern is only worked for the 4 first rows, is that right?
25.09.2024 - 12:06DROPS Design answered:
Dear Anouk, when you work part-1 you work A.1 at the same time, this means you repeat diagram from the first to the last row; not only the first 4rows; when the first 6 rows are done, repeat from row 1 but at the same time continue A.1 as before. Happy knitting!
26.09.2024 - 07:50
![]() Carole Landau wrote:
Carole Landau wrote:
Why is not the cable stitch stated in the instructions. Where does it start and how many stitches in. Thank you
20.09.2024 - 19:59DROPS Design answered:
Dear Carole, the cable stitch is chart A.1 and it's explained in the chart after the pattern instructions. Whenever A.1 is mentioned in the text you will work the cable. You can also read the following lesson on how to interpret our knitting charts: https://www.garnstudio.com/lesson.php?id=68&cid=19. Happy knitting!
23.09.2024 - 00:11
|
||||||||||
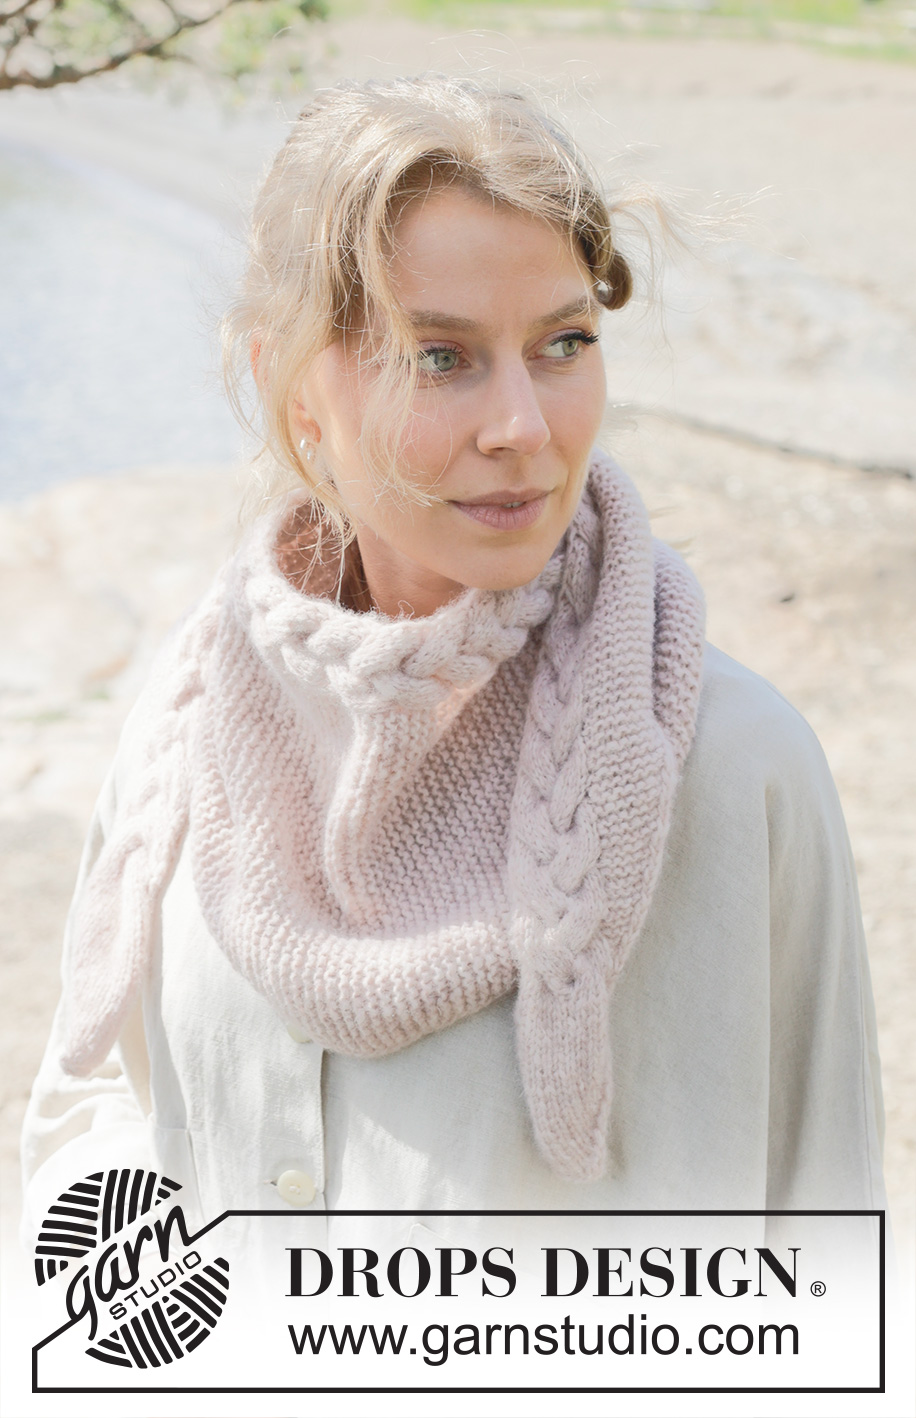
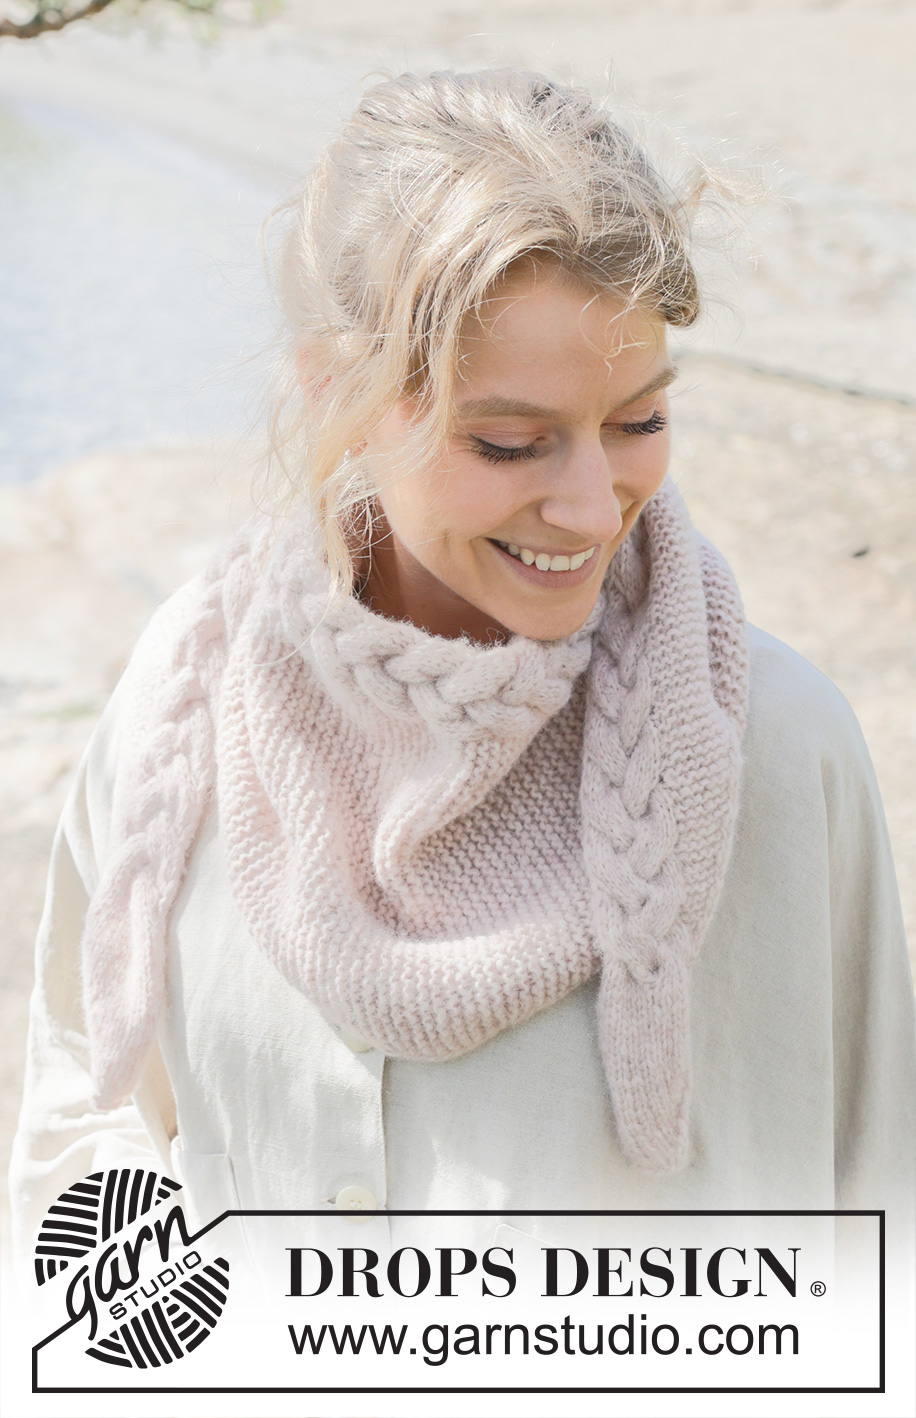
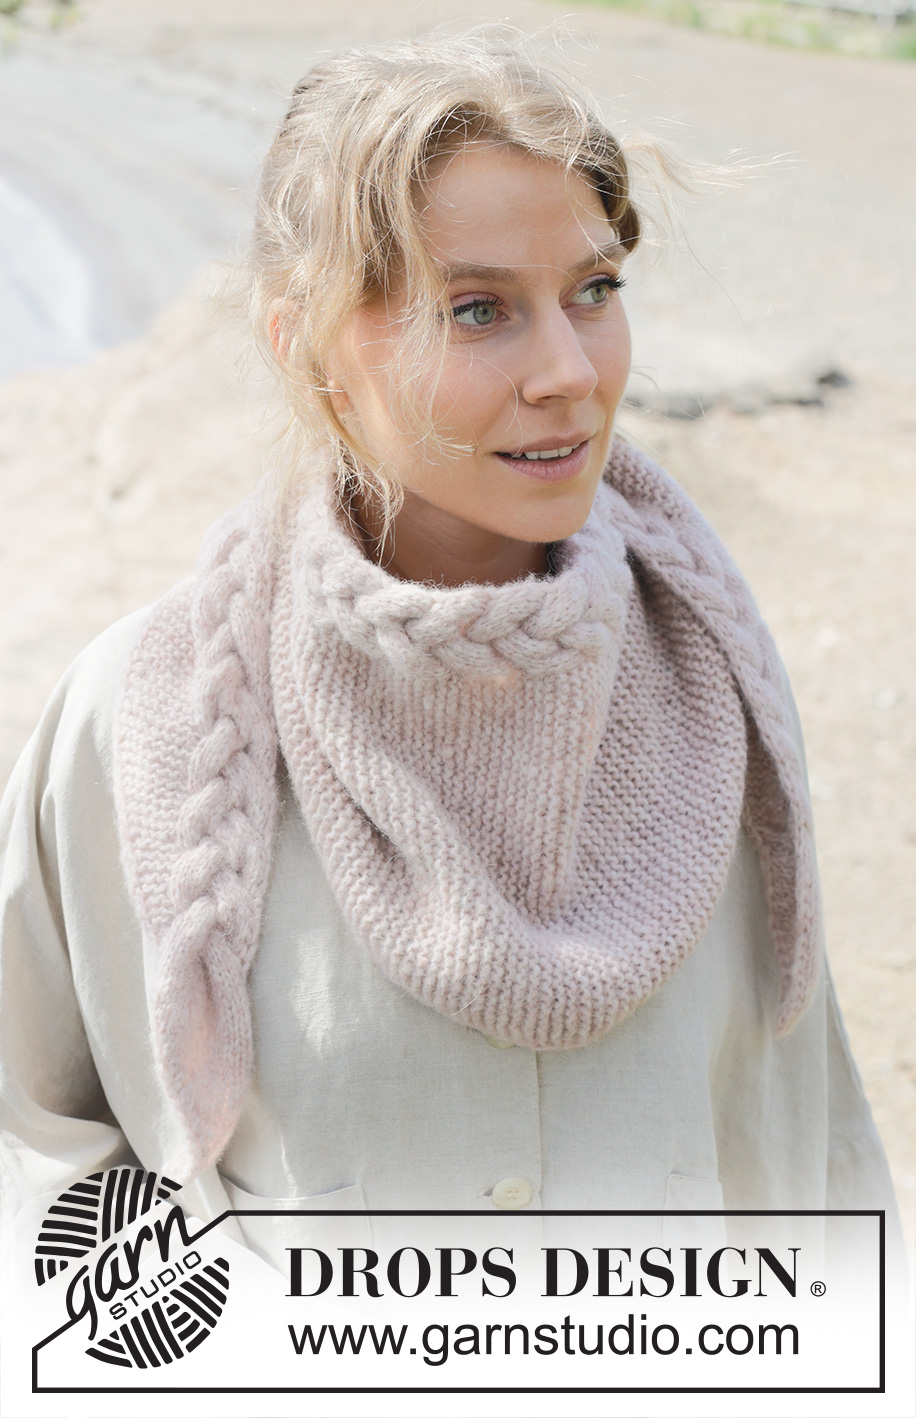
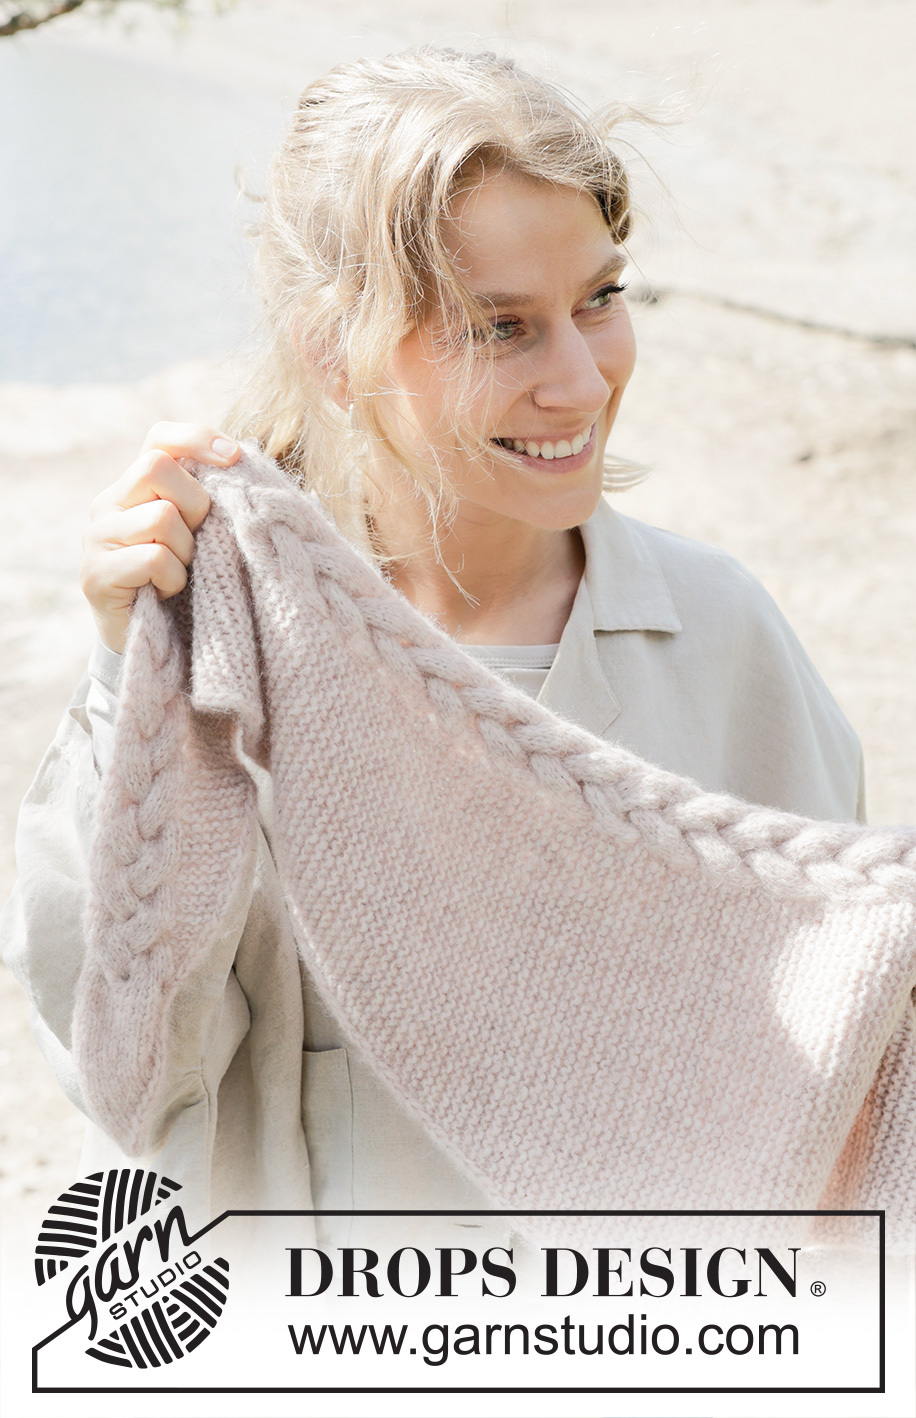
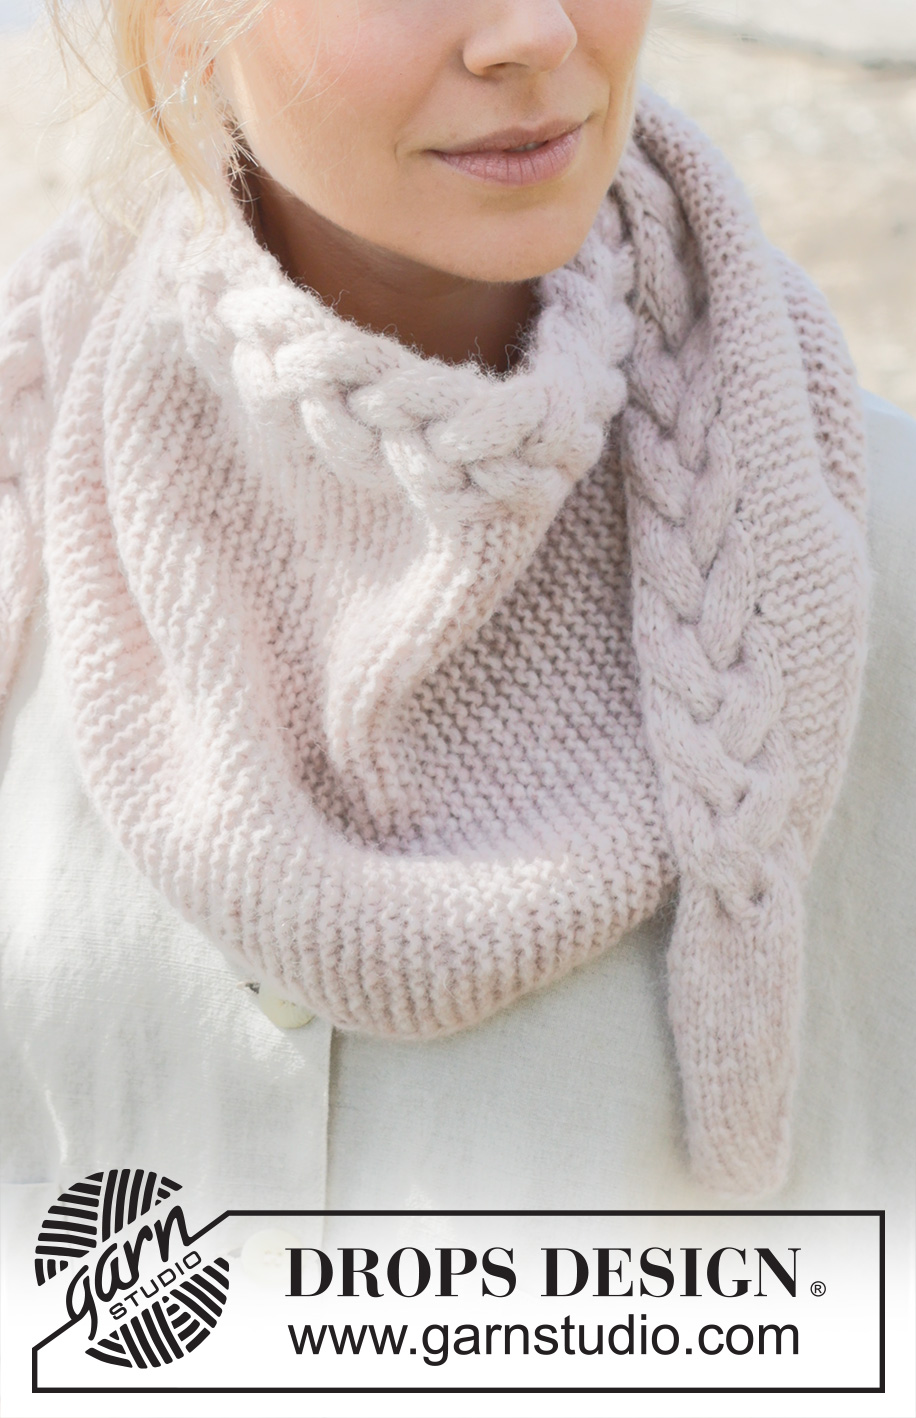
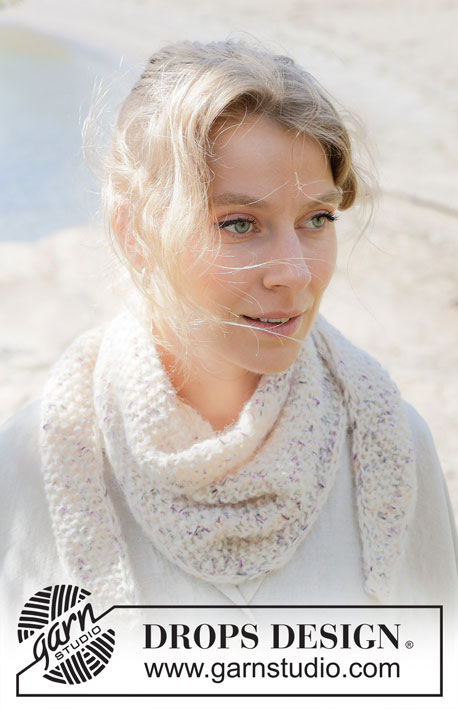
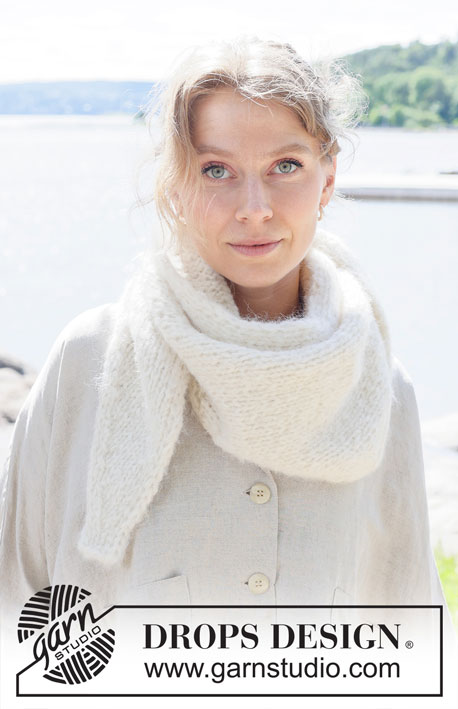
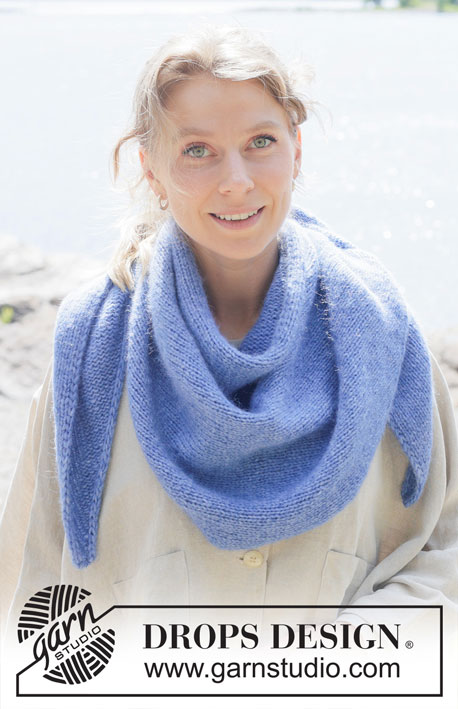
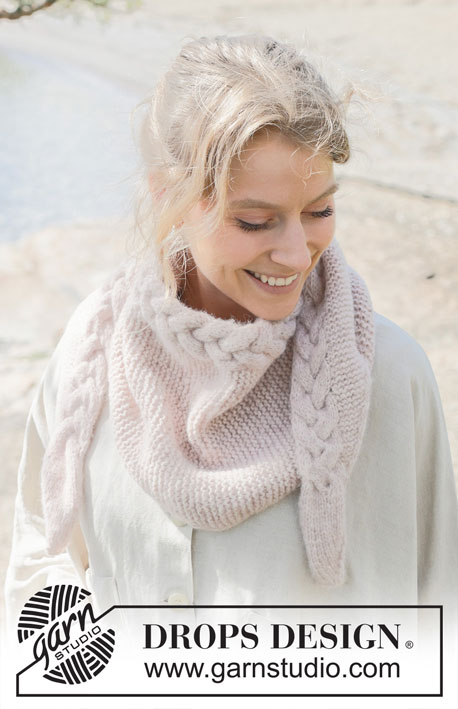
Swan’s Embrace Shawl#swansembraceshawl |
||||||||||
 |
 |
|||||||||
Knitted shawl in DROPS Air. The piece is worked sideways with garter stitch, cables and I-cord.
DROPS 253-28 |
||||||||||
|
------------------------------------------------------- EXPLANATIONS FOR THE PATTERN: ------------------------------------------------------- 2 EDGE-STITCHES I-CORD: BEGINNING OF ROW: Slip 1 stitch purl-wise with the strand in front, knit 1. END OF ROW: Work until there are 2 stitches left on the row, slip 1 stitch purl-wise with the strand in front, knit 1. Repeat from both the right and wrong side. PATTERN: See diagram A.1. The diagram shows all rows from the right side. GARTER STITCH (worked back and forth): Knit all rows, from both the right and wrong side. 1 ridge in height = knit 2 rows. INCREASE TIP: All increases are worked from the right side! Increase 1 stitch by working 1 yarn over, which is worked twisted on the next row to avoid a hole. KNITTING TIP: When working short rows, there will be a small hole after each turn. This hole can be closed by tightening the strand or using the technique German Short Rows as follows: Slip the first stitch purl-wise, take the strand over the right needle and tighten well from the back (2 loops on the needle). These loops are worked together on the next row. ------------------------------------------------------- START THE PIECE HERE: ------------------------------------------------------- SHAWL – SHORT OVERVIEW OF THE PIECE: The piece is worked back and forth with circular needle, from side to side. BEGINNING OF SHAWL: Cast on 7 stitches with circular needle size 5 mm and DROPS Air. Purl 1 row from the wrong side. Continue back and forth with stocking stitch, increasing as follows: ROW 1 (right side): Work 2 EDGE STITCHES I-CORD – read description above, make 1 yarn over – read INCREASE TIP (1 increased stitch), knit until there are 2 stitches left, work 2 edge-stitches I-cord. ROW 2 (wrong side): Work 2 edge-stitches as before, purl until there are 2 stitches left, purl yarn over twisted, 2 edge stitches as before. Work ROWS 1 and 2 until there are 20 stitches on the needle. Remember to maintain the knitting tension. From the right side, insert 1 marker-thread after the 3rd stitch, with 17 stitches after the thread. Allow the thread to follow your work onwards, always with 17 stitches after the thread on the left-hand side, when viewed from the right side. SECTION 1: Now work PATTERN and GARTER STITCH – read description above, increasing as follows: ROW 1 (right side): Work 2 edge-stitches as before, make 1 yarn over – remember INCREASE TIP (1 stitch increased), work garter stitch as far as the marker-thread, A.1 across 15 stitches, 2 edge stitches as before. ROW 2 (wrong side): Work 2 edge-stitches as before, work A.1, garter stitch (yarn over is knitted twisted) until there are 2 stitches left, 2 edge stitches as before. ROW 3 (right side): Work 2 edge-stitches as before, garter stitch as far as the marker-thread, work A.1 across 15 stitches, 2 edge stitches as before. ROW 4 (wrong side): Work 2 edge-stitches as before, A.1, garter stitches until there are 2 stitches left, 2 edge stitches as before. ROW 5 (right side): Work 2 edge-stitches as before, garter stitch as far as the marker-thread, turn, this is a short row – read KNITTING TIP. ROW 6 (wrong side): Work garter stitch until there are 2 stitches left, 2 edge stitches as before. Repeat ROWS 1 to 6 until there are 60 stitches on the needle. MID-SECTION: Now continue pattern and garter stitch without increasing as follows: ROW 1 (right side): Work 2 edge-stitches as before, garter stitch as far as the marker-thread, work A.1, 2 edge-stitches as before. ROW 2 (wrong side): Work 2 edge-stitches as before, A.1, garter stitch until there are 2 stitches left, 2 edge-stitches as before. ROW 3 (right side): Work 2 edge-stitches as before, garter stitch as far as the marker-thread, work A.1, 2 edge-stitches as before. ROW 4 (wrong side): Work 2 edge-stitches as before, A.1, garter stitch until there are 2 stitches left, 2 edge-stitches as before. ROW 5 (right side): Work 2 edge-stitches as before, garter stitch as far as the marker-thread, turn; this is a short row – remember KNITTING TIP. ROW 6 (wrong side): Work garter stitch until there are 2 stitches left, 2 edge-stitches as before. The piece measures approx. 82 cm from the cast-on edge (half the width) and 30 cm in height. Work ROWS 1 to 6 one more time. SECTION 2: Now continue the pattern and garter stitch decreasing as follows: ROW 1 (right side): Work 2 edge-stitches as before, knit 2 together (1 stitch decreased), garter stitch as far as the marker-thread, work A.1 across 15 stitches, 2 edge-stitches as before. ROW 2 (wrong side): Work 2 edge-stitches as before, A.1, garter stitch until there are 2 stitches left, 2 edge-stitches as before. ROW 3 (right side): Work 2 edge-stitches as before, garter stitch as far as the marker-thread, work A.1 across 15 stitches, 2 edge-stitches as before. ROW 4 (wrong side): Work 2 edge-stitches as before, A.1, garter stitch until there are 2 stitches left, 2 edge-stitches as before. ROW 5 (right side): Work 2 edge-stitches as before, garter stitch as far as the marker-thread, turn; this is a short row – remember KNITTING TIP. ROW 6 (wrong side): Work garter stitch until there are 2 stitches left, work 2 edge-stitches as before. Repeat ROWS 1 to 6 until there are 20 stitches on the needle. Remove the marker-thread and continue with stocking stitch as follows (A.1 is finished). END OF SHAWL: Work stocking stitch and decrease as follows: ROW 1 (right side): Work 2 edge-stitches as before, knit 2 together (1 decreased stitch), knit until there are 2 stitches left, 2 edge-stitches as before. ROW 2 (wrong side): Work 2 edge-stitches as before, purl until there are 2 stitches left, 2 edge-stitches as before. Work ROWS 1 and 2 until there are 7 stitches left. Cast off. The piece measures approx. 164 cm from the cast-on edge. |
||||||||||
Diagram explanations |
||||||||||
|
||||||||||
 |
||||||||||
Have you finished this pattern?Tag your pictures with #dropspattern #swansembraceshawl or submit them to the #dropsfan gallery. Do you need help with this pattern?You'll find 19 tutorial videos, a Comments/Questions area and more by visiting the pattern on garnstudio.com. © 1982-2026 DROPS Design A/S. We reserve all rights. This document, including all its sub-sections, has copyrights. Read more about what you can do with our patterns at the bottom of each pattern on our site. |
||||||||||


With over 40 years in knitting and crochet design, DROPS Design offers one of the most extensive collections of free patterns on the internet - translated to 17 languages. As of today we count 324 catalogues and 12290 patterns translated into English (UK/cm). 12290
We work hard to bring you the best knitting and crochet have to offer, inspiration and advice as well as great quality yarns at incredible prices! Would you like to use our patterns for other than personal use? You can read what you are allowed to do in the Copyright text at the bottom of all our patterns. Happy crafting!
Post a comment to pattern DROPS 253-28
We would love to hear what you have to say about this pattern!
If you want to leave a question, please make sure you select the correct category in the form below, to speed up the answering process. Required fields are marked *.