Comments / Questions (20)
![]() María Paz wrote:
María Paz wrote:
Hola, estoy tejiendo el chal, y el patron indica que el gráfico solo muestra las vueltas del derecho, pero al hacerlo así, quedan demasiadas vueltas y la trenza esta estirada. el gráfico muestra solo las vueltas del derecho? o también las vueltas del revés? además, en el gráfico no incluye las vueltas cortas ¿no? tengo que tejer 4 vueltas y las vueltas cortas donde me toca el cruce del cable/trenza? gracias
21.03.2025 - 19:20
![]() Karine wrote:
Karine wrote:
Bonjour,\r\nDans la partie 1, l\'augmentation n\'intervient que sur le rang 1 ou sur tous les rangs impairs (endroit) ?\r\nMerci !
22.02.2025 - 14:12DROPS Design answered:
Bonjour Karine, l'augmentation se fait à chaque fois que l'on tricote le rang 1 des rangs 1 à 6. Bon tricot!
24.02.2025 - 09:44
![]() Christiane wrote:
Christiane wrote:
Vielen Dank für die Antwort! Ob die Höhe und Breite des Tuches stimmt, ist mir nicht so wichtig, wichtig wäre, ob das Grundmuster und A1 trotzdem noch zusammenpassen, oder ob da Schwierigkeiten entstehen könnten? Wie sieht das Ganze aus, wenn man als Grundmuster glatt rechts wählt? Vielen Dank für die Hilfe und freundliche Grüße, Christiane
12.01.2025 - 18:29DROPS Design answered:
Liebe Christiane, die verkürzten Reihen hängen hier auch von der Maschenprobe in der Höhe - so vielleicht sollen Sie dann etwas anpassen. Wenn Sie nicht so sicher sind, stricken Sie am besten krausrechts wie beim Modell. Viel Spaß beim Stricken!
13.01.2025 - 10:04
![]() Christiane wrote:
Christiane wrote:
Hallo, wäre es theoretisch auch möglich, statt kraus rechts Perlmuster zu arbeiten (ohne den Rest der Anleitung zu verändern)? Wo könnten Probleme entstehen? Danke und VG Christiane
08.01.2025 - 16:59DROPS Design answered:
Liebe Christiane, die Breite mit Perlmuster würde die gleiche sein, aber die Höhe würde schon bei der Maschenprobe unterschiedlich, so sollte man die Anleitung etwas anpassen. Viel Spaß beim Stricken!
09.01.2025 - 09:55
![]() Véro wrote:
Véro wrote:
Bonjour, j’ai besoin de vos lumières. Partie deux du châle, pour les diminutions rang 1 on diminue, rang 6 on fait un jeté. Comment on peut diminuer le nombre de mailles en diminuant en 1 et faire un jeté en 6. Je ne comprends pas comme je peux arriver à 20 mailles. Pour moi 1 diminution = 1 maille en moins mais un jeté fait une maille en plus?? Merci pour votre réponse. V
30.12.2024 - 22:39DROPS Design answered:
Correction faite, cf réponse précédente, merci. Bon tricot!
02.01.2025 - 15:09
![]() Véro wrote:
Véro wrote:
Bonsoir, j’ai encore besoin de vous.Partie 2 du châle, on fait une diminution au 1 er rang et au 6 ème rang on fait un jeté.Je ne vois pas comment je vais pouvoir arriver à 20 mailles pour finir, si on diminue en 1 et on augmente en 6.Merci pour votre aide
26.12.2024 - 20:57DROPS Design answered:
Bonjour Véro, c'est une erreur, il ne faut effectivement pas faire de jeté à la fin du rang 6, il a été supprimé, merci pour votre retour. Bon tricot!
02.01.2025 - 11:52
![]() Véro wrote:
Véro wrote:
Bonjour, je suis au 5ème rang de la 1 ère partie, et je ne comprends pas comment on peut faire un rang raccourci sur un rang endroit et reprendre le 6 rang sur l’envers. Si on fait un rang raccourci à l’endroit on retombe automatiquement sur un rang endroit. Je n’ai jamais fait de rang raccourci et je suis perdue. Si je suis l’es explication je me retrouve à l’endroit. Merci pour vos réponses rapides.
16.12.2024 - 17:33DROPS Design answered:
Bonjour Véro, au 5ème rang, vous ne tricotez que les mailles jusqu'au marqueur, vous laissez les autres mailles sur l'aiguille gauche, vous tournez et vous tricotez le 6ème rang = sur l'envers, soit les mailles que vous avez tricoté au 5ème rang mais cette fois sur l'envers. Bon tricot!
17.12.2024 - 09:44
![]() Lambert wrote:
Lambert wrote:
Bonjour je commence le châle et j’ai un souci dans la partie 1. Au 5ème rang on doit faire un rang raccourci mais en même temps sur le diagramme il faut faire des torsades. Je n’arrive pas a voir comment faire. J’ai besoin de vous Merci
15.12.2024 - 15:17DROPS Design answered:
Bonjour Mme Lambert, le diagramme se tricote sur les 15 dernières mailles, vu sur l'endroit, les rangs raccourcis se tricotent sur les premières mailles, avant la torsade, autrement dit, lorsque vous tricotez les rangs 5 et 6, vous ne tricotez que les mailles au point mousse (avec les 2 m de bordure), pas celles du diagramme/des torsades. Bon tricot!
16.12.2024 - 11:00
![]() Leo wrote:
Leo wrote:
Sono arrivata alla sezione centrale con le 60 maglie sul ferro, ma la lunghezza totale che ho è di soli 42 cm invece di 82. Dove ho sbagliato? Le 60 maglie sono in totale, o solo sulla parte della maglia a legaccio?
08.12.2024 - 15:40DROPS Design answered:
Buonasera Leo, gli 82 cm vengono raggiunti alla fine della sezione centrale. Per quanto riguarda le maglie, si fa sempre riferimento a tutte le maglie sul ferro, se non diversamente indicato. Buon lavoro!
13.12.2024 - 22:41
![]() Mariana wrote:
Mariana wrote:
Tehdäänkö ne lyhennetyt kerrokset aina oikein vai palmikko osuuteen?
19.11.2024 - 06:39DROPS Design answered:
Lyhennetyt kerrokset neulotaan ainaoikeinneuleen kohdalla, eli näillä kerroksilla ei neulota palmikon silmukoita.
19.11.2024 - 18:04
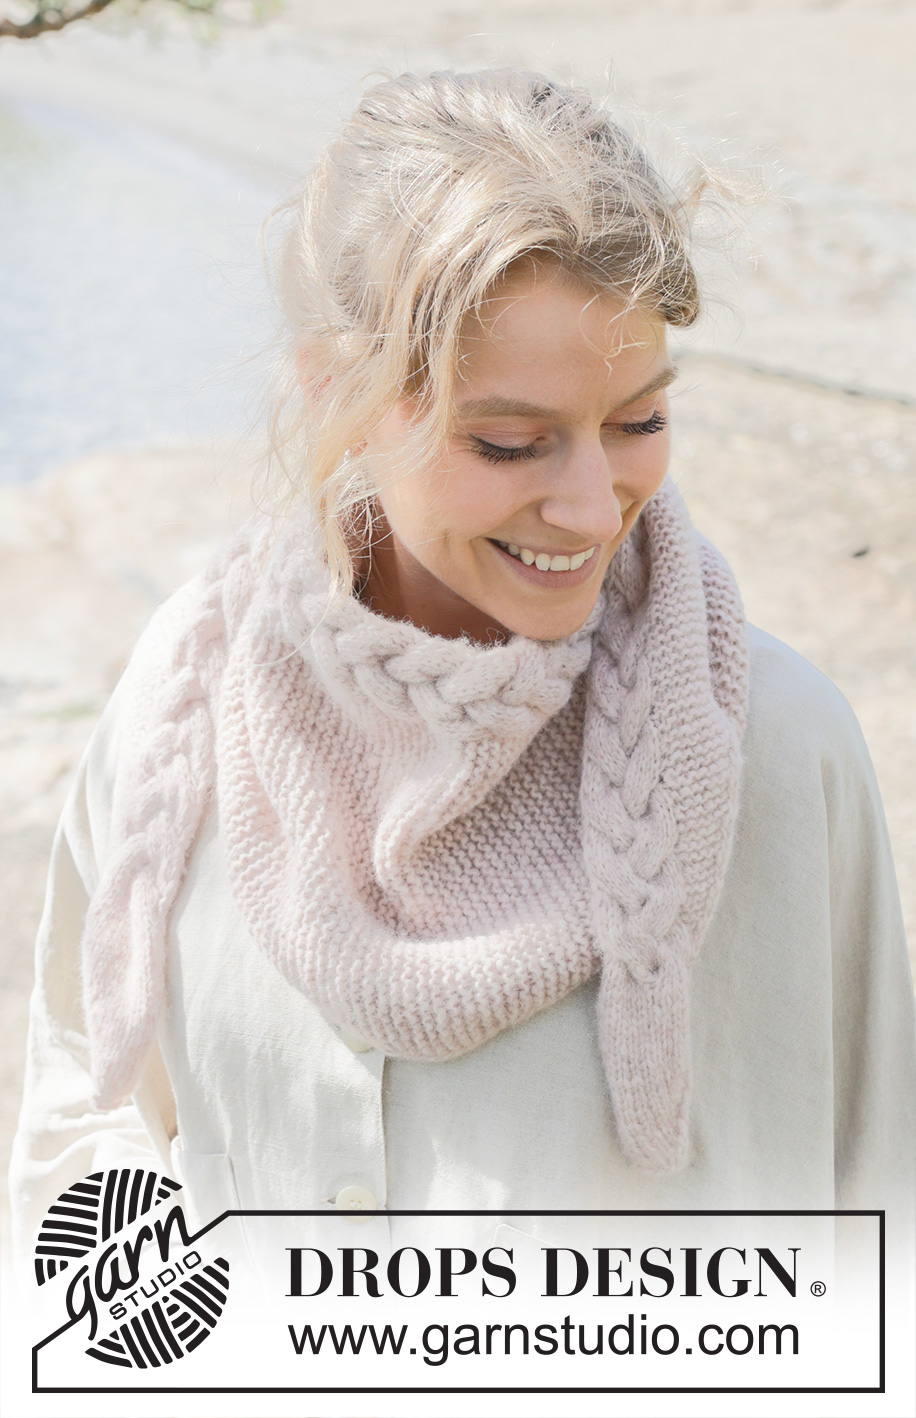
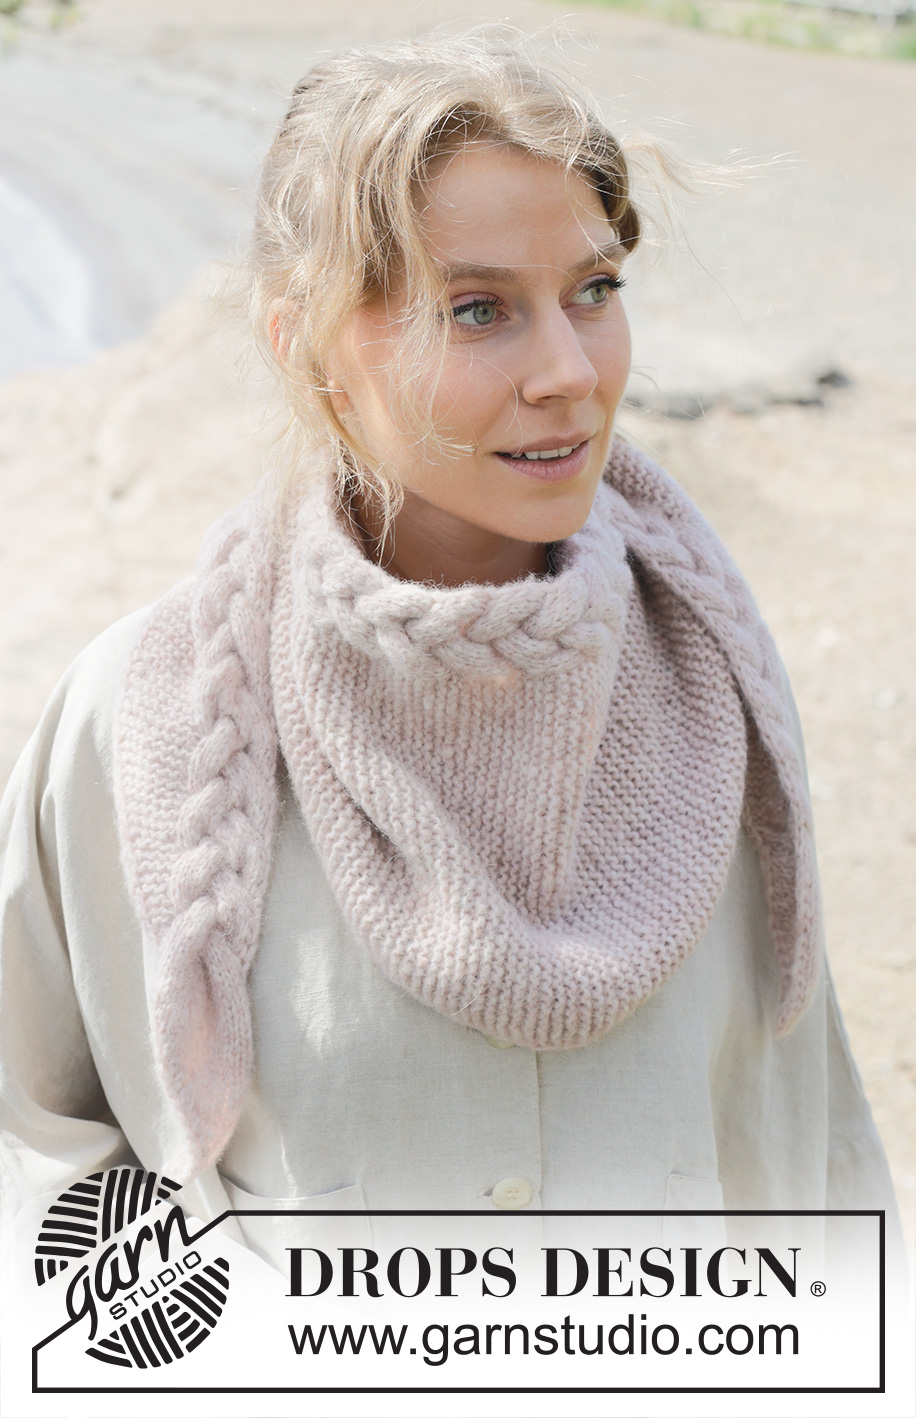
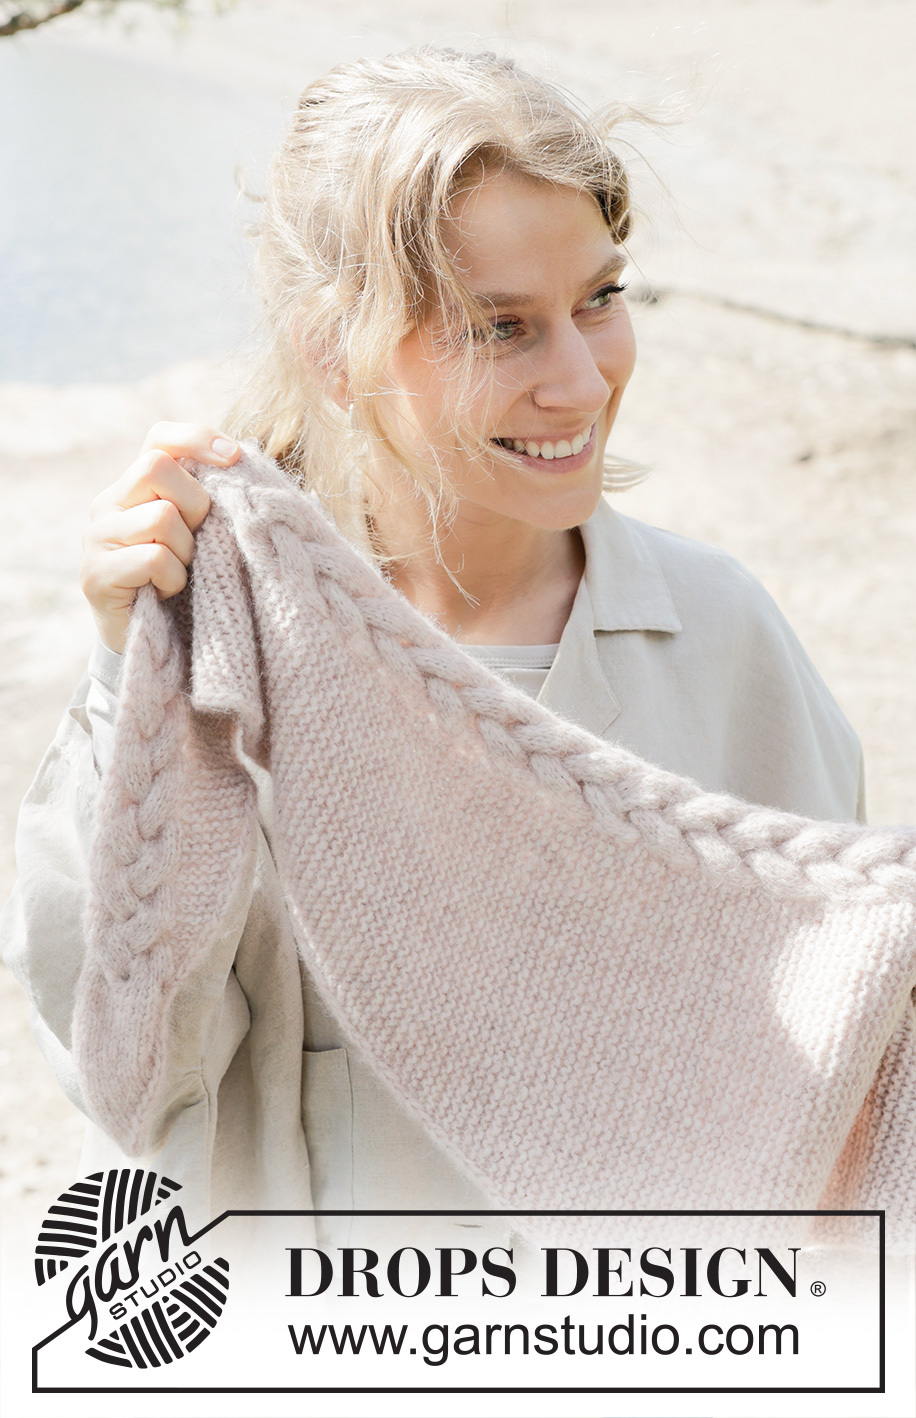
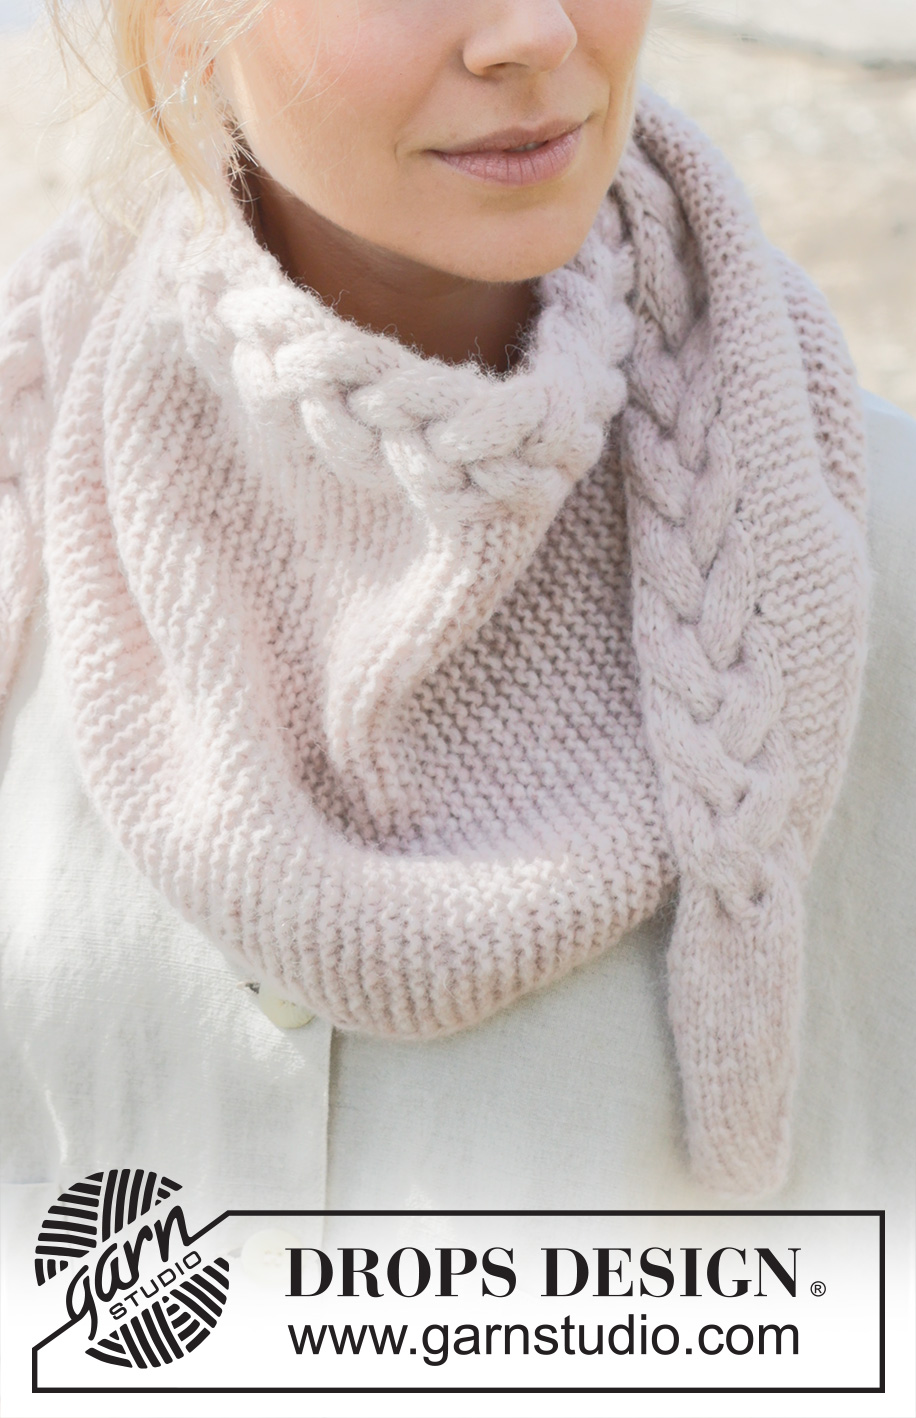
Swan’s Embrace Shawl#swansembraceshawl |
||||||||||
 |
 |
|||||||||
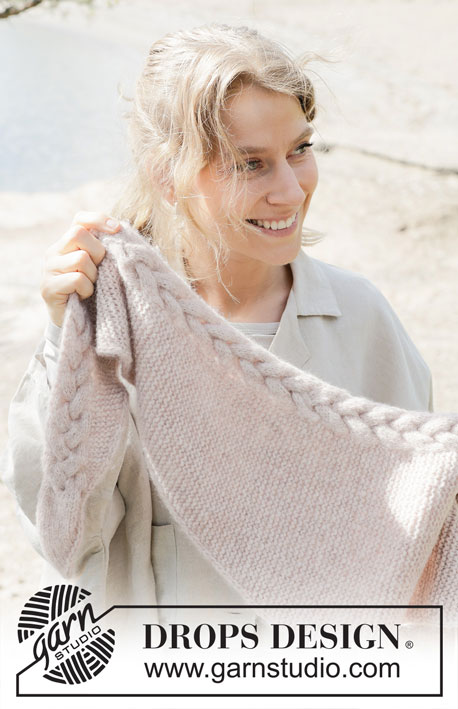
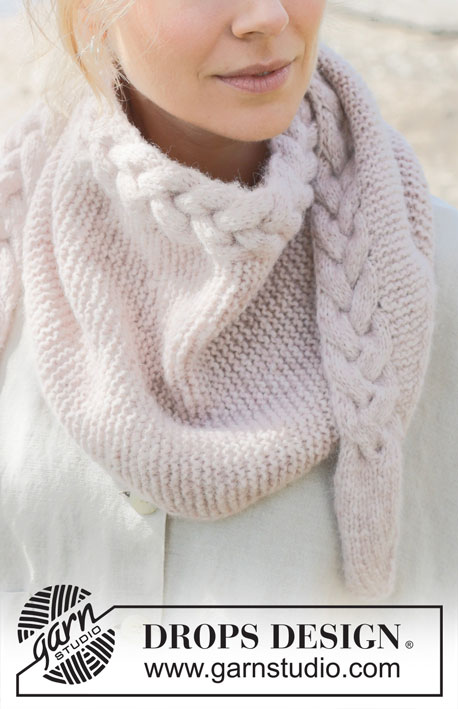
Knitted shawl in DROPS Air. The piece is worked sideways with garter stitch, cables and I-cord.
DROPS 253-28 |
||||||||||
|
------------------------------------------------------- EXPLANATIONS FOR THE PATTERN: ------------------------------------------------------- 2 EDGE-STITCHES I-CORD: BEGINNING OF ROW: Slip 1 stitch purl-wise with the strand in front, knit 1. END OF ROW: Work until there are 2 stitches left on the row, slip 1 stitch purl-wise with the strand in front, knit 1. Repeat from both the right and wrong side. PATTERN: See diagram A.1. The diagram shows all rows from the right side. GARTER STITCH (worked back and forth): Knit all rows, from both the right and wrong side. 1 ridge in height = knit 2 rows. INCREASE TIP: All increases are worked from the right side! Increase 1 stitch by working 1 yarn over, which is worked twisted on the next row to avoid a hole. KNITTING TIP: When working short rows, there will be a small hole after each turn. This hole can be closed by tightening the strand or using the technique German Short Rows as follows: Slip the first stitch purl-wise, take the strand over the right needle and tighten well from the back (2 loops on the needle). These loops are worked together on the next row. ------------------------------------------------------- START THE PIECE HERE: ------------------------------------------------------- SHAWL – SHORT OVERVIEW OF THE PIECE: The piece is worked back and forth with circular needle, from side to side. BEGINNING OF SHAWL: Cast on 7 stitches with circular needle size 5 mm and DROPS Air. Purl 1 row from the wrong side. Continue back and forth with stocking stitch, increasing as follows: ROW 1 (right side): Work 2 EDGE STITCHES I-CORD – read description above, make 1 yarn over – read INCREASE TIP (1 increased stitch), knit until there are 2 stitches left, work 2 edge-stitches I-cord. ROW 2 (wrong side): Work 2 edge-stitches as before, purl until there are 2 stitches left, purl yarn over twisted, 2 edge stitches as before. Work ROWS 1 and 2 until there are 20 stitches on the needle. Remember to maintain the knitting tension. From the right side, insert 1 marker-thread after the 3rd stitch, with 17 stitches after the thread. Allow the thread to follow your work onwards, always with 17 stitches after the thread on the left-hand side, when viewed from the right side. SECTION 1: Now work PATTERN and GARTER STITCH – read description above, increasing as follows: ROW 1 (right side): Work 2 edge-stitches as before, make 1 yarn over – remember INCREASE TIP (1 stitch increased), work garter stitch as far as the marker-thread, A.1 across 15 stitches, 2 edge stitches as before. ROW 2 (wrong side): Work 2 edge-stitches as before, work A.1, garter stitch (yarn over is knitted twisted) until there are 2 stitches left, 2 edge stitches as before. ROW 3 (right side): Work 2 edge-stitches as before, garter stitch as far as the marker-thread, work A.1 across 15 stitches, 2 edge stitches as before. ROW 4 (wrong side): Work 2 edge-stitches as before, A.1, garter stitches until there are 2 stitches left, 2 edge stitches as before. ROW 5 (right side): Work 2 edge-stitches as before, garter stitch as far as the marker-thread, turn, this is a short row – read KNITTING TIP. ROW 6 (wrong side): Work garter stitch until there are 2 stitches left, 2 edge stitches as before. Repeat ROWS 1 to 6 until there are 60 stitches on the needle. MID-SECTION: Now continue pattern and garter stitch without increasing as follows: ROW 1 (right side): Work 2 edge-stitches as before, garter stitch as far as the marker-thread, work A.1, 2 edge-stitches as before. ROW 2 (wrong side): Work 2 edge-stitches as before, A.1, garter stitch until there are 2 stitches left, 2 edge-stitches as before. ROW 3 (right side): Work 2 edge-stitches as before, garter stitch as far as the marker-thread, work A.1, 2 edge-stitches as before. ROW 4 (wrong side): Work 2 edge-stitches as before, A.1, garter stitch until there are 2 stitches left, 2 edge-stitches as before. ROW 5 (right side): Work 2 edge-stitches as before, garter stitch as far as the marker-thread, turn; this is a short row – remember KNITTING TIP. ROW 6 (wrong side): Work garter stitch until there are 2 stitches left, 2 edge-stitches as before. The piece measures approx. 82 cm from the cast-on edge (half the width) and 30 cm in height. Work ROWS 1 to 6 one more time. SECTION 2: Now continue the pattern and garter stitch decreasing as follows: ROW 1 (right side): Work 2 edge-stitches as before, knit 2 together (1 stitch decreased), garter stitch as far as the marker-thread, work A.1 across 15 stitches, 2 edge-stitches as before. ROW 2 (wrong side): Work 2 edge-stitches as before, A.1, garter stitch until there are 2 stitches left, 2 edge-stitches as before. ROW 3 (right side): Work 2 edge-stitches as before, garter stitch as far as the marker-thread, work A.1 across 15 stitches, 2 edge-stitches as before. ROW 4 (wrong side): Work 2 edge-stitches as before, A.1, garter stitch until there are 2 stitches left, 2 edge-stitches as before. ROW 5 (right side): Work 2 edge-stitches as before, garter stitch as far as the marker-thread, turn; this is a short row – remember KNITTING TIP. ROW 6 (wrong side): Work garter stitch until there are 2 stitches left, work 2 edge-stitches as before. Repeat ROWS 1 to 6 until there are 20 stitches on the needle. Remove the marker-thread and continue with stocking stitch as follows (A.1 is finished). END OF SHAWL: Work stocking stitch and decrease as follows: ROW 1 (right side): Work 2 edge-stitches as before, knit 2 together (1 decreased stitch), knit until there are 2 stitches left, 2 edge-stitches as before. ROW 2 (wrong side): Work 2 edge-stitches as before, purl until there are 2 stitches left, 2 edge-stitches as before. Work ROWS 1 and 2 until there are 7 stitches left. Cast off. The piece measures approx. 164 cm from the cast-on edge. |
||||||||||
Diagram explanations |
||||||||||
|
||||||||||

|
||||||||||
Have you finished this pattern?Tag your pictures with #dropspattern #swansembraceshawl or submit them to the #dropsfan gallery. Do you need help with this pattern?You'll find 19 tutorial videos, a Comments/Questions area and more by visiting the pattern on garnstudio.com. © 1982-2025 DROPS Design A/S. We reserve all rights. This document, including all its sub-sections, has copyrights. Read more about what you can do with our patterns at the bottom of each pattern on our site. |
||||||||||







Post a comment to pattern DROPS 253-28
We would love to hear what you have to say about this pattern!
If you want to leave a question, please make sure you select the correct category in the form below, to speed up the answering process. Required fields are marked *.