
Popular categories
Looking for a yarn?






























Comments / Questions (310)
 Karin wrote:
Hallo, naai ik de zijnaden aan elkaar aan de buitenkant van het vestje of aan de binnenkant?
30.10.2026 - 23:06DROPS Design answered:
Dag Karin,
Bij de instructievideo's die bij het patroon geplaatst zijn, zie je video's hoe je het werk in elkaar kunt naaien, ook hoe je naden sluit in ribbelsteek.
31.10.2026 - 17:25
 Adriana Boeck wrote:
Ola, gosto muito dos modelos de vocês, mas nao temos as mesmas lãs, por isso seria importante aparecer também as medidas em centímetros nos graficos. Obrigada
26.10.2026 - 20:48DROPS Design answered:
Bom dia, O esquema de medidas encontra-se ao fundo da página do modelo e são daas em centímetros. Bons tricôs! A equipa DROPS
27.10.2026 - 13:01
 Maria wrote:
Är måttet "när arbetet mäter..." i cm eller tum? Det står samma nummer när man byter mellan måttenheterna.
25.10.2026 - 20:51DROPS Design answered:
Hei Maria, Alle mål er i cm, så lenge du ikke bruke den US-engelsk versjon. Hilsen, Drops Team.
26.10.2026 - 05:11
 Judith Saabye-larsen wrote:
Hvor erhuen til sættet
21.10.2026 - 12:08
 Kari Dahle wrote:
Hei. Er det riktig at arm i str 12/18 mnd skal være 46 cm? 74 cm - 28cm = 46cm
15.10.2026 - 14:59DROPS Design answered:
Hei Kari, Ja det er riktig, og ermet brettes opp når plagget er på. Men hvis du mener ermet er for langt, kan det justeres til ønsket lengden. Hilsen Drops Team.
16.10.2026 - 05:56
Kari Dahle wrote:
Hei. Er det riktige mål fra skulder til håndledd? Mvh Kari
12.10.2026 - 22:21DROPS Design answered:
Hej Kari, du finder de rigtige mål nederst i måleskitsen for hver størrelse, det som er vigtigt for at få de rigtige mål er at du skal overholde den strikkefasthed som står i opskriften :)
15.10.2026 - 14:17
Patricia wrote:
Kan ik bovenstaand patroon ook met 2 naalden breien? Dus de panden apart van elkaar breien en daarna in elkaar zetten?
06.10.2026 - 12:45DROPS Design answered:
Dag Patricia,
Om een patroon aan te passen om op rechte naalden te breien hebben we een instructie gemaakt. Deze vind je hier.
18.10.2026 - 18:08
 Ellen wrote:
Selkeä ohje, sopii myös aloittelijoille!
26.09.2026 - 14:29
 Amy wrote:
After I finish the right front piece and put it on a stitch holder, do I need to cut the working yarn? Is this going to be an end that I weave in?
22.09.2026 - 12:46DROPS Design answered:
Dear Amy, yes you should cut the yarn when slipping the stitches on a stitch holder, you will work these stitches later, after left front piece is done and after you have cast on the middle stitches for neck on back piece. Happy knitting!
23.09.2026 - 07:52
Bente wrote:
Hejsa. Jeg kan ikke gennemskue hvad den markør skal midt ovenpå skulderen? Og skal den sætte midt i, altså hvis jeg strikker 6/9 mdr, så er der 70 m skal jeg så sætte markøren ved 35. maske? Og hvad er det der bliver målt fra markøren. Jeg kan se mange andre spørger om det samme men jeg forstår bare ikke jeres svar.
20.09.2026 - 20:43DROPS Design answered:
Hei Bente. Jo, denne jakken strikkes med forstykkene først, da strikkes det nedenifra og opp (forstykkene strikkes sammen med ermene). Så når høyre forstykke med halve erme (forsiden av ermet) og venstre forstykke med halve ermet (forsiden av ermet) er ferdig strikket, settes et merke midt opp skulderen. Du kan sette merket litt nærmere halsen, slik at merket blir på skulderen (settes den ved 35. maske vil det være mer utpå ermet). Når forstykkene er satt sammen og det er lagt opp masker bak nakken, skal bakstykket og ermene (andre halv del av ermene ) strikkes, og da måles det fra merket når erm maskene skal felles. mvh DROPS Design
21.09.2026 - 09:12
|
|
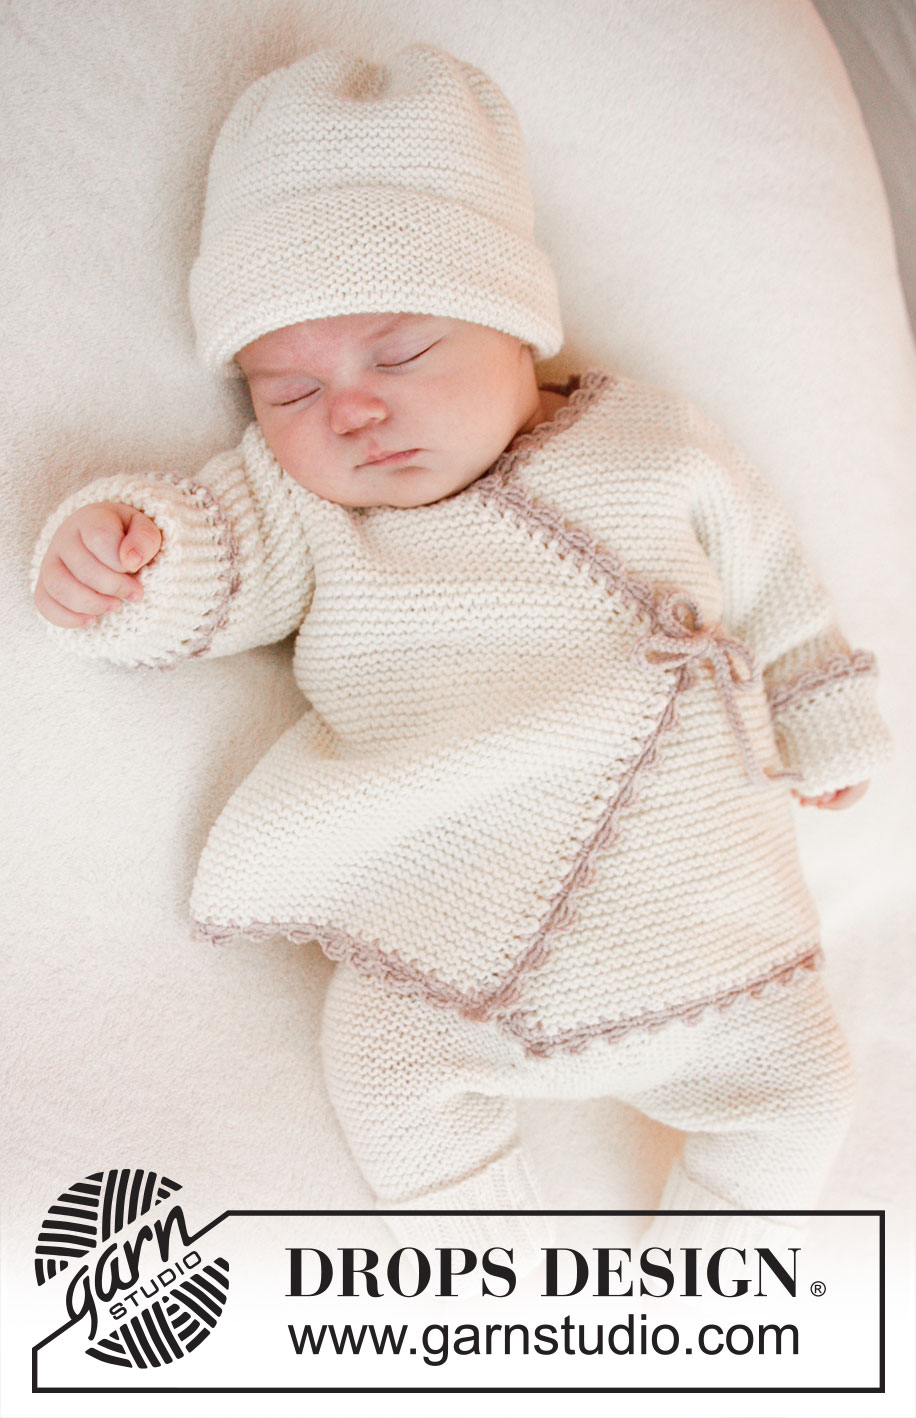
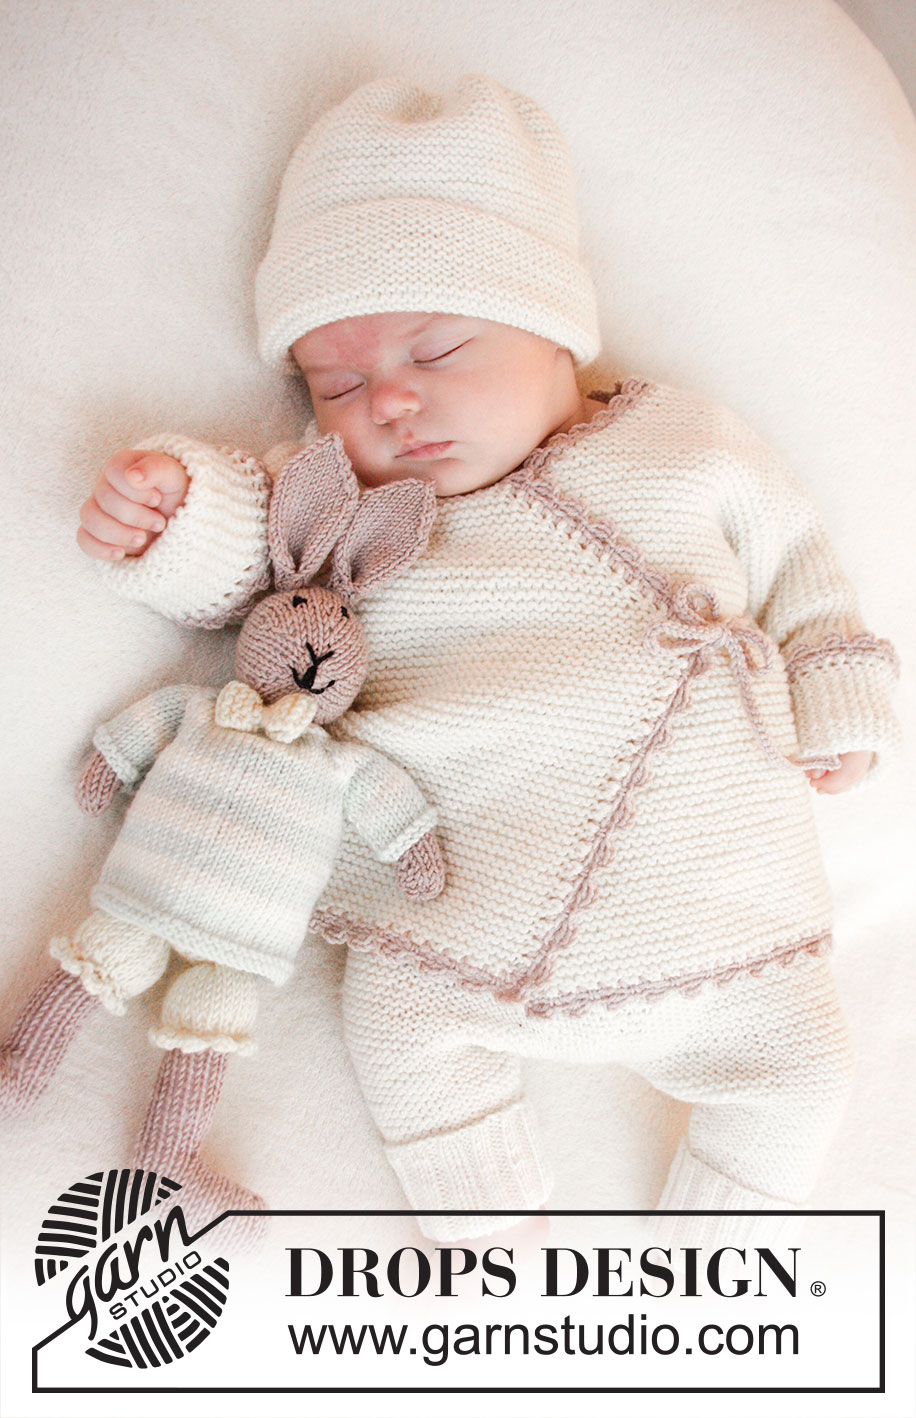
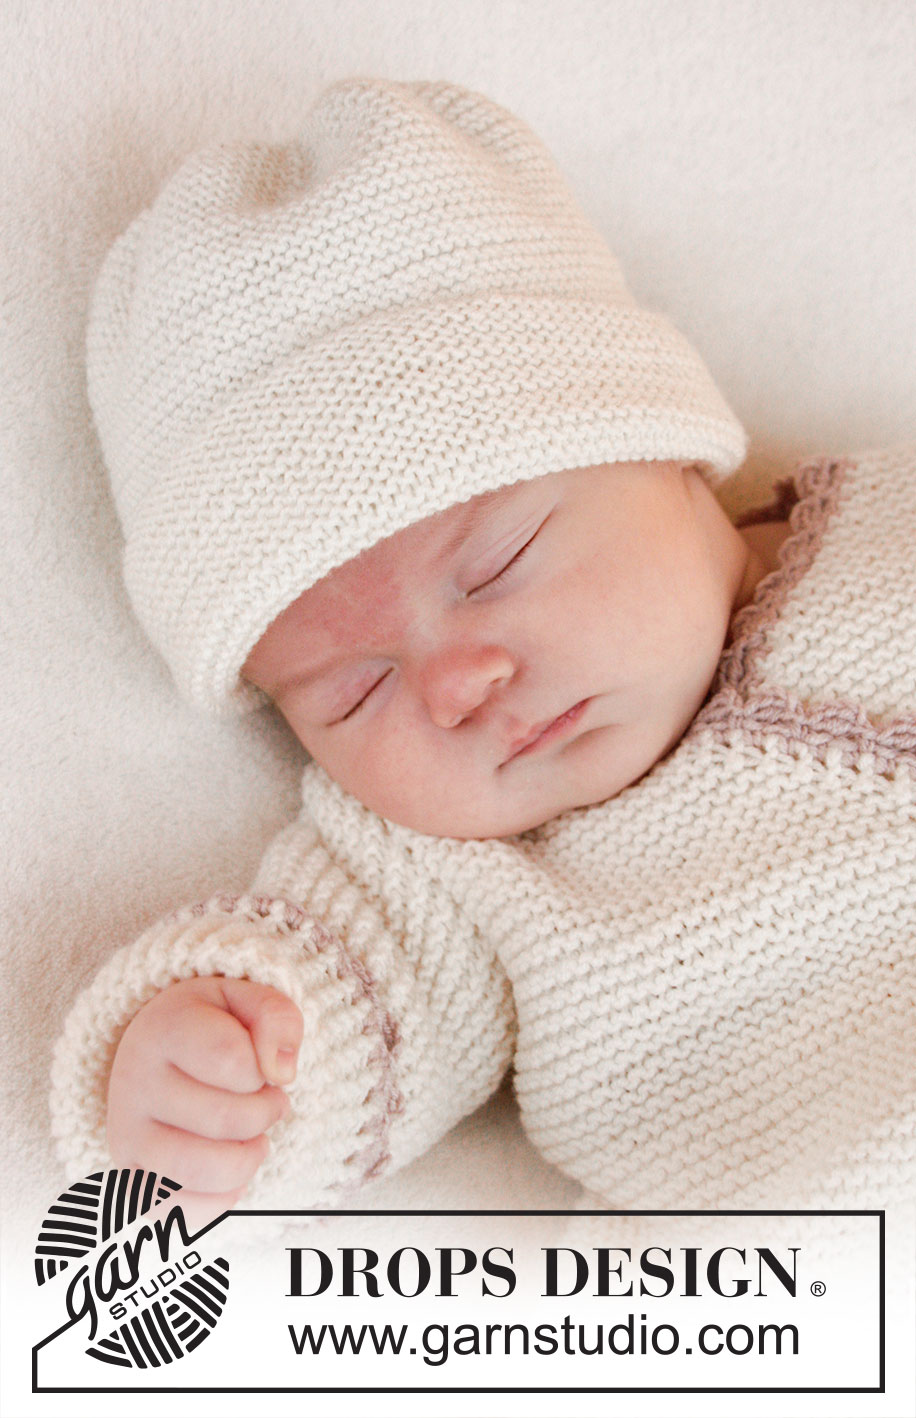
Bedtime Stories#bedtimestoriescardigan |
|
 |
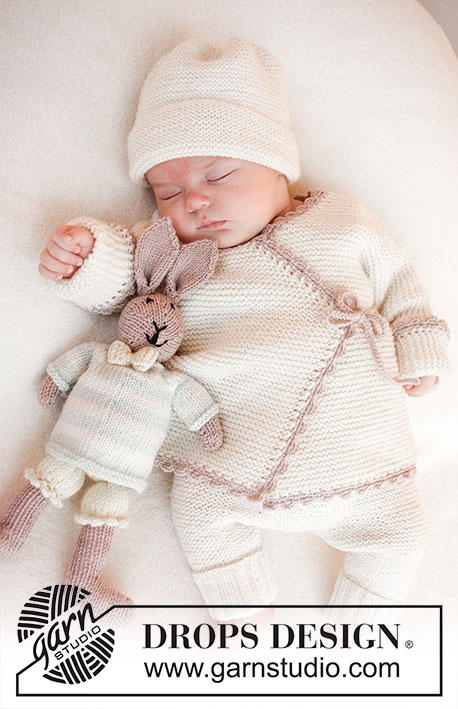 |
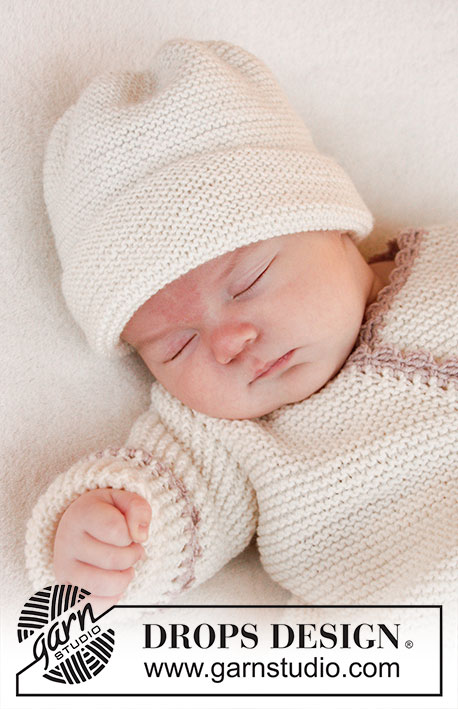
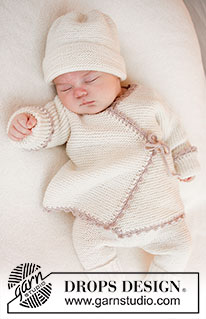
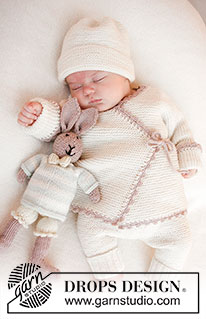
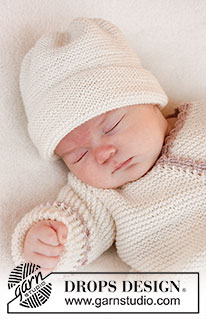
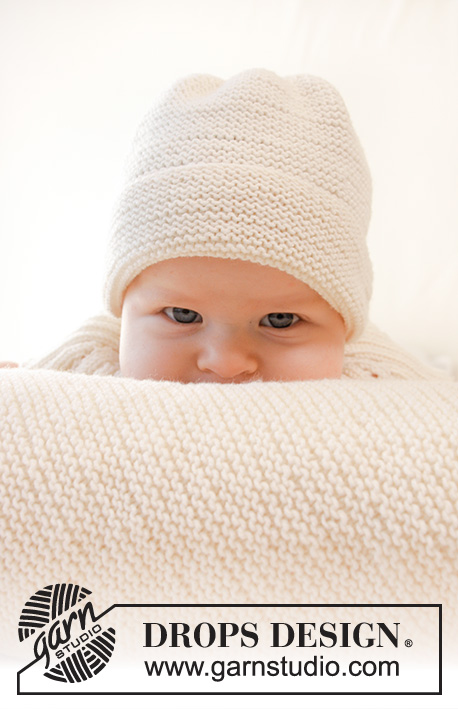
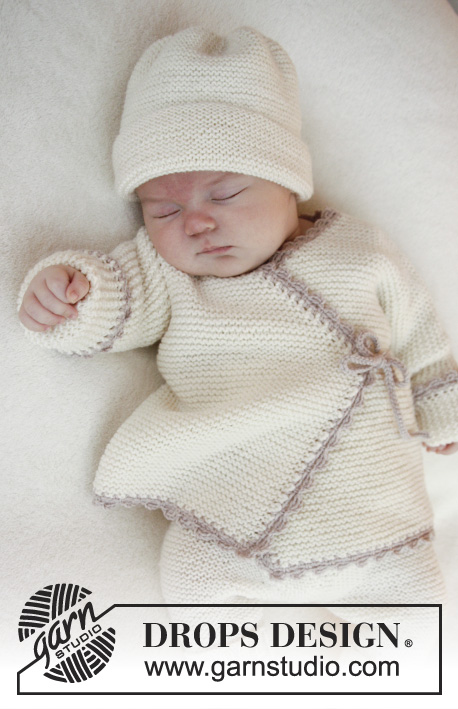
Knitted wrap cardigan in garter st and crochet edge for baby in DROPS BabyMerino. Size premature - 4 years
DROPS Baby 25-11 |
|
|
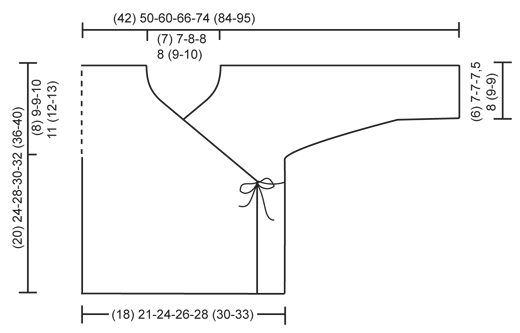
GARTER ST (back and forth on circular needle): K all rows. DECREASE TIP: Dec inside 1 edge st in garter st. All dec are done from RS! Dec after 1 edge st as follows: Slip 1 st as if to K, K 1, psso. Dec before 1 edge st as follows: K 2 tog. ---------------------------------------------------------- CARDIGAN: Worked back and forth on circular needle. Beg on front piece, cast on sts for sleeve and work up to the shoulder. Work the other front piece, place both front pieces tog and work down the back piece. RIGHT FRONT PIECE: LOOSELY cast on (34) 37-44-48-52 (55-62) sts on circular needle size 3 mm with off white and work in GARTER ST - see explanation above (1st row = RS). READ ALL OF THE FOLLOWING SECTION BEFORE CONTINUING! When piece measures (9) 12-16-16-17 (20-23) cm (adjust so that next row is worked from RS), dec 1 st for neck inside 1 edge st at beg of row - READ DECREASE TIP. Repeat dec on every other row (i.e. every row from RS) (17) 17-21-23-25 (27-31) more times (= (18) 18-22-24-26 (28-32) dec in total), then dec every 4th row (i.e. every other row from RS) 2 times in total. AT THE SAME TIME when piece measures (12) 15-19-20-21 (24-27) cm cast on new sts at the end of row towards the side of sleeve as follows: (3) 4-6-6-6 (6-6) sts (4) 4-4-5-6 (7-8) times in total and then (16) 19-19-18-19 (23-26) sts 1 time. After all inc and dec there are (42) 52-63-70-79 (90-102) sts on the needle for shoulder/sleeve. Continue in garter st until piece measures (20) 24-28-30-32 (36-40) cm / (8”) 9½”-11”-11¾”-12½” (14¼”-15¾”). Insert 1 marker in the middle sts = mid on top of shoulder. Piece is measured from here – AT THE SAME TIME cast on 2 new sts at the end of row towards the neck, repeat inc on next row towards neck = (46) 56-67-74-83 (94-106) sts (last row = WS). Put all sts on a stitch holder. LEFT FRONT PIECE: Cast on and work as right but reversed (i.e. dec for neck inside 1 edge st at the end of row from RS (instead of at the beg of row from RS). In addition K 1 row from WS at the end of front piece after casting on sts towards the neck so that last row on both right and left front piece is worked from WS. BACK PIECE: Work left front piece on to circular needle (= K from RS), cast on (8) 8-10-10-12 (14-16) new sts (= back of neck) and work right front piece on to circular needle (= K from RS) = (100) 120-144-158-178 (202-228) sts. NOW MEASURE PIECE FROM MARKERS ON SHOULDERS. Continue to work in garter st back and forth on needle. When piece measures (6) 7-7-7½-8 (9-9) cm, cast off sleeve sts as follows: Cast off at beg of every row in each side as follows: (16) 19-19-18-19 (23-26) sts 1 time and (3) 4-6-6-6 (6-6) sts (4) 4-4-5-6 (7-8) times in total = (44) 50-58-62-68 (72-80) sts on needle. Continue until piece measures approx. (20) 24-28-30-32 (36-40) cm – fold piece at the markers on shoulders and check that front and back pieces are the same length – loosely cast off. ASSEMBLY: Sew side and sleeve seams tog edge to edge in front loop of outermost sts. CROCHET EDGE: Work on hook size 2.5 mm with light beige around the entire opening on cardigan as follows: ROUND 1: 1 dc in first st, * 1 ch, skip approx. 2 sts, 1 dc in next st *, repeat from *-* but in a corner where dec for neck beg work tie as follows: 1 dc in tip, then work ch for approx. 20-25 cm, turn and work 1 sl st in every ch on return, then work 1 dc in tip of front piece again, continue crochet border around the cardigan until the tip of the other front piece, crochet another tie as on first front piece, continue around the rest of the cardigan and finish with 1 sl st in first dc from beg of round. ROUND 2: 1 dc in first ch, * 4 ch, 1 tr in 4th ch from hook, skip 1 dc + 1 ch + 1 dc, work 1 dc in next ch *, repeat from *-* the entire round (make sure to work over ties so that they are at the bottom), finish with 1 sl st in first dc from beg of round. Work both rounds the same way at the bottom around both sleeves. Then work another tie, similar to the one in each tip, on the inside of the seam in the right side and on the outside of the seam in the left side – make sure that the ties are at the same height as tips on front pieces. |
|
 |
|
Have you finished this pattern?Tag your pictures with #dropspattern #bedtimestoriescardigan or submit them to the #dropsfan gallery. Do you need help with this pattern?You'll find 15 tutorial videos, a Comments/Questions area and more by visiting the pattern on garnstudio.com. © 1982-2026 DROPS Design A/S. We reserve all rights. This document, including all its sub-sections, has copyrights. Read more about what you can do with our patterns at the bottom of each pattern on our site. |
|






With over 40 years in knitting and crochet design, DROPS Design offers one of the most extensive collections of free patterns on the internet - translated to 17 languages. As of today we count 333 catalogues and 12525 patterns translated into English (UK/cm). 12525
We work hard to bring you the best knitting and crochet have to offer, inspiration and advice as well as great quality yarns at incredible prices! Would you like to use our patterns for other than personal use? You can read what you are allowed to do in the Copyright text at the bottom of all our patterns. Happy crafting!
Post a comment to pattern DROPS Baby 25-11
We would love to hear what you have to say about this pattern!
If you want to leave a question, please make sure you select the correct category in the form below, to speed up the answering process. Required fields are marked *.