
Popular categories
Looking for a yarn?


Comments / Questions (6)
![]() Tuija Mikkonen wrote:
Tuija Mikkonen wrote:
Mitä tämä tarkoittaa? Missä vaiheessa hihanaukkoa varten kavennetaan? Neulo kunnes työn pituus on 27 cm ja olet viimeksi neulonut nurjan puolen kerroksen. Työhön neulotaan vielä n. 29-31-33-35-37-39 cm.
19.03.2024 - 20:18DROPS Design answered:
Hei, kädentien silmukat päätetään, kun työn pituus on 27 cm. Myöhemmin neulotaan vielä 29-31-33-35-37-39 cm (kaarrokkeessa).
21.03.2024 - 17:27
![]() Margrit Stotz wrote:
Margrit Stotz wrote:
Aus wie vielen Maschen besteht der Sattel? Wennich abnehme wie beschrieben habe ich am Ärmel keine Maschen mehr.
20.01.2023 - 16:45DROPS Design answered:
Liebe Frau Stotz, beachten Sie, daß die Abnahmen vor 1. + 3. und nach 2. und 4. Markierung gestrickt werden, jeweils 2 Maschen damit die maschen von den Ärmeln/Sattelschulter nicht abgenommen wird und nur die Maschenanzahl bei den Vorderteile und Rückenteil wird abnehmen. Viel Spaß beim stricken!
06.02.2023 - 15:44
![]() Ellis wrote:
Ellis wrote:
Ik heb zeker 16 keer de test moeten doen dat ik geen robot ben. ik zie niet meer zebra’s of auto’s dan ik aangeef. mogelijk zijn mijn ogen niet meer zo goed als ooit maar het is erg vervelend om meer dan 15 x aan te moeten tonen dat je geen robot bent. kunt u meer duidelijke beelden erin plaatsen?
31.01.2022 - 15:43
![]() Ellis wrote:
Ellis wrote:
Waarom is de mouw -vanaf de kop van de schouder gemeten- hier 5 cm langer dan bij patroon 226-11 dat ongeveer eenzelfde patroon is? ronde hals, zadelschouder, dit is van onder af en het andere top-down gebreid maar dat mag aan maatvoering niets af doen, allebei vest. maar de lengte van een arm blijft toch gelijk ? ik heb bewust gekeken naar ‘niet-raglan’ zodat daarin geen verschil kan zitten. de basis patronen zien er op het scherm ongeveer hetzelfde uit. 5 cm is best veel hier.
31.01.2022 - 15:41
![]() Kim Mazur wrote:
Kim Mazur wrote:
I am knitting the pumpkin pattern The Patch.. I am unsure what the directions mean when they say REMEMBER THE KNITTING GAUGE BIND OFF. Would someone elaborate for me? Is this just a typical bind off? Thank you in advance
28.09.2021 - 23:40DROPS Design answered:
Dear Mrs Mazur, you are working this pattern, correct? You have to work the diagram a total of 6 times in height, while you have to check and keep your tension. After A.1 has been worked a total of 6 times in height, just bind off. Happy knitting!
29.09.2021 - 07:40
![]() Grażyna wrote:
Grażyna wrote:
Błękitny z żakardem uroczy.
09.08.2021 - 11:27
|
|
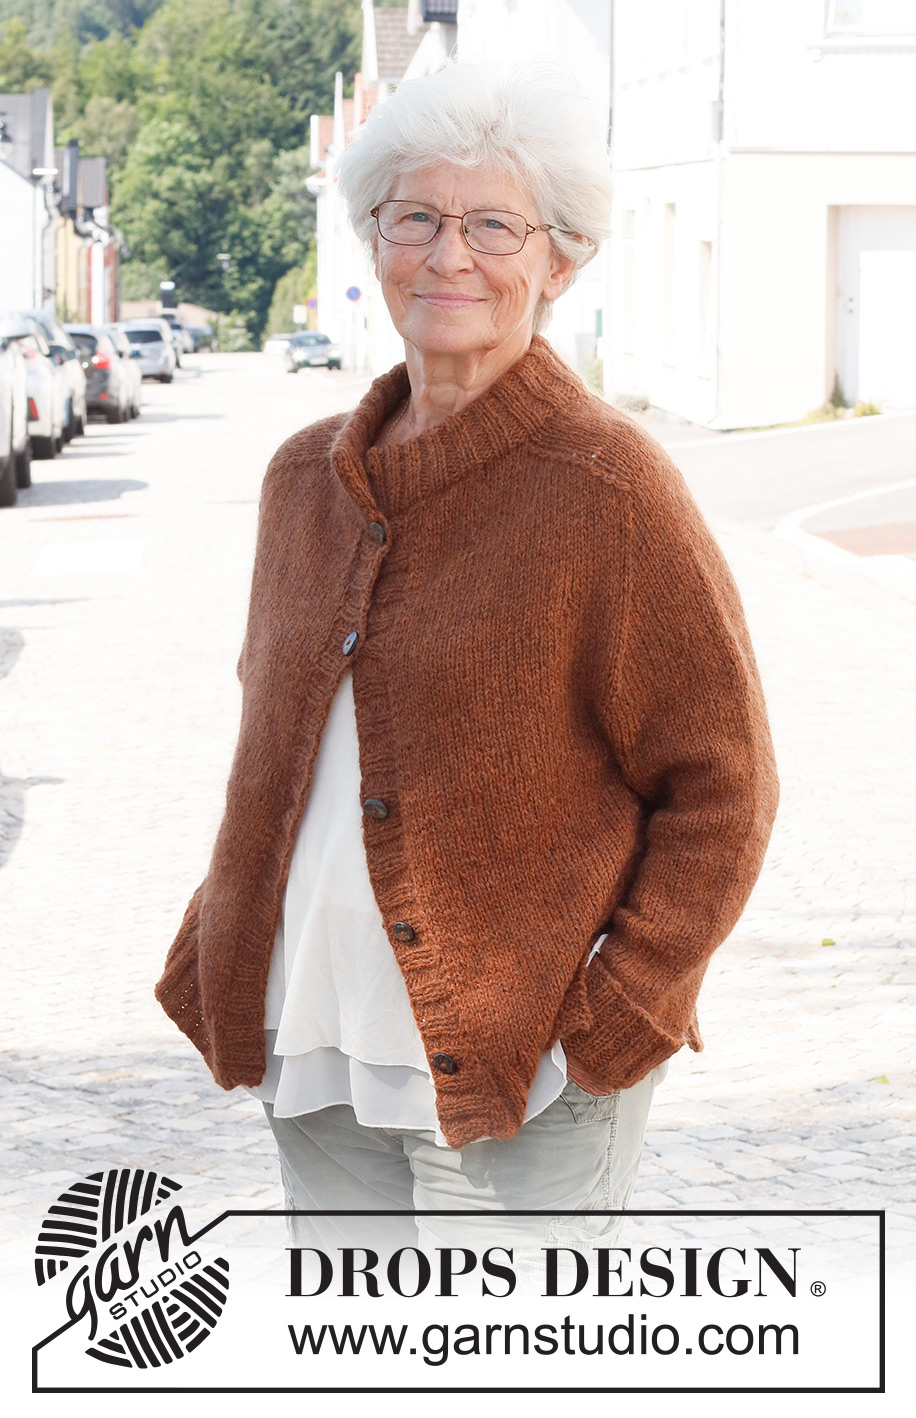
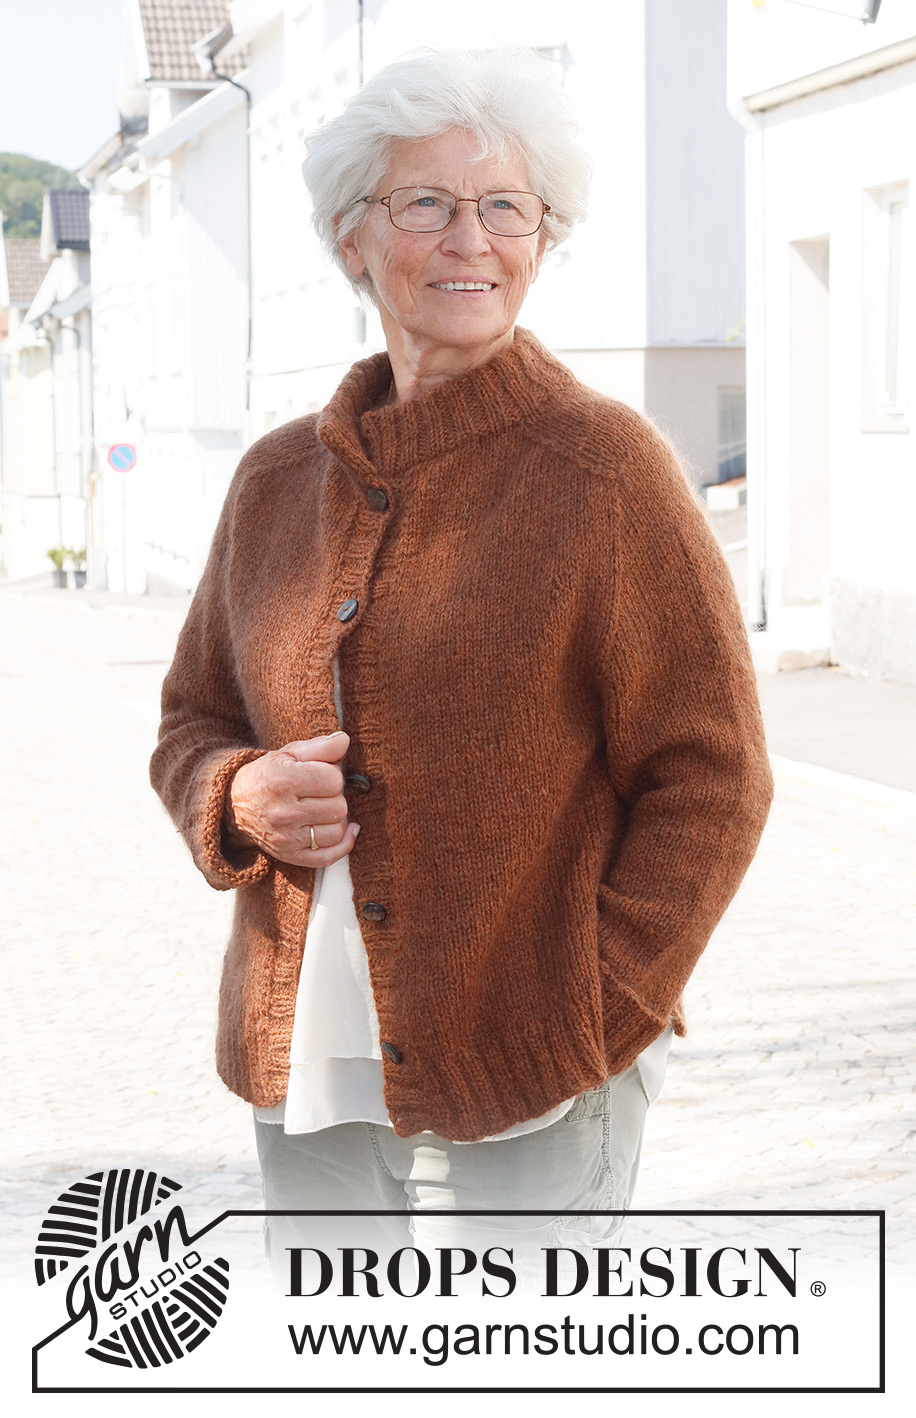
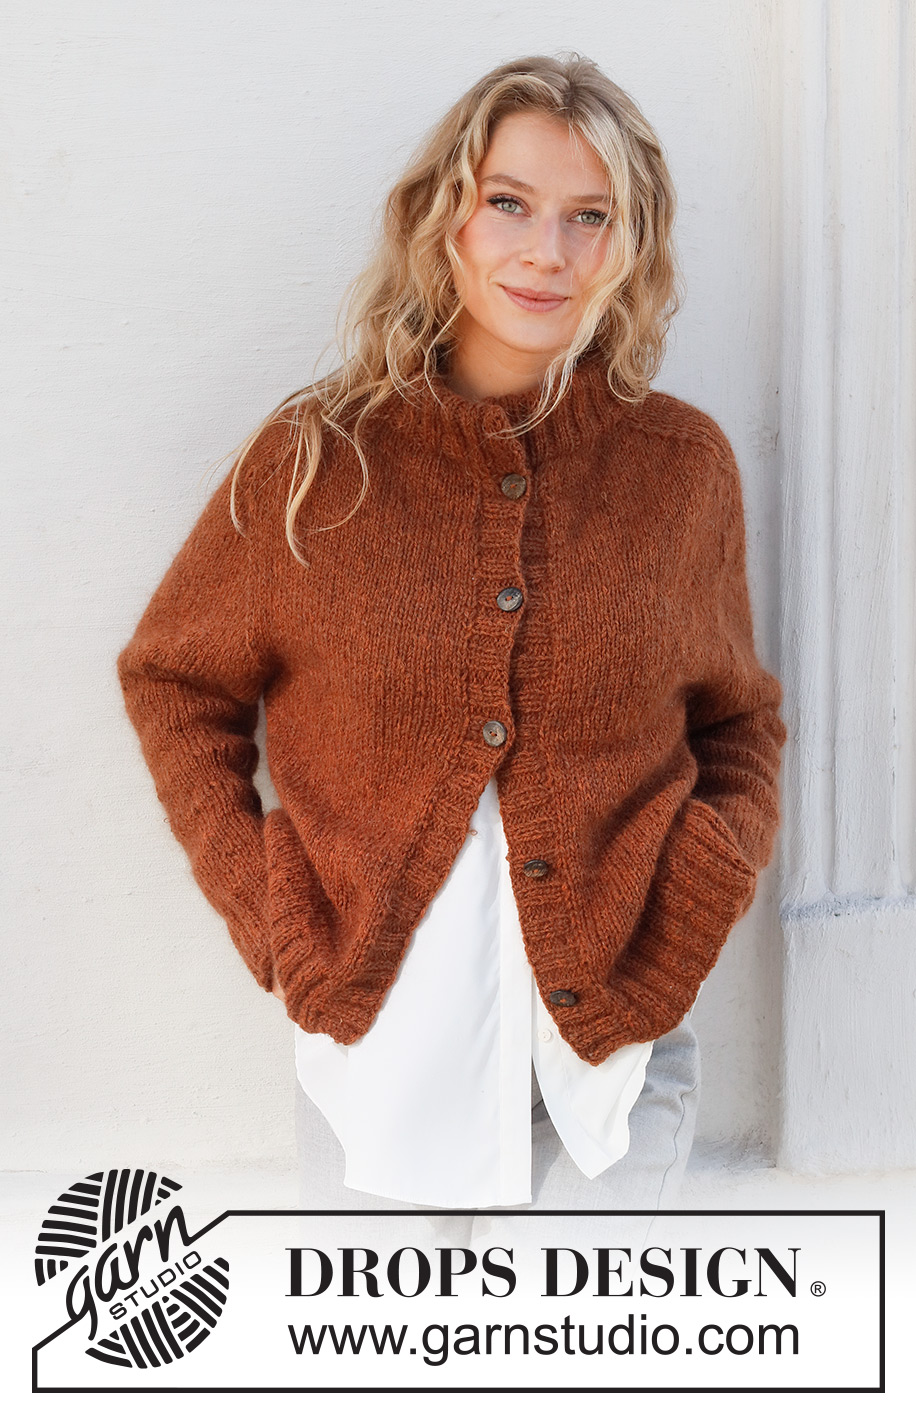
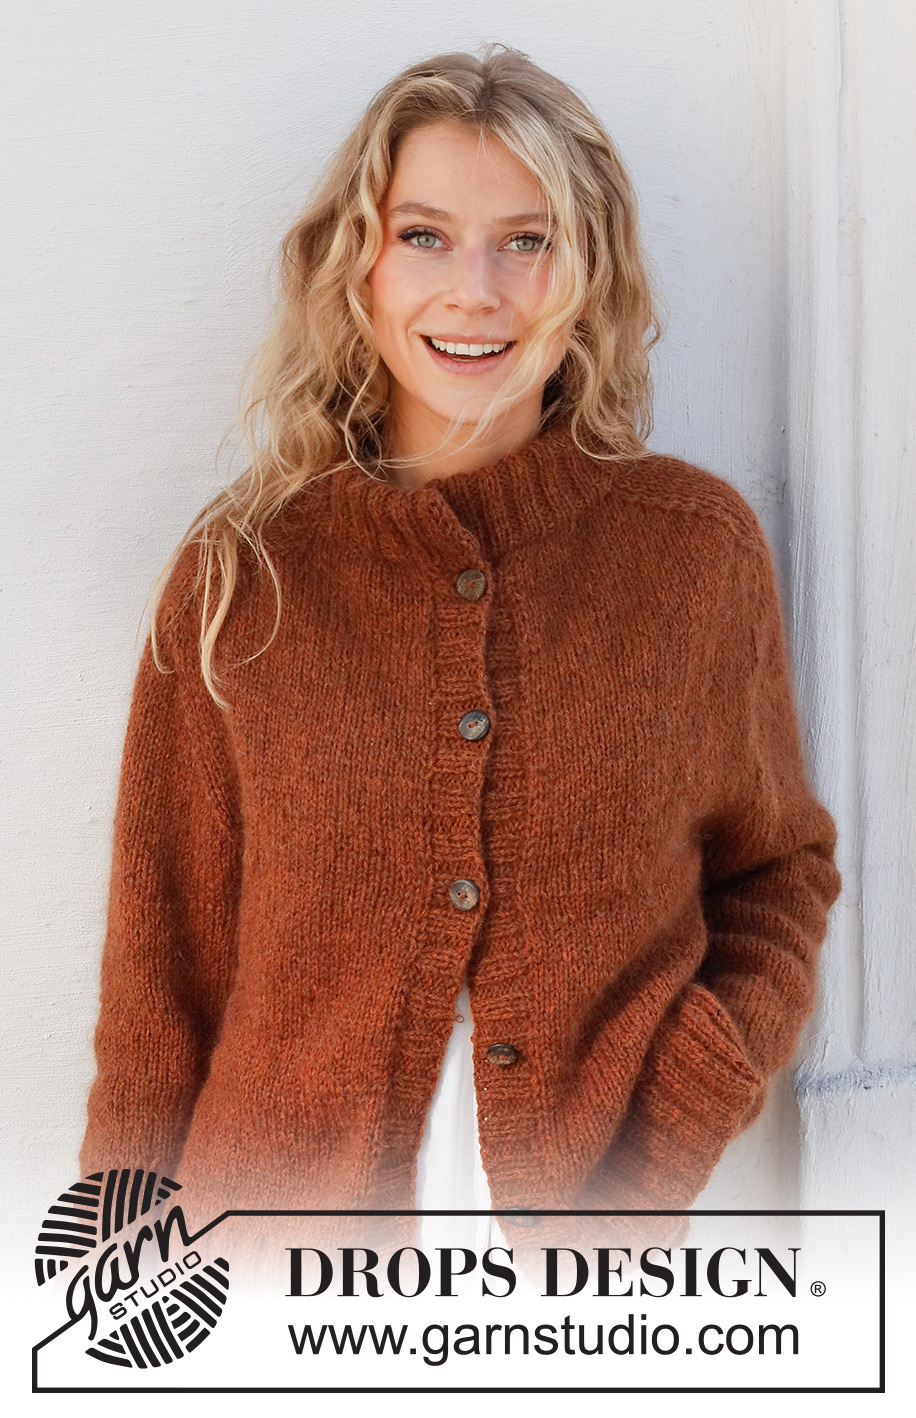
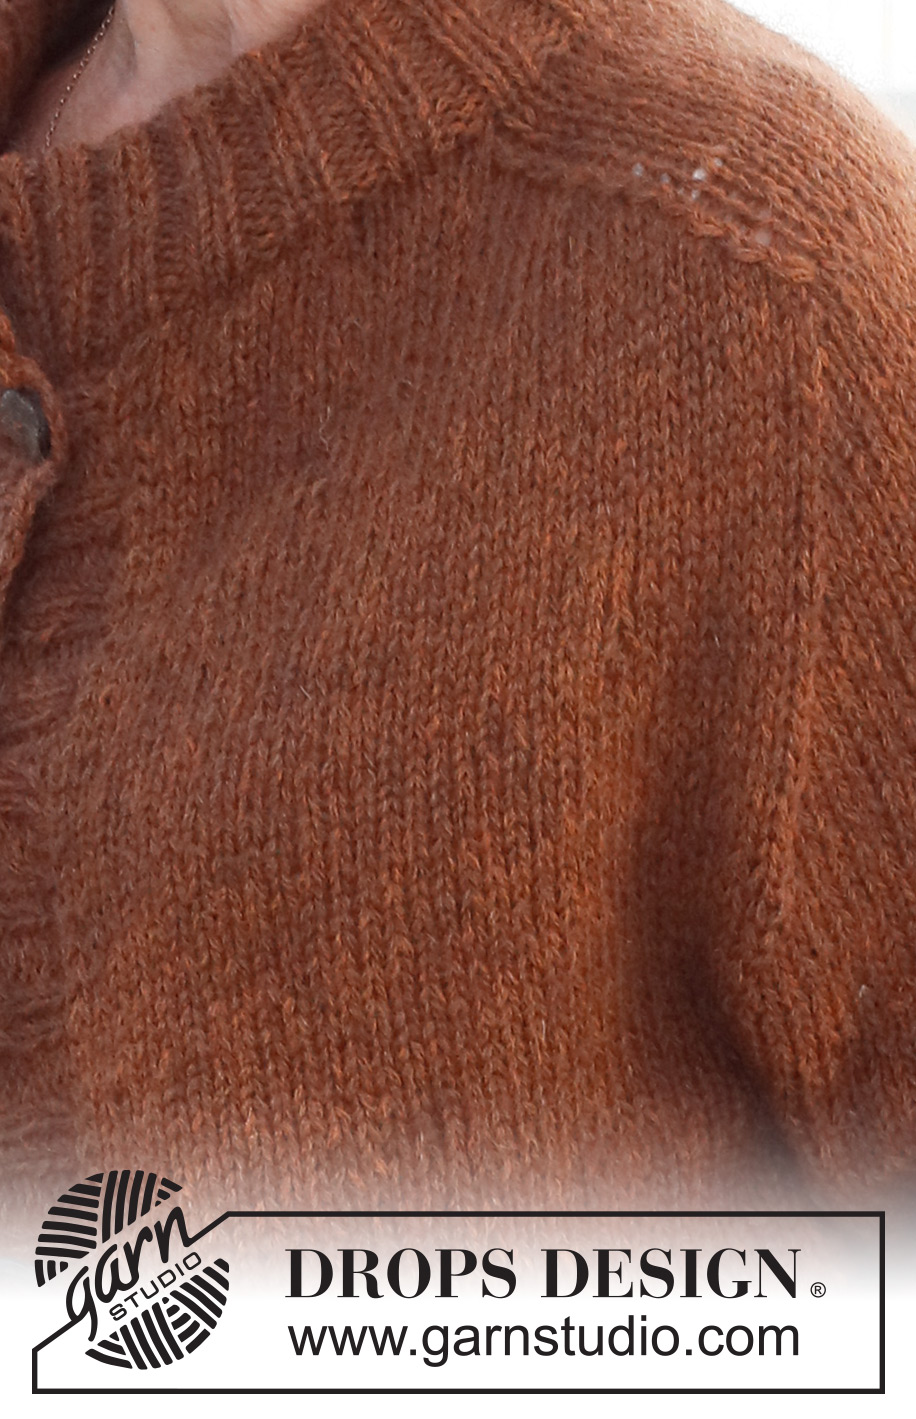
Toffee Apple Jacket#toffeeapplejacket |
|
 |
 |
Knitted jacket in DROPS Sky and DROPS Kid-Silk. The piece is worked with saddle shoulders, double neck, split and ribbed edges. Sizes S - XXXL.
DROPS 228-25 |
|
|
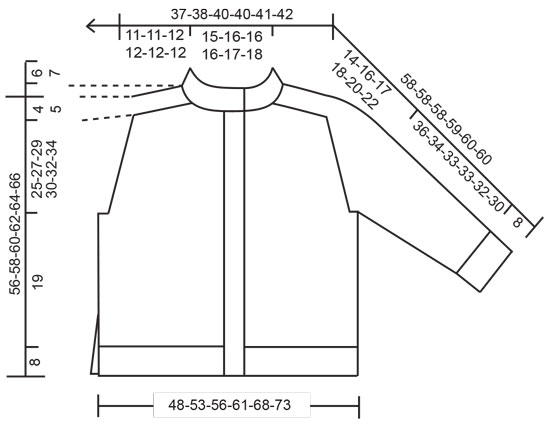
------------------------------------------------------- EXPLANATIONS FOR THE PATTERN: ------------------------------------------------------- RIDGE/GARTER STITCH (worked back and forth): Knit all rows. 1 ridge = knit 2 rows. DECREASE TIP-1 (evenly spaced): To work out how to decrease evenly, count the total number of stitches on needle (e.g. 47 stitches) minus the edge stitches (e.g. 5 stitches) and divide the remaining stitches by the number of decreases to be made (e.g. 9) = 4.7. In this example decrease by knitting together approx. each 4th and 5th stitch. Do not decrease the edge stitches DECREASE TIP-2 (for sleeves and shoulders): All decreases are worked from the right side! BEFORE MARKER: Work until there are 3 stitches left before the marker, knit 3 together (= 2 stitches decreased). AFTER MARKER: Slip 1 stitch as if to knit, knit 2 together and pass the slipped stitch over the knitted together stitches (2 stitches decreased). DECREASE TIP-3 (for sleeves): BEFORE MARKER: Work until there are 2 stitches left before the marker, knit 2 together (1 stitch decreased). AFTER MARKER: Slip 1 stitch as if to knit, knit 1 and pass the slipped stitch over the knitted stitch (1 stitch decreased). INCREASE TIP (for sides of sleeves): All increases are worked from the right side. Increase 1 stitch on the inside of the 1 edge stitch in garter stitch and 1 stocking stitch by making 1 yarn over. On the next row purl the yarn over twisted to avoid a hole. Then work the new stitch in stocking stitch. KNITTING TIP: If the knitting tension is wrong it will affect the yoke measurements. If you work too loosely/tightly the garment will be too long/short. If the piece is too short, work extra rows before decreasing. CASTING-OFF TIP: To avoid the cast-off edge being tight you can cast off with a larger size needle. If the edge is still tight, make 1 yarn over after approx. each 4th stitch at the same time as casting off; the yarn overs are cast off as normal stitches. ------------------------------------------------------- START THE PIECE HERE: ------------------------------------------------------- JACKET – SHORT OVERVIEW OF THE PIECE: The front and back pieces are worked separately, back and forth and bottom up as far as the armholes. The sleeves are worked back and forth and placed on the same circular needle as the front and back pieces. The yoke is continued back and forth from mid-front. Decreases are worked for the saddle shoulders. Stitches are knitted up for the bands, which are worked in rib. The neck is worked in rib and the piece is sewn together to finish. RIGHT FRONT PIECE: Cast on 47-51-55-59-67-71 stitches with circular needle size 4.5 mm and 1 strand of each quality (= 2 strands). Purl 1 row from the wrong side. Then work as follows from the right side (from mid-front): 1 edge stitch in GARTER STITCH – read description above, * knit 2, purl 2 *, work from *-* until there are 6 stitches left, knit 2 and 4 edge stitches in garter stitch. Continue this rib back and forth for 8 cm. Knit 1 row from the right side where you decrease 9-9-10-10-13-13 stitches evenly spaced – read DECREASE TIP-1 = 38-42-45-49-54-58 stitches. Change to circular needle size 5.5 mm and work as follows from the wrong side: 4 edge stitches in garter stitch (= side), purl until there is 1 stitch left and 1 edge stitch in garter stitch (mid-front). Continue with stocking stitch and 1 edge stitch in garter stitch towards mid-front and 4 edge stitches in garter stitch towards the side. REMEMBER THE KNITTING TENSION! Work until the piece measures 27 cm – adjust so the next row is from the wrong side. There is approx. 29-31-33-35-37-39 cm left to the top of the shoulder. On the next row cast off 3-3-4-4-5-5 stitches at the beginning of the row (armhole) and work to the end of the row = 35-39-41-45-49-53 stitches. Cut the strand. Lay the piece to one side. LEFT FRONT PIECE: Cast on 47-51-55-59-67-71 stitches with circular needle size 4.5 mm and 1 strand of each quality (= 2 strands). Purl 1 row from the wrong side. Then work as follows from the right side: 4 edge stitches in garter stitch, * knit 2, purl 2 *, work from *-* until there are 3 stitches left, knit 2 and 1 edge stitch in garter stitch. Continue this rib back and forth for 8 cm. Knit 1 row from the right side where you decrease 9-9-10-10-13-13 stitches evenly spaced – remember DECREASE TIP-1 = 38-42-45-49-54-58 stitches. Change to circular needle size 5.5 mm and work as follows from the wrong side: 1 edge stitch in garter stitch, purl until there are 4 stitches left and 4 edge stitches in garter stitch. Continue with stocking stitch and 4 edge stitches in garter stitch towards the side and 1 edge stitch in garter stitch towards mid-front. Work until the piece measures 27 cm – adjust so the next row is from the wrong side. There is approx. 29-31-33-35-37-39 cm left to the top of the shoulder. On the next row cast off 3-3-4-4-5-5 stitches at the end of the row (armhole) = 35-39-41-45-49-53 stitches. Cut the strand. Lay the piece to one side. BACK PIECE: Cast on 94-106-114-122-134-146 stitches with circular needle size 4.5 mm and 1 strand of each quality (= 2 strands). Purl 1 row from the wrong side. Then work as follows from the right side: 4 edge stitches in garter stitch, * knit 2, purl 2 *, work from *-* until there are 6 stitches left, knit 2 and 4 edge stitches in garter stitches. Continue this rib back and forth for 8 cm. Knit 1 row from the right side where you decrease 18-22-24-24-26-30 stitches evenly spaced = 76-84-90-98-108-116 stitches. Change to circular needle size 5.5 mm and purl 1 row from the wrong side with 4 edge stitches in garter stitch on each side. Continue with stocking stitch and 4 edge stitches in garter stitch on each side. Work until the piece measures 27 cm – adjust so the next row is worked from the right side. There is approx. 29-31-33-35-37-39 cm left up to the shoulder. Cast off 3-3-4-4-5-5 stitches for the armholes at the beginning of the next 2 rows = 70-78-82-90-98-106 stitches. Cut the strand. Lay the piece to one side. SLEEVES: Cast on 44-44-48-48-52-52 stitches with circular needle size 4.5 mm and 1 strand of each quality (= 2 strands). Purl 1 row from the wrong side. Then work as follows from the right side: 1 edge stitch in garter stitch, * knit 2, purl 2 *, work from *-* until there are 3 stitches left, knit 2 and 1 edge stitch in garter stitch. Continue this rib back and forth for 8 cm. Knit 1 row where you decrease 8-6-8-6-8-8 stitches evenly placed = 36-38-40-42-44-44 stitches. Change to circular needle size 5.5 mm and purl 1 row from the wrong side with 1 edge stitch in garter stitch on each side. Continue with stocking stitch and 1 edge stitch in garter stitch on each side. When the sleeve measures 10-9-10-11-10-12 cm, increase 1 stitch on each side – read INCREASE TIP. Increase like this every 4-3½-2½-2-2-1½ cm a total of 9-10-12-14-15-16 times = 54-58-64-70-74-76 stitches. Continue working until the sleeve measures 44-42-41-41-40-38 cm – adjust so the next row is worked from the right side. There is approx. 25-27-29-30-32-34 cm left to finished length – try the sleeve on and work to desired length. Cast off 3-3-4-4-5-5 stitches for the armhole at the beginning of the next 2 rows = 48-52-56-62-64-66 stitches. Cut the strand. Lay the piece to one side. Work the other sleeve in the same way. YOKE: Place all the sections on circular needle size 5.5 mm (without working the stitches) as follows: Place the 35-39-41-45-49-53 stitches from the right front piece on the needle, then 48-52-56-62-64-66 sleeve stitches, 70-78-82-90-98-106 stitches from the back piece, 48-52-56-62-64-66 sleeve stitches and 35-39-41-45-49-53 stitches from the left front piece = 236-260-276-304-324-344 stitches on the needle. Insert 4 markers, without working the stitches and insert each between 2 stitches as follows. Marker 1: Count 39-41-43-44-45-47 stitches, insert the marker before the next stitch (this is now the right front piece). Marker 2: Count 40-48-52-64-72-78 stitches, insert the marker before the next stitch (right sleeve). Marker 3: Count 78-82-86-88-90-94 stitches, insert the marker before the next stitch (back piece). Marker 4: Count 40-48-52-64-72-78 stitches, insert the marker before the next stitch (this is now the left sleeve). There are 39-41-43-44-45-47 stitches after the last marker (= left front piece). Allow the 4 markers to follow your work onwards; you decrease for the shoulders at each marker. Read KNITTING TIP and work stocking stitch back and forth for 1-0-0-1-0-0 cm with 1 edge stitch in garter stitch on each side towards mid-front. Decrease for the sleeves as follows. SLEEVE-DECREASES: Decrease 8 stitches as follows (does not apply to size S): On the next row from the right side, decrease 2 stitches AFTER markers 1 and 3 and BEFORE markers 2 and 4 – read DECREASE TIP-2. You only decrease on the sleeves; the number of stitches on the front and back pieces remains the same. Decrease like this every 2nd row (each row from the right side) a total of 0-1-2-7-8-9 times = 236-252-260-248-260-272 stitches. On the next row from the right side decrease 4 stitches as follows (all sizes): Decrease 1 stitch AFTER markers 1 and 3 and BEFORE markers 2 and 4 – read DECREASE TIP-3. Decreases are only on the sleeves; the number of stitches on the front and back pieces remains the same. Decrease like this every 2nd row (each row from the right side) a total of 13-15-15-10-12-13 times = 184-192-200-208-212-220 stitches. After the last decrease the piece measures approx. 14-16-17-18-20-22 cm from where the sections were joined. SADDLE SHOULDER-DECREASES: On the next row from the right side decrease 8 stitches as follows: Decrease 2 stitches BEFORE markers 1 and 3 and AFTER markers 2 and 4 – remember DECREASE TIP-2. You only decrease on the front and back pieces; the number of stitches on the sleeves remains the same. Decrease like this every 2nd row (each row from the right side) a total of 11-11-12-12-12-12 times = 96-104-104-112-116-124 stitches. After the last decrease the piece measures approx. 25-27-29-30-32-34 cm from where the sections were joined. Knit 1 row from the right side where you decrease 22-26-26-30-30-34 stitches evenly spaced – remember DECREASE TIP-1 = 74-78-78-82-86-90 stitches. Leave these stitches on the needle or place them on a thread and work the bands as described below. RIGHT BAND: Start from the right side at the bottom of the right front piece and knit up, inside the 1 edge stitch, 92-96-100-100-104-108 stitches along the front piece with circular needle size 4.5 mm and 1 strand of each quality (= 2 strands). Make sure the edge is not tight; knit up more stitches if necessary. The number of stitches should be divisible by 4. Work the first row from the wrong side as follows: 1 edge stitch in garter stitch, * purl 2, knit 2 *, work from *-* until there are 3 stitches left, purl 2 and 1 edge stitch in garter stitch. Continue this rib for 1½ cm. Now work 5-5-5-6-6-6 buttonholes evenly spaced. 1 BUTTONHOLE = work 2 stitches together, make 1 yarn over (it is neatest to purl 2 together in the purled sections seen from the right side). On the next row knit the yarn overs to leave holes. The top buttonhole is worked 1 to 1½ cm from the top edge, the bottom buttonhole 8 cm up from the bottom edge. Continue the rib until the band measures 3 to 3½ cm. Cast off with knit over knit and purl over purl – read CASTING-OFF TIP. LEFT BAND: Start from the right side at the top of the left front piece and knit up inside the 1 edge stitch the same number of stitches as on the right front piece with circular needle size 4.5 mm and 1 strand of each quality (= 2 strands). Work the first row from the wrong side as follows: 1 edge stitch in garter stitch, * purl 2, knit 2 *, work from *-* until there are 3 stitches left, purl 2 and 1 edge stitch in garter stitch. Work until the band is the same length as the right band. Cast off with knit over knit and purl over purl – remember CASTING-OFF TIP. DOUBLE NECK: Start from the right side at the top of the right band and knit up 7 stitches, inside the 1 edge stitch, along the top of the band with circular needle size 4.5 mm and 1 strand of each quality (= 2 strands), knit the 74-78-78-82-86-90 stitches from the needle/thread and knit up 7 stitches inside the 1 edge stitch along the top of the left band = 88-92-92-96-100-104 stitches. The first row is worked as follows from the wrong side: 1 edge stitch in garter stitch, * purl 2, knit 2 *, work from *-* until there are 3 stitches left, purl 2 and 1 edge stitch in garter stitch. Continue this rib for 10-10-10-12-12-12 cm. Now increase all purl-2 to purl-3 (seen from the right side) = 109-114-114-119-124-129 stitches. Continue working until the neck measures 13-13-13-15-15-15 cm (or to desired length). Cast off with knit over knit and purl over purl – read CASTING-OFF TIP. Fold the neck double to the inside and sew down. To avoid the neck being tight and rolling outwards, it is important that the seam is elastic. Sew together the openings at the top of the bands. ASSEMBLY: Sew the sleeve seams in the outermost loop of the outermost stitch so the seam is flat (2 edge stitches in garter stitch visible along the seam). Sew the side seams, starting at the bottom of the armholes and working down, sewing in the outermost loop of the outermost stitch so the seam is flat. Leave a 15 cm split at the bottom (8 edge stitches in garter stitch visible along the seam). Sew together the openings under the sleeves. Sew the buttons onto the left band. |
|
 |
|
Have you finished this pattern?Tag your pictures with #dropspattern #toffeeapplejacket or submit them to the #dropsfan gallery. Do you need help with this pattern?You'll find 30 tutorial videos, a Comments/Questions area and more by visiting the pattern on garnstudio.com. © 1982-2026 DROPS Design A/S. We reserve all rights. This document, including all its sub-sections, has copyrights. Read more about what you can do with our patterns at the bottom of each pattern on our site. |
|


With over 40 years in knitting and crochet design, DROPS Design offers one of the most extensive collections of free patterns on the internet - translated to 17 languages. As of today we count 324 catalogues and 12290 patterns translated into English (UK/cm). 12290
We work hard to bring you the best knitting and crochet have to offer, inspiration and advice as well as great quality yarns at incredible prices! Would you like to use our patterns for other than personal use? You can read what you are allowed to do in the Copyright text at the bottom of all our patterns. Happy crafting!
Post a comment to pattern DROPS 228-25
We would love to hear what you have to say about this pattern!
If you want to leave a question, please make sure you select the correct category in the form below, to speed up the answering process. Required fields are marked *.