
Popular categories
Looking for a yarn?


Comments / Questions (101)
![]() Marie-Laure Bougant wrote:
Marie-Laure Bougant wrote:
Si je comprends bien, il ne faut pas tricoter 48 mailles après les mailles rabattues mais seulement 47 ?
07.10.2022 - 12:19DROPS Design answered:
Bonjour Mme Bougant, lorsque vous rabattez les 9 premières mailles, il vous reste une maille sur l'aiguille droite, tricotez les 47 mailles suivantes = vous avez maintenant 48 mailles jersey. Bon tricot!
07.10.2022 - 13:56
![]() Marie-Laure Bougant wrote:
Marie-Laure Bougant wrote:
Bonjour, J’ai un problème pour le début de la partie 2 (je tricote en L) : je ne peux tricoter 47 mailles car il ne m’en reste que 45 + les 10 m mousse. Merci de votre aide Marie-Laure
06.10.2022 - 18:48DROPS Design answered:
Bonjour Mme Bougant, vous aviez 118 m, vous avez rabattu 9 m et tricoté 48 m jersey, glissé 2 m sur l'aiguille à torsades et tricoté 3 m ens à l'end (= vous avez glissé 49 m en attente), il vous reste sur l'aiguille les 2 m de l'aiguille à torsades + les 47 m jersey + les 10 m point mousse et vous diminuez 1 m puis rabattez 9 m pour l'emmanchure = 49 m. Notez que la maille qui reste après avoir rabattu les 9 premières mailles est la première des mailles en jersey. Bon tricot!
07.10.2022 - 08:43
![]() Marie-Laure Bougant wrote:
Marie-Laure Bougant wrote:
Bonjour, pour le dos, je ne comprends pas ce que veut dire « quand l’ouvrage mesure 26…31 cm tricoter 2 côtes mousse au-dessus des 6…16 mailles de chaque côté. » Merci
18.09.2022 - 23:38DROPS Design answered:
Bonjour Marie-Laure, cela veut dire que vous devez tricoter 6-8-10-12-14-16 premieres et dernieres mailles dans 4 rangs suivants au point mousse (toujours a l'endroit - sur l'endroit et sur l'envers). Vous allez obtenir 2 cotes mousse de cote des emmanchures. Bon tricot!
19.09.2022 - 08:46
![]() Anna wrote:
Anna wrote:
Buongiorno Sto lavorando la misura M. Lo vorrei un po' più lungo come potrei fare x gli aumenti? Grazie
26.08.2022 - 10:25DROPS Design answered:
Buonasera Anna, può lavorare una lunghezza maggiore prima di iniziare gli aumenti. In ogni caso per un'assistenza personalizzata può rivolgersi al suo rivenditore DROPS di fiducia. Buon lavoro!
29.08.2022 - 23:10
![]() Jutta wrote:
Jutta wrote:
Beim abnehmen für Arm und V-Ausschnitt sieht es in der Zeichnung so aus, als ob beide Abnahmen gleichzeitig enden. Das kommt aber nicht hin. Ich muss für Gr. M am Arm 17 x in jeder 2.r abketten und am V-Ausschnitt 7 x in jeder r und dann auch 17x in jeder 2.R. Beginnen soll man aber gleichzeitig mit abketten. Da müsste doch in der Zeichnung am Armausschnitt ein Stück gerade sein.
19.08.2022 - 11:46DROPS Design answered:
Liebe Jutta, stimmt, Maßskizze ist aber standard, nehmen Sie für Armausschnitt und Halsausschnitt ab genau wie bei der schrifltichen Erklärung beschrieben ist. Viel Spaß beim stricken!
19.08.2022 - 11:54
![]() Huleux Justine wrote:
Huleux Justine wrote:
Bonjour, je tricote ce modèle en taille S. Sur le devant à 26cm de hauteur nous avons 98 mailles. 5m à rabattre + 42 mailles jersey + 2 maille sur épingle + 3mailles ensemble + 43 maille = 95 mailles et non 98. Que fais-je ?
15.08.2022 - 00:40DROPS Design answered:
Bonjour Mme Huleux, ce sont en fait ces 46 mailles que vous mettez en attente (= les 45 mailles tricotées + la diminution (les 3 m ens à l'end) et vous tricotez les mailles restantes pour le côté gauche du devant: PARTIE-2: les 2 m de l'aiguille à torsade (à tricoter ensemble) et les 44 m suivantes + les 8 m point mousse. Bon tricot!
15.08.2022 - 09:02
![]() Marie-ange Froment wrote:
Marie-ange Froment wrote:
Que veut dire:"ajuster pour que le rgsoit un rg3ou7de A2? ou se trouve le diagramme A2? merci
12.08.2022 - 23:01DROPS Design answered:
Bonjour Mme Froment, il fallait lire A.1 et non A.2 (correction faite, merci pour votre retour); vous devez ajuster la hauteur en cm (tricotez plus ou moins de 26-27-28-29-30-31 cm de sorte que le tour suivant soit un rang 3 ou bien un rang 7 de A.1. Bon tricot!
15.08.2022 - 07:54
![]() Vilarinho Luce wrote:
Vilarinho Luce wrote:
Après un rang endroit que veut dire pousser les mailles de nouveau au début de l’aiguille serrer le fil et tricoter à l’endroit sur l’endroit de nouveau
26.07.2022 - 20:51
![]() Anna wrote:
Anna wrote:
Buona serata Sto lavorando la misura S Ho un problema con il davanti Dove dice : a 26 cm fare 2 coste a legaccio Poi chiudere 5 mg x lo scalfo Ma debbo fare anche l'altro lato chiudere le 5 maglie? Grazie
26.07.2022 - 19:54DROPS Design answered:
Buongiorno Anna, deve lavorare come indicato perchè in quel punto le 5 maglie dell'altro lato verranno intrecciate nella parte 2. Buon lavoro!
27.07.2022 - 15:13
![]() Eleonora wrote:
Eleonora wrote:
Hi there! Sorry, I don’t quite understand this part ‘ work 2 ridges over the outermost 6-8-10-12-14-16 stitches on each side (the other stitches are continued in stocking stitch)’. Does it mean I have to cast off these 6-16 stitches?
23.07.2022 - 08:01DROPS Design answered:
Dear Eleonora, for the first time you have to work ridge edge on both sides of the piece: so you work 6-8-10-12-14-16 st garter st, then knit to the last 6-8-10-12-14-16 st and work these 6-8-10-12-14-16 sts garter st. Continue this way till you have 2 ridges on each side of piece. After the 2 ridges, cast off 5-7-9-11-13-15 stitches at the beginning of the next 2 rows (i.e. on each side of piece - just above the ridges) for the armholes = 88-94-100-108-118-128 sts. In this way bottom of the armholes will have nice ridge edge. Happy knitting!
23.07.2022 - 10:08
|
||||||||||||||||
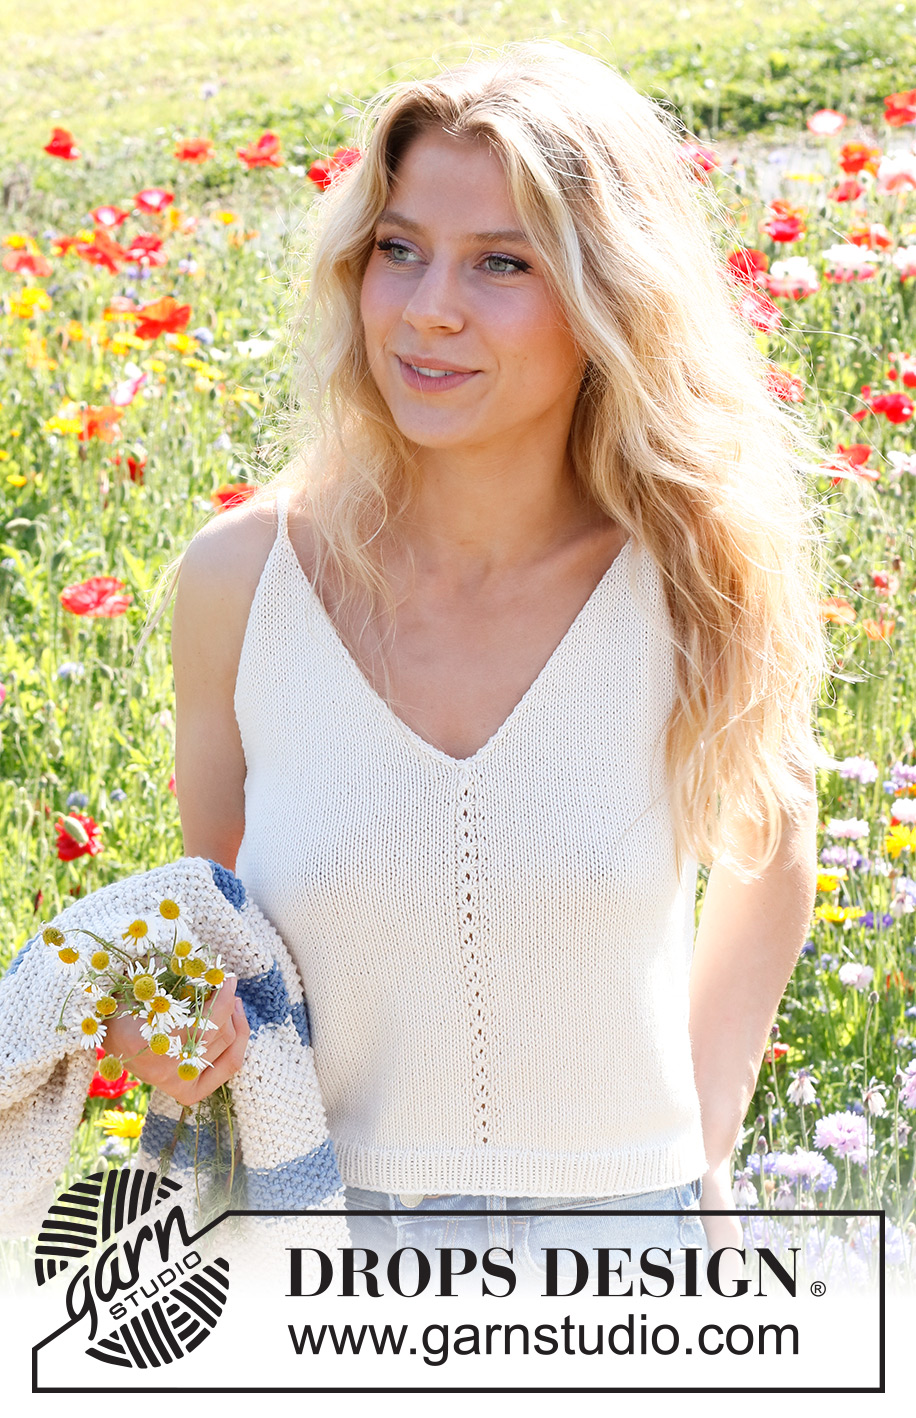
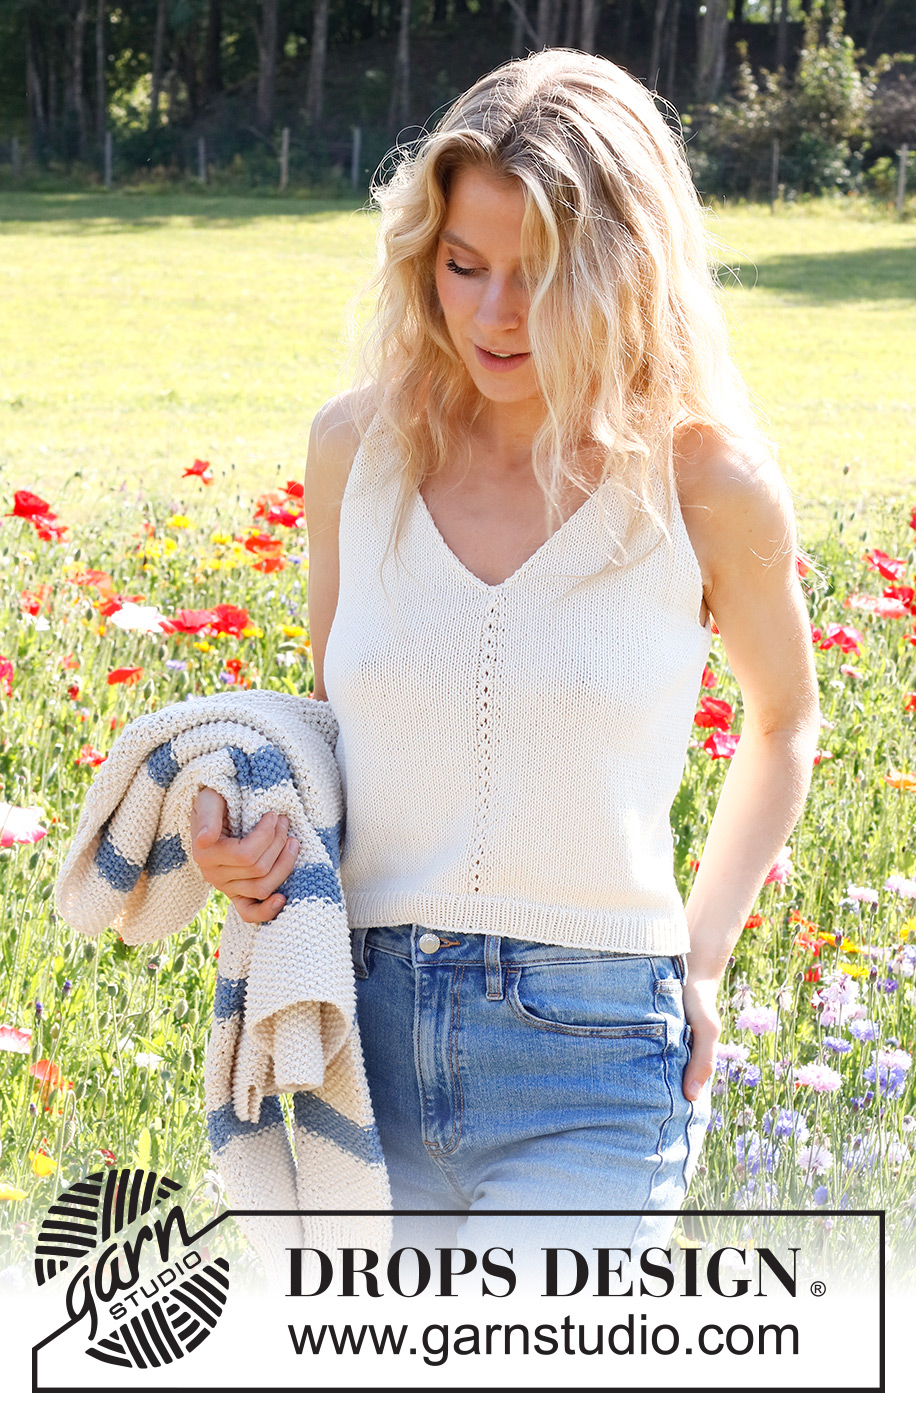
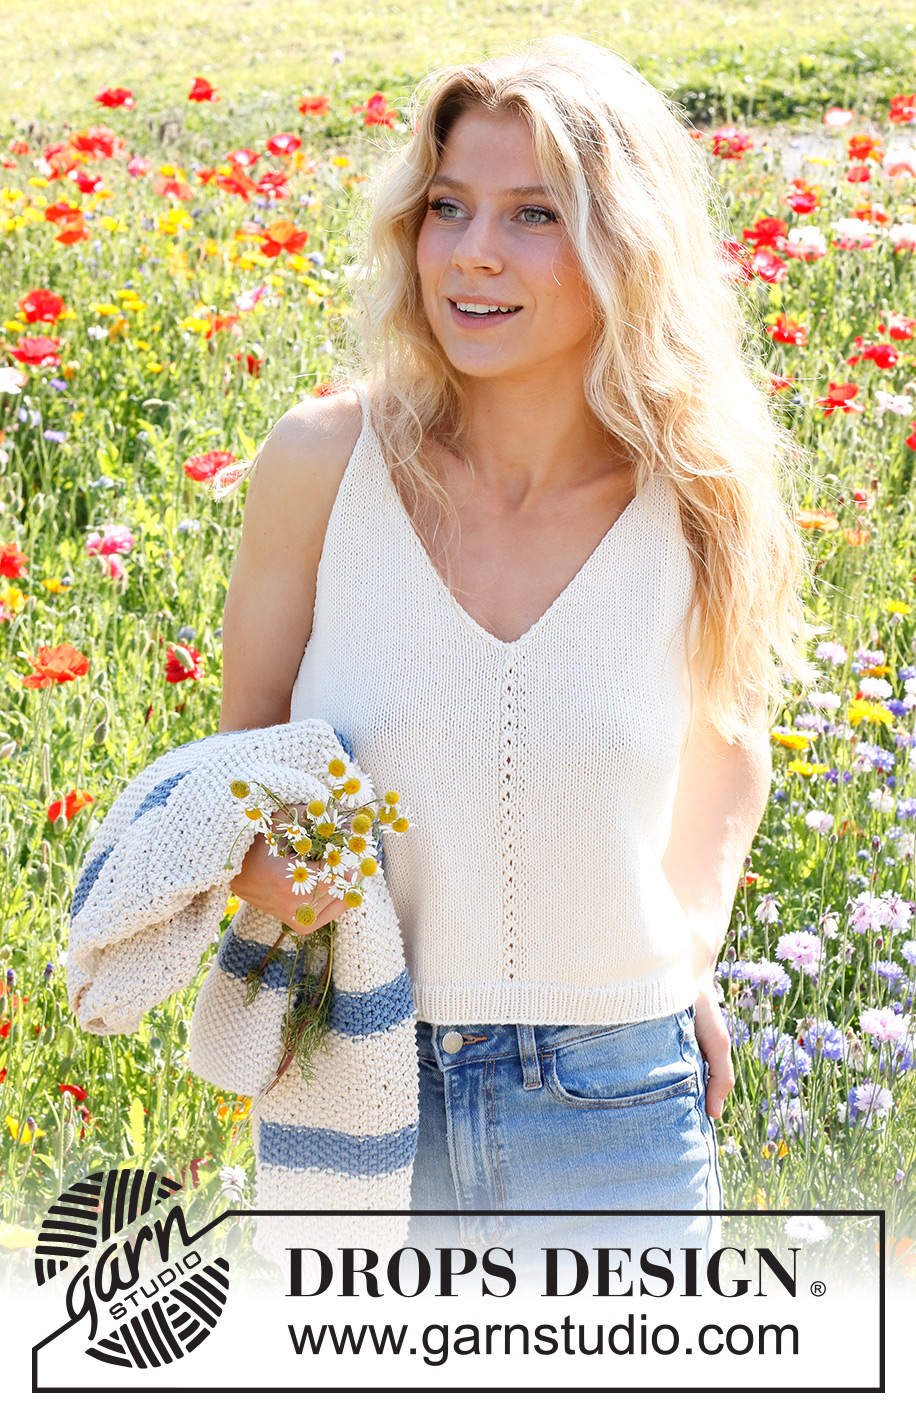
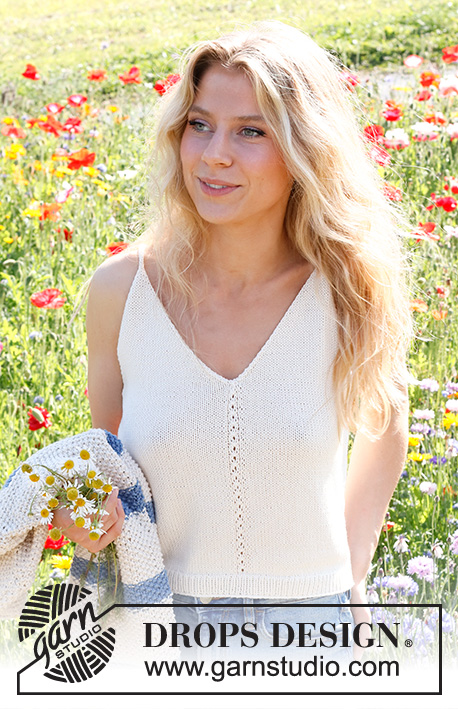
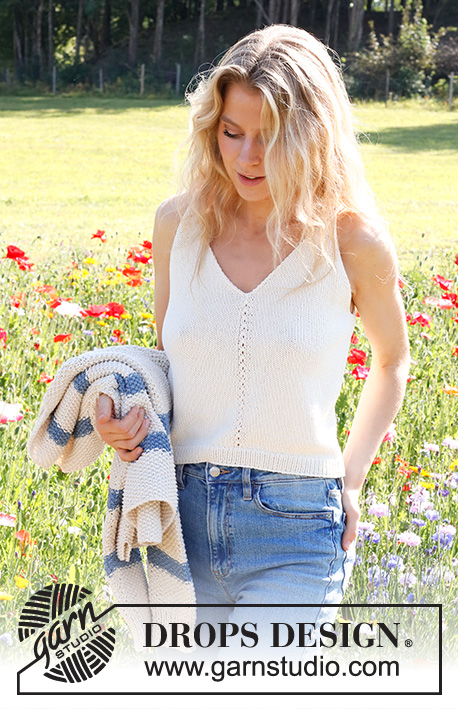
White Sails#whitesailstop |
||||||||||||||||
 |
 |
|||||||||||||||
Knitted top in DROPS Safran. The piece if worked bottom up in stocking stitch. Sizes S - XXXL.
DROPS 230-1 |
||||||||||||||||
|
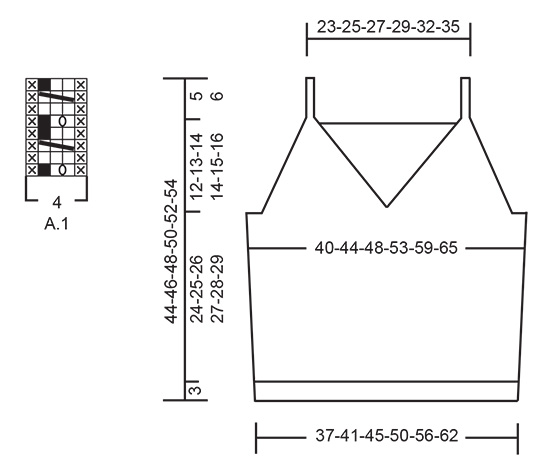
------------------------------------------------------- EXPLANATIONS FOR THE PATTERN: ------------------------------------------------------- RIDGE/GARTER STITCH (worked back and forth): Knit all rows. 1 ridge = knit 2 rows. PATTERN: See diagram A.1. The diagram shows all rows in the pattern from the right side. INCREASE TIP (sides): All increases are worked from the right side. Increase 1 stitch inside the 2 outermost stitches by making 1 yarn over. On the next row purl the yarn over twisted to avoid a hole. Then work the new stitch in stocking stitch. DECREASE TIP (for the armholes and V-neck): FROM THE RIGHT SIDE: After the 1 edge stitch: Slip 1 stitch as if to knit, knit 1 and pass the slipped stitch over the knitted stitch (= 1 stitch decreased). Before the 1 edge stitch: Work until there are 3 stitches left, knit 2 together, 1 edge stitch in garter stitch (= 1 stitch decreased). FROM THE WRONG SIDE: After the 1 edge stitch: Purl 2 together (= 1 stitch decreased). Before the 1 edge stitch: Work until there are 3 stitches left, purl 2 twisted together, edge stitch in garter stitch (= 1 stitch decreased). ------------------------------------------------------- START THE PIECE HERE: ------------------------------------------------------- TOP – SHORT OVERVIEW OF THE PIECE: The back and front pieces are worked separately, back and forth and bottom up. Straps are worked on the front piece, then sewn onto the back piece. BACK PIECE: Cast on 100-112-122-136-150-166 stitches with needle size 2.5 mm and DROPS Safran. Purl 1 row from the wrong side, then work rib (knit 1, purl 1), with 1 edge stitch in GARTER STITCH on each side – read description above. When the rib measures 3 cm, knit 1 row from the right side where you decrease 10-12-12-14-14-16 stitches evenly spaced = 90-100-110-122-136-150 stitches. Change to needle size 3 mm. Work stocking stitch back and forth with 1 edge stitch in garter stitch on each side. REMEMBER THE KNITTING TENSION! When the piece measures 6 cm, increase 1 stitch on each side – read INCREASE TIP. Increase like this every 6 cm a total of 4 times on each side = 98-108-118-130-144-158 stitches. When the piece measures 26-27-28-29-30-31 cm, work 2 ridges over the outermost 6-8-10-12-14-16 stitches on each side (the other stitches are continued in stocking stitch). After the 2 ridges, cast off 5-7-9-11-13-15 stitches at the beginning of the next 2 rows for the armholes = 88-94-100-108-118-128 stitches. Continue with stocking stitch and 1 edge stitch in garter stitch on each side. AT THE SAME TIME on the first row from the right side decrease 1 stitch on each side for the armholes – read DECREASE TIP. Decrease like this every 2nd row (each row from the right side) a total of 16-17-18-19-21-22 times = 56-60-64-70-76-84 stitches. Knit 1 row from the right side where you increase 7-7-7-7-9-9 stitches evenly spaced = 63-67-71-77-85-93 stitches. Change to needle size 2.5 mm. Work rib as follows from the wrong side: 1 edge stitch in garter stitch, * purl 1, knit 1 *, work from *-* until there are 2 stitches left, purl 1 and1 edge stitch in garter stitch. Continue this rib for 3 cm. Cast off a little loosely. FRONT PIECE: Cast on 100-112-122-136-150-166 stitches with needle size 2.5 mm and DROPS Safran. Purl 1 row from the wrong side, then work rib (knit 1, purl 1) with 1 edge stitch in garter stitch on each side. When the rib measures 3 cm, knit 1 row from the right side where you decrease 10-12-12-14-14-16 stitches evenly spaced = 90-100-110-122-136-150 stitches. Change to needle size 3 mm. Work stocking stitch back and forth with 1 edge stitch in garter stitch on each side. Purl 1 row from the wrong side with 1 edge stitch in garter stitch on each side. The next row is worked as follows from the right side: 1 edge stitch in garter stitch, 42-47-52-58-65-72 stitches in stocking stitch, A.1, 42-47-52-58-65-72 stitches in stocking stitch and 1 edge stitch in garter stitch. Continue this pattern. When the piece measures 6 cm, increase 1 stitch on each side. Increase like this every 6 cm a total of 4 times on each side = 98-108-118-130-144-158 stitches. When the piece measures 26-27-28-29-30-31 cm (adjust so the next row is either row 3 or 7 in A.1), work 2 ridges over the outermost 6-8-10-12-14-16 stitches on each side (the other stitches are continued in stocking stitch and pattern as before). After the 2 ridges work the next row from the right side as follows: Cast off 5-7-9-11-13-15 stitches for the armhole, work 42-45-48-52-57-62 stitches in stocking stitch, place the next 2 stitches on a cable needle in front of the piece, knit the next 3 stitches together and place these 43-46-49-53-58-63 stitches on a thread or extra needle = PART-1. PART-2: Knit twisted together the 2 stitches from the cable needle, work 41-44-47-51-56-61 stitches in stocking stitch and 6-8-10-12-14-16 stitches in garter stitch. Turn, cast off 5-7-9-11-13-15 stitches for the armhole, work stocking stitch until there is 1 stitch left and 1 stitch in garter stitch = 43-46-49-53-58-63 stitches. OVERVIEW OF THE NEXT SECTION: Continue with stocking stitch and 1 edge stitch in garter stitch on each side. AT THE SAME TIME on the first row from the right side, begin to decrease for the armhole and V-neck. Decrease inside the 1 edge stitch – read DECREASE TIP; the decreases are different for the armhole and neck - read ARMHOLE and V-NECK before continuing. ARMHOLE: Decrease every 2nd row (each row from the right side) a total of 16-17-18-19-21-22 times. V-NECK: Decrease every row (both right side and wrong side) a total of 7-7-9-9-13-17 times, then every 2nd row (each row from the right side) 15-17-17-18-17-17 times. After all the decreases there are 5-5-5-7-7-7 stitches left for the strap. STRAP: = 5-5-5-7-7-7 stitches. Knit 1 row from the right side, * push the stitches back to the beginning of the needle, tighten the strand and knit the 5-5-5-7-7-7 stitches from the right side again *, work from *-* until the strap measures 9-9-10-11-11-11 cm – work to desired length; the strap is sewn to the back piece later. Cut the strand, pull it through the 5-5-5-7-7-7 stitches, tighten and fasten well. PART-1: Place the 43-46-49-53-58-63 stitches from PART-1 back on needle size 3 mm. Work stocking stitch back and forth with 1 edge stitch in garter stitch on each side. AT THE SAME TIME on the first row from the right side, begin to decrease for the armhole and V-neck in the same way as on PART-2 = 5-5-5-7-7-7 stitches left for the strap. Work the strap in the same way as on part-2. ASSEMBLY: Sew the straps to the back piece – outermost on each side. Sew the side seams inside the 1 edge stitch. |
||||||||||||||||
Diagram explanations |
||||||||||||||||
|
||||||||||||||||
 |
||||||||||||||||
Have you finished this pattern?Tag your pictures with #dropspattern #whitesailstop or submit them to the #dropsfan gallery. Do you need help with this pattern?You'll find 27 tutorial videos, a Comments/Questions area and more by visiting the pattern on garnstudio.com. © 1982-2026 DROPS Design A/S. We reserve all rights. This document, including all its sub-sections, has copyrights. Read more about what you can do with our patterns at the bottom of each pattern on our site. |
||||||||||||||||


With over 40 years in knitting and crochet design, DROPS Design offers one of the most extensive collections of free patterns on the internet - translated to 17 languages. As of today we count 324 catalogues and 12290 patterns translated into English (UK/cm). 12290
We work hard to bring you the best knitting and crochet have to offer, inspiration and advice as well as great quality yarns at incredible prices! Would you like to use our patterns for other than personal use? You can read what you are allowed to do in the Copyright text at the bottom of all our patterns. Happy crafting!
Post a comment to pattern DROPS 230-1
We would love to hear what you have to say about this pattern!
If you want to leave a question, please make sure you select the correct category in the form below, to speed up the answering process. Required fields are marked *.