
Popular categories
Looking for a yarn?






























Comments / Questions (310)
 Catherine wrote:
Je suis à l’étape bordure en crochet. Je ne comprend les points à faire . Si je fais un maille serré puis une maille en l’air puis une autre maille serrée je me trouve avec des mailles sur le crochet . Merci pour votre aide
06.08.2026 - 10:40DROPS Design answered:
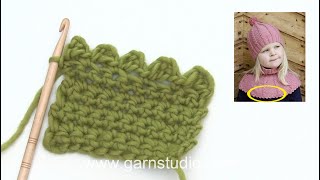
Bonjour Catherine, dans cette vidéo nous montrons comment réaliser cette bordure, notez qu'ici vous ne crochetez qu'1 ml entre chaque maille serrée, au rang suivant, vous crochèterez des picots comme dans cette autre vidéo, en même temps, vous sauterez 1 ms sur 2. Bon crochet!
06.08.2026 - 18:51
 Lotta wrote:
Måste det vara på rundstickor ? Går inte vanliga stickor bra?
23.07.2026 - 15:34DROPS Design answered:
Hej Lotta, absolout, sånt bestämmer man själv :)
04.08.2026 - 14:08
 Ingrid wrote:
Schlage ich die 2 Maschen für den Halsausschnitt am rechten Vorderteil bei der Schräge vorne an nach der Randmasche? Beim linken Vorderteil 2 Maschen bei der Schräge abnehmen wo? Und warum einmal anschlagen und beim anderen Teil abnehmen? Dankeschön
22.07.2026 - 18:36DROPS Design answered:
Liebe Ingrid, diese 2 neuen Maschen sind für den Halsausschnitt so beim linken Vorderteil werden diese 2 Maschen am Ende einer Hinreihe angeschlagen. Beim rechten Vorderteil werden diese 2 Maschen am Ende einer Rückreihe angeschlagen; diese 2 Maschen werden 2 Mal angeschlagen (4 M insgesamt), dann wird man die neuen Maschen für den Halsausschnitt Rückenteil inzwischen anschlagen. Viel Spaß beim Stricken!
07.08.2026 - 07:58
Lena Hedlund wrote:
Bonjour, J’ai essayé de trouver le/les vidéos pour ce modèle, mais sans succès. Il y a des vidéos d’autres modèles layette, mais aucun pour celui-ci… Merci d’avance
19.07.2026 - 21:06DROPS Design answered:
Bonjour Lena, ou est le probleme? Specifiez svp.
20.07.2026 - 10:38
 Alison wrote:
Ich stricke die Grösse 68/74. Es steht NUN WIRD DIE ARBEIT AB DEN SCHUMTERMARKIERUNGEN GEMESSEN und ich soll nach 71/2 cm Ärmelmaschen abketten. Wo wird gemessen? Wo entlang? Die Ärmeltiefe ist jetzt schon 9 cm? Danke
18.07.2026 - 22:34DROPS Design answered:
Liebe Alison, die Arbeit messen Sie ab Markierung, die am Ende Vorderteile eingesetzt wurden, dh: wenn es Weiter mit kraus re bis zu einer Gesamthöhe von (20) 24-28-30-32 (36-40) cm stricken. Nun 1 Markierung in der Mitte der R setzen = mitten auf der Schulter - die Arb wird nun ab hier gemessen. Viel Spaß beim Stricken!
07.08.2026 - 07:11
Gudrun Carlsson wrote:
Fattar inte riktigt på axlarna hur jag ska sticka detta: .Dessutom stickas det 1 v rätt från avigsidan i slutet på framst efter att det har lagts upp m mot halsen så att sista v på både höger och vänster framst är stickade från avigsidan.
18.07.2026 - 18:08DROPS Design answered:
Hei Gudrun. Hva mer nøyaktig er det du ikke skjønner med axlarna? Husk du strikker høyre framstykke sammen / samtidig som det legges opp masker til høyre erme og det samme med venstre framstk / erme. Begge avsluttes med en pinne fra vrangen, slik at neste pinne (når man skal begynne på bakstykket) strikkes fra retten. Da strikkes først venstre forstykket/erme med en pinne fra retten, det legges opp masker til bakstykket og pinnen avsluttes med høyre forstykke/erme , fremdeles fra retten. mvh DROPS Design
04.08.2026 - 08:04
Ingrid wrote:
Schlage ich die 2 Maschen für den Halsausschnitt am rechten Vorderteil bei der Schräge vorne an nach der Randmasche? Beim linken Vorderteil 2 Maschen bei der Schräge abnehmen wo? Und warum einmal anschlagen und beim anderen Teil abnehmen? Dankeschön
17.07.2026 - 06:15
 Monica wrote:
Buongiorno, sto lavorando questo giacchino. Mi sembra dalle fotografie che le maniche abbiano dei polsini, che nelle spiegazioni però non ci sono...mi sbaglio??
22.06.2026 - 16:30DROPS Design answered:
Buonasera Monica, sono le maniche che vengono risvoltate. Buon lavoro!
23.06.2026 - 22:47
Anja wrote:
Wo finde ich die Videotutorials zu dieser Jacke?
11.05.2026 - 11:51DROPS Design answered:
Liebe Anja, die finden Sie unter Tab "Videos" oben, rechts vom Tab "Anleitung" - sollten Sie eine Frage haben, können Sie sie gerne hier stellen. Viel Spaß beim Stricken!
11.05.2026 - 16:13
 Margriet wrote:
Wat een prachtig vestje! Ik ben helaas niet handig met de rondbreinaalden, hoe kan ik het ook op gewone pennen breien? Dank bij voorbaat!
09.05.2026 - 15:28DROPS Design answered:
Dag Margriet,
Om een patroon aan te passen om op rechte naalden te breien hebben we een instructie gemaakt. Deze vind je hier Helaas is dit niet voor alle patronen geschikt.
De reden dat er op rondbreinaalden gewerkt wordt voor het vest is omdat je op een gegeven moment een groot aantal steken op de naald hebt (een beetje afhankelijk van de maat natuurlijk). Als je een kleine maat maakt, zou je dit eventueel op rechte naalden kunnen doen.
18.05.2026 - 20:30
|
|
Bedtime Stories#bedtimestoriescardigan |
|
 |
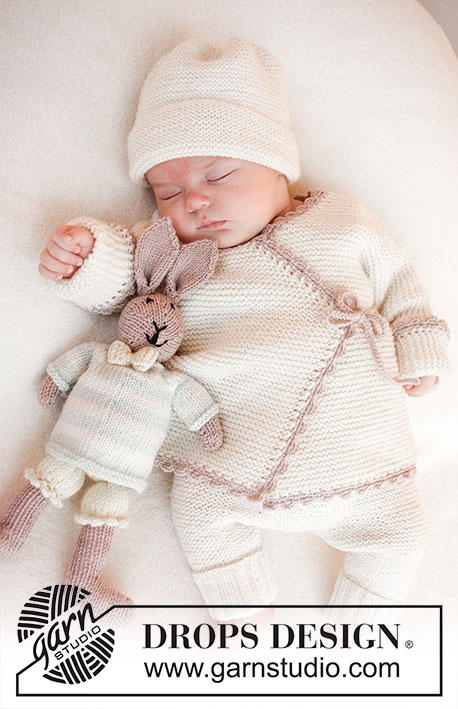 |
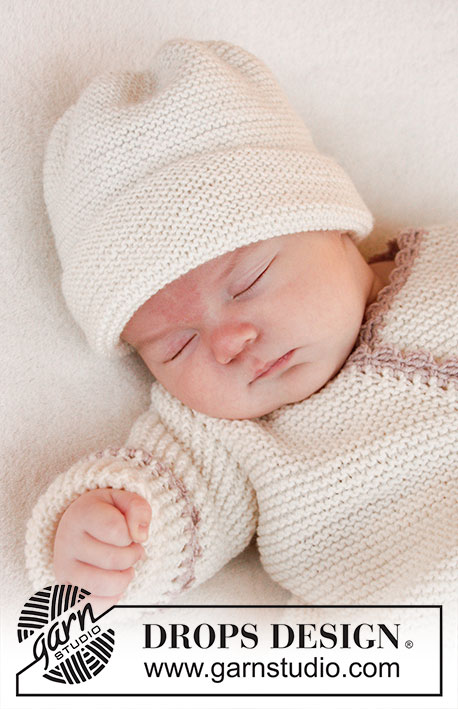
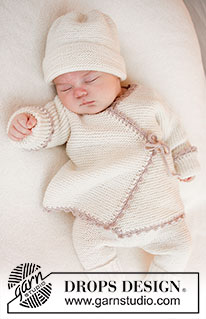
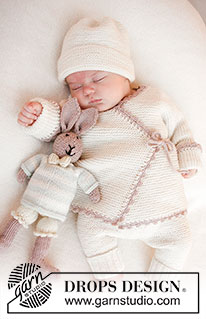
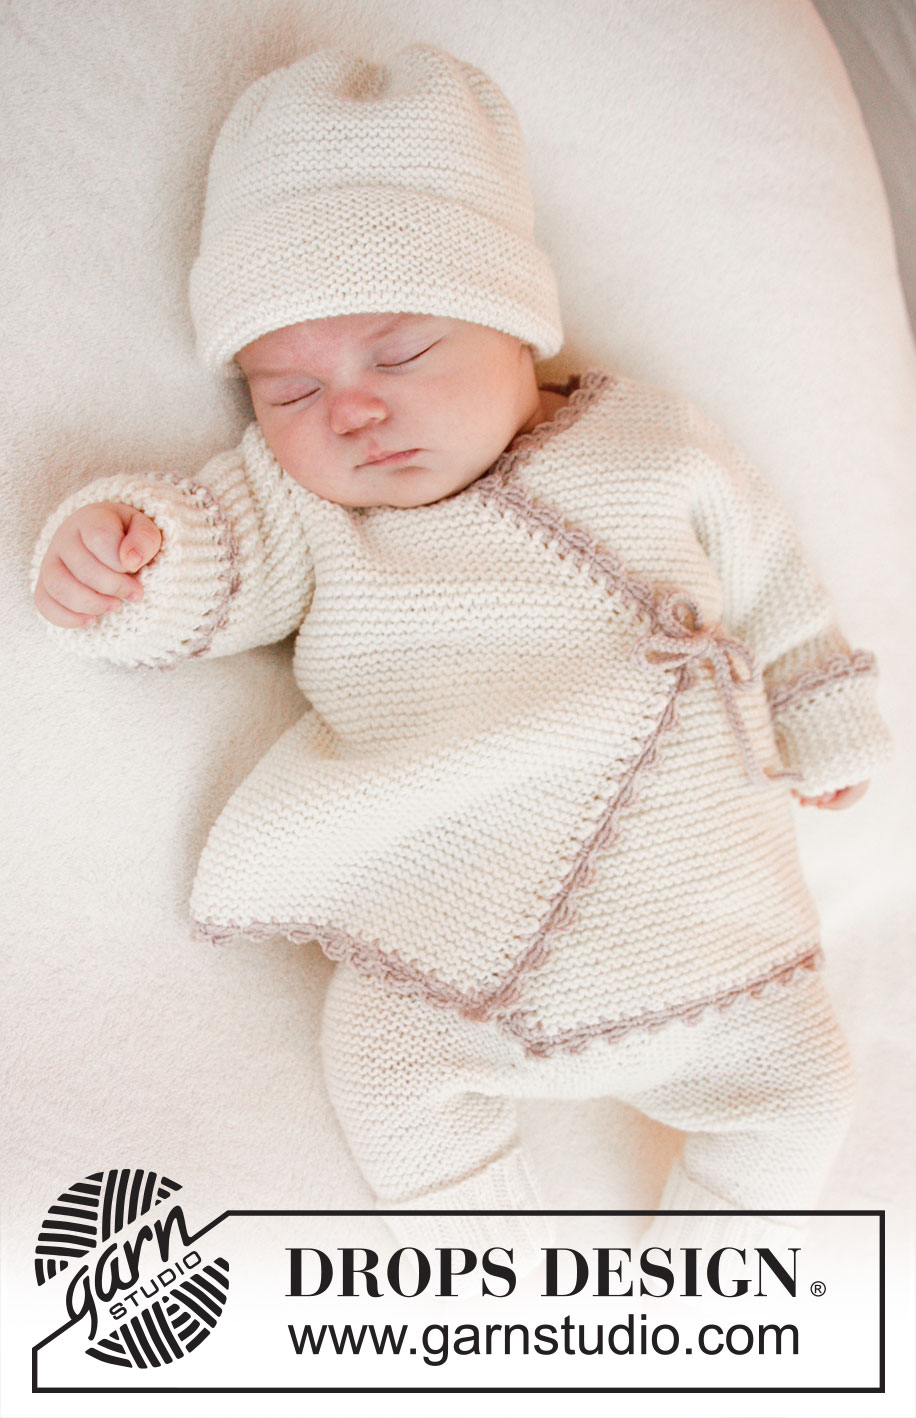
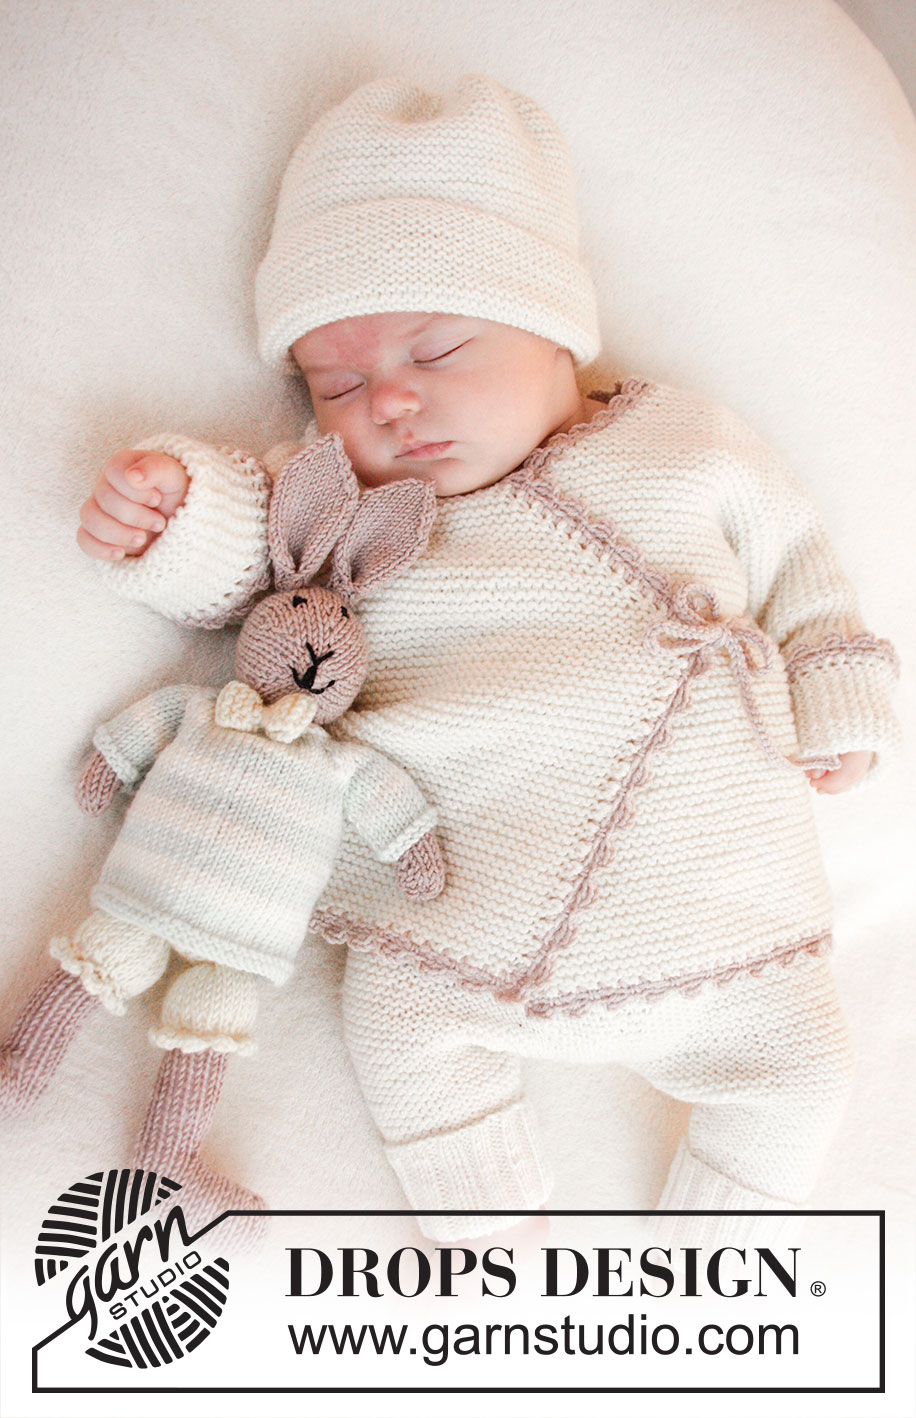
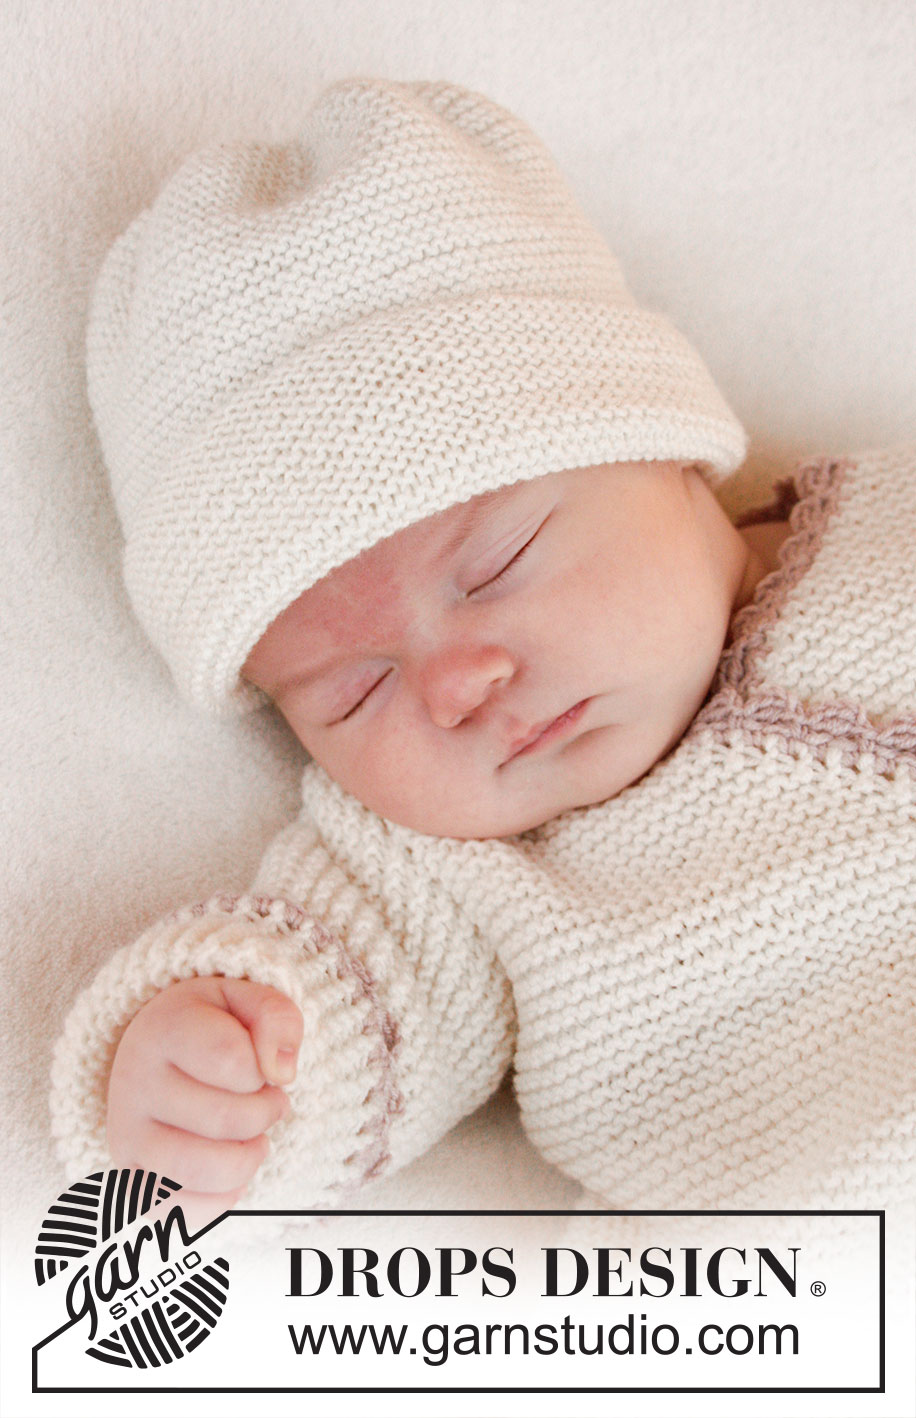
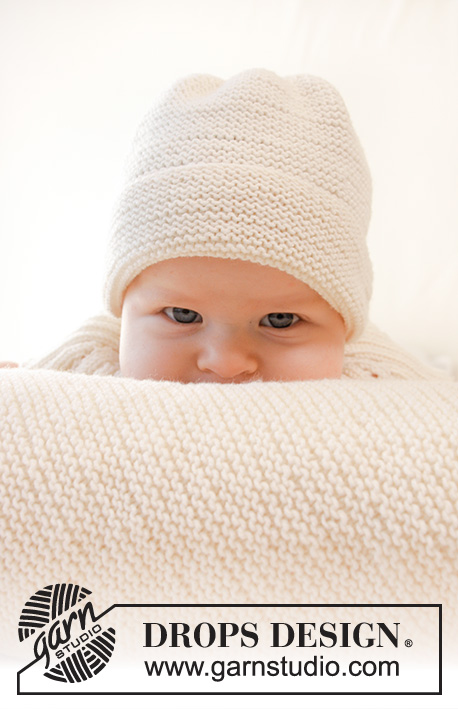
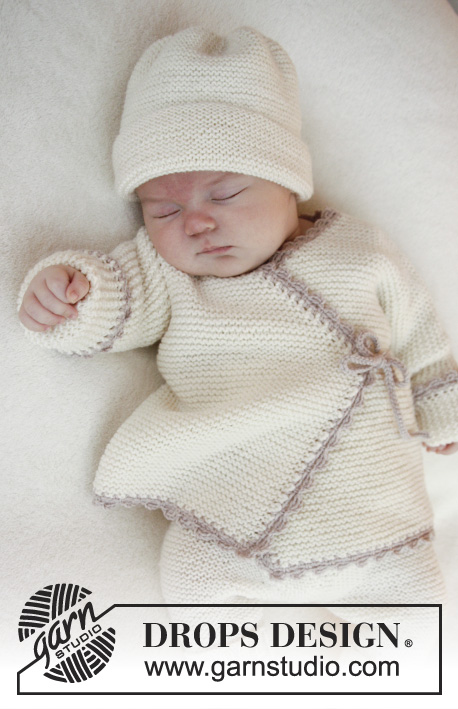
Knitted wrap cardigan in garter st and crochet edge for baby in DROPS BabyMerino. Size premature - 4 years
DROPS Baby 25-11 |
|
|
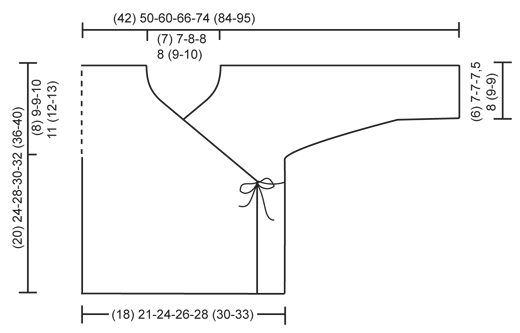
GARTER ST (back and forth on circular needle): K all rows. DECREASE TIP: Dec inside 1 edge st in garter st. All dec are done from RS! Dec after 1 edge st as follows: Slip 1 st as if to K, K 1, psso. Dec before 1 edge st as follows: K 2 tog. ---------------------------------------------------------- CARDIGAN: Worked back and forth on circular needle. Beg on front piece, cast on sts for sleeve and work up to the shoulder. Work the other front piece, place both front pieces tog and work down the back piece. RIGHT FRONT PIECE: LOOSELY cast on (34) 37-44-48-52 (55-62) sts on circular needle size 3 mm with off white and work in GARTER ST - see explanation above (1st row = RS). READ ALL OF THE FOLLOWING SECTION BEFORE CONTINUING! When piece measures (9) 12-16-16-17 (20-23) cm (adjust so that next row is worked from RS), dec 1 st for neck inside 1 edge st at beg of row - READ DECREASE TIP. Repeat dec on every other row (i.e. every row from RS) (17) 17-21-23-25 (27-31) more times (= (18) 18-22-24-26 (28-32) dec in total), then dec every 4th row (i.e. every other row from RS) 2 times in total. AT THE SAME TIME when piece measures (12) 15-19-20-21 (24-27) cm cast on new sts at the end of row towards the side of sleeve as follows: (3) 4-6-6-6 (6-6) sts (4) 4-4-5-6 (7-8) times in total and then (16) 19-19-18-19 (23-26) sts 1 time. After all inc and dec there are (42) 52-63-70-79 (90-102) sts on the needle for shoulder/sleeve. Continue in garter st until piece measures (20) 24-28-30-32 (36-40) cm / (8”) 9½”-11”-11¾”-12½” (14¼”-15¾”). Insert 1 marker in the middle sts = mid on top of shoulder. Piece is measured from here – AT THE SAME TIME cast on 2 new sts at the end of row towards the neck, repeat inc on next row towards neck = (46) 56-67-74-83 (94-106) sts (last row = WS). Put all sts on a stitch holder. LEFT FRONT PIECE: Cast on and work as right but reversed (i.e. dec for neck inside 1 edge st at the end of row from RS (instead of at the beg of row from RS). In addition K 1 row from WS at the end of front piece after casting on sts towards the neck so that last row on both right and left front piece is worked from WS. BACK PIECE: Work left front piece on to circular needle (= K from RS), cast on (8) 8-10-10-12 (14-16) new sts (= back of neck) and work right front piece on to circular needle (= K from RS) = (100) 120-144-158-178 (202-228) sts. NOW MEASURE PIECE FROM MARKERS ON SHOULDERS. Continue to work in garter st back and forth on needle. When piece measures (6) 7-7-7½-8 (9-9) cm, cast off sleeve sts as follows: Cast off at beg of every row in each side as follows: (16) 19-19-18-19 (23-26) sts 1 time and (3) 4-6-6-6 (6-6) sts (4) 4-4-5-6 (7-8) times in total = (44) 50-58-62-68 (72-80) sts on needle. Continue until piece measures approx. (20) 24-28-30-32 (36-40) cm – fold piece at the markers on shoulders and check that front and back pieces are the same length – loosely cast off. ASSEMBLY: Sew side and sleeve seams tog edge to edge in front loop of outermost sts. CROCHET EDGE: Work on hook size 2.5 mm with light beige around the entire opening on cardigan as follows: ROUND 1: 1 dc in first st, * 1 ch, skip approx. 2 sts, 1 dc in next st *, repeat from *-* but in a corner where dec for neck beg work tie as follows: 1 dc in tip, then work ch for approx. 20-25 cm, turn and work 1 sl st in every ch on return, then work 1 dc in tip of front piece again, continue crochet border around the cardigan until the tip of the other front piece, crochet another tie as on first front piece, continue around the rest of the cardigan and finish with 1 sl st in first dc from beg of round. ROUND 2: 1 dc in first ch, * 4 ch, 1 tr in 4th ch from hook, skip 1 dc + 1 ch + 1 dc, work 1 dc in next ch *, repeat from *-* the entire round (make sure to work over ties so that they are at the bottom), finish with 1 sl st in first dc from beg of round. Work both rounds the same way at the bottom around both sleeves. Then work another tie, similar to the one in each tip, on the inside of the seam in the right side and on the outside of the seam in the left side – make sure that the ties are at the same height as tips on front pieces. |
|
 |
|
Have you finished this pattern?Tag your pictures with #dropspattern #bedtimestoriescardigan or submit them to the #dropsfan gallery. Do you need help with this pattern?You'll find 15 tutorial videos, a Comments/Questions area and more by visiting the pattern on garnstudio.com. © 1982-2026 DROPS Design A/S. We reserve all rights. This document, including all its sub-sections, has copyrights. Read more about what you can do with our patterns at the bottom of each pattern on our site. |
|






With over 40 years in knitting and crochet design, DROPS Design offers one of the most extensive collections of free patterns on the internet - translated to 17 languages. As of today we count 333 catalogues and 12525 patterns translated into English (UK/cm). 12525
We work hard to bring you the best knitting and crochet have to offer, inspiration and advice as well as great quality yarns at incredible prices! Would you like to use our patterns for other than personal use? You can read what you are allowed to do in the Copyright text at the bottom of all our patterns. Happy crafting!
Post a comment to pattern DROPS Baby 25-11
We would love to hear what you have to say about this pattern!
If you want to leave a question, please make sure you select the correct category in the form below, to speed up the answering process. Required fields are marked *.