
Popular categories
Looking for a yarn?































Comments / Questions (310)
 Hanne Solum wrote:
Hvor er oppskriftene til bukse og lue?
08.09.2026 - 10:17DROPS Design answered:
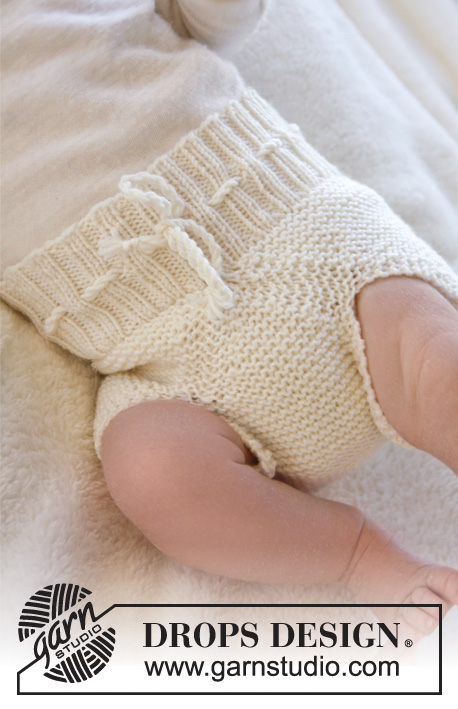
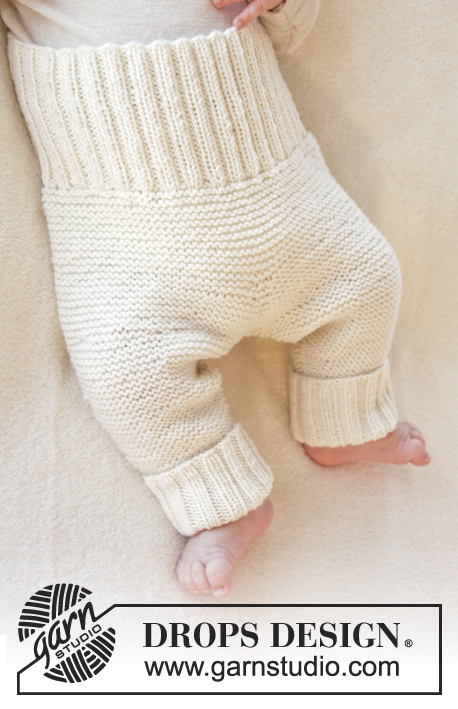
Hej Hanne, Her finder du hele kataloget : DROPS Baby 25 DROPS 25-7 er bukserne og DROPS 25-10 er luen :)
08.09.2026 - 10:28
 Annedorte wrote:
Kan jeg erstatte retstrikning med glatstrikning (ret/vrang) uden problemer
03.09.2026 - 09:29DROPS Design answered:
Hei Annedorte, Det kan du. Rettstrikk er strammere oppover, men ikke i bredden, så hvis du følger lengdemålene burde oppskriften kunne strikkes som gitt. Hilsen Drops Team.
05.09.2026 - 07:08
Mona wrote:
Grei å strikke, men hvor finner jeg oppskrift til buksen og luen ?
03.09.2026 - 00:36DROPS Design answered:
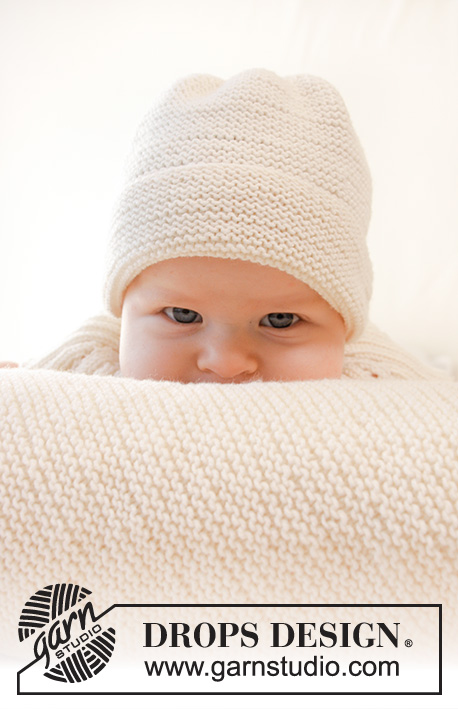
Hei Mona, Klikk på småbildene under "Du vil kanskje også like", så får du de andre oppskriften. Hilsen Drops Team.
05.09.2026 - 07:05
 Anja wrote:
Hallo, Ich verstehe nicht ganz, wo ich die Markierung auf der Schulter setzen soll. In der Mitte der Reihe oder mittig des Schulterstücks? Danke. VG Anja
26.08.2026 - 22:26DROPS Design answered:
Liebe Anja, die Markierung setzen Sie in die Maschen/zwischen Maschen in der Mitte der Reihe, das ist jetzt das oberste Teil vom Schulter und Arbeit wird dann ab diese Markierung gemessen. Viel Spaß beim Stricken!
28.08.2026 - 07:11
 Joke wrote:
Ha. Ik vertelden de tennis, dat heel de familie was voorzien van breiwerk na m'n heupoperatie, waarop een as oma vroeg of ik iets voor haar wilde breien, ik heb dit patroon uitgezocht. Inmiddels al 4x gebreid ivm allemaal zwangerschappen in de omgeving g...een fantastisch kraamkado...dank voor dit.
19.08.2026 - 16:16
Loes wrote:
Moet ik voor de achterpand 10 of 20 nieuwe steken opzetten?
19.08.2026 - 09:18DROPS Design answered:
Dag Loes,
Je breit eerst de steken over het linker voorpand, dan zet je zet (8) 8-10-10-12 (14-16) nieuwe steken op en dan brei je het rechter voorpand De nieuwe steken zitten nu dus tussen het rechter en linker voorpand.
19.08.2026 - 09:42
 Marta wrote:
Even though you advised to read the whole section of the right piece before continuing, it was still not clear to me from the wording that the extra sleeve stitches come in between the neck decreases, and I had to frog my work. I think a more precise wording would be possible to avoid this situation.
16.08.2026 - 11:16
 Lotta wrote:
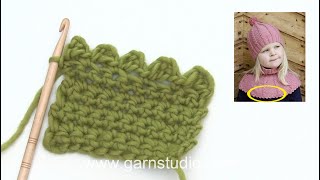
Undrar kring den virkade kanten. Varv 2. Hänger med på 4 lm, 1 st i 4:e lm, hoppa över 1 fm men sen? 1 lm. ? Förstår inte. Jag gör ju ingen fm ?
13.08.2026 - 16:08DROPS Design answered:
Hei Lotta. Men på 1 varv gjæres det fastmaske, slik: VARV 1: 1 fm i första m, * 1 lm, hoppa över ca 2 m, 1 fm i nästa m *, upprepa *-*, och det er disse fastmaskene du skal hoppa over. Ser gjerne hjelpevideoene til denne oppskriften. mvh DROPS Design
17.08.2026 - 08:12
Loes wrote:
Ik vind het een mooi vestje, maar helaas kan ik de patroon niet goed volgen. De rechter en linker voorpand heb ik af. Nu moet ik aan de achterpand beginnen en dan kan ik het niet volgen. Ik ben geëindigd met in totaal 68 steken van de rechter en linker voorpand. In totaal 136 steken, meerder 10 steken per voorpand: totaal 156 steken. Is de achterpand alleen 20 steken? Ik weet eigenlijk niet hoe ik verder moet om het vestje af te maken. Wilt u mij op een makkelijke manier verder op weg helpen.
11.08.2026 - 09:01DROPS Design answered:
Dag Loes,
Als je het linker en rechter voorpand beide hebt gebreid, dan wordt het werk samen gevoegd, zodat je vanaf de schouder verder breit om het achterpand te maken, dus van boven naar beneden. Hiervoor brei je eerst de steken van het linker voorpand, dan zet je steken op (dit wordt de hals aan de achterkant), dan brei je de steken van het rechter voorpand. Nu heb je alle steken op 1 naald staan en brei je het achterpand zoals verder beschreven.
14.08.2026 - 11:35
Wenche wrote:
Hei!Vedr.avslutning av høyre forstykke hvor det skal legges opp 2 nye masker (x2) til halskant. Skal det gjøres « helt til slutt « - dvs på de 2 siste pinnene når arbeidet måler 30 cm ( str6/9)? Eller med en gang når fellinger og økninger til arm er ferdig og maskeantallet er ifølge oppskrift?
09.08.2026 - 14:44DROPS Design answered:
Hei Wenche. « Helt til slutt « - dvs på de 2 siste pinnene når arbeidet måler 30 cm. (husk å velge Spørsmål og ikke Kommentar når det sendes inn Spørsmål. Da får man raskere svar). mvh DROPS Design
17.08.2026 - 13:49
|
|
Bedtime Stories#bedtimestoriescardigan |
|
 |
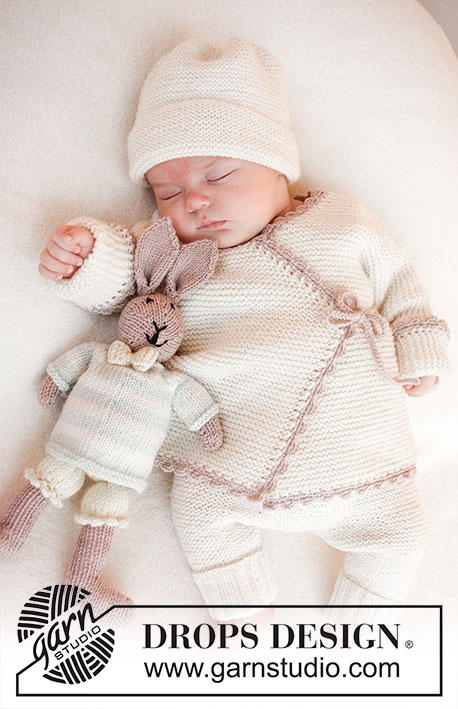 |
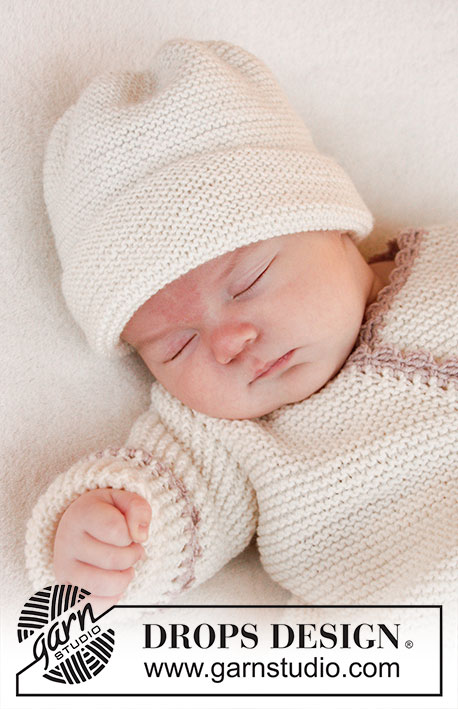
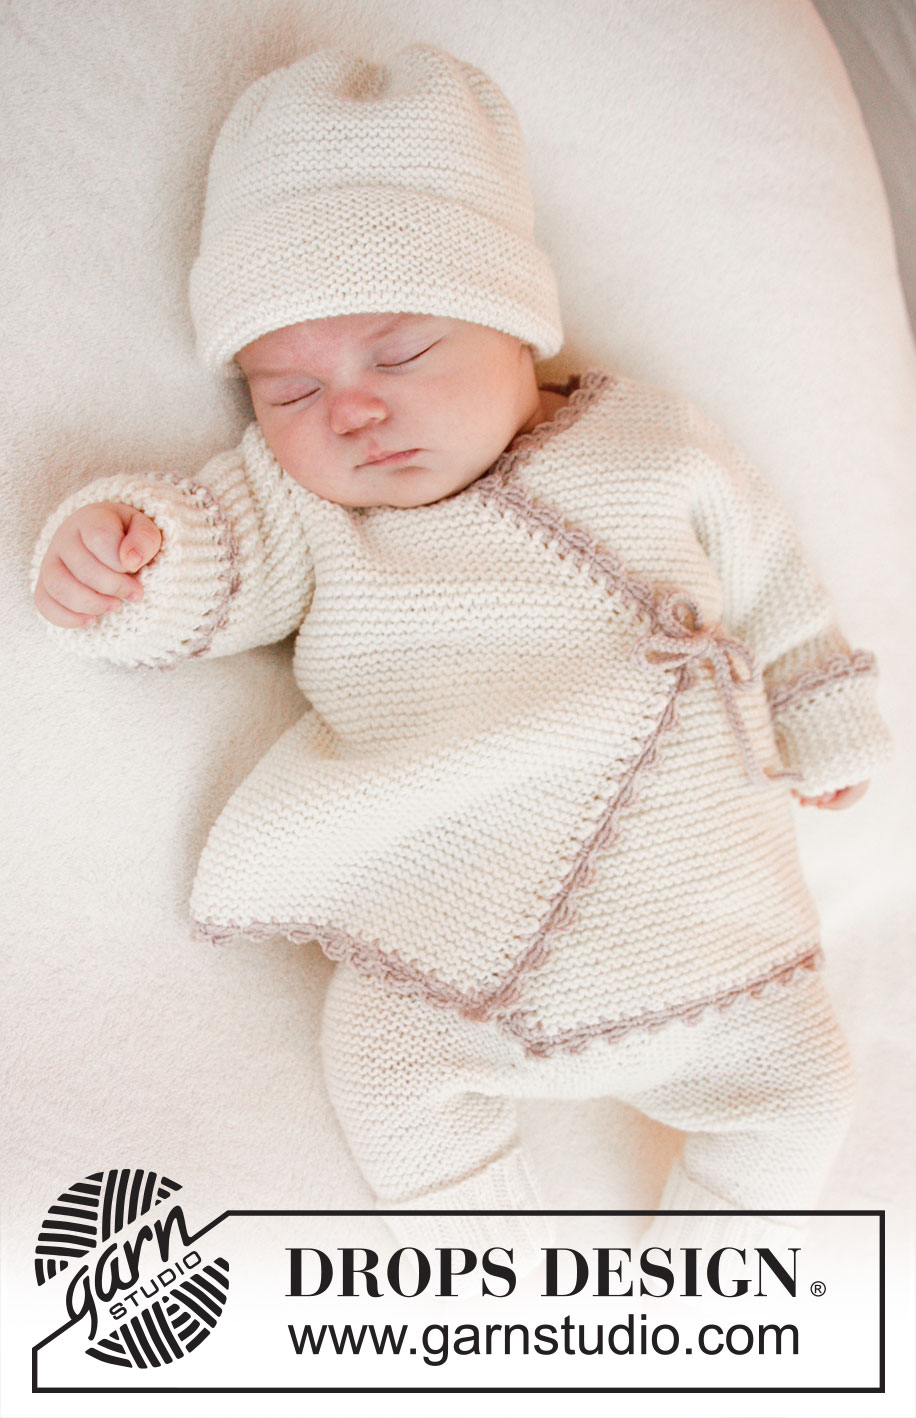
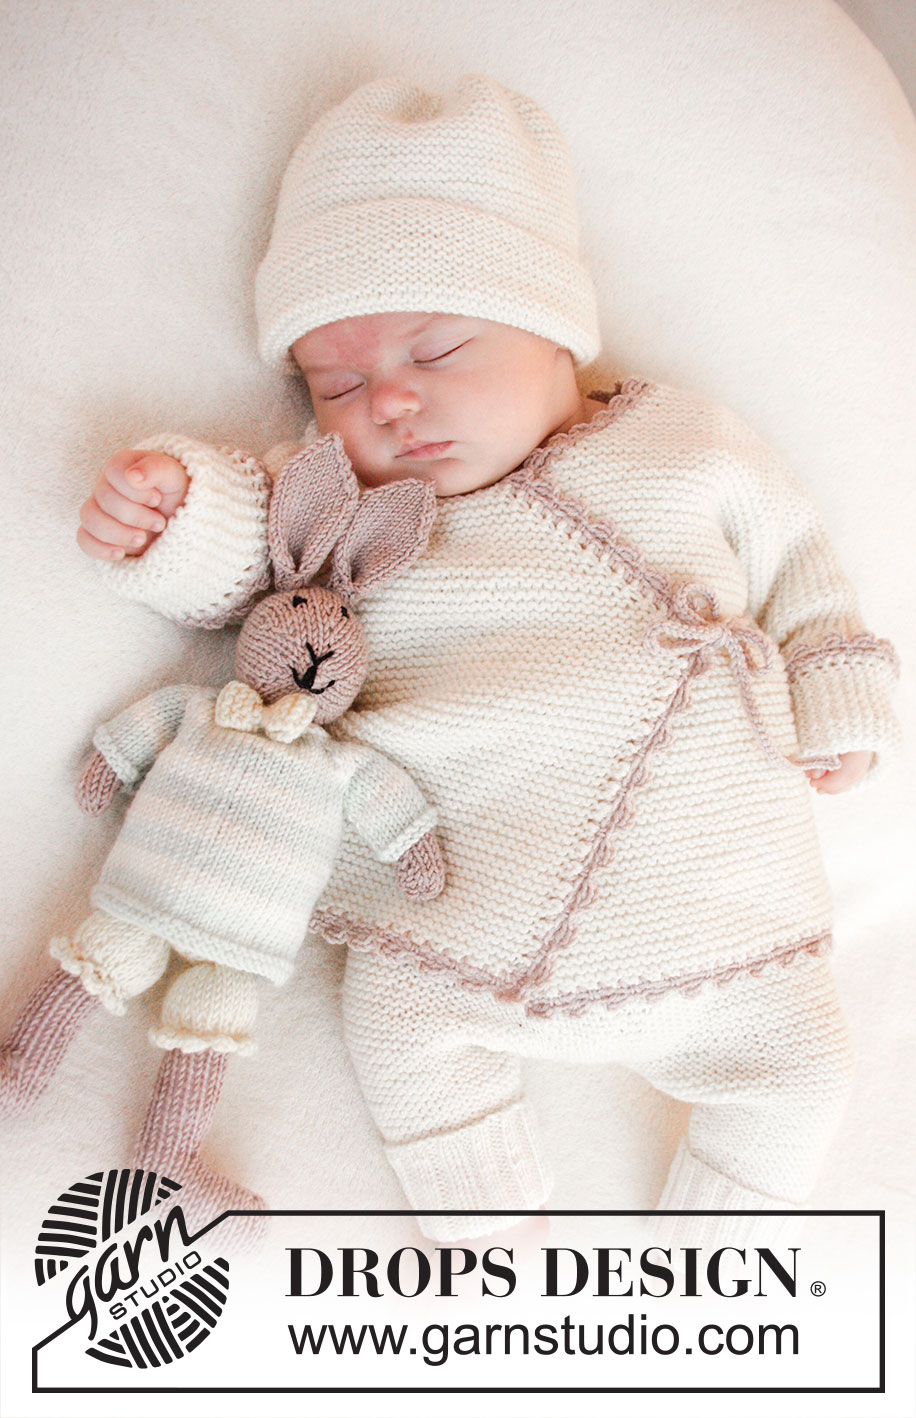
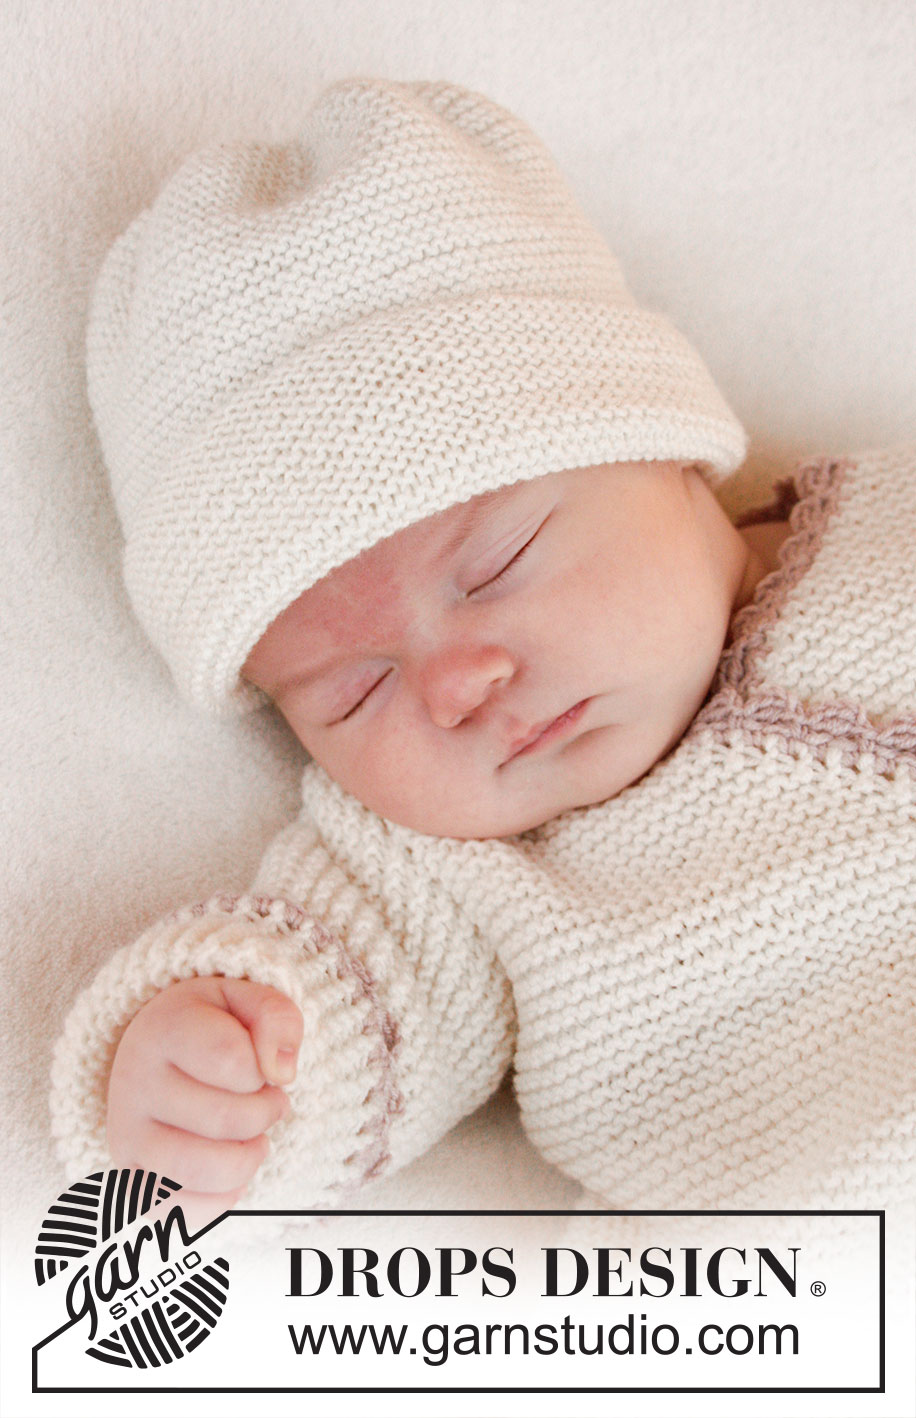
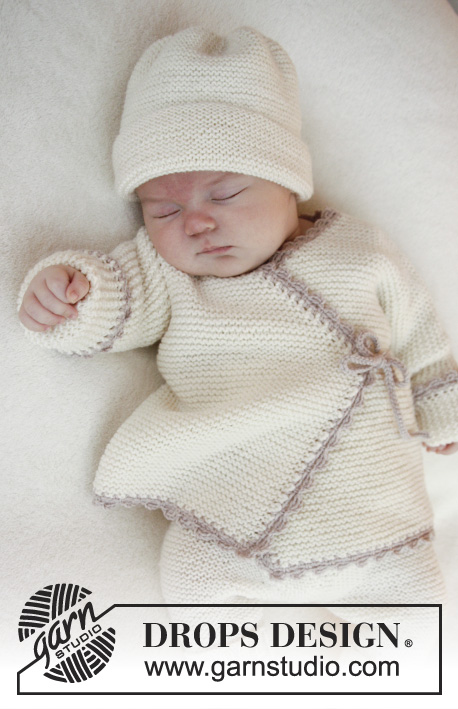
Knitted wrap cardigan in garter st and crochet edge for baby in DROPS BabyMerino. Size premature - 4 years
DROPS Baby 25-11 |
|
|
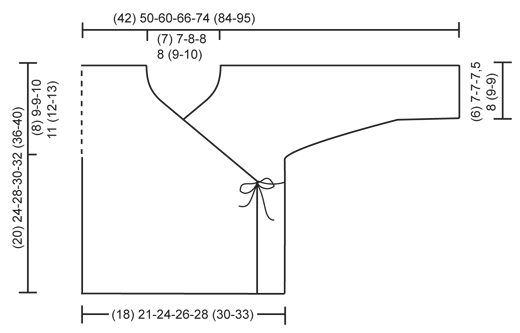
GARTER ST (back and forth on circular needle): K all rows. DECREASE TIP: Dec inside 1 edge st in garter st. All dec are done from RS! Dec after 1 edge st as follows: Slip 1 st as if to K, K 1, psso. Dec before 1 edge st as follows: K 2 tog. ---------------------------------------------------------- CARDIGAN: Worked back and forth on circular needle. Beg on front piece, cast on sts for sleeve and work up to the shoulder. Work the other front piece, place both front pieces tog and work down the back piece. RIGHT FRONT PIECE: LOOSELY cast on (34) 37-44-48-52 (55-62) sts on circular needle size 3 mm with off white and work in GARTER ST - see explanation above (1st row = RS). READ ALL OF THE FOLLOWING SECTION BEFORE CONTINUING! When piece measures (9) 12-16-16-17 (20-23) cm (adjust so that next row is worked from RS), dec 1 st for neck inside 1 edge st at beg of row - READ DECREASE TIP. Repeat dec on every other row (i.e. every row from RS) (17) 17-21-23-25 (27-31) more times (= (18) 18-22-24-26 (28-32) dec in total), then dec every 4th row (i.e. every other row from RS) 2 times in total. AT THE SAME TIME when piece measures (12) 15-19-20-21 (24-27) cm cast on new sts at the end of row towards the side of sleeve as follows: (3) 4-6-6-6 (6-6) sts (4) 4-4-5-6 (7-8) times in total and then (16) 19-19-18-19 (23-26) sts 1 time. After all inc and dec there are (42) 52-63-70-79 (90-102) sts on the needle for shoulder/sleeve. Continue in garter st until piece measures (20) 24-28-30-32 (36-40) cm / (8”) 9½”-11”-11¾”-12½” (14¼”-15¾”). Insert 1 marker in the middle sts = mid on top of shoulder. Piece is measured from here – AT THE SAME TIME cast on 2 new sts at the end of row towards the neck, repeat inc on next row towards neck = (46) 56-67-74-83 (94-106) sts (last row = WS). Put all sts on a stitch holder. LEFT FRONT PIECE: Cast on and work as right but reversed (i.e. dec for neck inside 1 edge st at the end of row from RS (instead of at the beg of row from RS). In addition K 1 row from WS at the end of front piece after casting on sts towards the neck so that last row on both right and left front piece is worked from WS. BACK PIECE: Work left front piece on to circular needle (= K from RS), cast on (8) 8-10-10-12 (14-16) new sts (= back of neck) and work right front piece on to circular needle (= K from RS) = (100) 120-144-158-178 (202-228) sts. NOW MEASURE PIECE FROM MARKERS ON SHOULDERS. Continue to work in garter st back and forth on needle. When piece measures (6) 7-7-7½-8 (9-9) cm, cast off sleeve sts as follows: Cast off at beg of every row in each side as follows: (16) 19-19-18-19 (23-26) sts 1 time and (3) 4-6-6-6 (6-6) sts (4) 4-4-5-6 (7-8) times in total = (44) 50-58-62-68 (72-80) sts on needle. Continue until piece measures approx. (20) 24-28-30-32 (36-40) cm – fold piece at the markers on shoulders and check that front and back pieces are the same length – loosely cast off. ASSEMBLY: Sew side and sleeve seams tog edge to edge in front loop of outermost sts. CROCHET EDGE: Work on hook size 2.5 mm with light beige around the entire opening on cardigan as follows: ROUND 1: 1 dc in first st, * 1 ch, skip approx. 2 sts, 1 dc in next st *, repeat from *-* but in a corner where dec for neck beg work tie as follows: 1 dc in tip, then work ch for approx. 20-25 cm, turn and work 1 sl st in every ch on return, then work 1 dc in tip of front piece again, continue crochet border around the cardigan until the tip of the other front piece, crochet another tie as on first front piece, continue around the rest of the cardigan and finish with 1 sl st in first dc from beg of round. ROUND 2: 1 dc in first ch, * 4 ch, 1 tr in 4th ch from hook, skip 1 dc + 1 ch + 1 dc, work 1 dc in next ch *, repeat from *-* the entire round (make sure to work over ties so that they are at the bottom), finish with 1 sl st in first dc from beg of round. Work both rounds the same way at the bottom around both sleeves. Then work another tie, similar to the one in each tip, on the inside of the seam in the right side and on the outside of the seam in the left side – make sure that the ties are at the same height as tips on front pieces. |
|
 |
|
Have you finished this pattern?Tag your pictures with #dropspattern #bedtimestoriescardigan or submit them to the #dropsfan gallery. Do you need help with this pattern?You'll find 15 tutorial videos, a Comments/Questions area and more by visiting the pattern on garnstudio.com. © 1982-2026 DROPS Design A/S. We reserve all rights. This document, including all its sub-sections, has copyrights. Read more about what you can do with our patterns at the bottom of each pattern on our site. |
|






With over 40 years in knitting and crochet design, DROPS Design offers one of the most extensive collections of free patterns on the internet - translated to 17 languages. As of today we count 333 catalogues and 12525 patterns translated into English (UK/cm). 12525
We work hard to bring you the best knitting and crochet have to offer, inspiration and advice as well as great quality yarns at incredible prices! Would you like to use our patterns for other than personal use? You can read what you are allowed to do in the Copyright text at the bottom of all our patterns. Happy crafting!
Post a comment to pattern DROPS Baby 25-11
We would love to hear what you have to say about this pattern!
If you want to leave a question, please make sure you select the correct category in the form below, to speed up the answering process. Required fields are marked *.