Comments / Questions (3)
![]() Anne Plechinger-Hermann wrote:
Anne Plechinger-Hermann wrote:
Ich verstehe es leider trotzdem nicht. 😢 Ich beginne vorne mit A1, dann stricke ich A2. Stricke ich das nur bis zur mittleren Masche unterm Arm, die in der Grundfarbe, und fange dann wieder mit A2 von vorne an bis zur nächsten Mittelmasche Arm. Und dann? Am Ende passt ja dann gar nichts. Hilfe 😞
27.01.2025 - 14:49DROPS Design answered:
Liebe Anne, stricken Sie die Diagramme genau so wie zuvor, dh das linke Vorderteil wie zuvor bis die mittlere Masche unter die 1. Ärmel, die mittlere Masche mit der Hauptfarbe stricken, dann das Rückenteil genauso wie zuvor weiterstricken (die neuen Maschen wie die vorigen Maschen im Diagram stricken) bis die mittlere Masche vor rechtem Vorderteil, diese mittlere Masche mit der Hauptfarbe stricken und das linke Vorderteil genauso wie zuvor stricken, die letzten von den neuen Maschen wie die vorigen Maschen vom Vorderteil stricken; so werden die Diagramme nicht verschoben. Viel Spaß beim Stricken!
27.01.2025 - 17:55
![]() Anne wrote:
Anne wrote:
Hallo, Wie stricke ich die Muster A1 A2 und A3 nach der Teilung in Rumpf und Arme? Ich möchte doch die beiden Vorderteile im gleichen Muster haben. Danke und freundliche Grüße Anne Plechinger-Hermann
26.01.2025 - 22:08DROPS Design answered:
Liebe Anne, Muster stricken Sie wie zuvor bei der Passe, nun wird das Muster nicht in den Seiten passen, dh unter die Ärmel stricken Sie die mittlere von den neuen Maschen mit der Hauptfarbe der Reihe und die Maschen davor/danach im Muster wie bei den Vorderteile/dem Rückenteil. Viel Spaß beim Stricken!
27.01.2025 - 09:51
![]() Gro wrote:
Gro wrote:
Comfy
08.08.2024 - 14:26
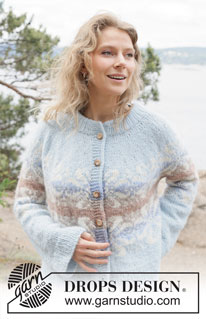
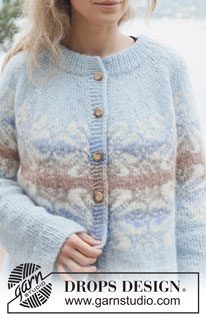
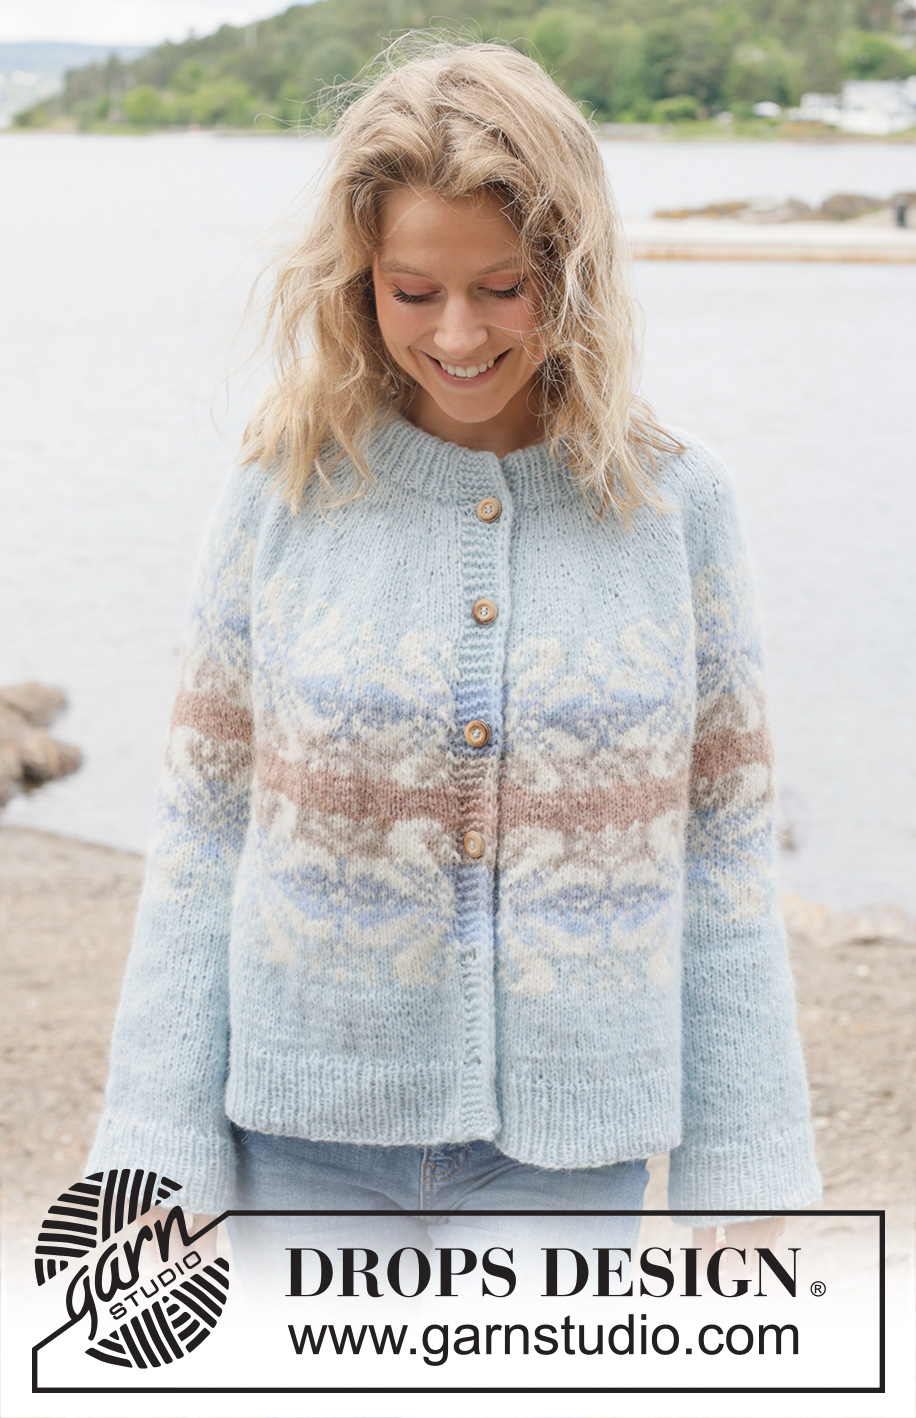
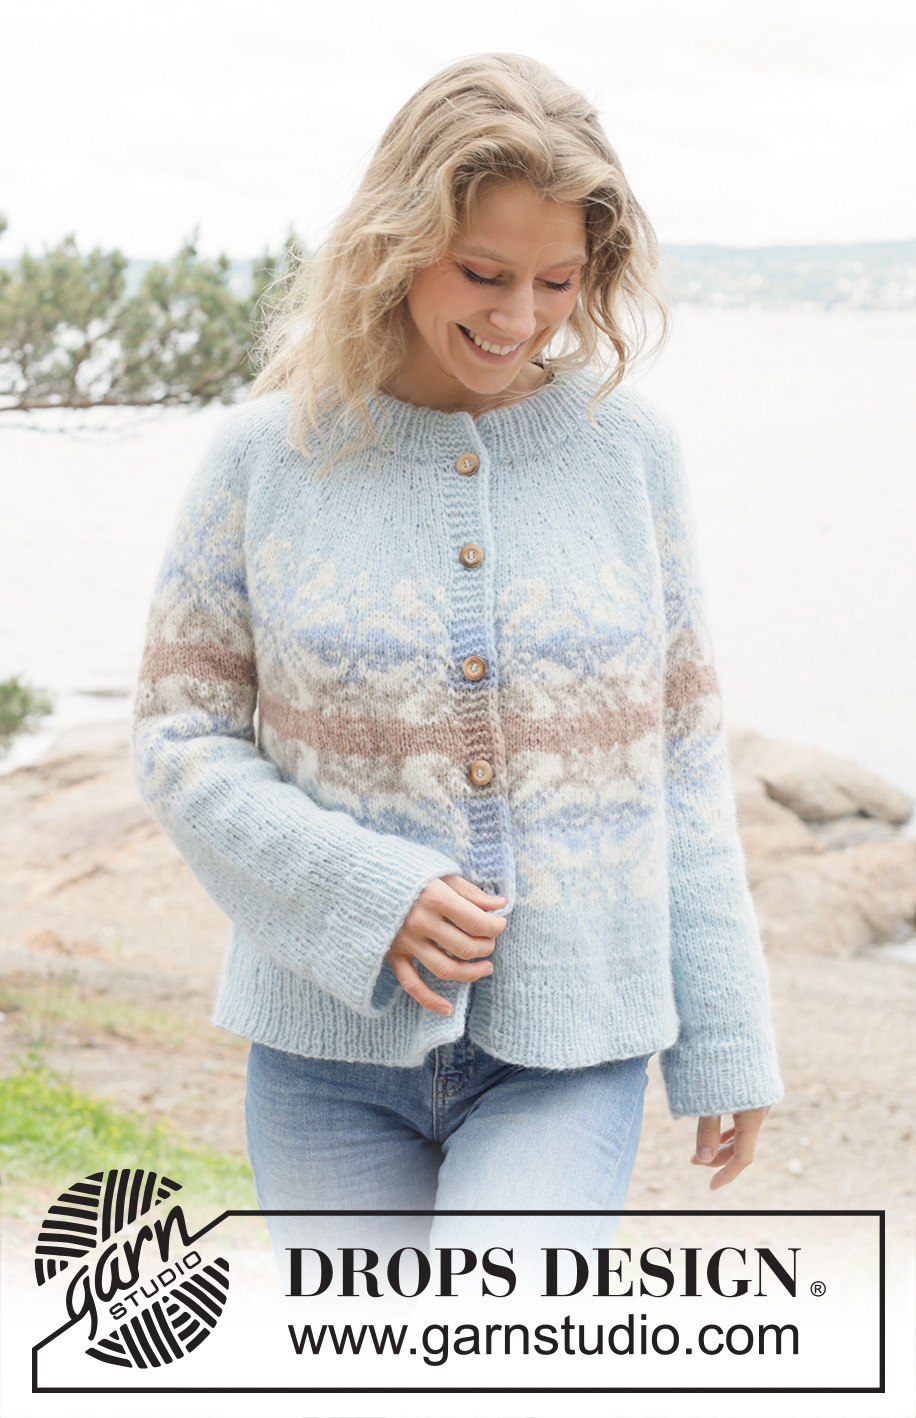
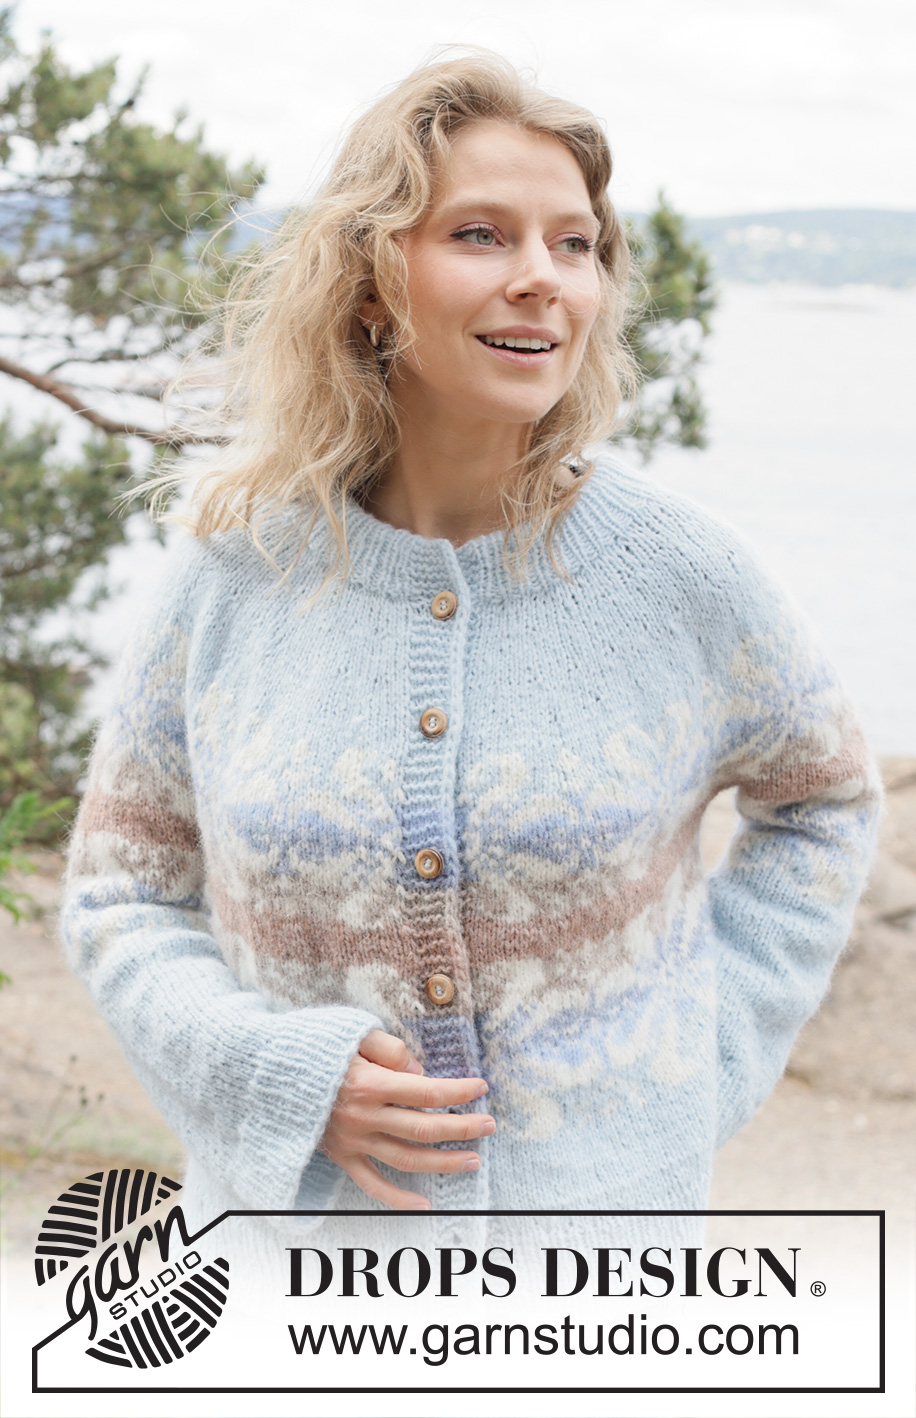
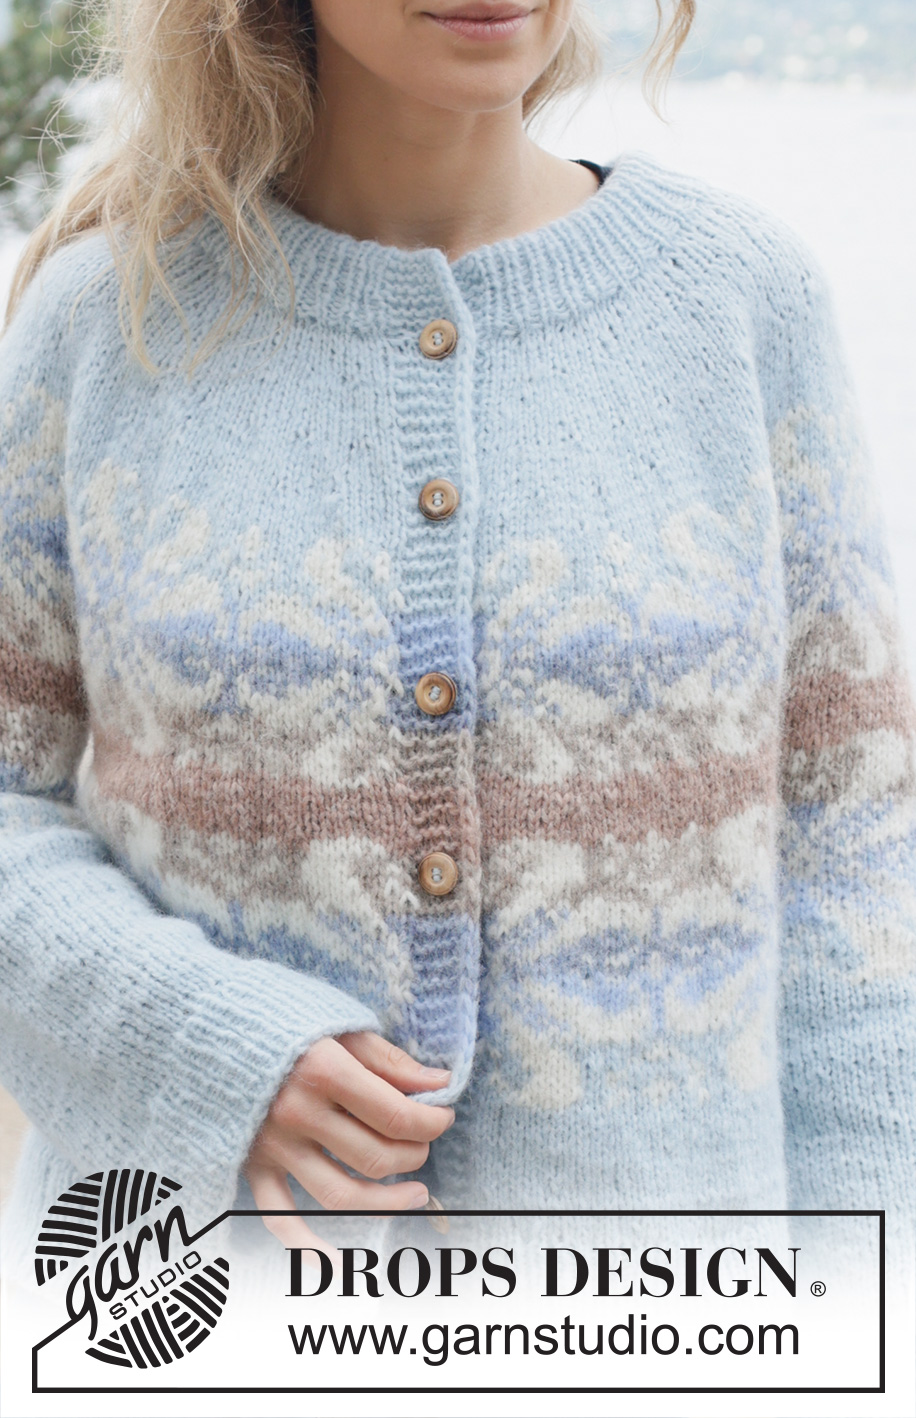
Winter Swirl Cardigan#winterswirlcardigan |
|||||||||||||||||||||||||
 |
 |
||||||||||||||||||||||||
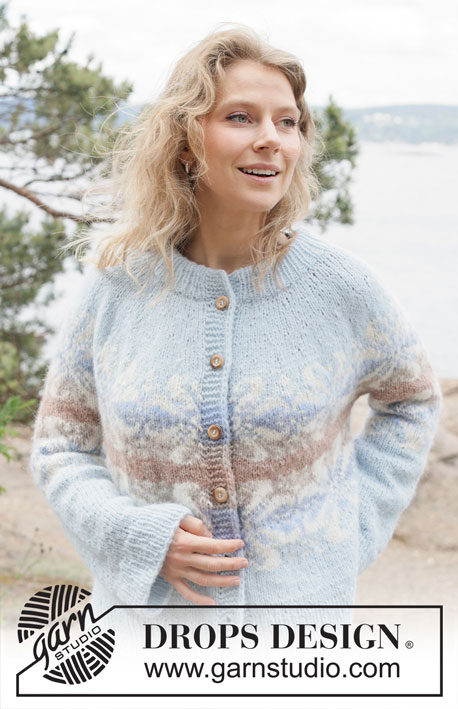
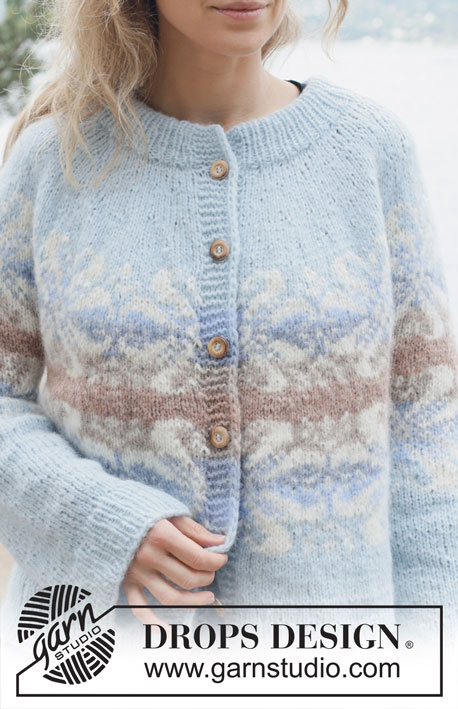
Knitted jacket in DROPS Air. The piece is worked top down with round yoke, Nordic pattern with large stars, I-cord and double neck. Sizes S - XXXL.
DROPS 254-28 |
|||||||||||||||||||||||||
|
------------------------------------------------------- EXPLANATIONS FOR THE PATTERN: ------------------------------------------------------- GARTER STITCH (worked back and forth): Knit all rows, from both the right and wrong side. 1 ridge in height = knit 2 rows. BANDS WITH I-CORD BEGINNING OF ROW: Slip 1 stitch purl-wise with strand in front, knit 1, work 5 garter stitches. END OF ROW: Work until there are 7 stitches left on the row, work 5 garter stitches, slip 1 stitch purl-wise with strand in front, knit 1. Work in the same way from both the right and wrong side. BUTTONHOLES: Work the buttonholes on the right band (when garment is worn). Decrease from the right side when there are 5 stitches left on the row. ROW 1 (right side): Make 1 yarn over, knit 2 together, knit 1, slip 1 purl-wise with strand in front, knit 1. ROW 2 (wrong side): Work the band as before, knit the yarn over to leave a hole. The first buttonhole is worked on the first row from the right side after the neck is finished. Then work the other 5-5-5-6-6-6 buttonholes with 9-9½-10-8-8½-9 cm between each one. The bottom buttonhole is worked in the transition between the stocking stitch and rib. INCREASE TIP (evenly spaced): To work out how to increase evenly, count the total number of stitches on the needle (e.g., 105 stitches) minus bands (e.g., 14 stitches) and divide the remaining stitches by the number of increases to be made (e.g., 20) = 4.6. In this example, increase by making 1 yarn over after alternately each 4th and 5th stitch. Do not increase on bands. On the next row work the yarn overs twisted to avoid holes. PATTERN: See diagrams A.1 to A.4. The diagrams show the pattern from the right side. The pattern is worked in stocking stitch. To avoid the knitting tension losing its elasticity when working colour-pattern, it is important that the strands at the back are not tight. Use a larger size needle when working pattern if the piece becomes tight. DECREASE TIP: Decrease 1 stitch on each side of the marker as follows: Work until there are 2 stitches left before the marker, knit 2 together, knit 1 with background colour (marker sits in this stitch), slip 1 stitch knit-wise, knit 1 and pass the slipped stitch over the knitted stitch (2 stitches decreased). ------------------------------------------------------- START THE PIECE HERE: ------------------------------------------------------- JACKET – SHORT OVERVIEW OF THE PIECE. The pattern uses both long and short needles; start with the length which fits the number of stitches and change when necessary. The double neck and yoke are worked back and forth with circular needle, from mid front and top down. When the yoke is finished, it is divided for body and sleeves and the body continued back and forth with circular needle, while the sleeves wait. The sleeves are worked in the round, top down. The neck is folded to the inside and sewn down. NECK: Cast on 93-97-101-107-111-117 stitches with circular needle size 5 mm and colour morning mist DROPS Air. Change to circular needle size 3.5 mm (casting on with a larger needle size makes the cast-on edge elastic). Purl 1 row from the wrong side. Then work as follows from the right side: 1 GARTER STITCH – read description above, work rib (knit 1, purl 1), until there are 2 stitches left, knit 1 and 1 garter stitch. Continue this rib back and forth for 5-5-5-6-6-6 cm (= neck-height when folded double later). At the end of the next 2 rows cast on 6 band-stitches = 105-109-113-119-123-129 stitches. Continue the rib but with the outermost 7 stitches on each side worked according to BANDS WITH I-CORD – read description above. Work until the neck measures 10-10-10-12-12-12 cm – finishing after a row from the wrong side. Insert 1 marker inside one band; the piece is now measured from here. YOKE: Change to circular needle size 5 mm and work the first row from the right side as follows: Work the band as before, stocking stitch across the next 91-95-99-105-109-115 stitches, increasing 20-24-26-28-28-30 stitches evenly over these stitches – read INCREASE TIP, then work the band as before – remember the first BUTTONHOLE – read description above = 125-133-139-147-151-159 stitches. Continue with stocking stitch and the bands. Remember to maintain the knitting tension. When the yoke measures 2-2-2-2-2-2 cm from the marker, increase 24-28-26-24-28-32 stitches evenly spaced (do not increase across the bands) = 149-161-165-171-179-191 stitches. When the yoke measures 4-4-4-4-4-4½ cm from the marker, increase 24-28-26-24-28-32 stitches evenly spaced (do not increase across the bands) = 173-189-191-195-207-223 stitches. When the yoke measures 6-6-6-6-6-7 cm from the marker, increase 24-28-26-24-28-32 stitches evenly spaced (do not increase across the bands) = 197-217-217-219-235-255 stitches. When the yoke measures 7-8-8-8-8-9½ cm from the marker, increase 25-28-28-26-28-32 stitches evenly spaced (do not increase across the bands) = 222-245-245-245-263-287 stitches. These increases are finished in sizes S, M and L. Increase in the other sizes as follows: SIZES XL, XXL AND XXXL: When the yoke measures 10-10-12 cm from the marker, increase 23-28-27 stitches evenly spaced (do not increase across the bands) = 268-291-314 stitches. ALL SIZES: = 222-245-245-268-291-314 stitches. When the yoke measures 8-9-10-11-11-13 cm from the marker and the next row is from the right side, work PATTERN – read description above, as follows: Work the band as before, A.1, then A.2 a total of 8-9-9-10-11-12 times, A.3 and the band as before. Continue this pattern and increase as shown in the diagrams. Work until the yoke measures 21-22-23-24-24-26 cm from the marker. You now divide for the body and sleeves – NOTE: Adjust so that you are at a point in the pattern where you have increased 3 times in height in A.1, 5 times in each repeat of A.2 and 2 times in A.3 (i.e., 1 increase left in A.1 and A.3 and 2 increases left in A.2 – these increases are worked on the body) = 267-295-295-323-351-379 stitches. If your knitting tension is correct vertically, the piece will divide in the middle of a stripe with background colour pink marble. The pattern is finished on the body and sleeves. DIVIDE FOR BODY AND SLEEVES: Work 46-51-51-54-60-65 stitches as before (= front piece), place the next 49-53-53-61-63-67 stitches on a thread for the sleeve, cast on 7-7-11-11-11-11 stitches (in side mid-under sleeve), work 77-87-87-93-105-115 stitches (= back piece), place the next 49-53-53-61-63-67 stitches on a thread for the sleeve, cast on 7-7-11-11-11-11 stitches (in side mid-under sleeve), work the last 46-51-51-54-60-65 stitches as before (= front piece). The body and sleeves are finished separately. BODY: = 183-203-211-223-247-267 stitches. Insert 1 marker in the middle of the 7-7-11-11-11-11 cast-on stitches under each sleeve. Continue the pattern back and forth, with 7 band-stitches on each side – NOTE: The pattern will not fit under the sleeves, work pattern as far as each marker-stitch and work the marker-stitches with the background colour. When A.1 to A.3 are finished in height there are 195-215-223-239-263-283 stitches. Continue with the bands and stocking stitch in colour morning mist until the piece measures 45-47-49-49-51-53 cm from the marker. On the next row from the right side, begin the rib AT THE SAME TIME as increasing 30-34-34-38-42-46 stitches evenly spaced as follows = 225-249-257-277-305-329 stitches: Change to circular needle size 3.5 mm, work the band as before, work rib (knit 1, purl 1 – remember to increase) until there are 8 stitches left, knit 1 and work band as before. When the rib measures 6-6-6-7-7-7 cm, cast off. The jacket measures approx. 51-53-55-56-58-60 cm from the marker and 56-58-60-62-64-66 cm from the top of the shoulder. SLEEVES: Place the 49-53-53-61-63-67 sleeve-stitches from one thread on circular needle size 5 mm. In addition, knit up 1 stitch in each of the 7-7-11-11-11-11 cast-on stitches under the sleeve = 56-60-64-72-74-78 stitches. Insert 1 marker in the middle stitch under the sleeve; this marker is used when decreasing under the sleeve. You now continue PATTERN and DECREASE under the sleeve. Read the next 2 sections before continuing. PATTERN: Remember to continue the decreases. Start the round at the marker under the sleeve and continue pattern from the yoke, i.e., finish A.2 up to and including the round marked with an arrow in A.2, then work A.4 in the round – NOTE: The stars are not symmetrical on the sleeve, but the star in A.4 should be directly above the star in A.2 – The pattern will not fit under the sleeve, work pattern as far as the marker-stitch and work the marker-stitch with the background colour. When A.4 is finished in height, continue with stocking stitch and colour morning mist. DECREASE: When the sleeve measures 2 cm from the division, decrease 2 stitches mid-under the sleeve- -read DECREASE TIP. Decrease like this every 2-1½-1½-1-1-1 cm a total of 4-5-7-10-10-11 times = 48-50-50-52-54-56 stitches. Continue working until the sleeve measures 40-40-40-38-39-37 cm from the division. Change to double pointed needles size 3.5 mm. Work rib (knit 1, purl 1), AT THE SAME TIME increase 8-8-8-10-10-10 stitches evenly on the first round = 56-58-58-62-64-66 stitches. When the rib measures 6-6-6-7-7-7 cm, cast off. The sleeve measures approx. 46-46-46-45-46-44 cm. ASSEMBLY: Fold the neck double to the inside and sew down. To avoid the neck being tight and rolling outwards, it is important that the seam is elastic. Sew together the openings on the bands with small stitches. Sew the buttons onto the left band. |
|||||||||||||||||||||||||
Diagram explanations |
|||||||||||||||||||||||||
|
|||||||||||||||||||||||||
 |
|||||||||||||||||||||||||
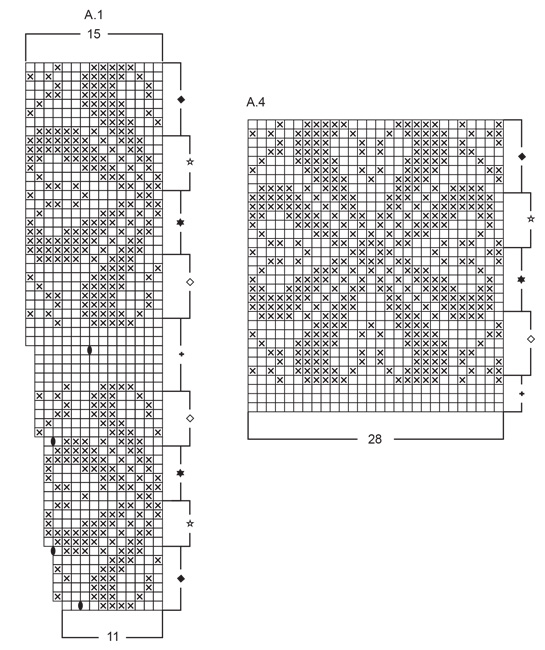 |
|||||||||||||||||||||||||
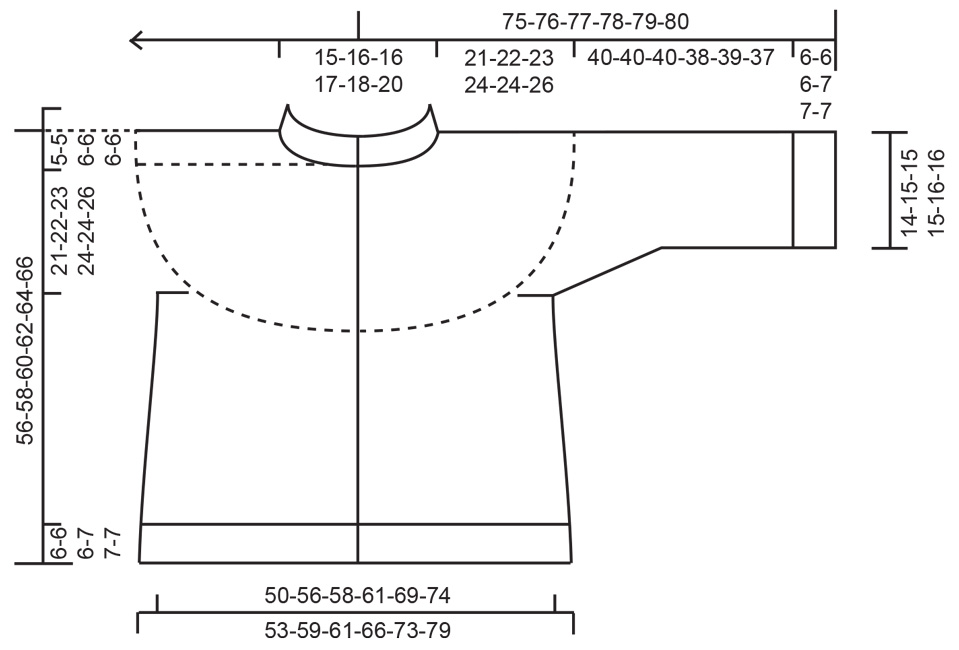 |
|||||||||||||||||||||||||
Have you finished this pattern?Tag your pictures with #dropspattern #winterswirlcardigan or submit them to the #dropsfan gallery. Do you need help with this pattern?You'll find 35 tutorial videos, a Comments/Questions area and more by visiting the pattern on garnstudio.com. © 1982-2026 DROPS Design A/S. We reserve all rights. This document, including all its sub-sections, has copyrights. Read more about what you can do with our patterns at the bottom of each pattern on our site. |
|||||||||||||||||||||||||







Post a comment to pattern DROPS 254-28
We would love to hear what you have to say about this pattern!
If you want to leave a question, please make sure you select the correct category in the form below, to speed up the answering process. Required fields are marked *.