Comments / Questions (19)
![]() Becky wrote:
Becky wrote:
I'm knitting roundlake cardigan in size large when I start the diagram a-2 does it read and start with 2 rows of knit? Then 3row of all knit 2tog. 4th row all knit 5th row all slip1knit1 passover for whole row?
22.03.2023 - 23:41DROPS Design answered:
Dear Becky, after the stocking stitch rows (depending on the size 2 or 4 rows), you *knit 2 together, and a yarnover-, repeat *-*. For the next row/ round with wholes it is * SSK, yarn over * Repat *-* for the whole row. I hope this helps. Happy Crafting!
23.03.2023 - 00:21
![]() Becky wrote:
Becky wrote:
Knitting the round lake cardigan in size large. It reads in knitting chart arrow1 increase 36 st evenly .do I increase only 2 yarn overs only on arrow row in chart? Or evenly across the whole row? Also how many rows do I knit the chart?? Hope u reply soon im stuck!!thanx.
22.03.2023 - 08:05DROPS Design answered:
Dear Becky, when working diagram, repeat the 2 sts in diagram over all stitches between front band stitches and 1 stocking stitch. When you have to work the row with the arrow-1 (7th row in A.2), increase evenly 36 sts on this 7th row (do not decrease over band stitches) - see INCREASE TIP (evenly spaced): and this lesson. Happy knitting!
22.03.2023 - 08:59
![]() Enrica Fausta Callegaro wrote:
Enrica Fausta Callegaro wrote:
Buongiorno, prima volta che seguo il vs sito, quando indicate i filati da utilizzare si intendono come entrambe le opzioni , o uno o l'altro .. oppure è da intendersi che vanno lavorati insieme ? vi ringrazio molto in anticipo per la vs conferma. cordiali saluti
08.01.2023 - 11:09DROPS Design answered:
Buonagiorno Enrica, di solito è indicato nel modello se si usano insieme o in alternativa: in questo caso si utilizzano insieme. Buon lavoro!
08.01.2023 - 11:19
![]() Michelle CUDEL wrote:
Michelle CUDEL wrote:
Bonjour, Je suis prête après l'empiècement, de faire le point fantaisie, mais comment interpréter ce diagramme ? le carré tout blanc 2 maille endroit, mais avant ces 2 mailles et après ces 2 mailles que; faire, , puis ces 2 carrés blanc pendant 4 rangs, merci de me donner des explications
13.11.2022 - 11:09DROPS Design answered:
Bonjour Mme Cudel, lorsque vous tricotez le diagramme A.2, les cases blanches (entre les rangs ajourés) se tricotent en jersey, autrement dit, au 1er rang de A.2 (sur l'endroit), tricotez à l'endroit, au 2ème rang (sur l'envers), tricotez à l'envers, etc. en même temps, aux rangs avec les flèches, augmentez comme indiqué. Bon tricot!
14.11.2022 - 09:54
![]() Isabelle wrote:
Isabelle wrote:
Bonjour, j’en suis à la séparation dos, devant et manches. On doit rajouter 8 mailles pour le côté sous la manche. Que faire de ces 8 mailles? Les tricoter avec les devants et le dos ou les laisser en attente pour les reprendre quand je ferai les manches? Mille mercis.
06.10.2022 - 11:23DROPS Design answered:
Bonjour Isabelle, lors de la division de l'empiècement, les 8 mailles sous chaque manche remplacent les mailles des manches et correspondent au côté, sous la manche. Cette leçon montre à partir de la photo 10 comment on met les mailles en attente + comment on monte ces 8 mailles (suivez bien le nombre indiqué pour votre taille, les photos sont un exemple); et comment on les tricote puis comment on relèvera 1 maille dans chacune de ces mailles pour les manches, photo 18B et suivantes. Bon tricot!
06.10.2022 - 11:43
![]() Isabelle Soler wrote:
Isabelle Soler wrote:
Bonjour, après l'augmentation du col, on doit tricoter l'empiècement. Il est indiqué tricoter 4 cm. Changer pour les aiguilles 6. Question : on change d'aiguilles avant ou après ces 4cm. En quel point on tricote les 4cm? Un grand merci d'avance pour votre réponse. Isabelle
29.08.2022 - 18:16DROPS Design answered:
Bonjour Mme Soler, vous continuez à tricoter les mailles comme elles se présentent ((1 m torse à l'end, 3 m env) vu sur l'endroit) et changez les aiguilles après ces 4 cm. Boon tricot!
30.08.2022 - 08:19
![]() Lis Andersen wrote:
Lis Andersen wrote:
Tak for svar. Har dog flere spørgsmål 🙈 kan Round lake cardigan osse strikkes i Lettlopi 1700 airblue ? Og kan Elizabeth Poncho strikkes i Alaska toffee ? Og kan Heidi Vest strikkes i Snow jordnød ? På forhånd tak. Kh . Lis.😊
29.08.2022 - 17:00DROPS Design answered:
Hej Lis, Lettlopi er fra vores konkurrent, så det ved vi ikke ;) men ja Poncho Elizabeth kan strikkes i 1 tråd DROPS Alaska og ja Vesten Heidi kan strikkes i DROPS Snow :)
31.08.2022 - 13:22
![]() Lis Andersen wrote:
Lis Andersen wrote:
Vil gerne strikke round lake cardigan, men med 1 tråd. Kan jeg bruge Melody tåge ? Venlig hilsen Lis.😊 PS jeg er ikke rutineret strikker 🙈
25.08.2022 - 18:12DROPS Design answered:
Hei Lis. Ja, du kan fint bruke 1 tråd med DROPS Melody. Fargen 02, tåke er den som er mest lik bildet du ser av Round Lake Cardigan. Bare husk å overholde strikkefastheten som er oppgitt i oppskriften og regne ut hvor mye garn du trenger med bare 1 tråd (et sted mellom 250-400 gram, avhengig av hvilken str. du skal strikke). God Fornøyelse!
29.08.2022 - 09:54
![]() Linda wrote:
Linda wrote:
Focus on Sunday
14.01.2022 - 15:24
Round Lake Cardigan#roundlakecardigan |
||||||||||||||||||||||
 |
 |
|||||||||||||||||||||
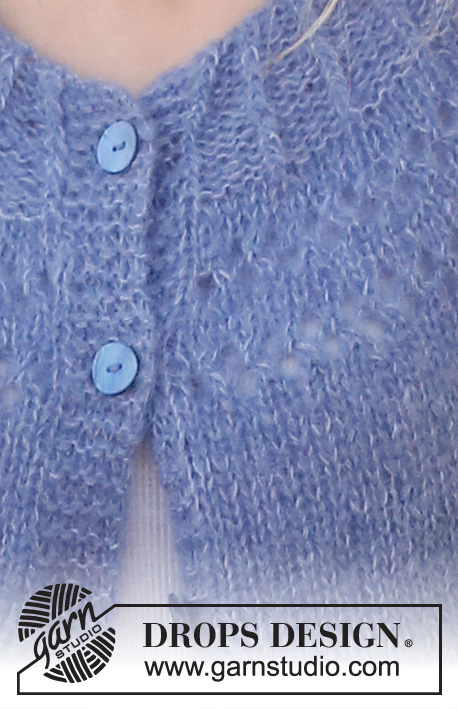
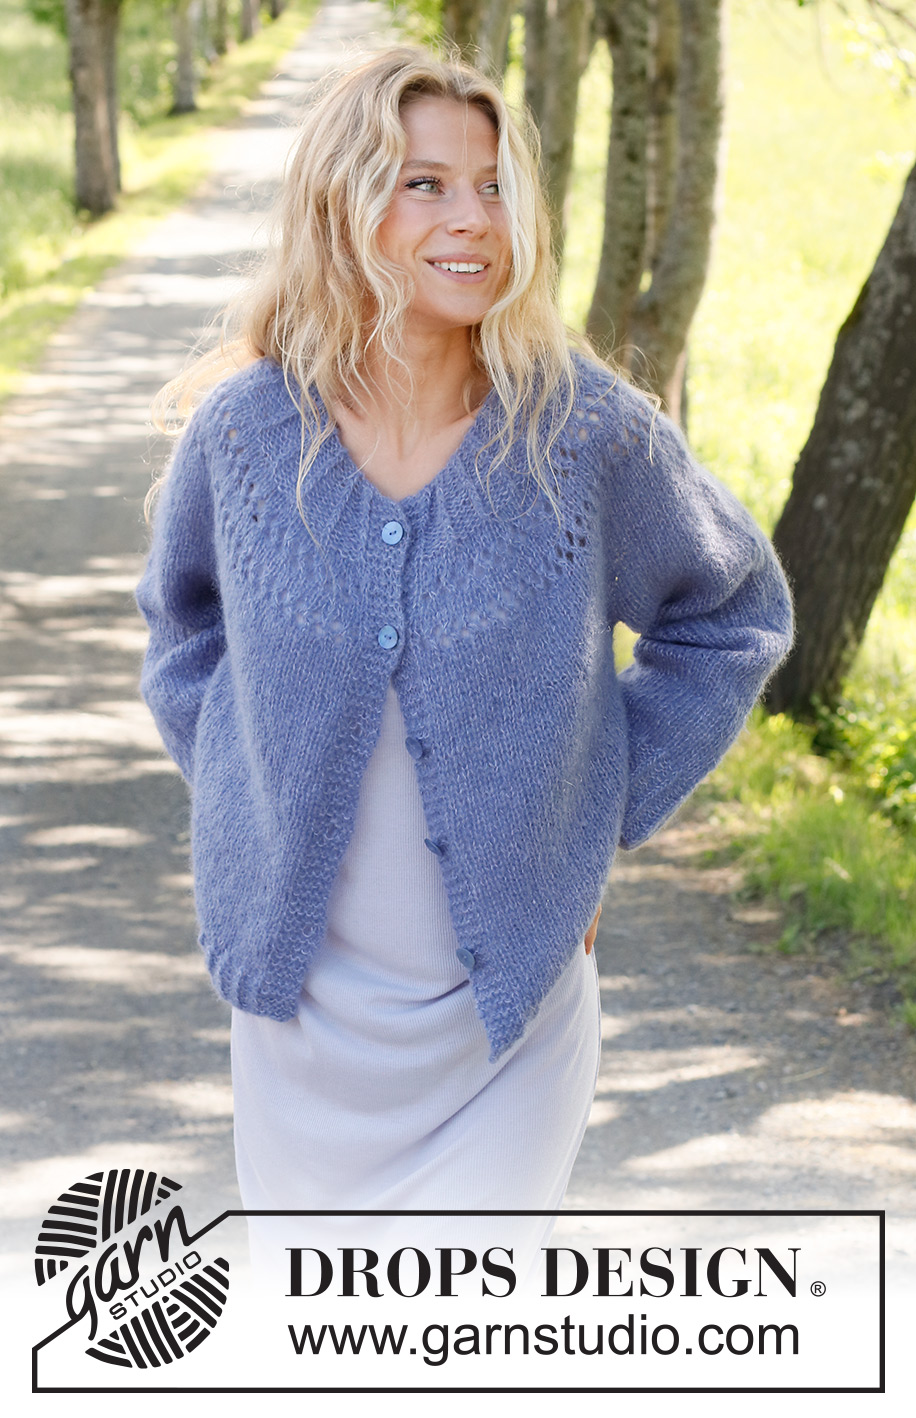
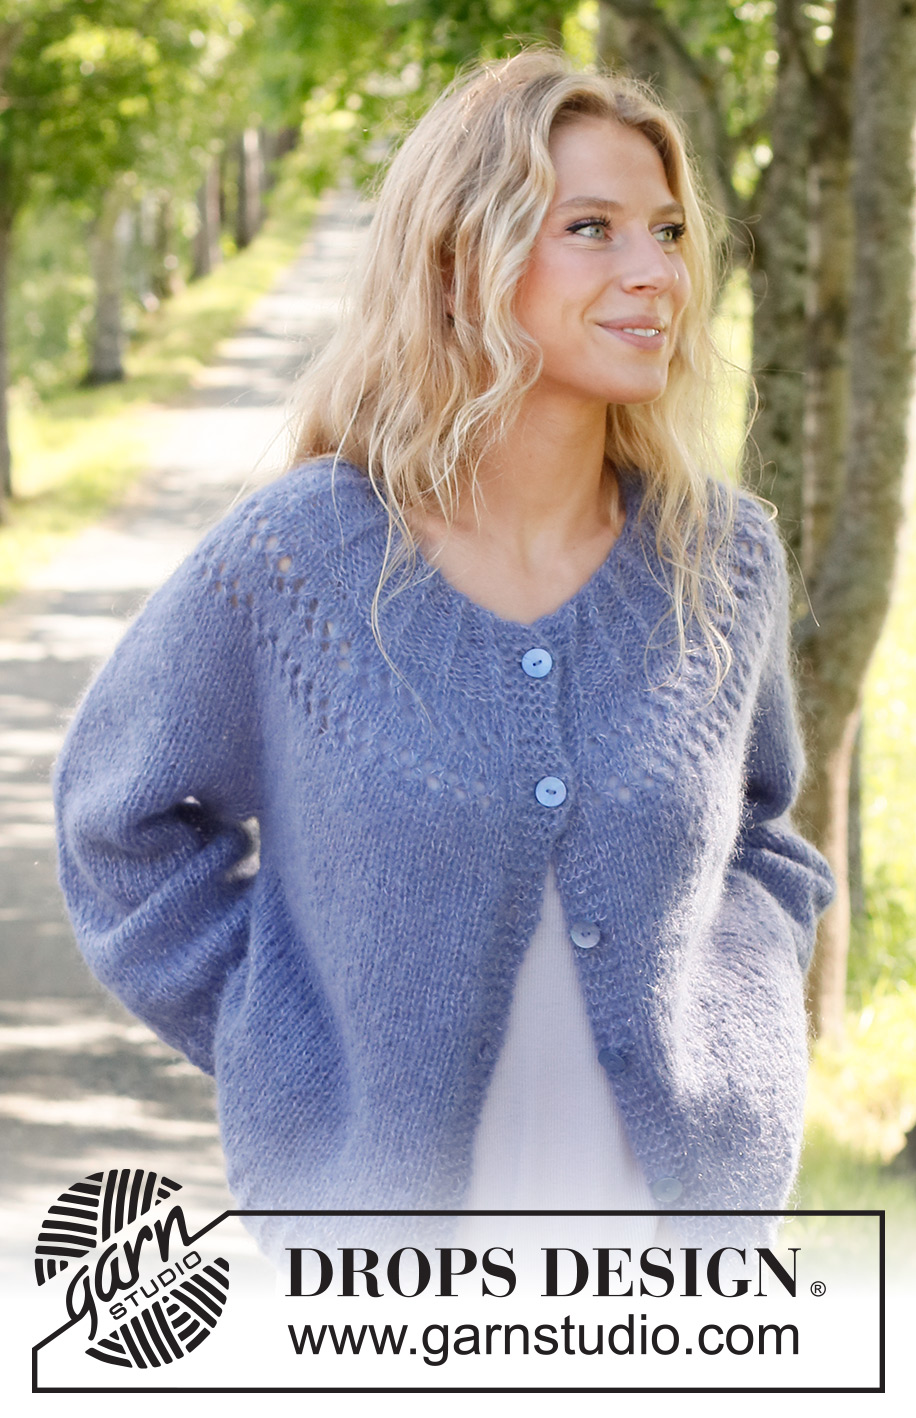
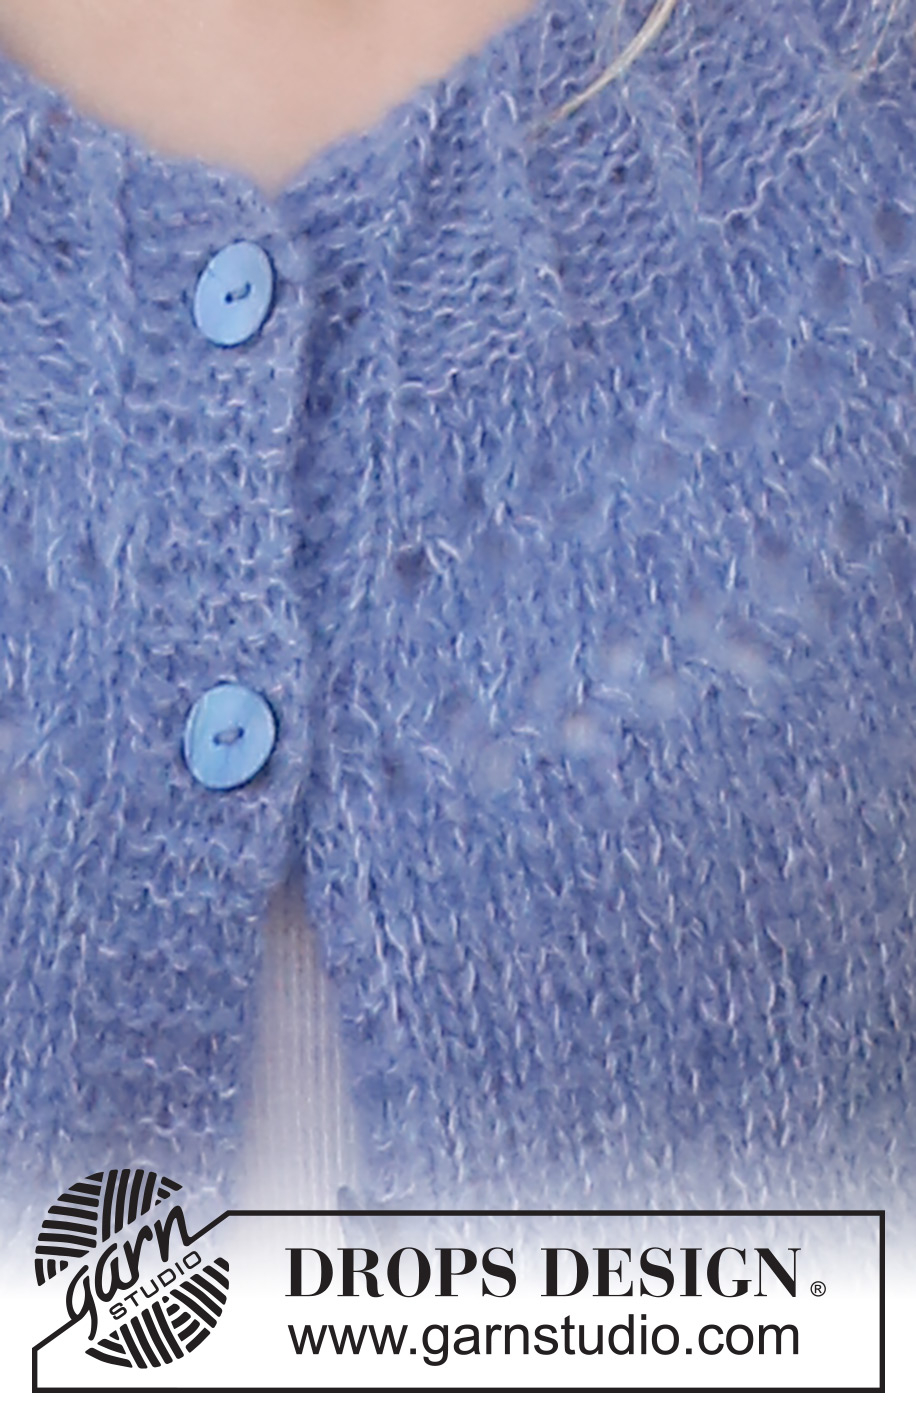
Knitted jacket in DROPS Brushed Alpaca Silk and DROPS Kid-Silk. The piece is worked top down with round yoke and lace pattern. Sizes S - XXXL.
DROPS 230-13 |
||||||||||||||||||||||
|
------------------------------------------------------- EXPLANATIONS FOR THE PATTERN: ------------------------------------------------------- RIDGE/GARTER STITCH (worked back and forth): Knit all rows. 1 ridge = knit 2 rows. PATTERN: See diagrams A.1 and A.2 (choose diagram for your size – applies to A.2). The diagrams show all rows in the pattern from the right side. INCREASE TIP (evenly spaced): To work out how to increase evenly, count the total number of stitches on the needle (e.g. 111 stitches) minus the bands (e.g. 10 stitches) and divide the remaining stitches by the number of increases to be made (e.g. 33) = 3. In this example, increase by making 1 yarn over after each 3rd stitch. Do not increase over the bands. On the next row work the yarn overs twisted to avoid holes. DECREASE TIP (for sleeves): Decrease 1 stitch on either side of the marker thread as follows: Work until there are 6 stitches left before the marker thread, knit 2 together, knit 8 (marker thread sits in the middle of these 8 stitches), slip 1 stitch as if to knit, knit 1 and pass the slipped stitch over the knitted stitch (2 stitches decreased). BUTTONHOLES: Work buttonholes on the right band (when the garment is worn). Work from the right side when there are 3 stitches left on the row as follows: Make 1 yarn over, knit 2 together and knit 1. On the next row (wrong side), knit the yarn over to leave a hole. The first buttonhole is worked when the neck measures 4 cm. Then work the other 4-4-5-5-5-5 buttonholes with approx. 10-10½-9-9½-9½-10 cm between each one. CASTING-OFF TIP: To avoid the cast-off edge being tight you can cast off with a larger size needle. If the edge is still tight, make 1 yarn over after approx. each 6th stitch at the same time as casting off; the yarn overs are cast off as normal stitches. ------------------------------------------------------- START THE PIECE HERE: ------------------------------------------------------- JACKET – SHORT OVERVIEW OF THE PIECE. The neck and yoke are worked back and forth with circular needle, from mid front and top down. The yoke is divided for body and sleeves and the body continued back and forth with circular needle. The sleeves are worked in the round with double pointed needles/short circular needle, top down. NECK: Cast on 86-92-92-98-101-107 stitches (including 5 band stitches on each side towards mid-front) with circular needle size 4.5 mm and 1 strand of each quality (= 2 strands). Purl 1 row from the wrong side. Then work the following rib from the right side: 5 band stitches in GARTER STITCH – read description above, A.1 until there are 6 stitches left, Work the first stitch in A.1 (so the pattern is symmetrical), 5 band stitches in garter stitch. Continue this rib back and forth for 4 cm. Remember the BUTTONHOLE on the right band – read description above. On the next row from the right side, increase 1 stitch in each purled section by making 1 yarn over between the 2 purled stitches (= 25-27-27-29-30-32 stitches increased) = 111-119-119-127-131-139 stitches. On the next row work the yarn overs twisted to avoid holes. Insert 1 marker after the band mid-front; the yoke is measured from this marker! YOKE: Continue working for 4 cm from the marker. Change to circular needle size 6 mm. OVERVIEW OF THE NEXT SECTION: You now work pattern AT THE SAME TIME as increasing on each row with an arrow in the diagram – read the next section before continuing. PATTERN: Work 5 band stitches in garter stitch, stocking stitch until there are 5 stitches left and increase 33-39-41-41-47-53 stitches evenly spaced – read INCREASE TIP, 5 band stitches in garter stitch = 144-158-160-168-178-192 stitches. Work back from the wrong side. REMEMBER THE KNITTING TENSION! Now work pattern as follows: 5 band stitches in garter stitch, 1 stitch in stocking stitch, work A.2 (choose diagram for your size) until there are 6 stitches left, 1 stitch in stocking stitch, 5 band stitches in garter stitch. INCREASES: ARROW-1: Increase 30-34-36-40-42-48 stitches evenly spaced = 174-192-196-208-220-240 stitches. ARROW-2: Increase 30-34-36-42-42-48 stitches evenly spaced = 204-226-232-250-262-288 stitches. When A.2 has been completed, continue with stocking stitch and 5 band stitches in garter stitch on each side. When the piece measures 18-19-20-22-23-24 cm, work the next row from the right side as follows: 5 band stitches in garter stitch, stocking stitch until there are 5 stitches left and increase 22-24-26-28-28-30 stitches evenly spaced, 5 band stitches in garter stitch = 226-250-258-278-290-318 stitches. When the yoke measures 20-22-24-26-28-30 cm from the marker, divide for the body and sleeves as follows: Work the first 37-40-42-45-48-53 stitches (= front piece), place the next 44-50-50-54-54-58 stitches on a thread for the sleeve, cast on 6-6-8-8-10-10 stitches (= in side under sleeve), work the next 64-70-74-80-86-96 stitches (= back piece), place the next 44-50-50-54-54-58 stitches on a thread for the sleeve, cast on 6-6-8-8-10-10 stitches (= in side under sleeve), work the last 37-40-42-45-48-53 stitches (= front piece). The body and sleeves are finished separately. THE PIECE IS NOW MEASURED FROM HERE. BODY: = 150-162-174-186-202-222 stitches. Continue back and forth with stocking stitch and 5 band stitches in garter stitch on each side for 28 cm. There is approx. 4 cm left; try the jacket on and work to desired length. To avoid the following rib being tight, work 1 row from the right side where you increase 26-26-26-32-31-35 stitches evenly spaced = 176-188-200-218-233-257 stitches. Change to circular needle size 4.5 mm. Work 1 row from the wrong side. Work rib as follows from the right side: 5 band stitches in garter stitch, A.1 until there are 6 stitches left, work the first stitch in A.1, 5 band stitches in garter stitch. Continue this rib for 4 cm. Cast off with knit over twisted-knit and purl over purl – read CASTING-OFF TIP. The jacket measures approx. 56-58-60-62-64-66 cm from the shoulder down. SLEEVES: Place the 44-50-50-54-54-58 stitches from the thread on the one side of the piece on double pointed needles size 6 mm and knit up 1 stitch in each of the 6-6-8-8-10-10 stitches cast on under the sleeve = 50-56-58-62-64-68 stitches. Insert a marker thread in the middle of the 6-6-8-8-10-10 stitches under the sleeve. Allow the thread to follow your work onwards; it will be used when decreasing under the sleeve. Start at the marker thread and work stocking stitch in the round for 4 cm. Now decrease 2 stitches under the sleeve – read DECREASE TIP. Decrease like this every 0-6½-6-3-2½-2 cm a total of 1-4-4-6-7-7 times = 48-48-50-50-50-54 stitches. Continue working until the sleeve measures 26-24-23-21-19-17 cm. Now decrease again in the same way on each side of the marker thread – remember DECREASE TIP. Decrease every 2 cm 4 times = 40-40-42-42-42-46 stitches. Continue working until the sleeve measures 34-32-31-29-27-25 cm (shorter measurements in larger sizes due to wider neck and longer yoke). There is approx. 8 cm left; try the jacket on and work to desired length. Knit 1 round where you decrease 1-1-0-0-0-1 stitch = 39-39-42-42-42-45 stitches Change to double pointed needles size 4.5 mm and work A.1 for 8 cm. Cast off with knit over knit and purl over purl – remember CASTING-OFF TIP! The sleeve measures approx. 42-40-39-37-35-33. Work the other sleeve in the same way. |
||||||||||||||||||||||
Diagram explanations |
||||||||||||||||||||||
|
||||||||||||||||||||||
 |
||||||||||||||||||||||
 |
||||||||||||||||||||||
Have you finished this pattern?Tag your pictures with #dropspattern #roundlakecardigan or submit them to the #dropsfan gallery. Do you need help with this pattern?You'll find 33 tutorial videos, a Comments/Questions area and more by visiting the pattern on garnstudio.com. © 1982-2025 DROPS Design A/S. We reserve all rights. This document, including all its sub-sections, has copyrights. Read more about what you can do with our patterns at the bottom of each pattern on our site. |
||||||||||||||||||||||








Post a comment to pattern DROPS 230-13
We would love to hear what you have to say about this pattern!
If you want to leave a question, please make sure you select the correct category in the form below, to speed up the answering process. Required fields are marked *.