Comments / Questions (3)
![]() Sabine Stieler wrote:
Sabine Stieler wrote:
Ändert sich am Ende des Rückenteils (nach den Zunehmen) das Muster von A2 auf A1
14.10.2023 - 12:04DROPS Design answered:
Liebe Frau Stieler, es wird A.1 und A.2 genauso vom Anfang bis zur Ende gestrickt. Viel Spaß beim stricken!
16.10.2023 - 09:00
![]() NWhilton wrote:
NWhilton wrote:
Toast
05.08.2023 - 13:01
![]() Isabel wrote:
Isabel wrote:
Peppered in Pink
03.08.2023 - 16:22
Frosted Confetti#frostedconfettisweater |
||||||||||||||||||||||
 |
 |
|||||||||||||||||||||
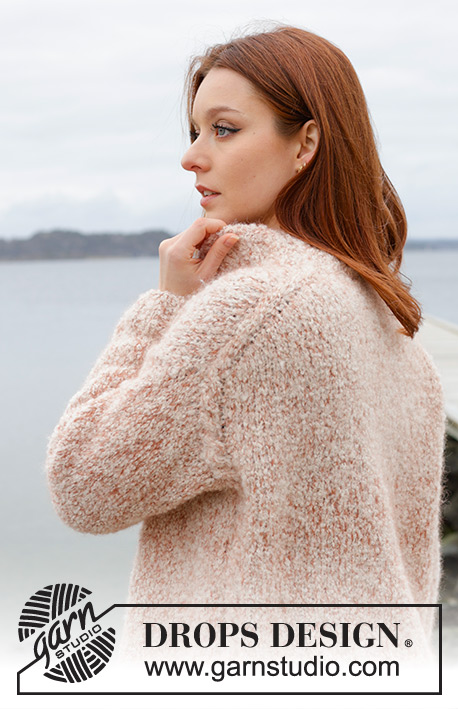
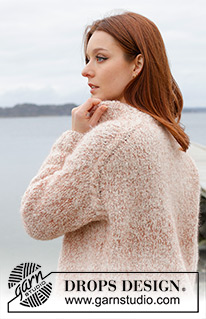
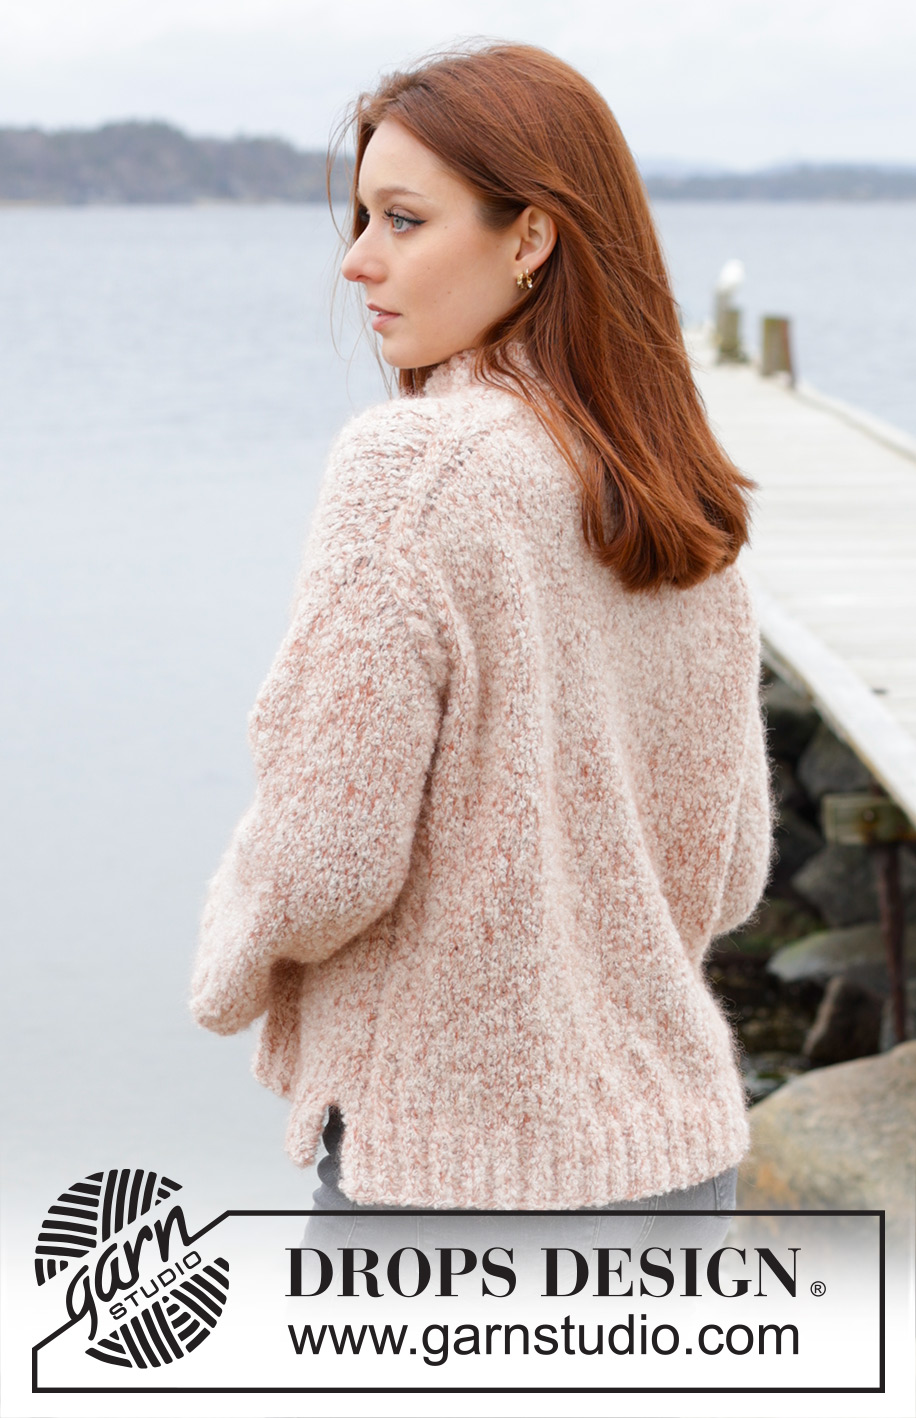
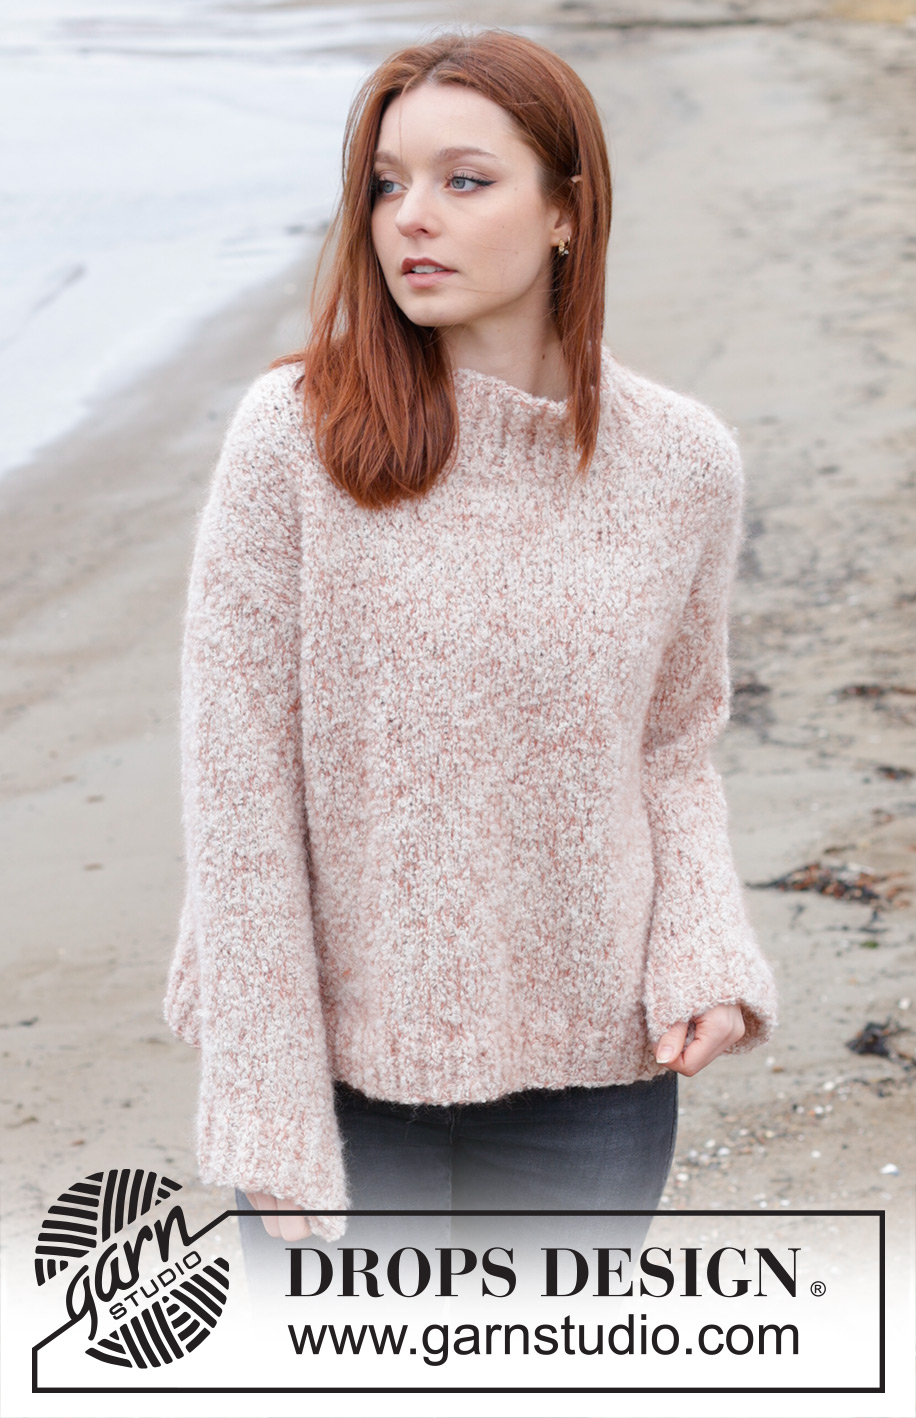
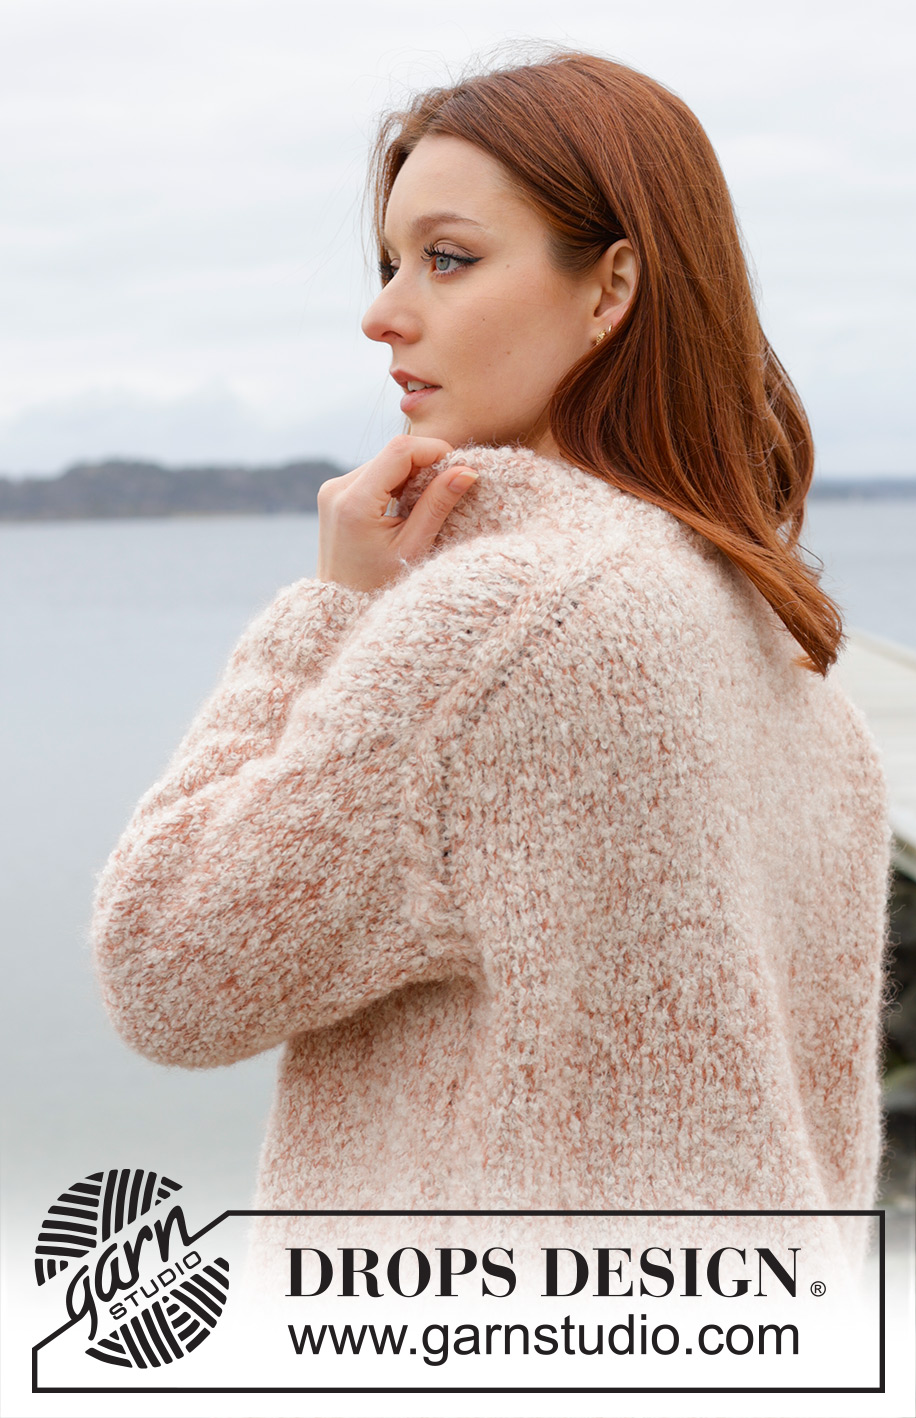
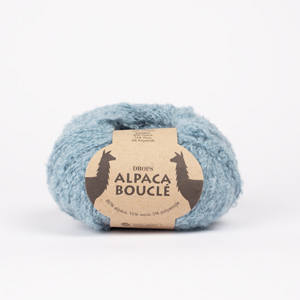
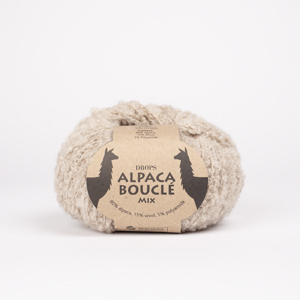
Knitted jumper in DROPS Alpaca Bouclé and DROPS Kid-Silk. The piece is worked top down with cables, European/diagonal shoulders and split in sides. Sizes S - XXXL.
DROPS 245-22 |
||||||||||||||||||||||
|
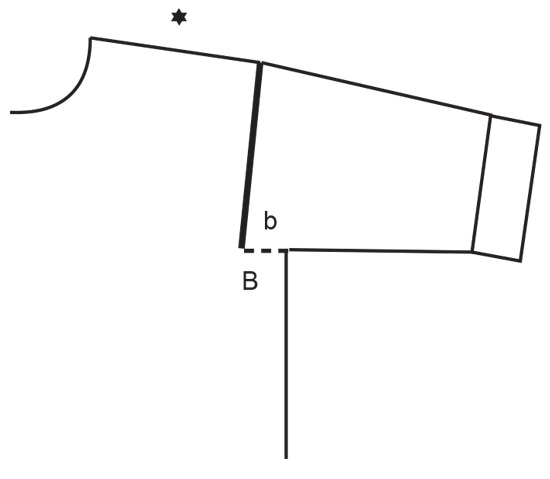
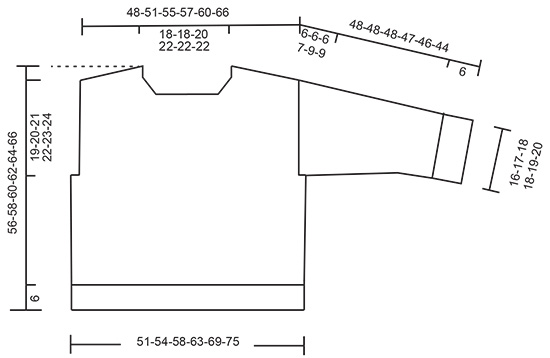
------------------------------------------------------- EXPLANATIONS FOR THE PATTERN: ------------------------------------------------------- GARTER STITCH (worked back and forth): Knit all rows. 1 ridge = knit 2 rows. PATTERN: See diagrams A.1 and A.2. Diagrams show all the rows, seen from the right side. INCREASE TIP FROM THE RIGHT SIDE: Increase towards the left AFTER MARKER / 3 stitches: Use left needle to pick up yarn between 2 stitches from row below, pick up yarn from the front and knit in the stitch loop that is on the back of the needle. Increase towards the right BEFORE MARKER / 3 stitches: Use left needle to pick up yarn between 2 stitches from row below, pick up yarn from the back and knit in the stitch loop that is on the front side of the needle. INCREASE TIP FROM THE WRONG SIDE: Increase towards the right AFTER MARKER: Use left needle to pick up yarn between 2 stitches from row below, pick up yarn from the back and purl in the stitch loop that is on the front side of the needle. Increase towards the left BEFORE MARKER: Use left needle to pick up yarn between 2 stitches from row below, pick up yarn from the front and purl in the stitch loop that is on the back side of the needle. DECREASE TIP (for sleeves): Decrease 1 stitch on each side of the marker-thread as follows: Work until there are 3 stitches left before the marker-thread, knit 2 together, knit 2 (marker-thread sits between these 2 stitches), slip 1 stitch knit-wise, knit 1 and pass the slipped stitch over the knitted stitch. ------------------------------------------------------- START THE PIECE HERE: ------------------------------------------------------- JUMPER – SHORT OVERVIEW OF THE PIECE: The top of the back piece is worked back and forth with circular needle until the armholes are finished. Stitches are knitted up for the front piece along each back shoulder and worked back and forth with circular needle until the armholes are finished. The pieces are joined and the body continued in the round with circular needle, then divided for a split in each side. Stitches are knitted up around the armholes and the sleeves worked in the round with circular needle / double pointed needles. The neck is worked to finish. BACK PIECE: Cast on 30-30-32-34-34-34 stitches with circular needle size 7 mm, 1 strand DROPS Alpaca Bouclé and 1 strand DROPS Kid-Silk. Purl 1 row from the wrong side. Insert 1 marker inside the 7 outermost stitches on each side and make sure the markers stay in this position. Work as follows: 1 edge stitch in GARTER STITCH – see description above, A.1, increase 1 stitch AFTER the marker, work stocking stitch until there are 7 stitches left, increase 1 stitch BEFORE the marker, work A.2 and 1 edge stitch in garter stitch - read INCREASE TIP FROM THE RIGHT SIDE. On the next row (wrong side) increase in the same way – read INCREASE TIP FROM THE WRONG SIDE. Increase from both the right and wrong side a total of 18-20-22-22-24-28 times. After the last increase there are 66-70-76-78-82-90 stitches. Continue with 1 edge stitch in garter stitch on each side, A.1, A.2 and stocking stitch. When you have worked 4 rows without increasing, insert 1 marker in each side. The piece is now measured from here! REMEMBER THE KNITTING TENSION! Work until the piece measures 14-15-15-16-17-17 cm, measured from the marker and along the armhole. Cut the strand and place the stitches on a stitch holder. FRONT PIECE: Start with left shoulder (when garment is worn): Knit up 18-20-22-22-24-28 stitches inside 1 stitch along the top of the left shoulder on the back piece, starting by the neck and knitting up stitches as far as the marker on the back piece (approx. 1 stitch in each row). Work stocking stitch back and forth. When the piece measures 7 cm from the knitted-up stitches, increase at the beginning of each row from the right side for the neckline; increase after the 3 stitches - remember INCREASE TIP FROM THE RIGHT SIDE. Increase 1 stitch 4 times = 22-24-26-26-28-32 stitches. Lay the piece to one side after a row from the wrong side and work the right shoulder. Knit up 18-20-22-22-24-28 stitches inside 1 stitch along the top of the right shoulder on the back piece, starting by the marker on the back piece and knitting up stitches as far as the neck (approx. 1 stitch in each row). Work stocking stitch back and forth. When the piece measures 7 cm from the knitted-up stitches, increase at the end of each row from the right side for the neckline; increase before the 3 stitches - remember INCREASE TIP FROM THE RIGHT SIDE. Increase 1 stitch 4 times = 22-24-26-26-28-32 stitches. After the last increase work back from the wrong side. Work as follows from the right side: Stocking stitch over the right front piece, cast on 18-18-20-22-22-22 stitches for the neckline and work stocking stitch over the left front piece = 62-66-72-74-78-86 stitches. NOTE! There are 4 more stitches on the back piece than the front piece as the cables tighten the fabric slightly. Work stocking stitch back and forth until the piece measures 24-25-27-28-29-31 cm, measured along the armhole. Now join the front and back pieces. BODY: Work stocking stitch over the 62-66-72-74-78-86 stitches on the front piece, cast on 4-4-4-8-12-12 stitches (under the sleeve) work stocking stitch and pattern over the 66-70-76-78-82-90 stitches on the back piece and cast on 4-4-4-8-12-12 stitches = 136-144-156-168-184-200 stitches. Insert 1 marker in the middle of the new stitches under each sleeve; they are used later when working the split in each side. Work stocking stitch, A.1 and A.2 as before until the piece measures 50-52-54-56-58-60 cm, measured from the top front shoulder. Now divide for the split in each side. Place the 70-74-80-86-94-102 stitches from the back piece on a stitch holder and work the front piece. FRONT PIECE: 66-70-76-82-90-98 stitches. Knit 1 row from the right side and increase 8-8-6-8-8-12 stitches evenly spaced = 74-78-82-90-98-110 stitches. Work as follows from the wrong side: 2 edge stitches in garter stitch, * purl 2, knit 2 *, work from *-* until there are 4 stitches left, purl 2 and 2 edge stitches in garter stitch. Continue this rib for 6 cm. Cast off. BACK PIECE: Place the stitches on circular needle size 6 mm = 70-74-80-86-94-102 stitches. Knit 1 row from the right side and increase 8-8-6-8-8-12 stitches evenly spaced = 78-82-86-94-102-114 stitches. Work as follows from the wrong side: 2 edge stitches in garter stitch, * purl 2, knit 2 *, work from *-* until there are 4 stitches left, purl 2 and 2 edge stitches in garter stitch. Continue this rib for 6 cm. Cast off. The jumper measures approx. 56-58-60-62-64-66 cm, measured from the top of the shoulder. LEFT SLEEVE: Use circular needle size 7 mm and knit up from the right side 32-34-36-38-40-40 stitches from the bottom of the armhole and up the front piece to the shoulder, then 18-18-18-20-20-22 stitches from the shoulder and down the back piece = 50-52-54-58-60-62 stitches. Insert 1 marker in the middle of the stitches picked up. Work now back and forth in stocking stitch with short rows for the sleeve cap, to gives a better shape to the sleeve. 1st row (from wrong side): work to 12 stitches after marker, turn. 2nd row (from right side): work to 12 stitches after marker, turn. 3rd row (from wrong side): work to 14 stitches after marker, turn. 4th row (from right side): work to 14 stitches after marker, turn. 5th row (from wrong side): work to 18 stitches after marker, turn. 6th row (from right side): work to 18 stitches after marker, turn. 7th row (from wrong side): work to the beginning of the row. Work stocking stitch back and forth for 6-6-6-7-9-9 cm, measure from where the stitches were picked up (all length are measured mid on top of sleeve). Now join the sleeve and continue in the round with short circular needle/double pointed needles. Insert 1 marker-thread at the beginning of the round (mid-under sleeve). Allow the thread to follow your work onwards. Start at the marker-thread and continue stocking stitch in the round. When the sleeve measures 8-8-8-8-9-11 cm from the knitted-up stitches, decrease 2 stitches under the sleeve – read DECREASE TIP. Decrease like this every 10-10-10-7-7-6 cm a total of 4-4-4-5-5-5 times = 42-44-46-48-50-52 stitches. Continue working until the sleeve measures 42-42-42-41-40-38 cm. There is approx. 6 cm left. Try the jumper on and work to desired length before the rib. Knit 1 round and increase 6-4-6-4-6-4 stitches evenly spaced = 48-48-52-52-56-56 stitches. Change to double pointed needles size 6 mm. Work rib (knit 2, purl 2) for 6 cm. Cast off a little loosely. The sleeve measures approx. 48-48-48-47-46-44 cm. RIGHT SLEEVE: Work in the same way as the left sleeve but knit up 18-18-18-20-20-22 stitches from the bottom of the armhole and up the back piece to the shoulder, then 32-34-36-38-40-40 stitches from the shoulder down the front piece. Sew together the openings under the sleeves – see sketch. NECK: Start on one shoulder, knit up from the right side and inside the 1 edge stitch, 72 to 96 stitches with short circular needle size 6 mm. Work rib in the round (knit 2, purl 2) for 8 cm. Cast off loosely. |
||||||||||||||||||||||
Diagram explanations |
||||||||||||||||||||||
|
||||||||||||||||||||||
 |
||||||||||||||||||||||
 |
||||||||||||||||||||||
 |
||||||||||||||||||||||
 |
||||||||||||||||||||||
Have you finished this pattern?Tag your pictures with #dropspattern #frostedconfettisweater or submit them to the #dropsfan gallery. Do you need help with this pattern?You'll find 33 tutorial videos, a Comments/Questions area and more by visiting the pattern on garnstudio.com. © 1982-2026 DROPS Design A/S. We reserve all rights. This document, including all its sub-sections, has copyrights. Read more about what you can do with our patterns at the bottom of each pattern on our site. |
||||||||||||||||||||||











Post a comment to pattern DROPS 245-22
We would love to hear what you have to say about this pattern!
If you want to leave a question, please make sure you select the correct category in the form below, to speed up the answering process. Required fields are marked *.